Hey, hi! I’m pleased to be joining Technique Tuesday today, contributing these two projects to their Watercolor Christmas focused post!
This post contains affiliate links that are listed below. By clicking through to purchase products linked, you are helping to support this blog at no additional cost to you and that allows me to continue to provide you with creative inspiration and instructive help.
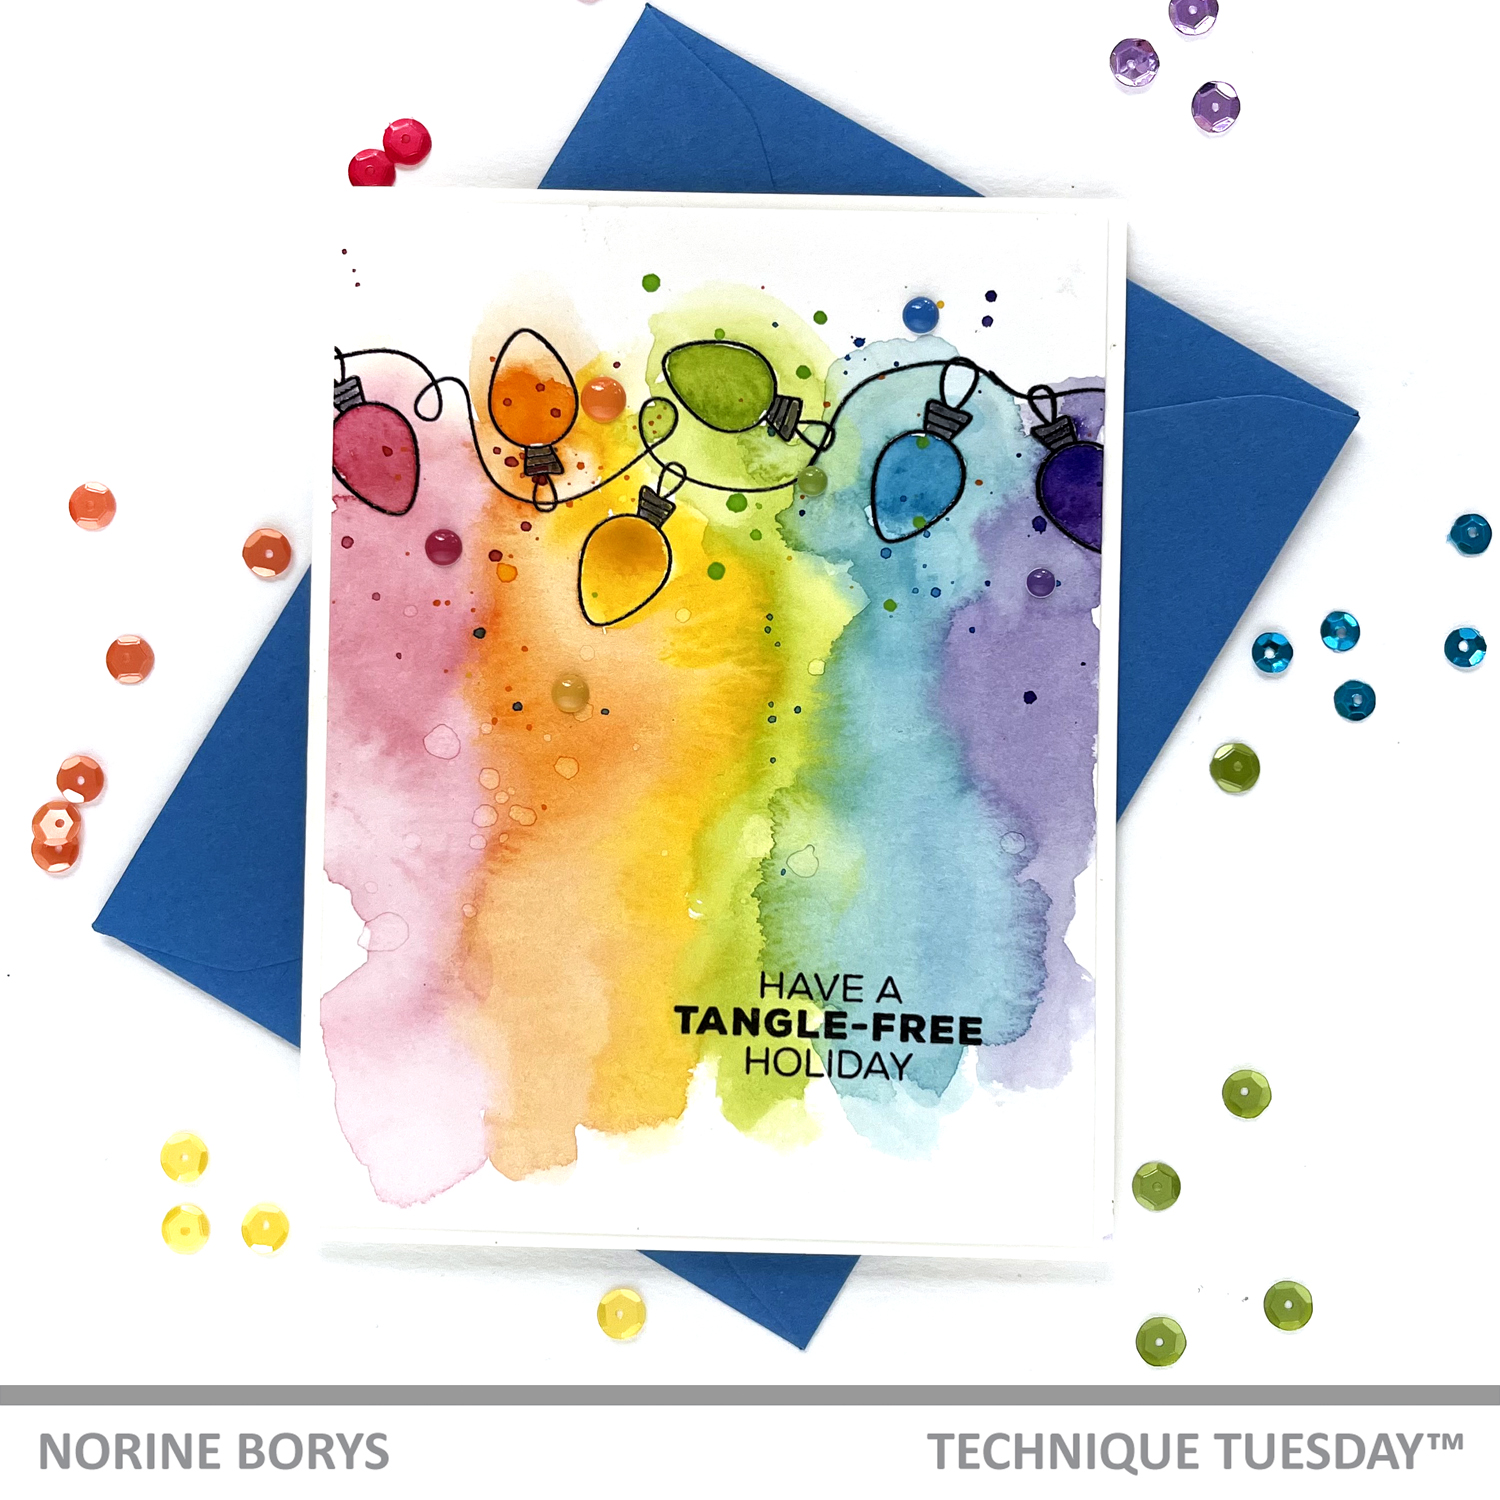
For my first card, I used the Technique Tuesday String of Lights stamp set, stamping on watercolor cardstock with Versafine Onyx black ink and heat setting with clear embossing powder. I often stamp and heat emboss my outlined images on watercolor paper because it’s a look that I like, but in this case I did it with a specific purpose in mind.
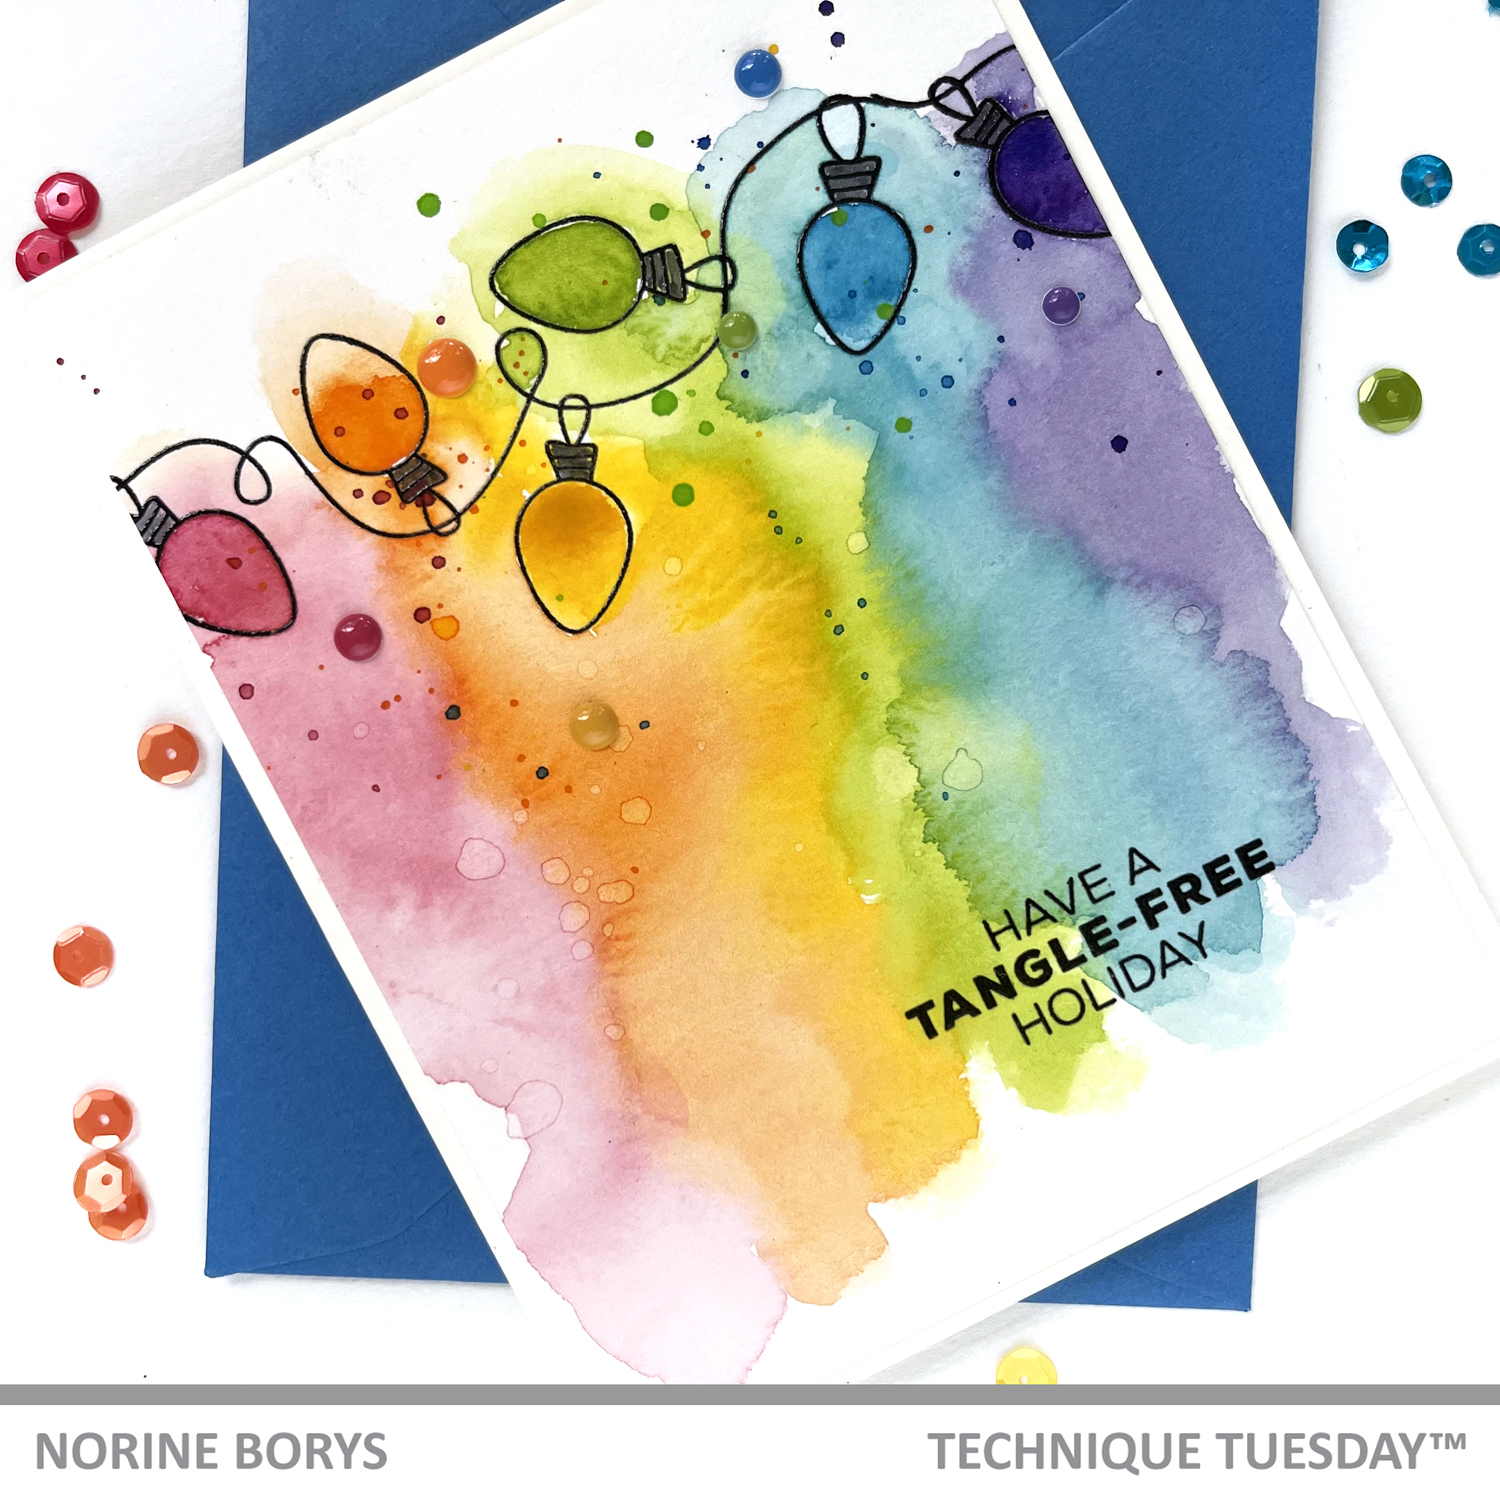
I knew that I wanted to create a watercolor blend where each wash of color runs and flows and blends with the one beside it, but I also wanted the bulbs to be the brightest parts of the painted panel, so by having the heat embossed lines, I knew that liquid paint would be corralled and contained by those lines, letting their intensity remain.
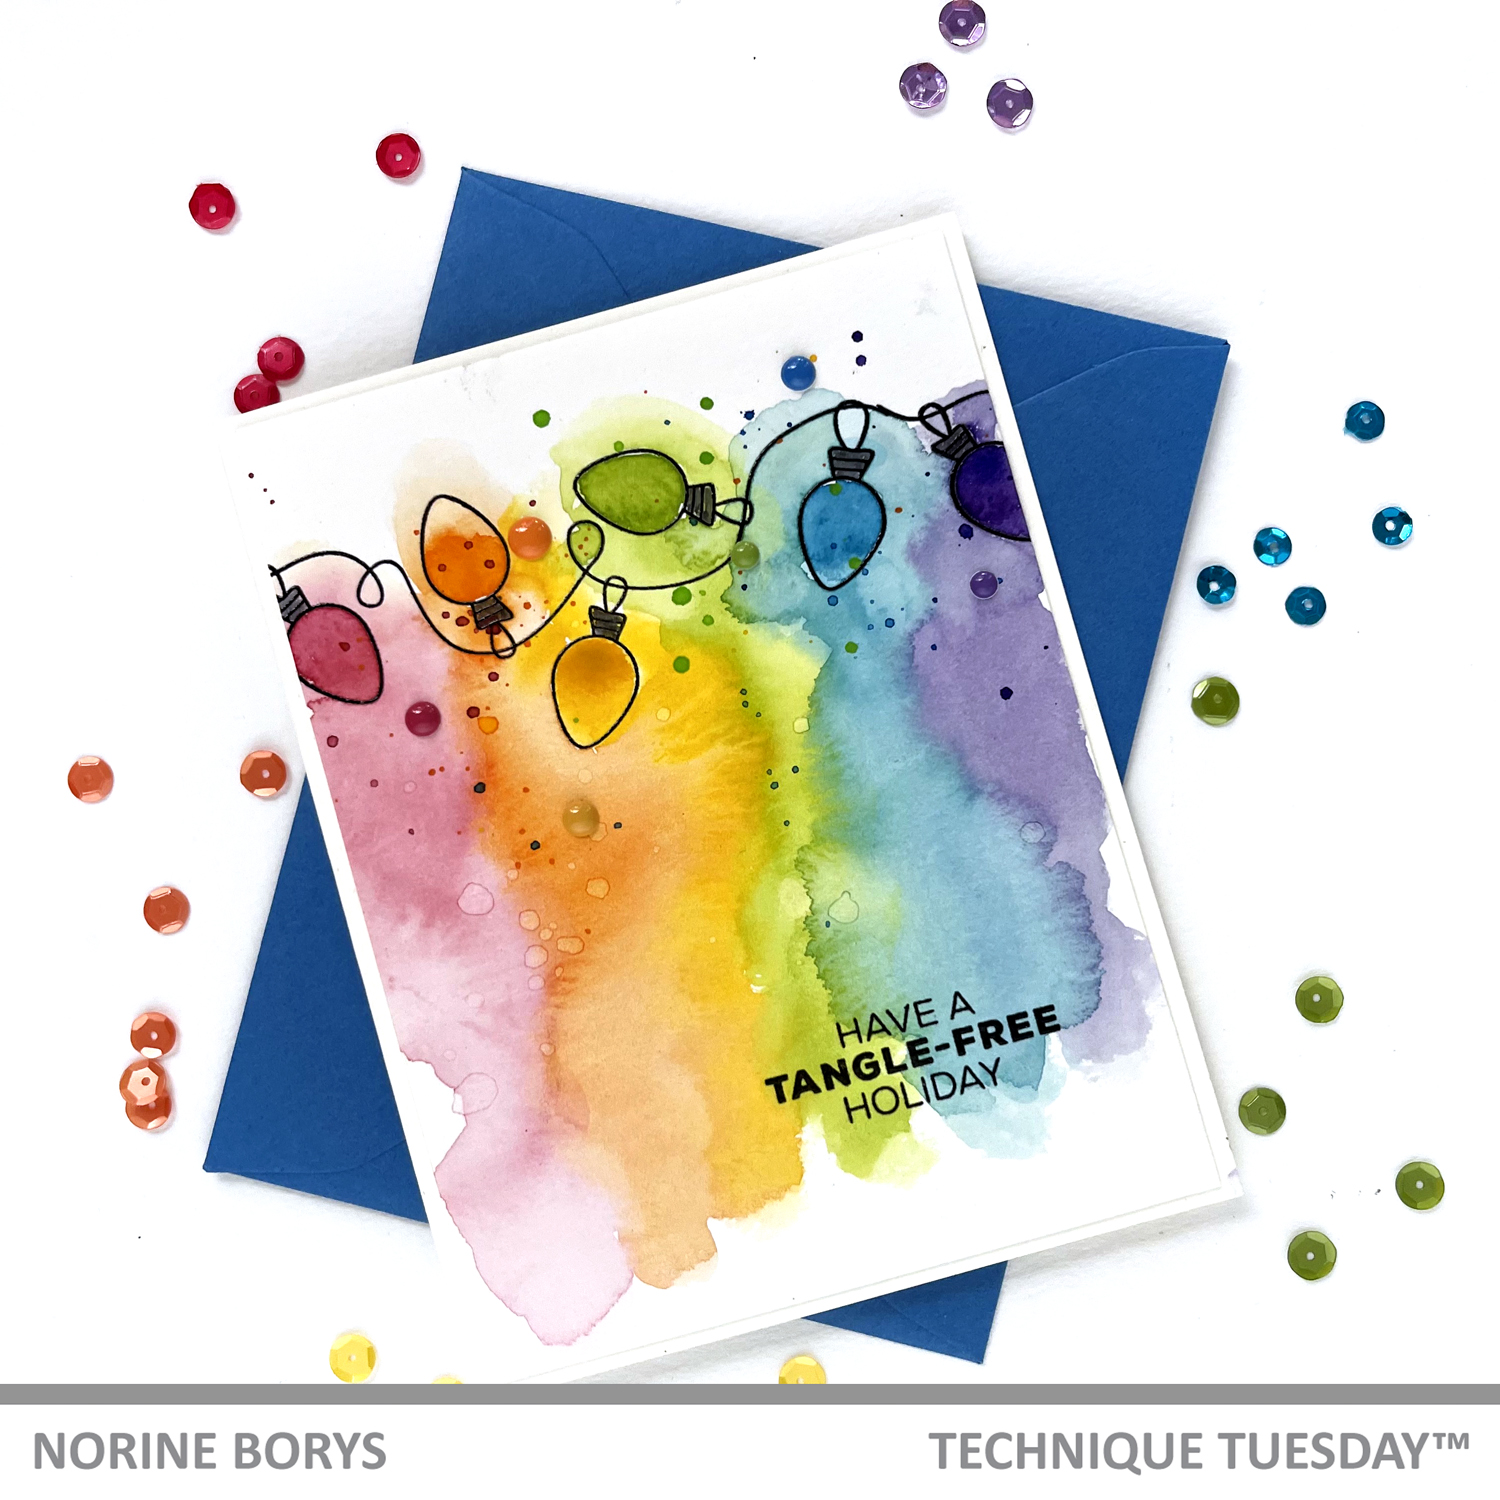
I used Mijello Mission Gold watercolor paints to paint the bulbs and add the flowing colored glow in a rainbow order of colors. Once dry, I added one of the sentiments from the String of Lights stamp set, stamping with black ink and heat setting for continuity.
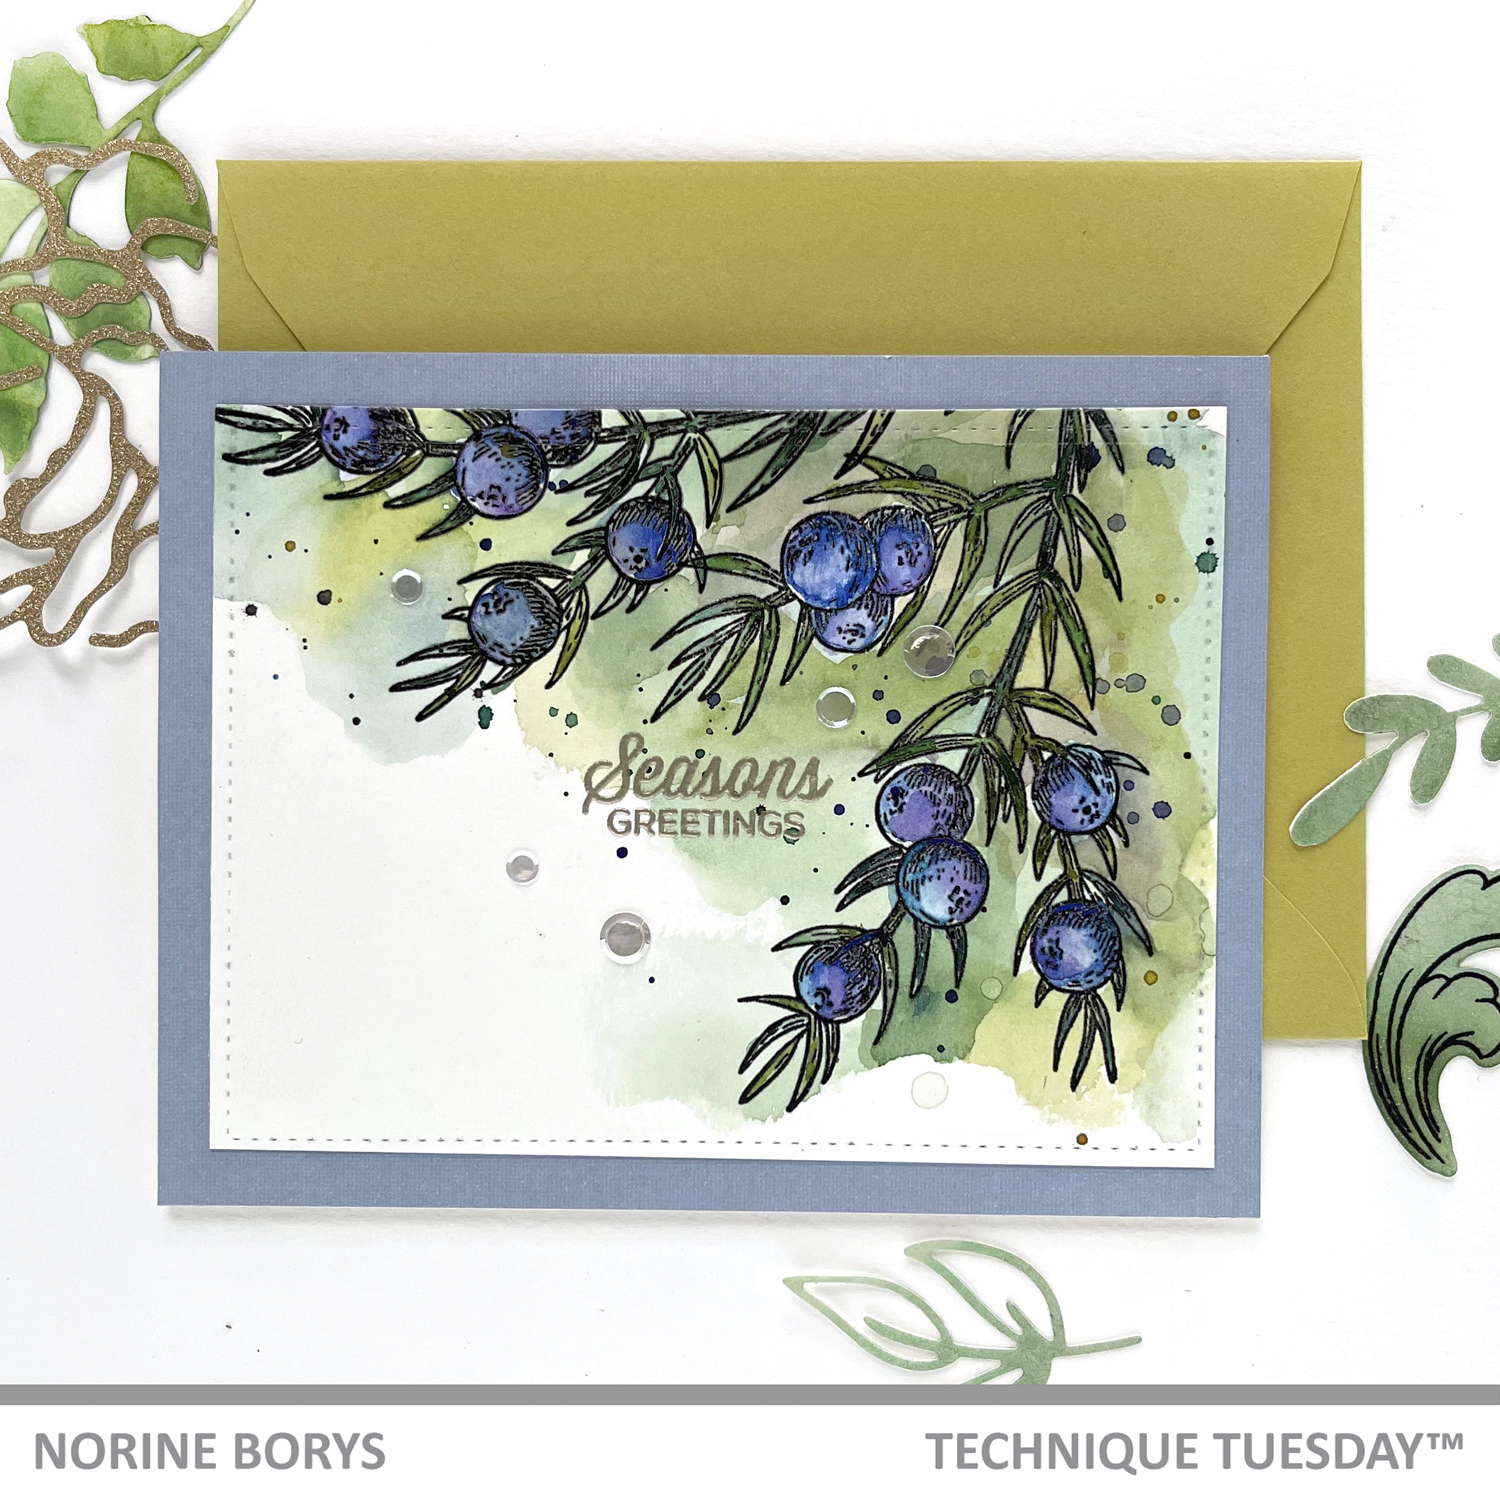
Card #2 is made using the Joyous Juniper stamp set, stamped once along the right side of the watercolor card panel, and again above the first branch and arching to the left side.
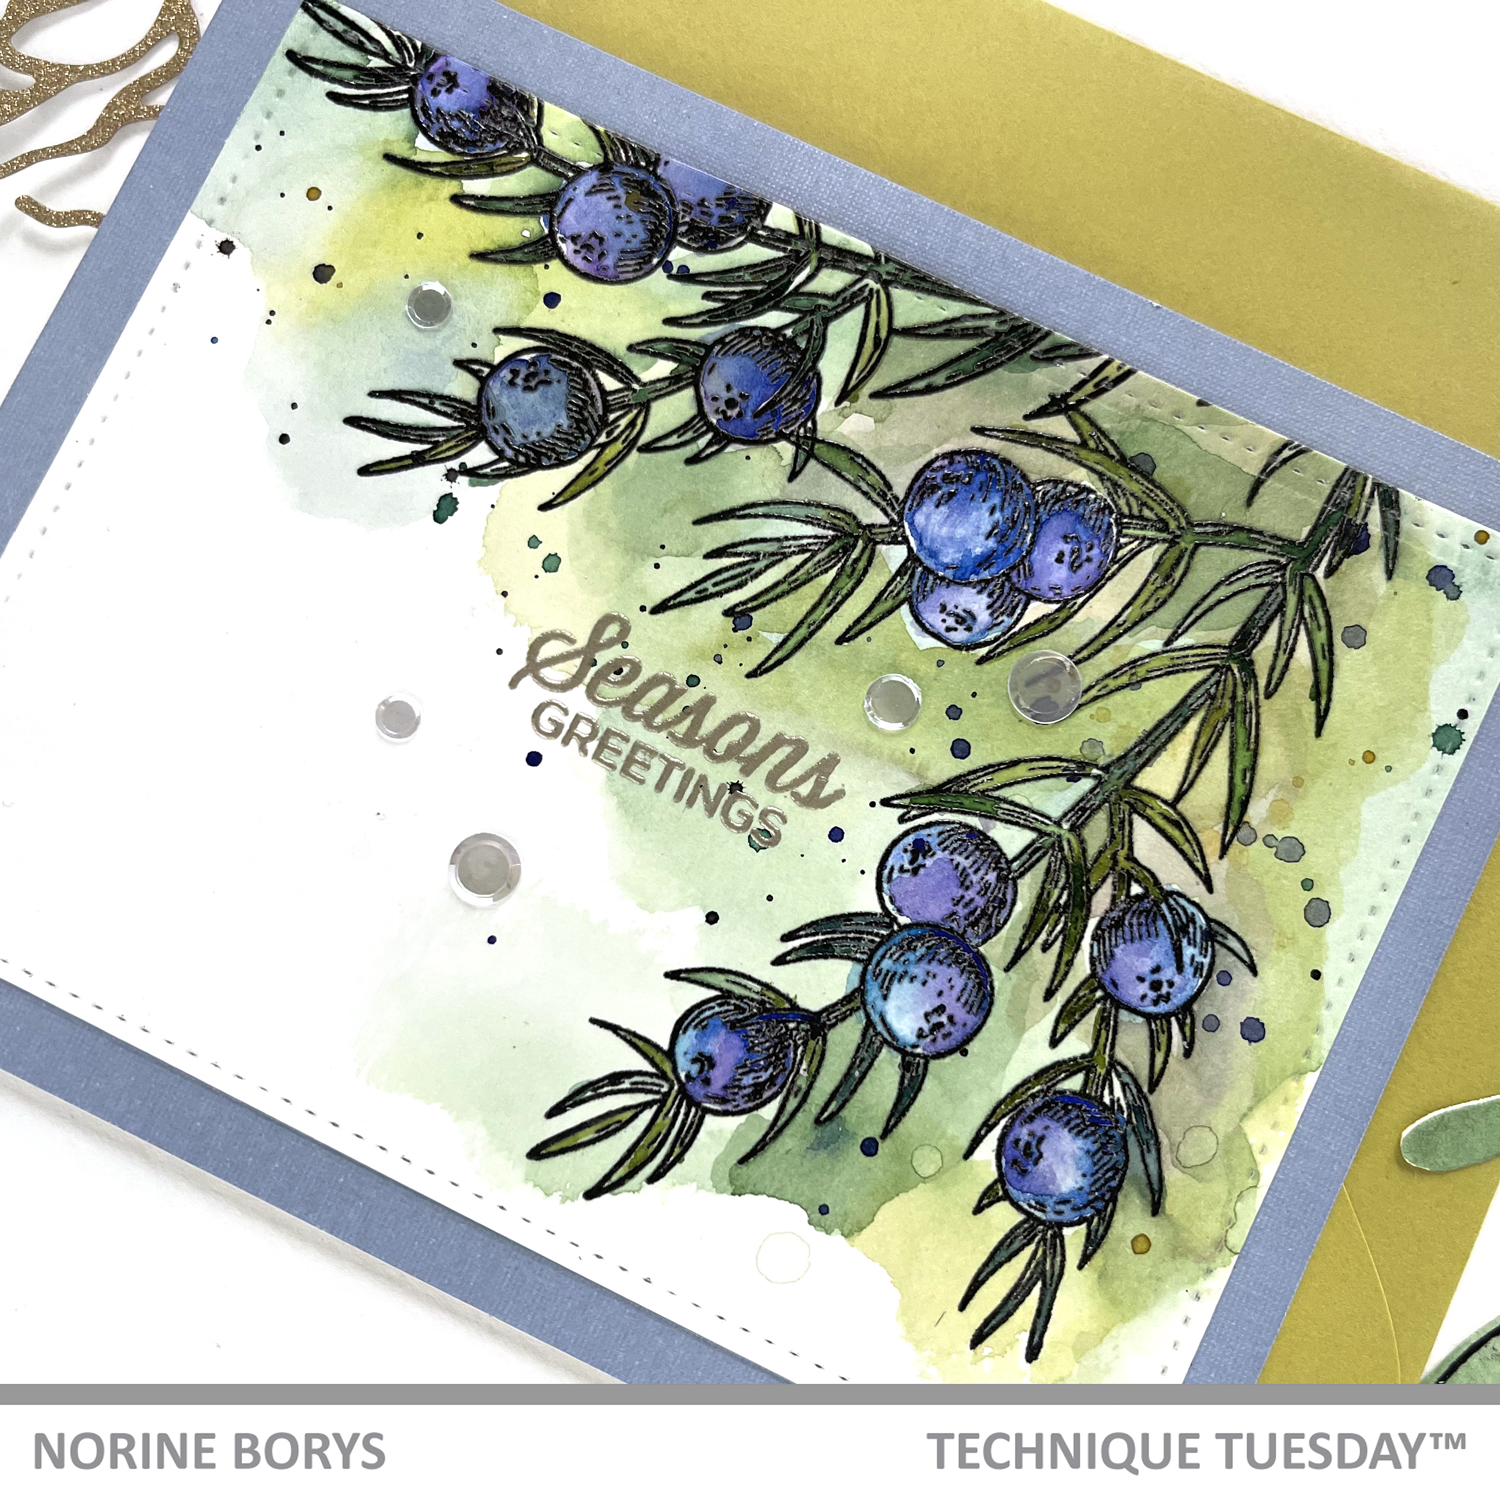
Again, I heat embossed the stamped outlines to help keep the water/paint contained inside each berry. My technique for painting the berries was to spritz the paint pans with water to activate the pigment and have puddles of color ready to dip into.
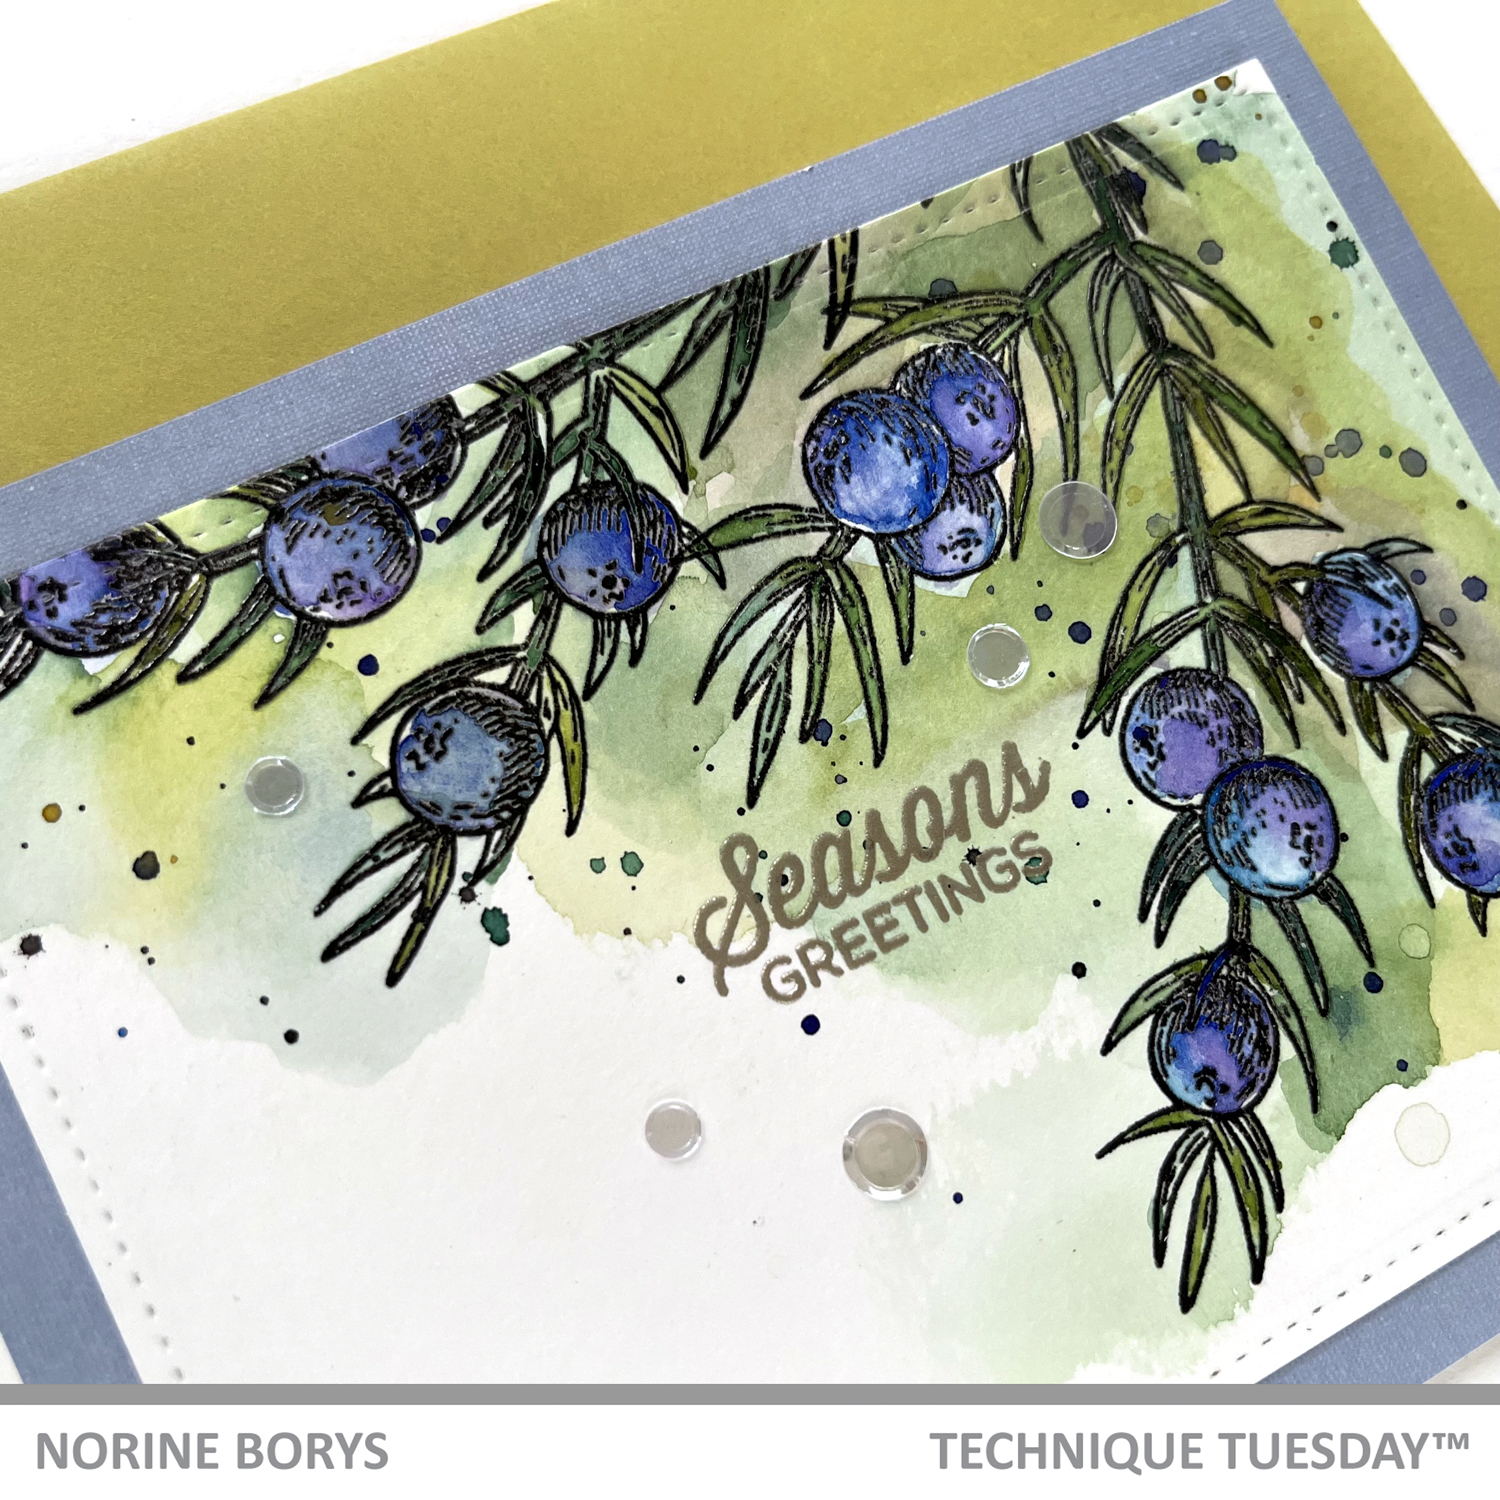
I mixed shades of purple, royal blue and a teal blue shade. Then I painted each berry with a clean, wet paint brush (no paint) and while still wet, touched 2 or 3 of the colors down into each berry. I let the colors blend and begin to dry, but then used my clean, damp brush tip to help the process, either picking up extra liquid with my damp brush (thirsty brush) or adding more color to mix with the previously laid down color.
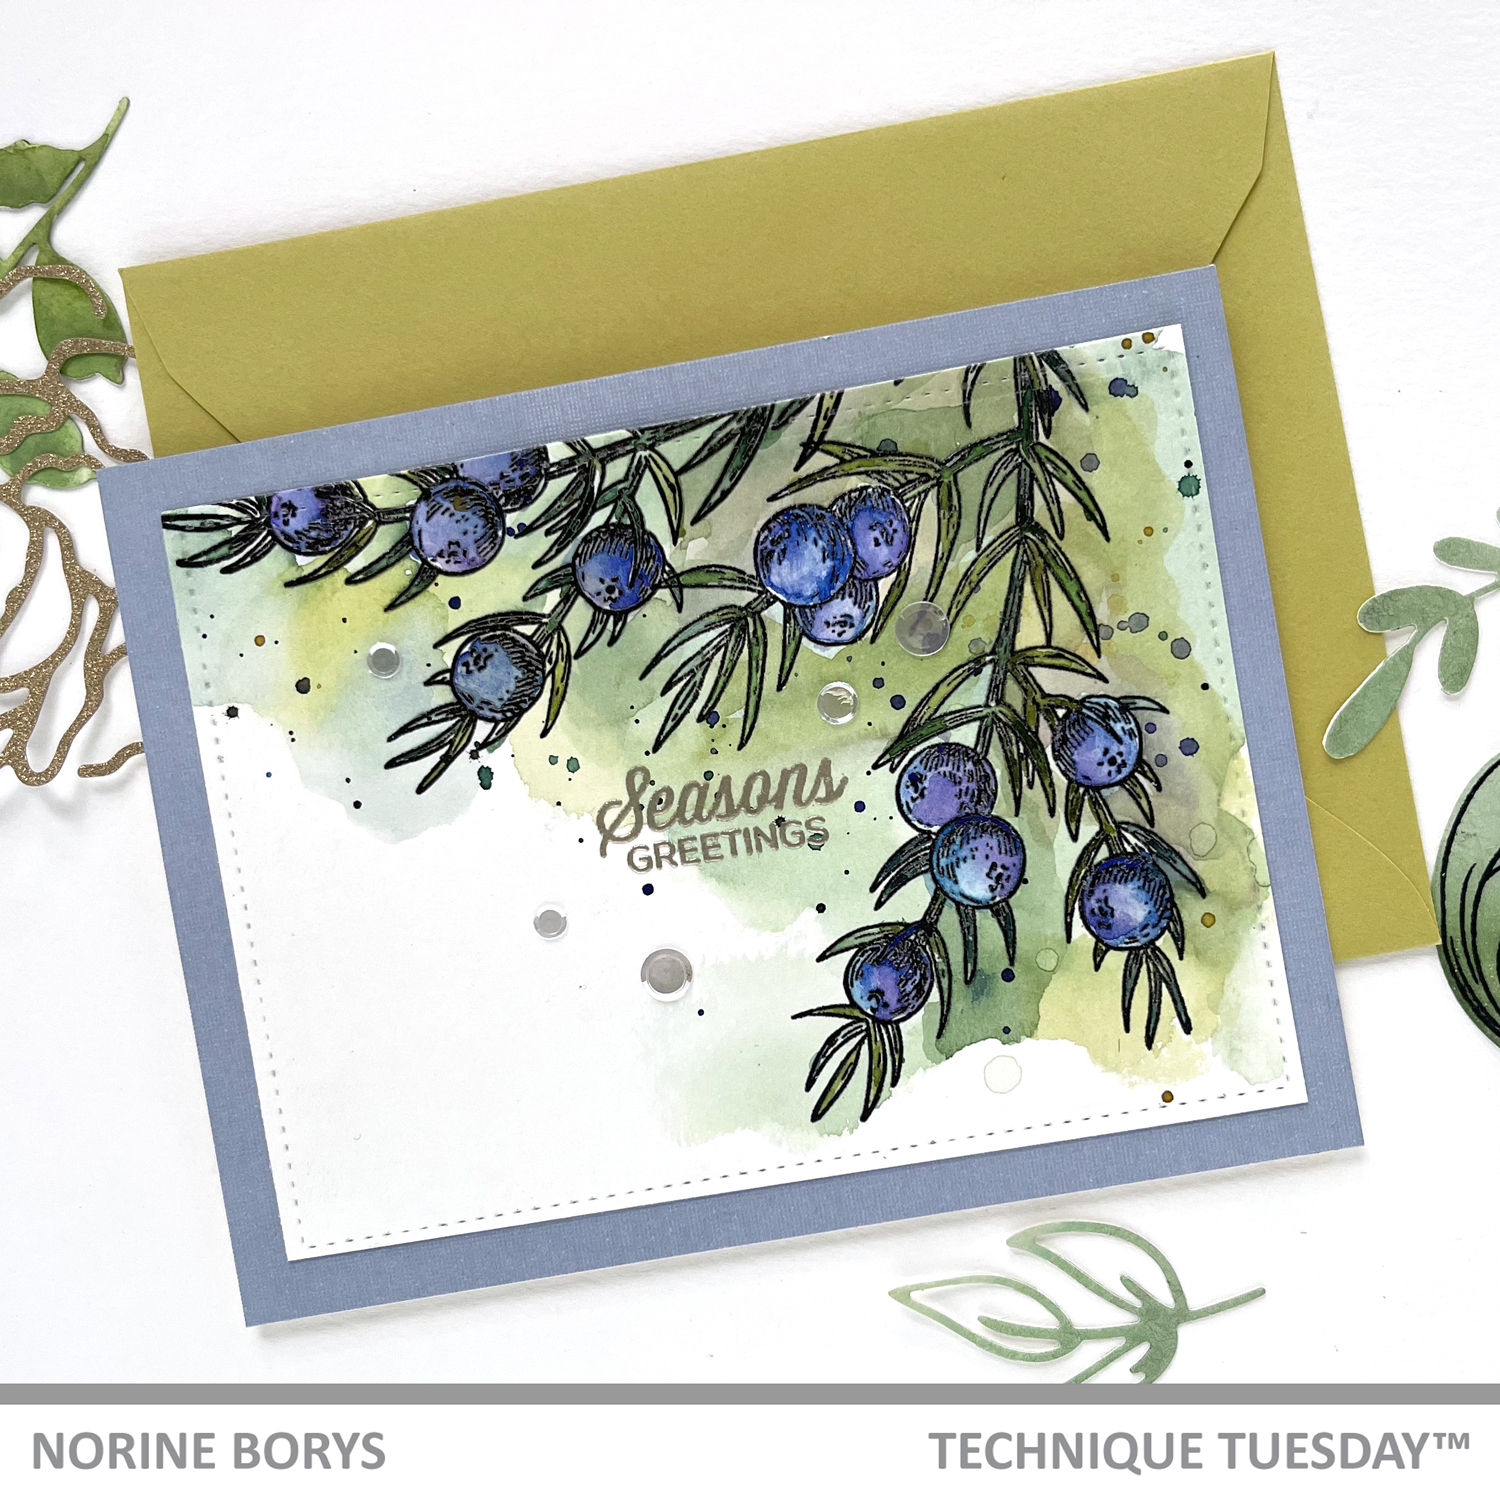
I painted the leaves and stems in a basic green shade and let them dry. Then I went back and added more color to the background, using color mixes left over in my paint palette from other projects. Finally, I stamped a greeting from the Holly – Greenhouse Society – stamp set and heat set with Platinum embossing powder. And once all the paint was good and dry, and the embossing powder set and cooled, I added paint splatters to give an “artisty” look to the card. I die cut it with a stitched rectangle die, and matted it with some coordinating cardstock to finish.
Thanks for stopping by, and I hope you found something to inspire you to pull out your paints for a fun and beautiful way to create some Christmas cards! Be sure to click over to Technique Tuesday to check out the Christmas Collection page!
SUPPLIES USED: