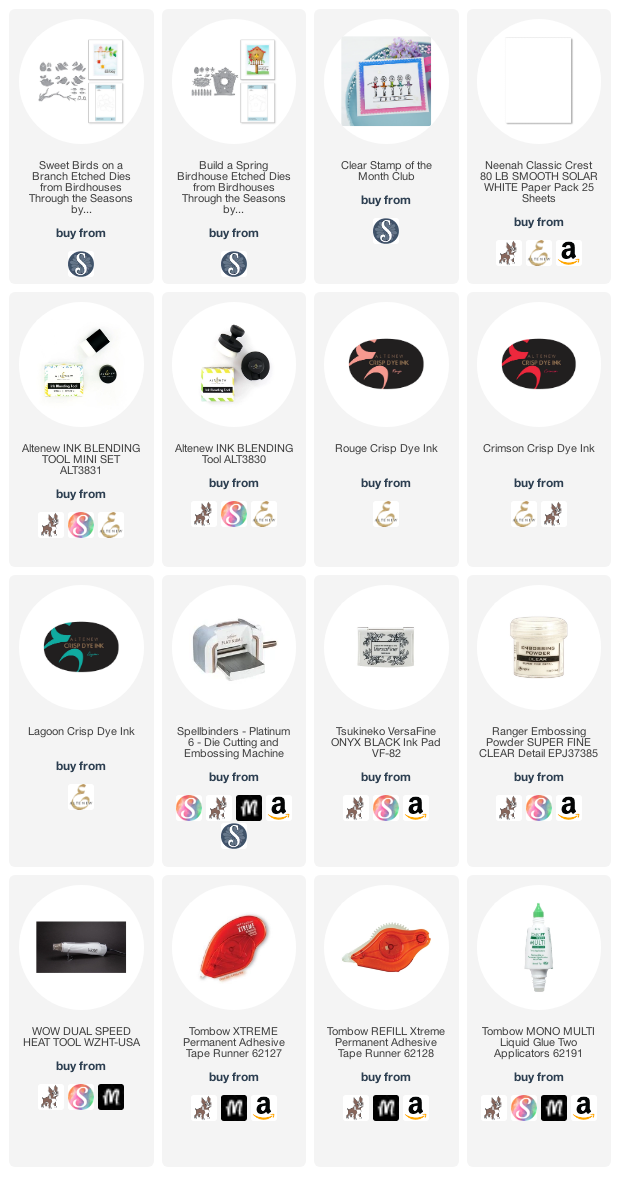
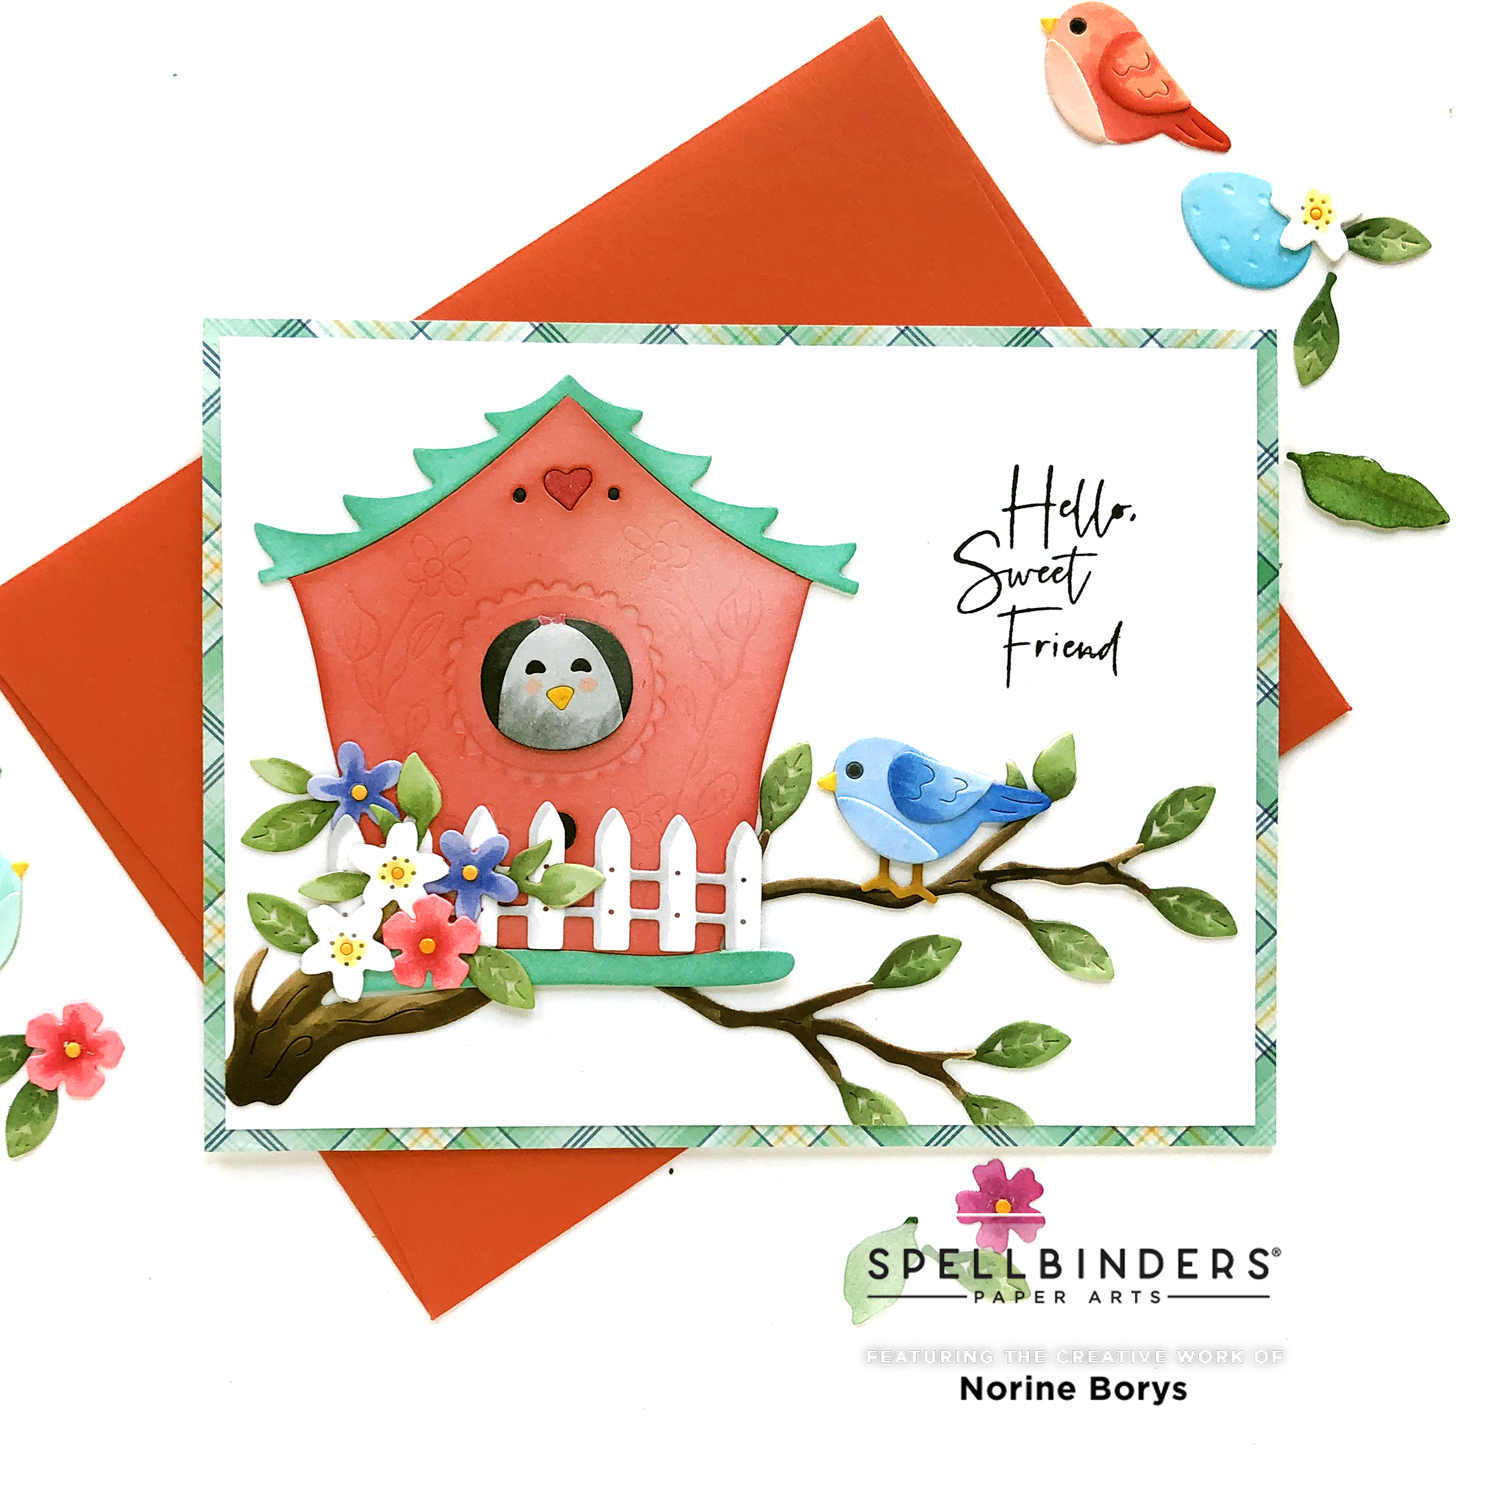
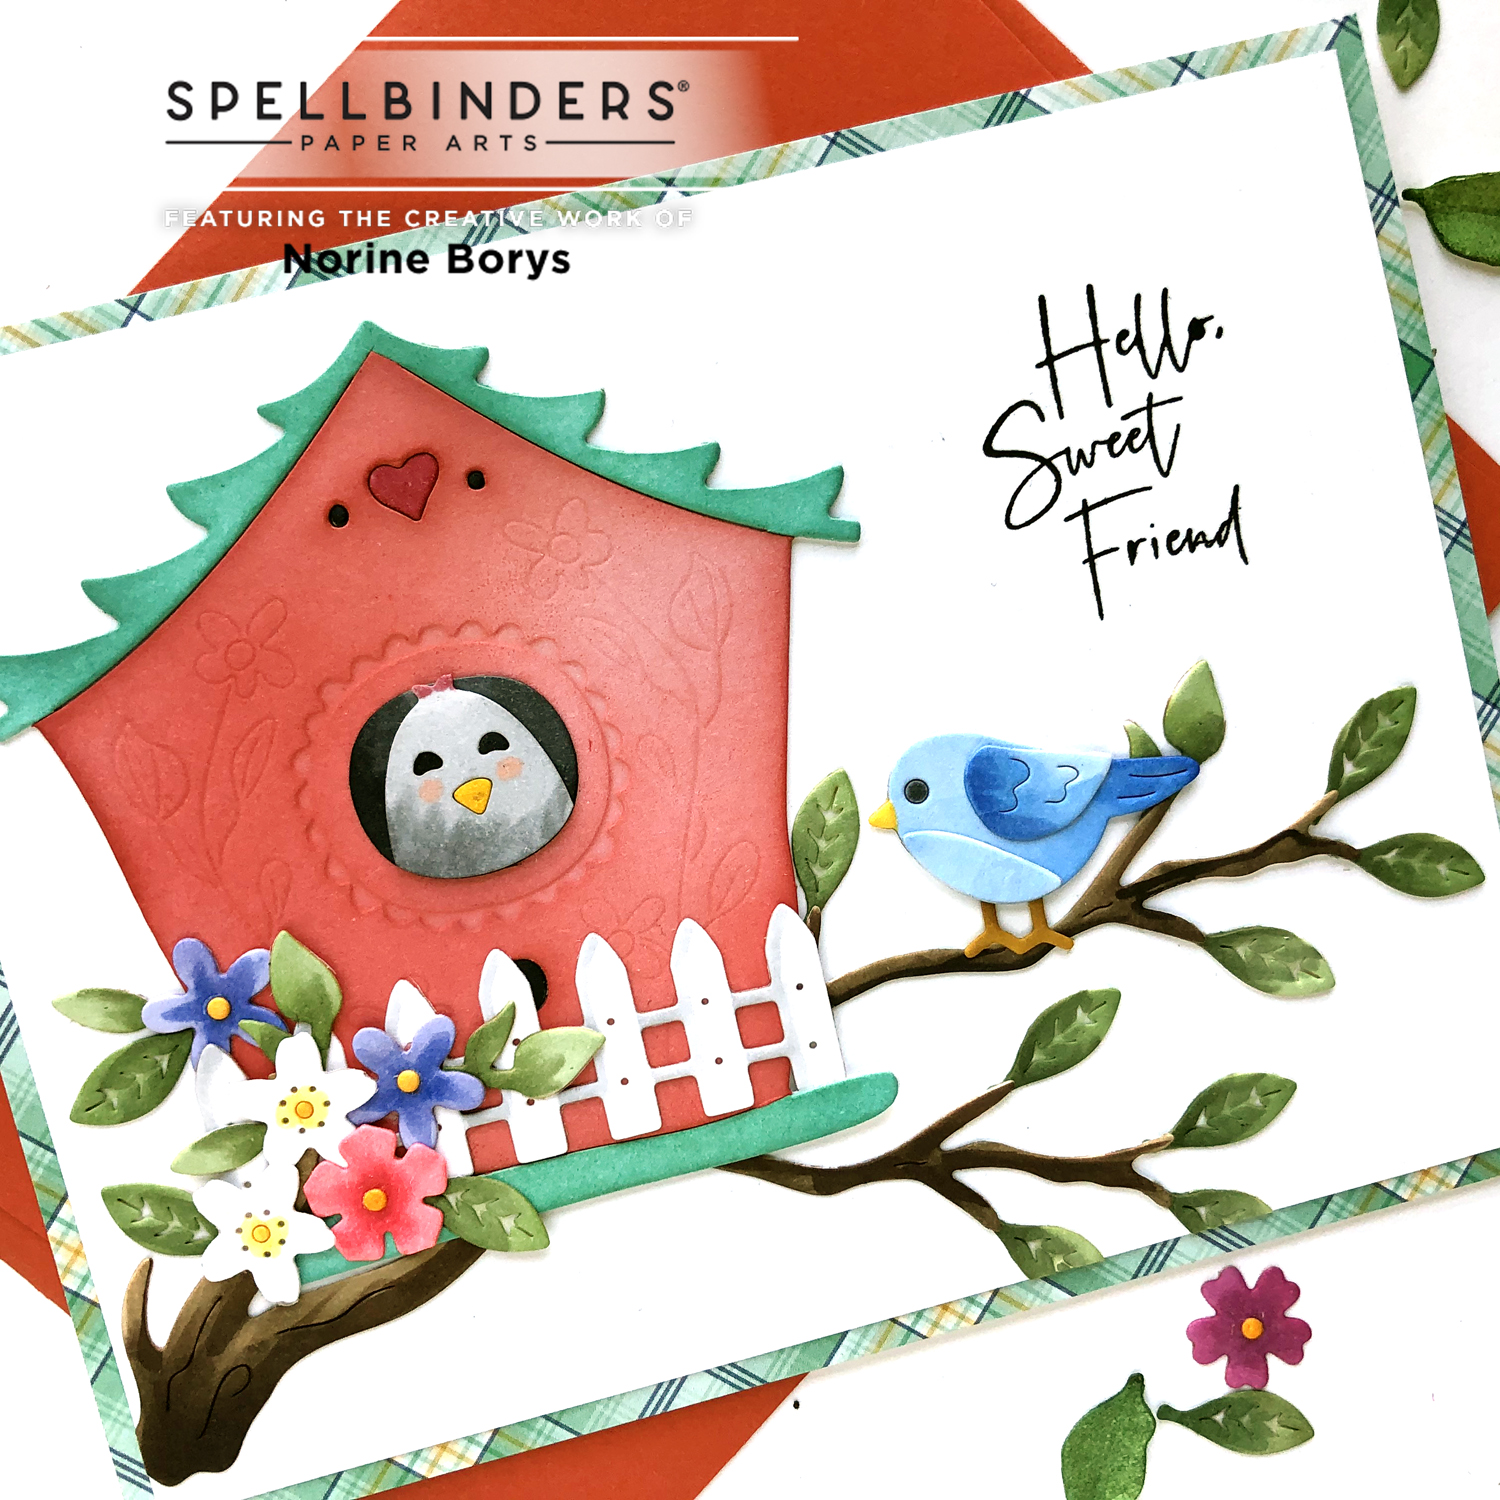
Hi, hello! I’m back today with a card to share that showcases the Spellbinder’s Birdhouses Through the Seasons Die sets by Vicky Papaioannou for Spellbinders! The collection consists of four seasonal birdhouses, plus a die set of 6 different birdies and a leafy branch, plus a chirpy sentiments stamp set. The card I’m posting today is born from the Build A Spring Birdhouse and the Sweet Birds on a Branch Dies sets.
This post contains affiliate links that are listed below. By clicking through to purchase products linked, you are helping to support this blog at no additional cost to you and that allows me to continue to provide you with creative inspiration and instructive help.
I die cut every last one of the pieces in both Die sets – the Build a Spring Birdhouse and the Sweet Birds on a Branch because I never feel like I’ve really explored all my options until I’ve played with alllll the pieces! And what doesn’t end up on the first card usually does on a 2nd or 3rd!
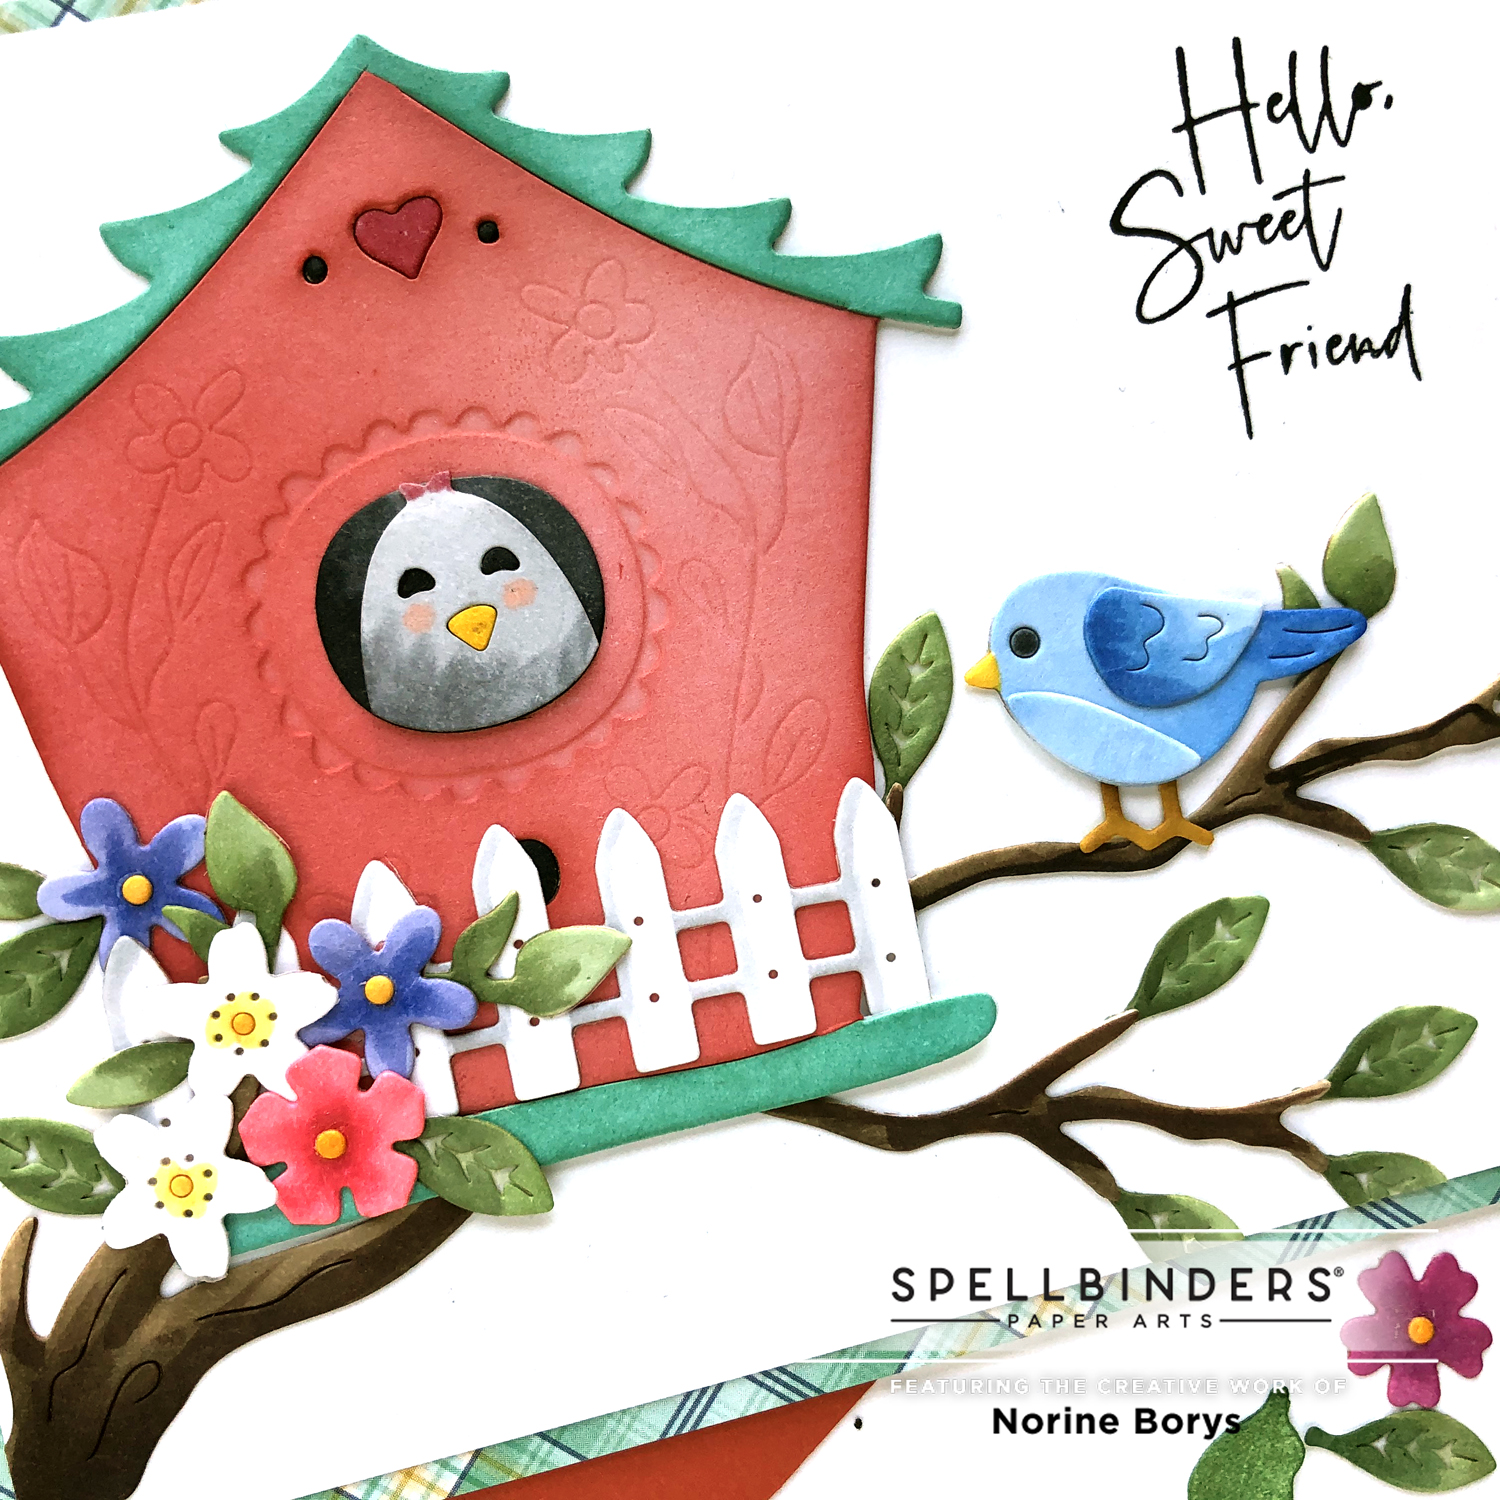
So with all the pieces die cut, I set about to coloring them with Copic markers – I’m sorry, I didn’t keep track of all the colors – in the end there were so many! Actually I used Copic markers for all the smaller pieces. For the birdhouse itself, I wanted to highlight the etched designs on the face of the birdhouse, and that’s best done with ink and a blending tool. I also ink blended the green roof and base, but everything else is colored with an alcohol marker. Or seven.
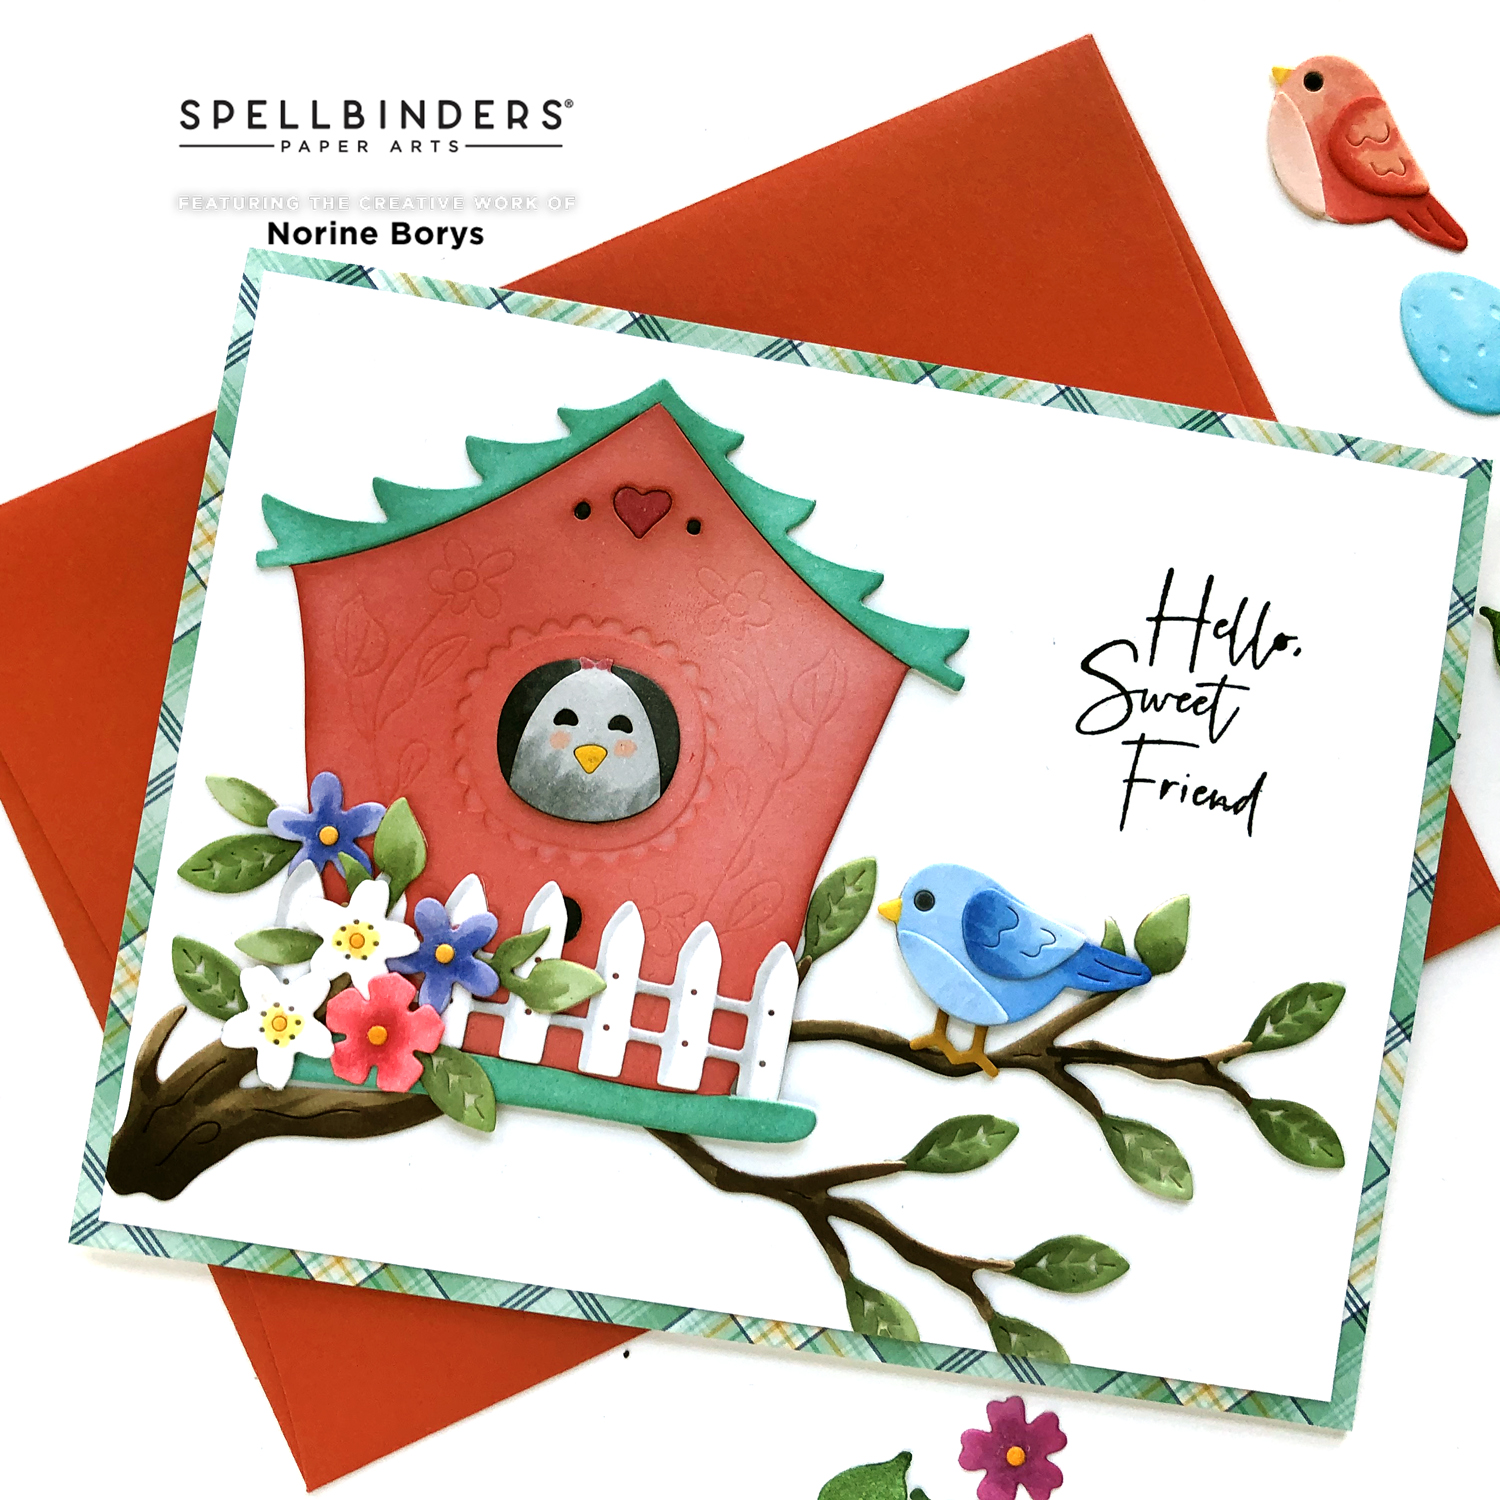
On this card, the birdhouse, fence and flowers come from the Spring Birdhouse set, and the branch, leaves, birds come from the Sweet Birds on a Branch Die set. I also combined this die-cut card with a sentiment from the Borders & Sentiments stamps – this month’s Clear Stamp of the Month club kit.
Be sure to check out the Spellbinders Club Kits page to see the Value Club options. And the more you sign up for, the better the savings!
I stamped the sentiment with Versafine Onyx black ink and heat set with clear embossing powder. Then I positioned all of the components to create a sweet scene and fill in the area around the greeting, then used a sheet of Glad Press N Seal to hold everything in place so that I could adhere each individual die cut in it’s place.
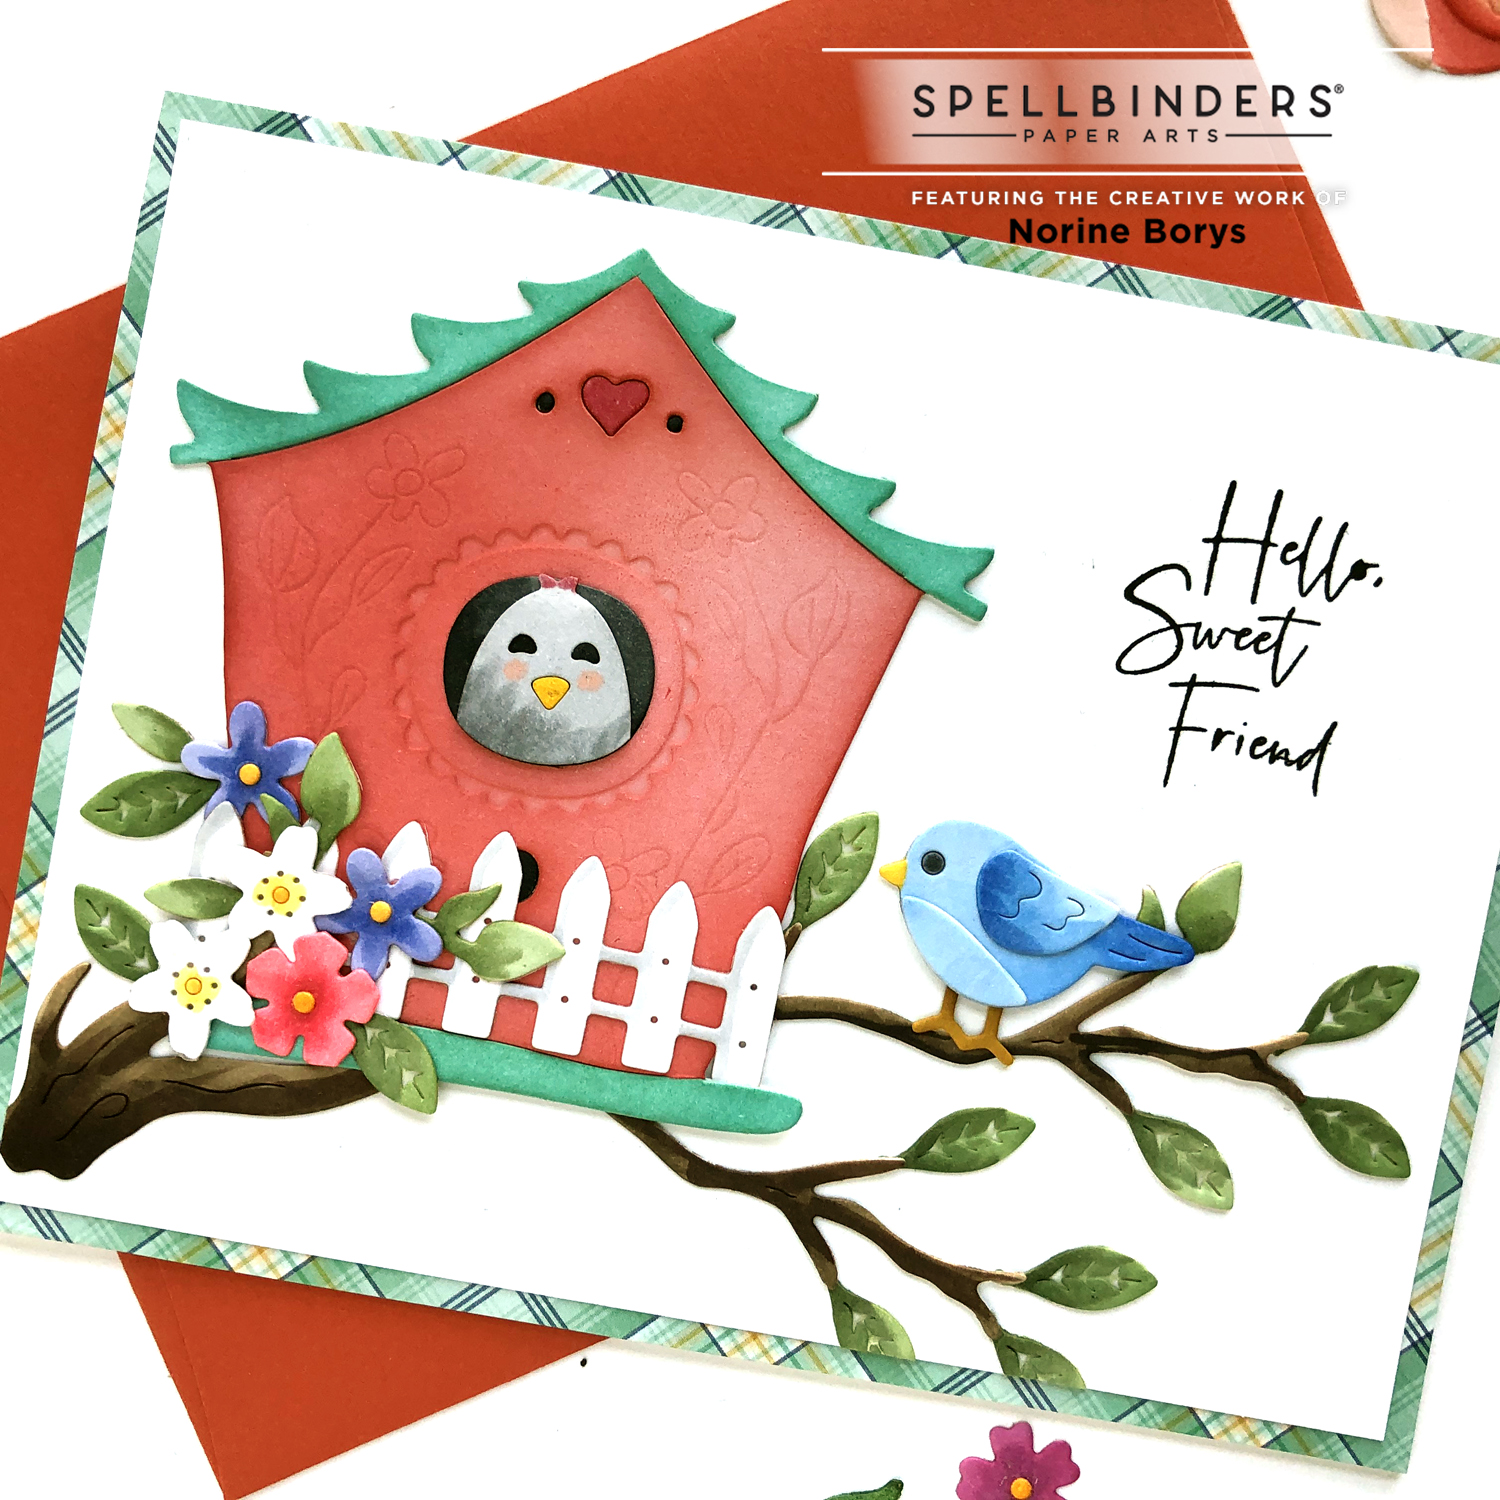
I trimmed the A2 sized card panel by 1/8” on every side and used some subtle plaid print patterned paper to mat the design and adhered it all to a folded card base.
The 2nd and 3rd cards referred to above will show up in a few days, so be sure to check back for that! Thanks so much for stopping by and have a stellar day!
SUPPLIES USED: