Hello, hi! Today is the April Simon Says Stamp release – Born To Sparkle – and I’m delighted to share a couple of cards today that I made with some of the amazing products in this collection! These two cards use products from the same release, but they are as different as cheese and chocolate! You decide which is which.
This post contains affiliate links that are listed below. By clicking through to purchase products linked, you are helping to support this blog at no additional cost to you and that allows me to continue to provide you with creative inspiration and instructive help.

For today’s Thank You card, I combined the Magnolia Branches embossing folder, and the Swoopy Thank You word dies and added some patterned paper and platinum embossing powder to tie it all together.

To achieve the two-toned look of the embossed cardstock, I chose a shade of gray ink – Silver Stone Crisp Dye ink – just barely darker than the cardstock I picked, and rubbed it all over the smooth side of the embossing folder before inserting the cardstock and running it through the die cutting machine.
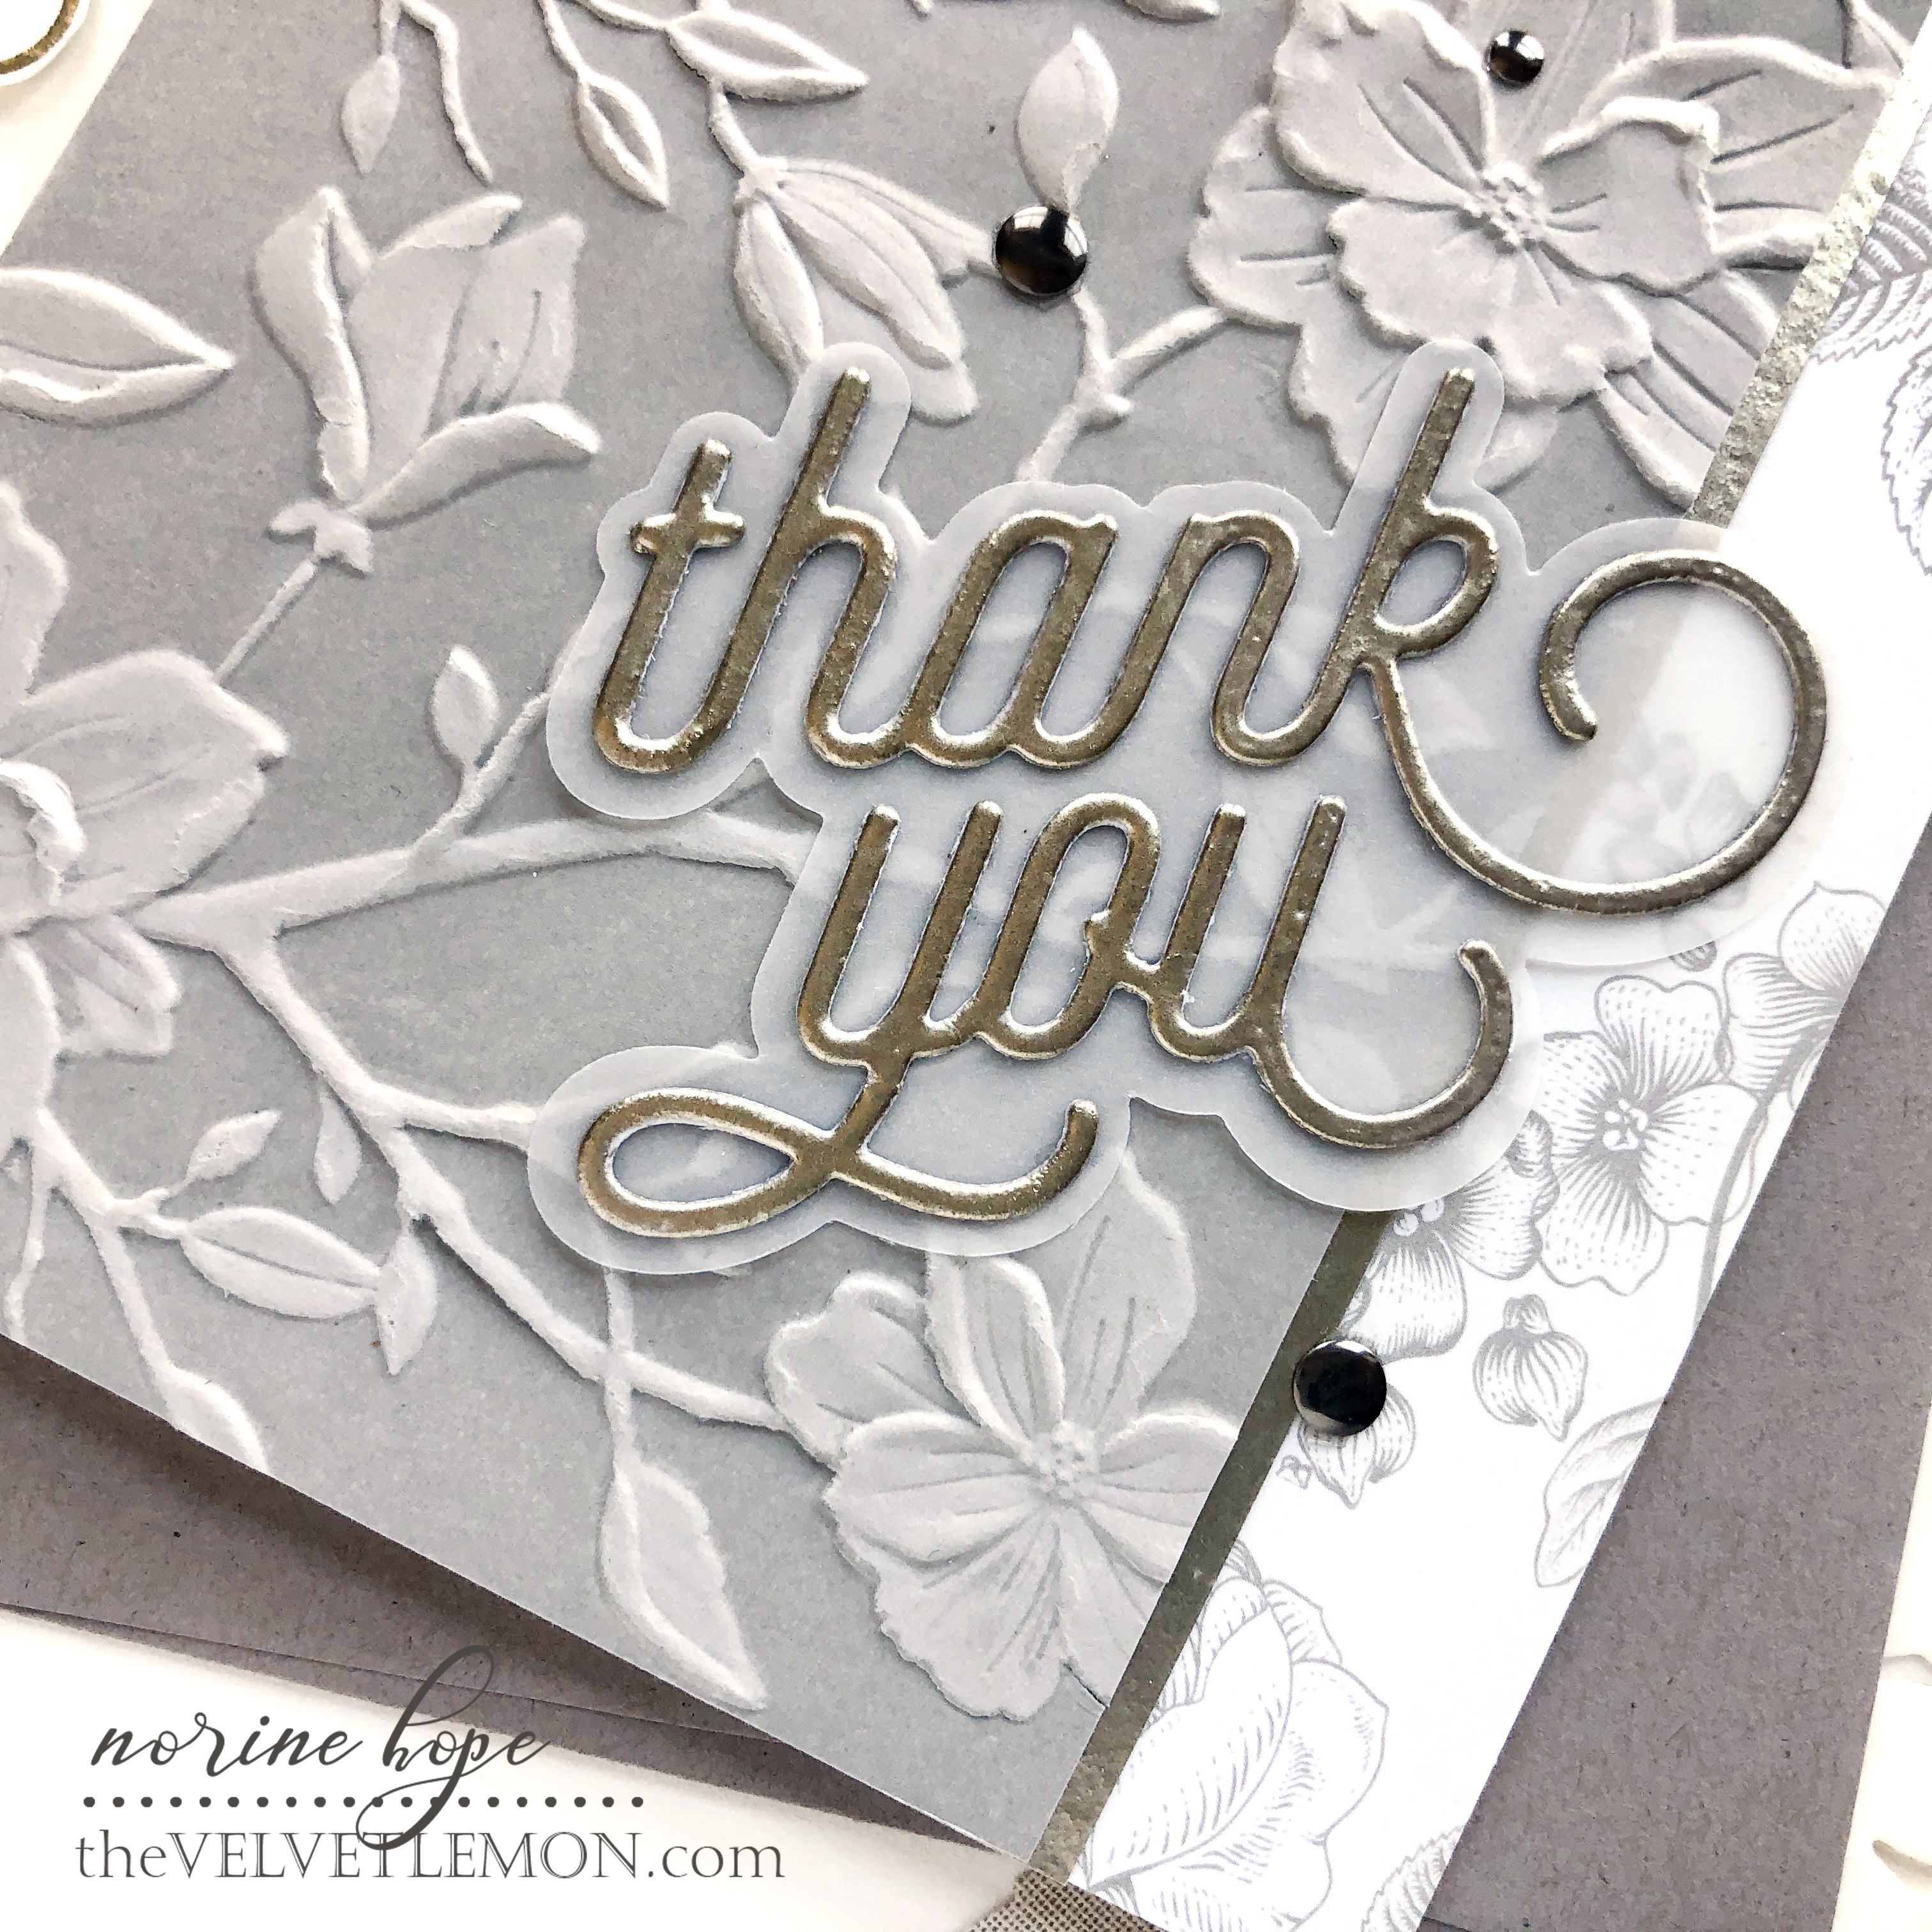
Next, I die cut the words “thank you” from heavy weight white cardstock and covered the top surface with Versamark ink. I covered the dies with Platinum Embossing Powder and heat set till the powder was melted and smooth. I die cut the shadow layer from vellum paper and adhered them together.
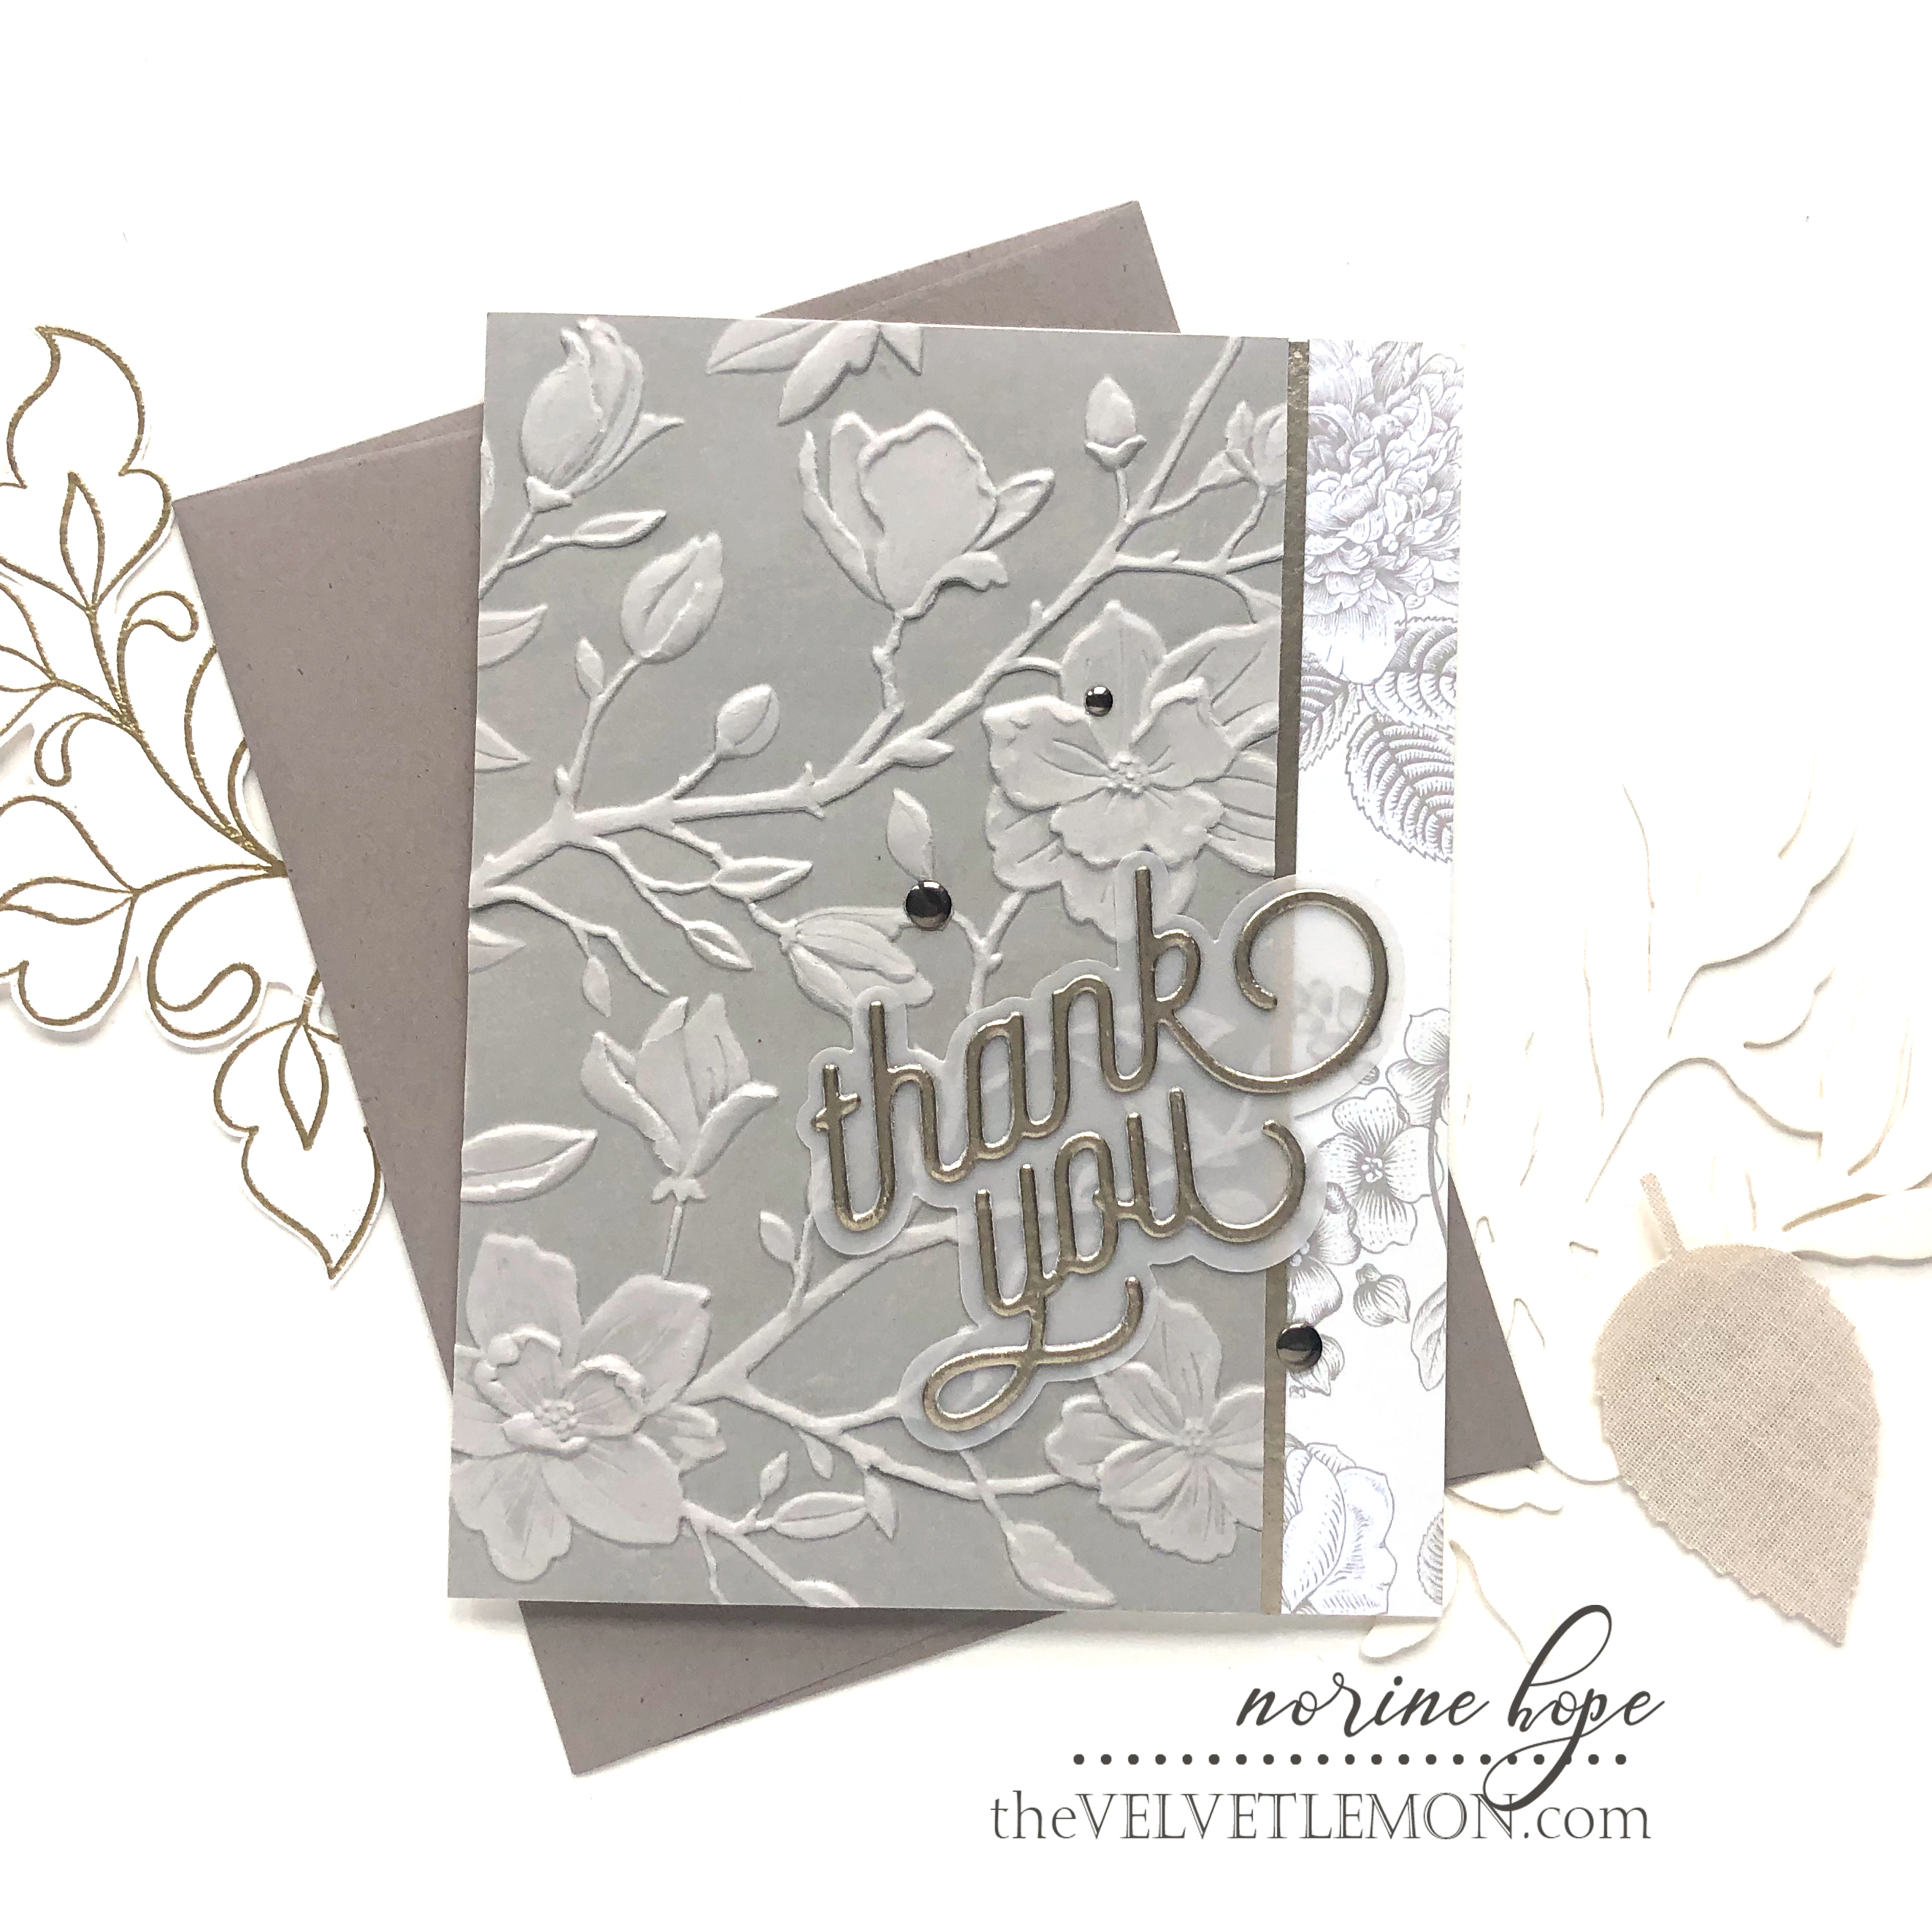
To create the narrow accent strip of platinum cardstock that divides the embossed cardstock from the patterned paper, I inked the edge of more white cardstock with Versamark ink and heat set it with the same embossing powder that I’d used for the sentiment.
I cropped the embossed cardstock narrower than an A2 sized card, adhered the platinum strip to allow a narrow strip to peek out past the edge, and adhered those layers overtop a strip of patterned paper from my stash that coordinated. I then adhered the sentiment overlapping both embossed cardstock and patterned paper and added some platinum toned embellishment dots to complete this card.
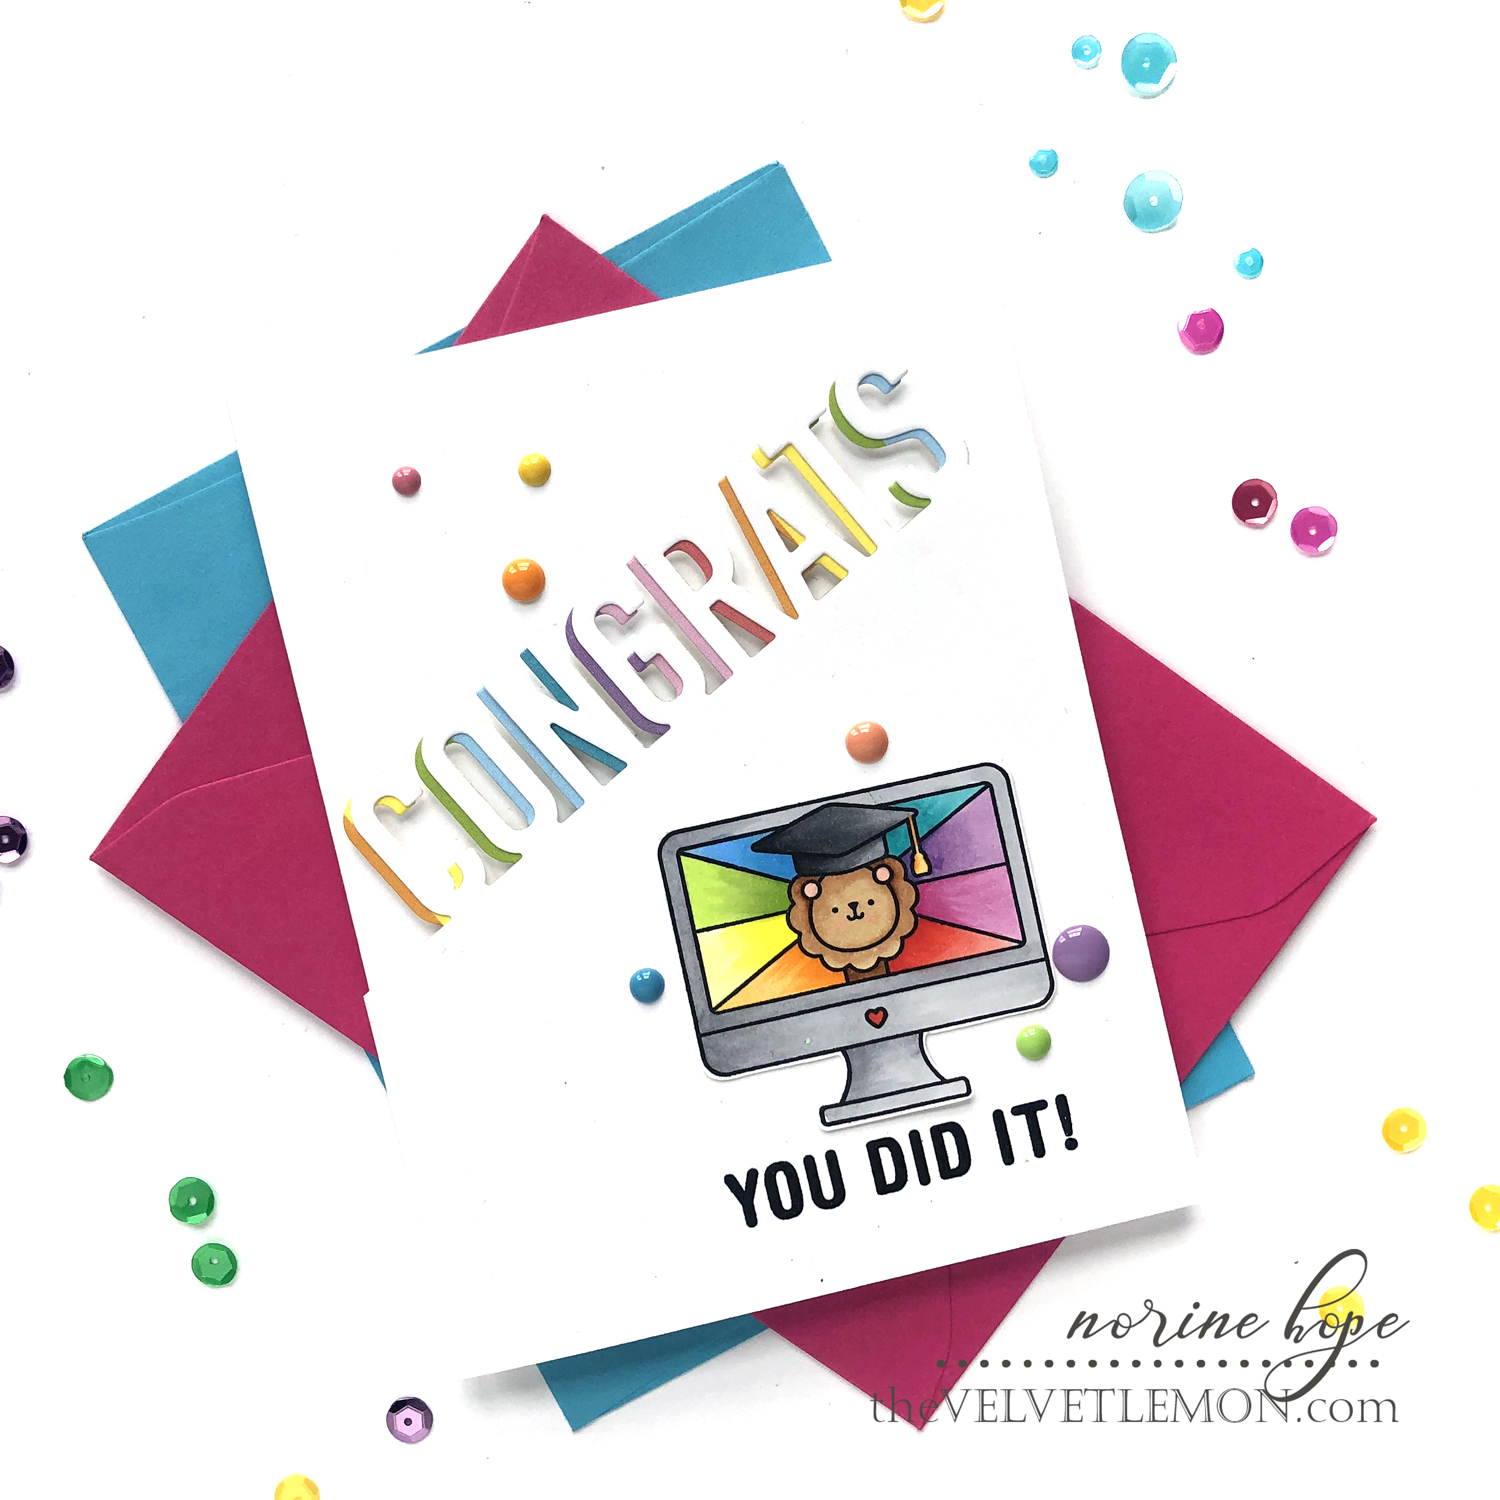
For my second card, I used the Virtual Grad stamp set and the small Congrats on a Line die. I started by die cutting a white card panel diagonally with the Congrats die, then die cutting a second time from some Waffle Flower striped JJ Bolton patterned paper. When I shifted the striped paper layer to the left or right behind the white cardstock I got a different arrangement of colors showing and I decided I liked best, this version pushed to the left.

Next I stamped the computer image from the Virtual Grad stamp set onto Neenah Solar White cardstock and colored it with Copic markers (colors listed below). Once finished, I fussy cut the design and added it to the front of the diagonal sentiment panel.

I added the “you did it!” line with Versafine Onyx black ink and heat set with clear embossing powder, and stamped the “virtual high fives, grad!” stamp on the inside of the card. I popped up the panel with foam tape and finished the card with some matching enamel dots in all the colors and from all the brands!
COPIC COLORS: Y38, Y35, Y06, Y02, YG03, YG01, B32, B12, BG49, BG45, BG01, V15, V12, RV55, RV52, R14, R21, E37, E35, E34 and E31.
You can check out the Born to Sparkle release here. I’ll be back with more to share from this release on Friday and I hope to see you then! Thank you for stopping by and have a wonderful day!
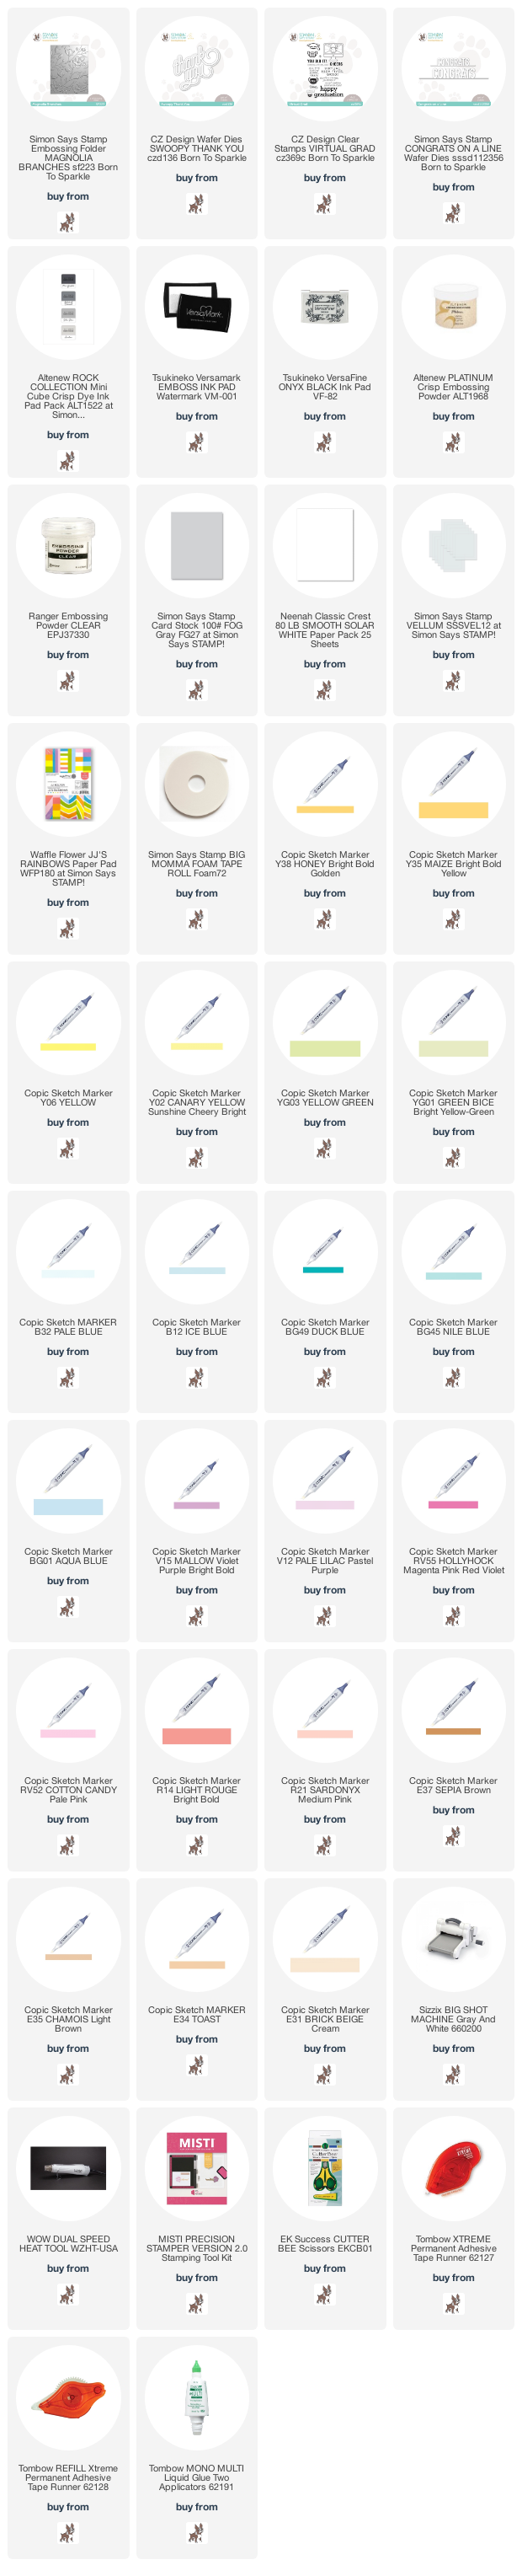
SUPPLIES USED: