
Hello friends and welcome to the Altenew Beauty of the Season blog hop, showcasing the September release of stamps, dies, stencils and embossing folders! You should be arriving from Vicky’s blog, but if you’ve happened here by chance, you can click back to the start of the blog hop at the Altenew Card Blog where you can also find details about the various promotions going on with this release.

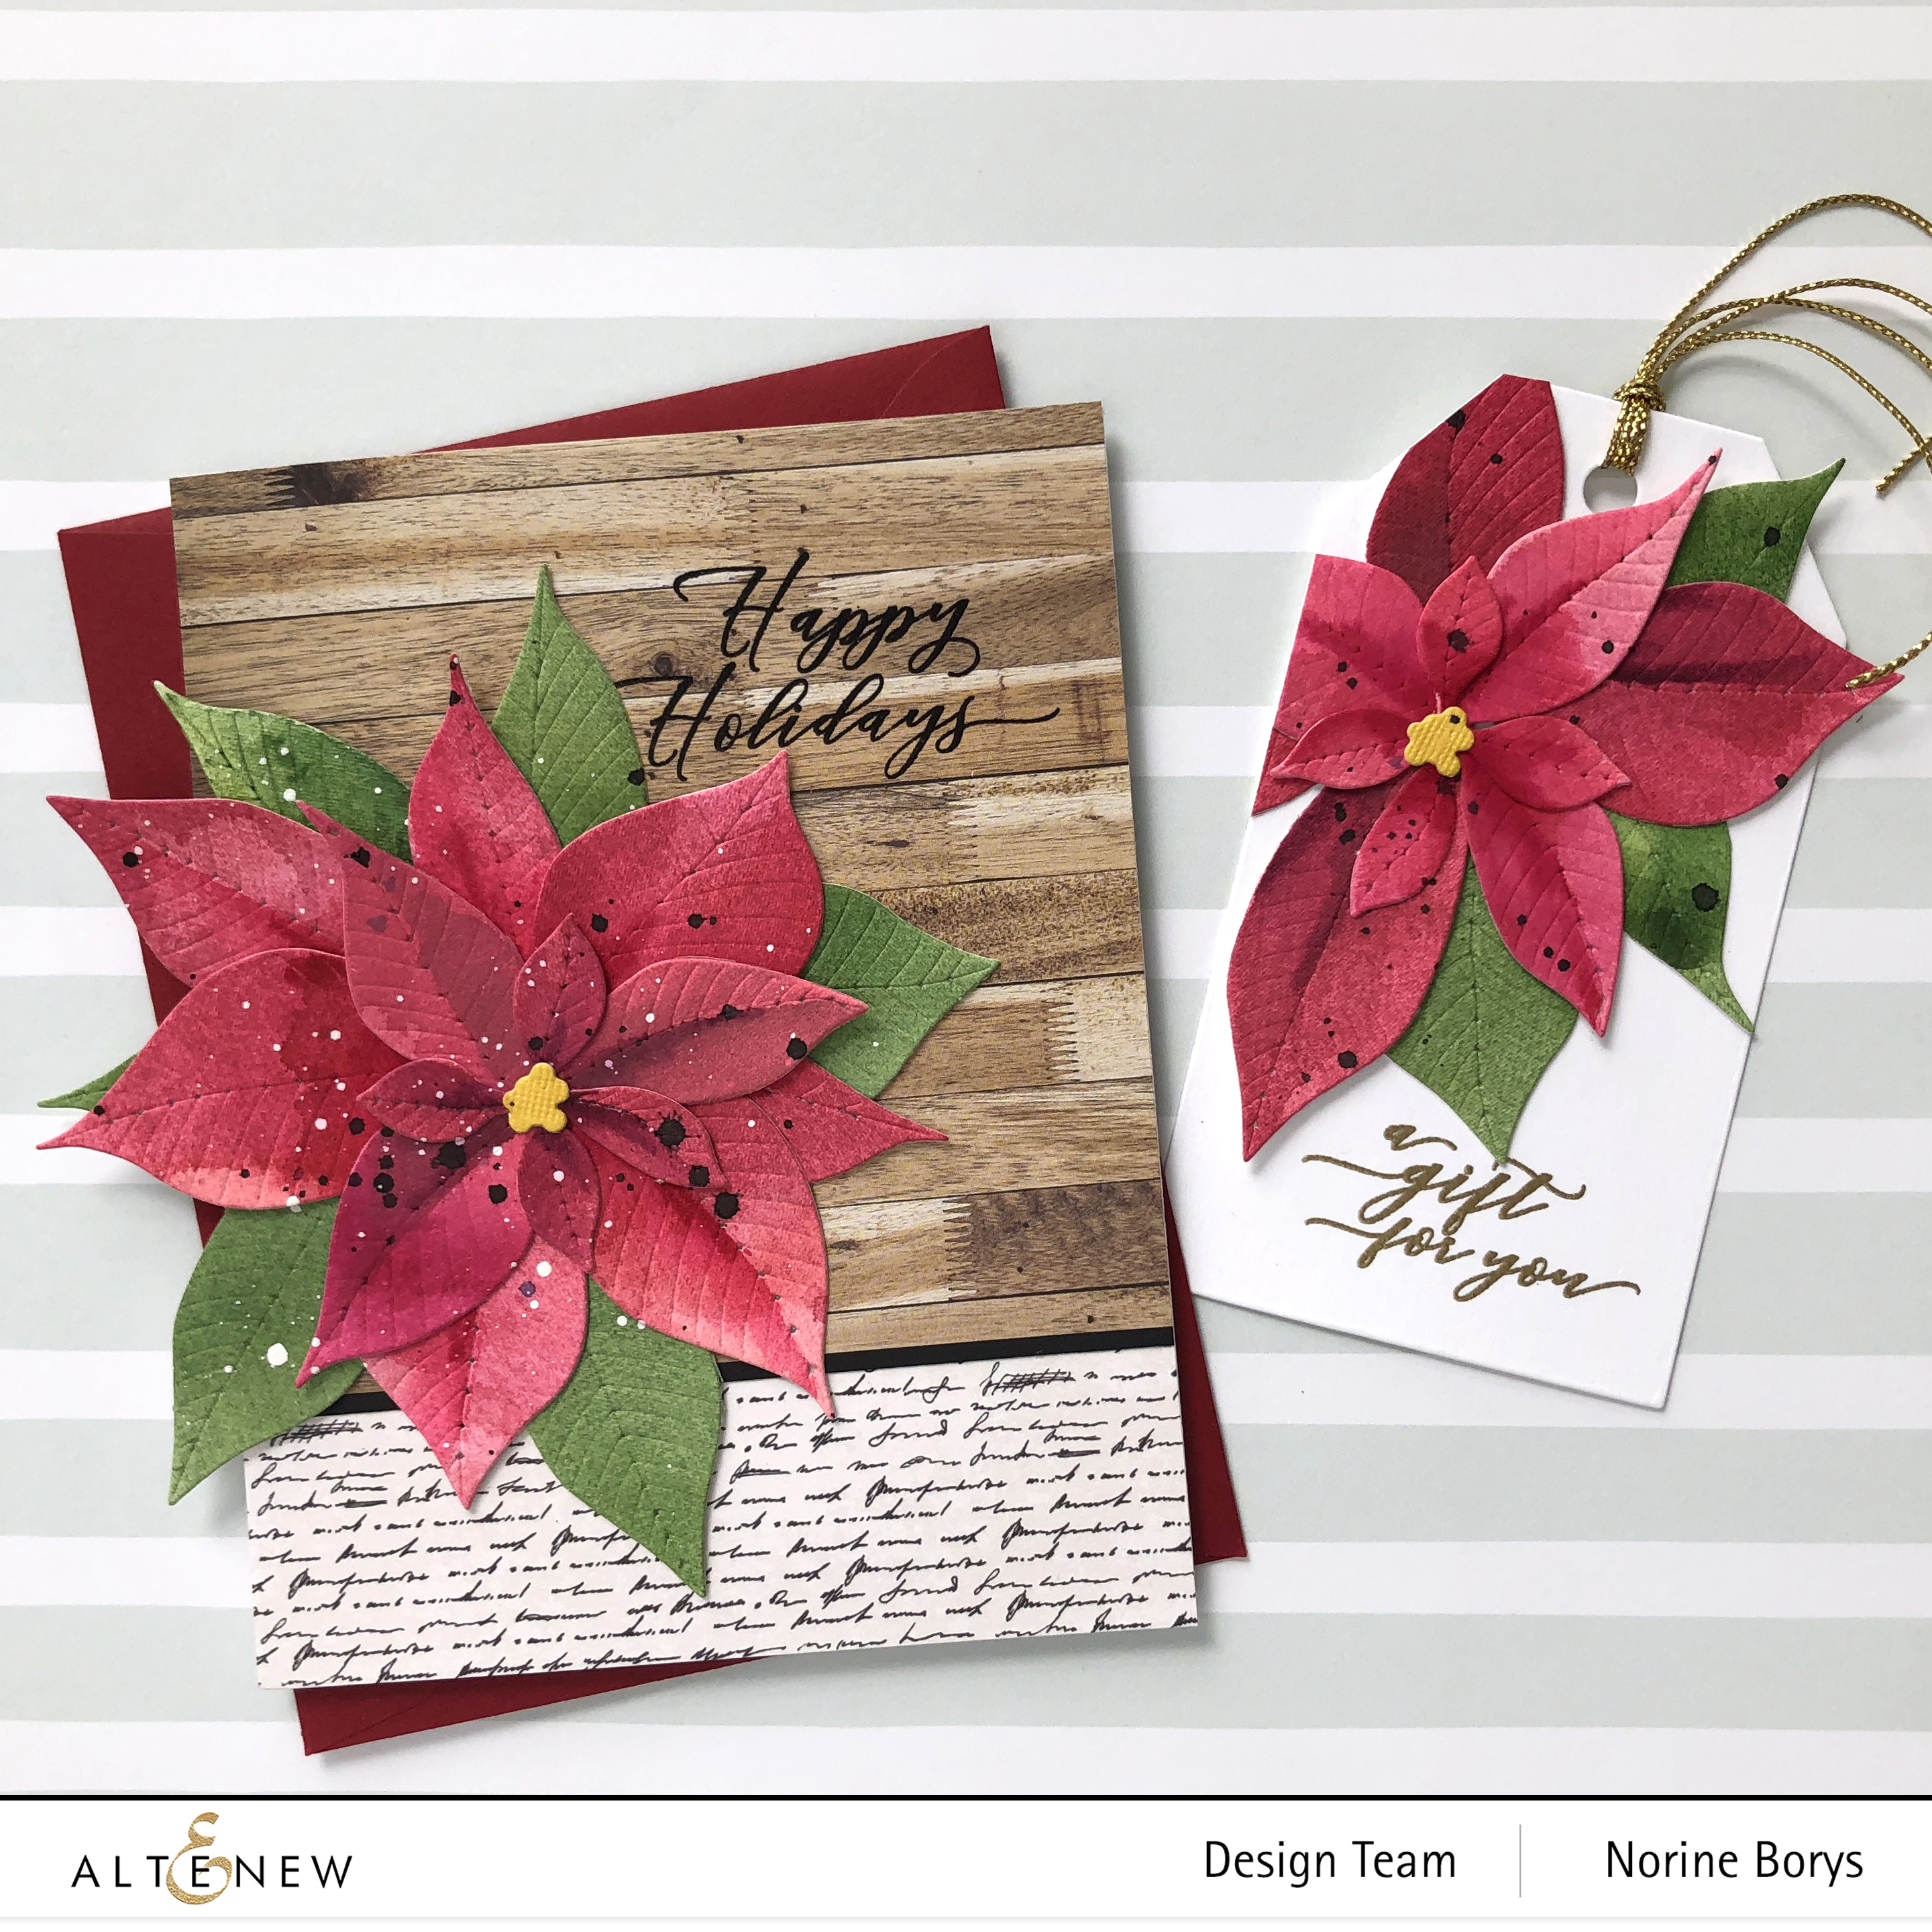
The first projects I’m going to share today are made with the Poinsettia 3D die set as well as the Holiday Tag Sentiments stamp set.

The Poinsettia die set is made up of 4 leaf layers plus the small center die. I began by watercolor painting a sheet of watercolor paper from the Altenew Watercolor paper pad, with all of the red paint colors in the Watercolor 36 Pan Paint set and the Artist Watercolor 24 pan set. I wanted the variety of red colors, both warm and cool, for the interesting mix they would give as they blended and dried on the paper.

After the paint dried, I die cut the four layers of leaves from red, then added some darker shades of paint to the leaves to give some definition to the stem lines in the leaves. I also decided to add some green leaves, so I painted more watercolor paper with shades of green. I die cut the bottom two layers (the largest sets of leaves) from the green painted paper, then cut them into individual or pairs of leaves to tuck behind the red bloom.

Once the poinsettia was assembled and adhered, I added paint splatters with black watercolor paint and thinned white acrylic craft paint. I chose two random patterned papers from my stash that seemed to compliment the bright bloom nicely and cropped them to cover my A2 card base. I added the narrow black strip of cardstock because it looked better than when it wasn’t there. (How’s that for an educated artistic assessment and rationale? That’s mostly how my cards get made if I’m totally honest!)

I stamped a greeting from the Holiday Tag Sentiments stamp set with Obsidian Black ink and heat set with clear embossing powder. Then I adhered the flower to the card front using strong double-sided tape because all those layers of watercolor-weight-paper need that.

Next, I made a gift tag with the same poinsettia die set and sentiment stamp set. Because of the smaller scale of the tag, I only used the top three layers of leaves to create the flower and added some of more of the leaves left from the card project above.

The flower on this tag has only black splattering, and I’ve adhered the bloom to a tag cut with the largest tag die in the Terrific Tags die set, recently released.

I added the sentiment from the Holiday Tag Sentiments stamp set and heat set with gold embossing powder. I tied two strands of gold cord through the holes at the top and trimmed off the leaves hanging over the edges on the left side of the tag.

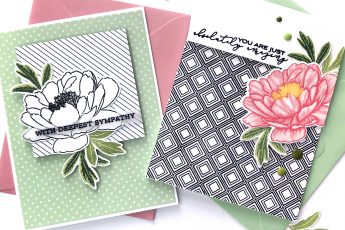
The next project I want to share is made using the Kind Reminders Stamp set and the matching Kind Reminders Simple Coloring Stencil. This is a very clever set all around! There are also matching dies, but I didn’t use them today. You’ll be seeing them soon though, I promise!

The stencil though! There are three outline blooms with leaves in the stamp set. And the stencil is meant to be used to fill in the outline images with color. A base layer and a details layer. You can see those layers on the card above. It turns out though, that the stencil has only two bloom designs on it. BUT! You need only to flip the stencil over and then you can ink blend the third flower too! So two of the blooms are the same – one is just the reverse of the other. The flipped over version has an extra set of leaves as well. I think that kind of economy of effort, space and design in just genius!

So I started by stamping the outline of one of the bloom/leaf images. Then I used the Altenew ink blending tool to ink through the stencil, coloring them with Frosty Pink and Cotton Candy inks for the flower and Frayed Leaf and Moss inks for the leaves. I die cut the Framed Thanks from dark gray cardstock and die cut it again from the stamped and ink blended flower image. I removed the large interior sections of the gray cardstock frame and replaced them with the same parts of the floral stamped die cut. I kept everything in place while I positioned it correctly and applied liquid glue to the back with a strip of double sided adhesive over the back of the “thanks” part of the die cut.

I trimmed a textured pink cardstock slightly smaller than an A2 sized card and adhered the stamped, die cut panel to that, then adhered everything to a folded card base. The finished card is very plain, but I felt that it was so striking as it was that nothing else was needed.
This is my favorite combo of stamp/die/stencil sets in a while and I have a few more ideas for ways to use it coming in future! Your next stop on the hop is Nenette’s blog. At the end of this post you will find the complete blog hop list.
To celebrate this release, Altenew is giving away a $50 gift certificate to 3 lucky winners! Please leave a comment on the Altenew Card Blog by September 15, 2020 for a chance to win. They will also be drawing a winner to receive a $15 gift certificate from the comments left on each designer’s blog on the blog hop list below. All winners will be announced on the Altenew Winners Page on September 18, 2020.
Blog Hop List:
Norine Borys – You are here.
Thanks so much for stopping by, don’t forget to leave a comment and have a wonderful day!