
Hey there friends, I’m happy to be joining Pinkfresh Studio today in their Background Stamp Release blog hop and I have a few cards to share with the awesome new background stamps, plus other great Pinkfresh Studio products!
If you’ve arrived here from Natasha’s blog you’re just where you should be, but if not, click on back to the beginning at the Pinkfresh Studio blog and that way you won’t miss anything great!

For the first two cards, I used the Lush Vines background stamp and treated it two different ways.

On one card I stamped the background image onto kraft cardstock with Versafine Onyx black ink, then heated it with clear embossing powder.

I die cut a circle from the middle of the stamped, heat embossed card panel, then die cut from black cardstock, using the Frame Builder: Botanical Circle dies, several layers of the flower portion and a single layer from the leaf section.

I trimmed off the portion of the leaf and flower die cuts to stack and adhere them together, then adhered the two onto the stamped card panel to create a circle frame around the opening.

I die cut the “love” sentiment from the Phrase Builder: Sending die set, with a black cardstock shadow die cut, then stamped the word “sending” from the Leafy Decor Stamp Set. I popped up the card panel with foam tape and added some black Nuvo drops to finish the card.

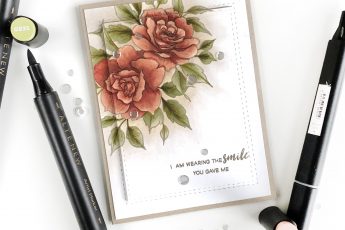
For the second card, I stamped the same background, the Lush Vines, onto Neenah Solar white cardstock and colored the leaves with copic markers.

I used a Copic marker – W1 – Warm Gray – to color in the background to tone down the stark white of the background.

I die cut the single word “smiles”, using the Phrase Builder: Sending again, but this time I trimmed off the “s” at the end of the word. I stamped the phrase “you are loved” using the Leafy Decor stamp set, with Versamark Ink, and white embossing powder to create the sentiment strip.

I adhered the die cut and sentiment strip to a torn strip of vellum paper wrapped around the card panel. I trimmed the card panel 1/8th” on all sides to create a kraft cardstock mat. A few red enamel dots complete this card.

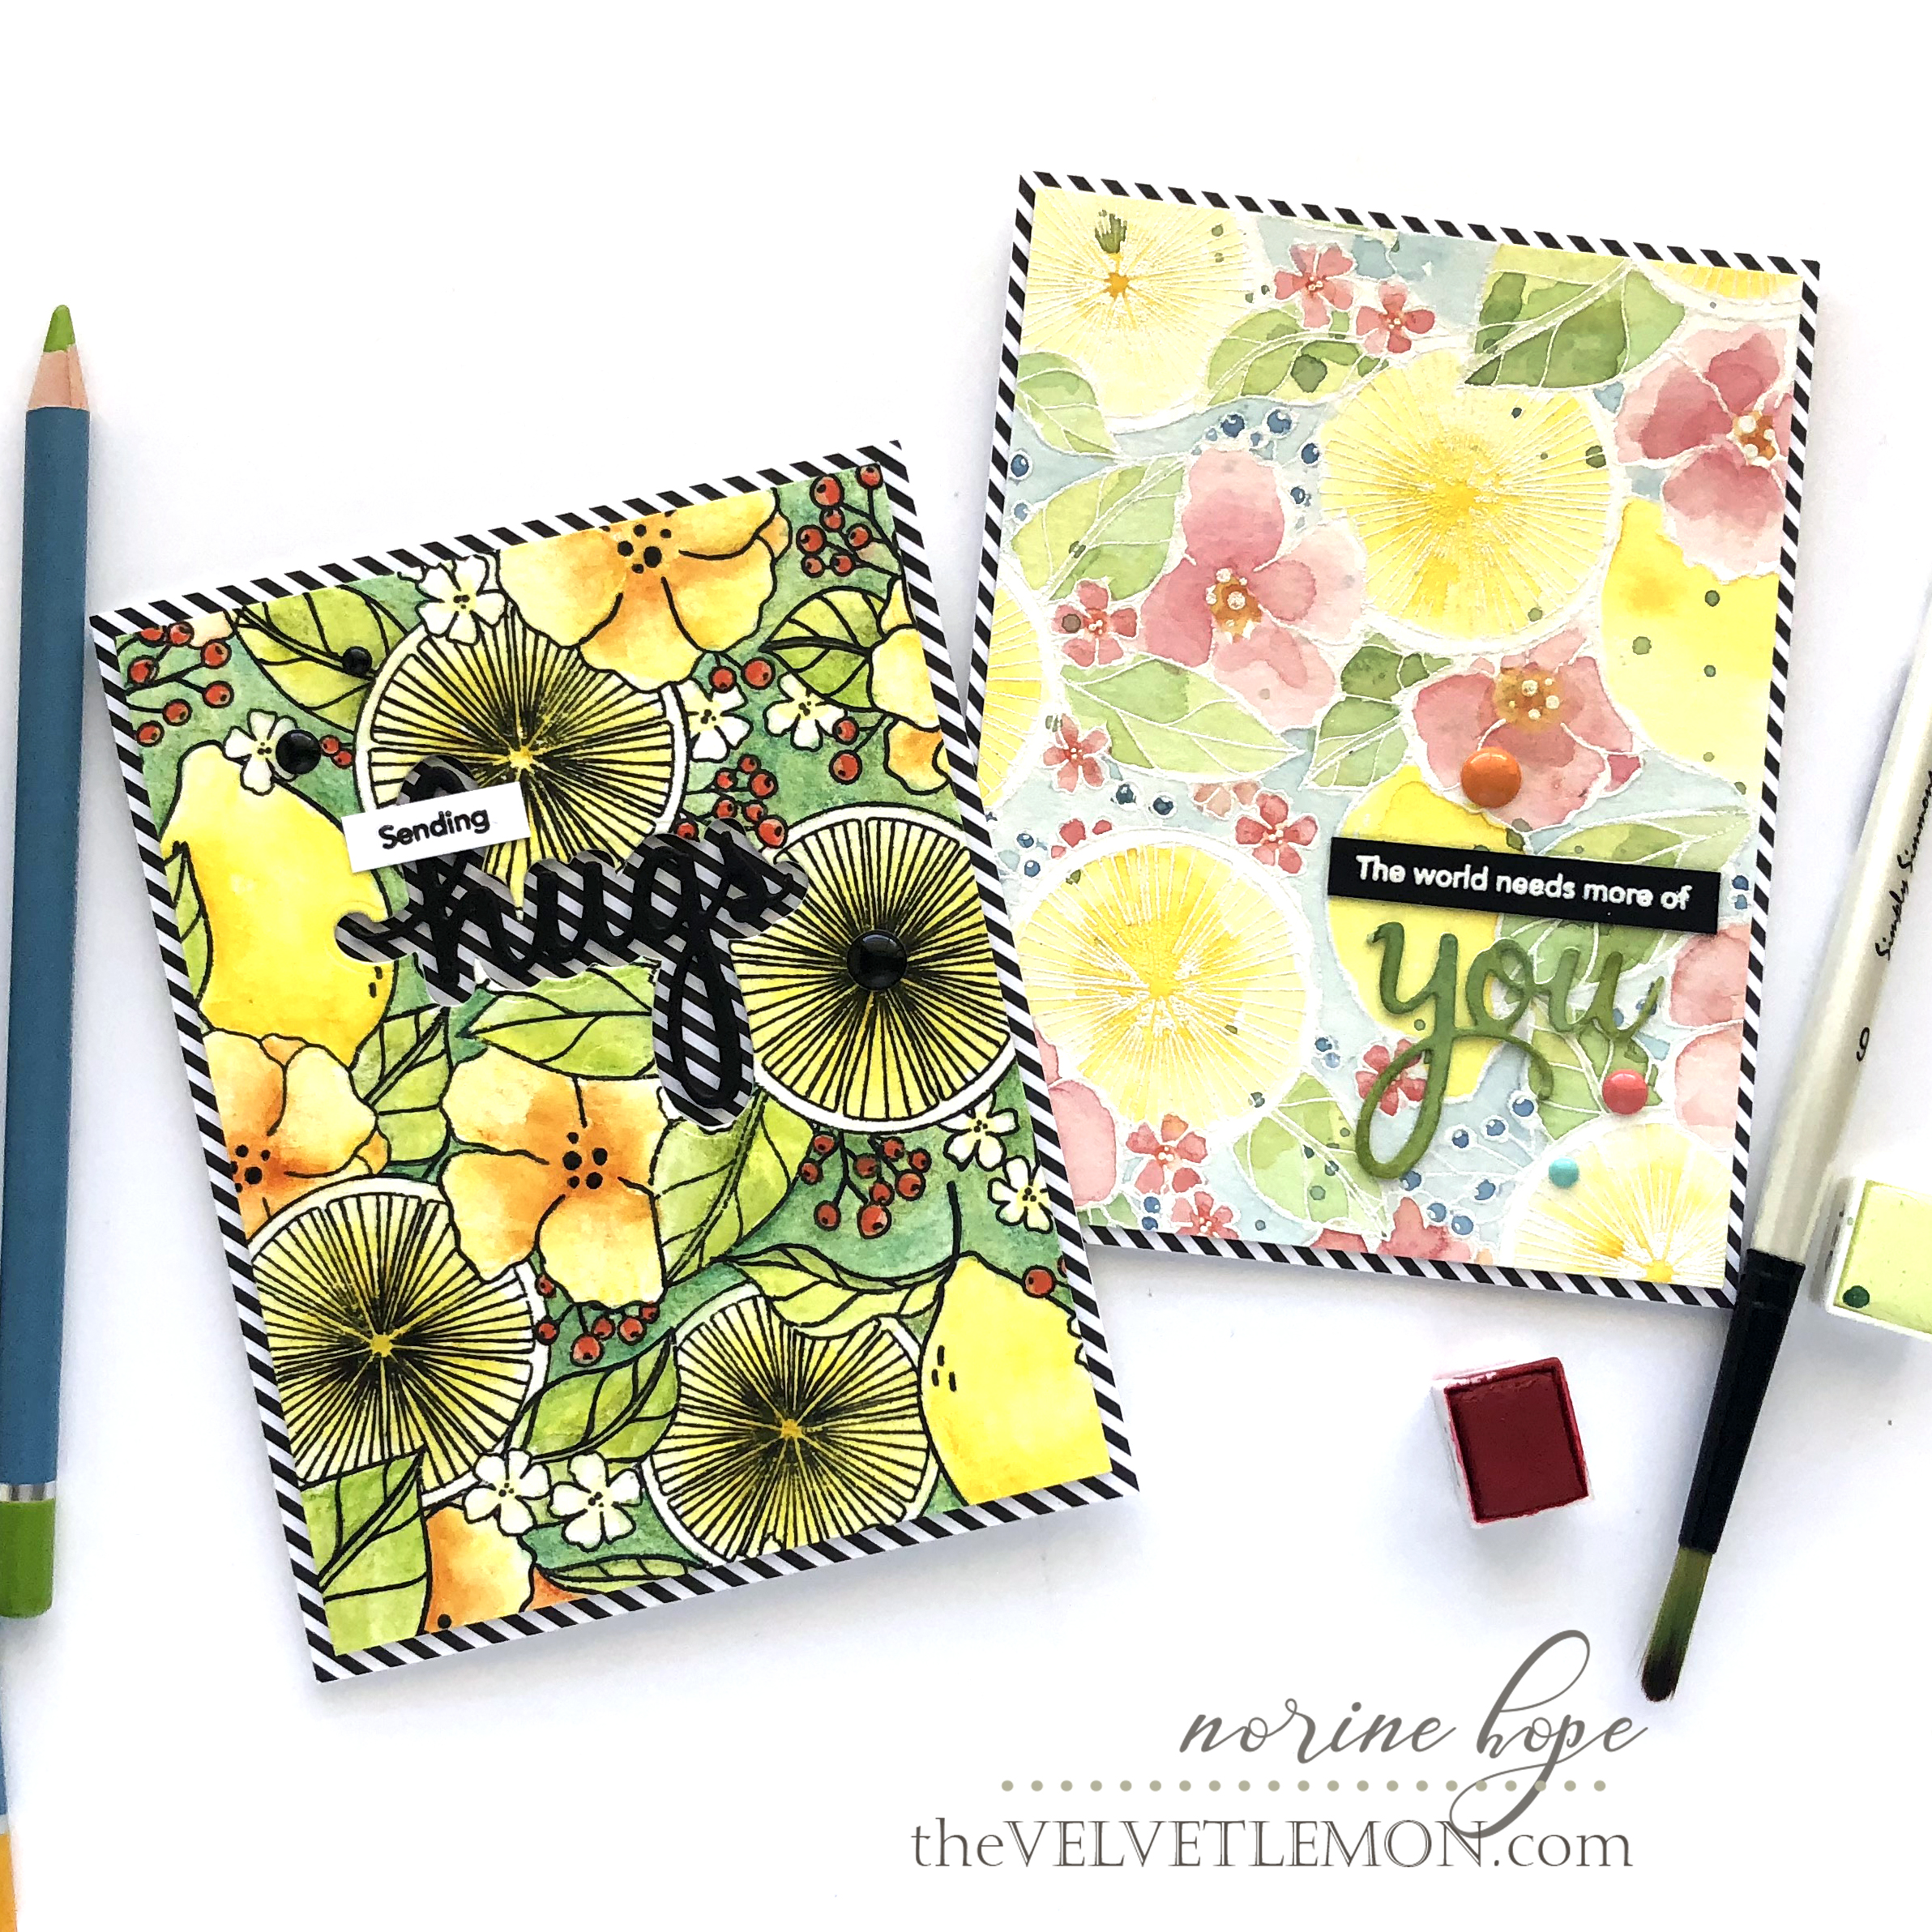
Next up are two cards created from the Lemon Lush background stamp. With a website call the Velvet Lemon, how could I not use the Lemon stamp set to make some cards??


Both cards are stamped onto watercolor paper, but one is stamped with Versarmark ink and white heat embossed and the other is stamped with Versafine Onyx black ink and left unembossed.

For the pastel colored card I very lightly and loosely painted in all the sections with the appropriate color shades. The white outlines don’t show up very strongly and the final result is very pale and delicate – perfect for not stealing the focus away from the sentiment.

I die cut the word “you” from the Phrase Builder: You die set, from watercolor paper and painted it a matching shade of green from the painted cardstock panel. Then I stamped the sentiment from the Leafy Decor stamp set onto black cardstock and white heat embossed. I added 3 color coordinating enamel dots to finish, trimmed the card panel slightly and matted it with black and white striped patterned paper from MFT.

My coloring/painting on this card come from using Prima and Spectrum Noir watercolor pencils and painting with a clean wet paint brush. Then I die cut the shadow portion of the “hugs” word from the center of the card panel.

I die cut several layers of black cardstock of the detailed part of the “hugs” word die, stacked and glued them together. Next, I covered the front of a card base with more of the same black and white striped paper as I’d used above, popped the card panel up with foam tape and filled the word opening with the black word die.

I added a stamped sentiment from the Leafy Decor stamp set and some black enamel dots to finish. I love the depth and texture of the layers and shadows.

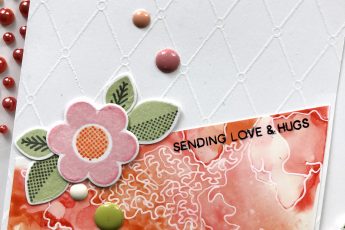
My last two cards are made with a set of background stamps – Diagonal Bars and Do What You Love. I like that they can easily be used together or individually.

I used them together on the card above, stamping with pale gray-brown ink for the diagonal bars and then adding the sentiment background stamps with a darker shade of grey ink.

I also stamped the layered leafy branch from the Curvy Floral Vine stamp set and die cut it with the coordinating die. I used the Phrase Builder Sending Die set to die cut the words “sending” and “hugs” from the same Neenah Desert Storm cardstock as the card base, and the shadow portions of the words from vellum paper.

I then trimmed the stamped card panel 1/8th” on all sides to reveal the kraft cardstock card base, layered and adhered the leafy branch onto the card panel and the combined words on top of that. Some coordinating shades of purple enamel dots complete the card.

The last card uses only the Diagonal Bars background stamp set, but I added some other sentiments using the individual stamps from the Leafy Decor and Curvy Floral Vine stamp sets.

Please forgive the colors in the edited photos! For some reason the lighting was difficult and the editing tricky! I die cut another single leafy flower die cut from watercolor paper and painted it very simply.

I adhered the painted half-circle die cut to the card front, then visually completed the circle by adding coordinating green enamel dots in sizes varying from large to small. I trimmed the card panel down to mat it with a coordinating blue-gray cardstock, and that finishes these cards today!
Your next stop on the hop is Kelly Lunceford’s blog. I’m excited to see what she has created! Should you encounter a broken link along the way, click back to the Pinkfresh Studio post to see the complete blog hop listing.

Now for the best part, the prizes! One lucky commenter on the Pinkfresh Studio blog and IG feed will win the complete release! As well, each blog on the hop will give away a $25 gift certificate to one commenter on each blog. The winners will be announced on the Pinkfresh blog Winner’s Page on Monday, February 24th and you must check that page and claim your prize within two weeks!

Thanks for stopping by today! I haven’t linked alllll the products used on these projects, so if you have some questions, please leave a comment in the comment section and I’ll answer them there. Enjoy the rest of the hop and have a wonderful day!