Hey there, hi! I’m back today to share a couple of cards a bit late. You’ve heard me refer to issues with the postal services, so I won’t add another chorus here, but the Spellbinders Small Die of the Month Club kit for November 2020 made up into cards too cute not to share!
This post contains affiliate links listed below. Your clicking through to purchase products linked helps to support this blog at no additional cost to you and allows me to continue to provide you with creative inspiration and instructive help.
The Frankie Goes to the North Pole Small Die of the Month set is just one of a number of monthly subscriptions that Spellbinders has, and you can sign up for them individually or bundled for additional savings. You can check out the choices here.

The Die set includes 21 separate dies that create everything you see on this card; the tree trunk and boughs, the skis, poles, snowman pieces and the north pole sign. I added only the stitched hill dies in the background from other product lines.

I began by die cutting all the pieces from heavy weight Classic Crest cardstock, then coloring the individual die cuts with Copic markers. I started the coloring, by leaving each die cut in it’s opening so that I didn’t have to hang on to the itty bitty bits with my fingers, but I wasn’t entirely happy with the way the color didn’t get into the cracks on the edges, so instead, I ran some temporary tape runner, like this, on a scrap piece of cardstock and tacked the die cuts to that so I could color them freely.

Copic colors used:
Hat – 100, N6, N4, N1
Nose – YR07, YR04, YR12
Skis/Sign – B95, B93, B91
Scarf/Hatband – R89, R37, RV34, RV32
Tree/Snowman arms – E47, E44, E43
Evergreen boughs – BG99, BG96, BG93
Grey Shadows – C2, C0, C00

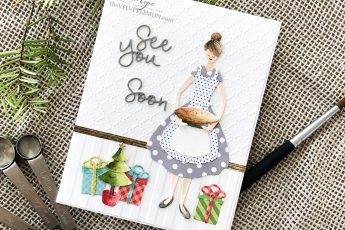
I die cut the stitched snow drift background with Drifting Stitches Dies, and used the Jane’s Doodles Winter Words stamp set to add the greeting. I assembled the scene of a snowman having finished the last run of the day and heading in for an apres-ski toddy, happy not to have Humpty Dumped even once that day. And now I can’t wait for next year to send this cute card off to someone!

Card number 2 uses alls the same die cuts, colored with the same shades as listed above.
I might have left it at one card with this die set, but I’d die cut all the pieces and colored them already, and thought it a shame not to use the second looking-up-to-the-night-sky-snowman.

And then, when I remembered the “Happiness is catching snowflakes” sentiment stamp from a recent The Greetery release, it was all over. Had to be done. Couldn’t help myself! If he had a little die cut tongue sticking out to catch the snowflakes it couldn’t be more perfect!

I taped off a rectangular shaped cardstock panel and ink blended a dark blue evening sky, (a mix of Desert Night and Sapphire inks) blending almost but not quite to the bottom, then splattered with white acrylic paint, because I couldn’t find my gouache paint.
Setting it aside to dry, I stamped the sentiment in a straight line (it’s stored in the stamp package in an arc to hug a circle shape, but I think it works quite well stretched and straightened for stamping on a sentiment strip! Couldn’t do it so well without a MISTI. I’m not sure how we ever got along before the MISTI.

I used a dark gray cardstock to match his almost-black hat, and gave him some warm blue mittens for his little stick fingers. The polka dot background paper is from the Honey Bee Stamps – Beach Vibes 6×6 patterned paper pad.
That’s it for me today. The Happy Holidays card will have to wait till next year to go out, but the snowflakes card will work for several more weeks yet!
Thanks so much for stopping by and have a wonderful day!
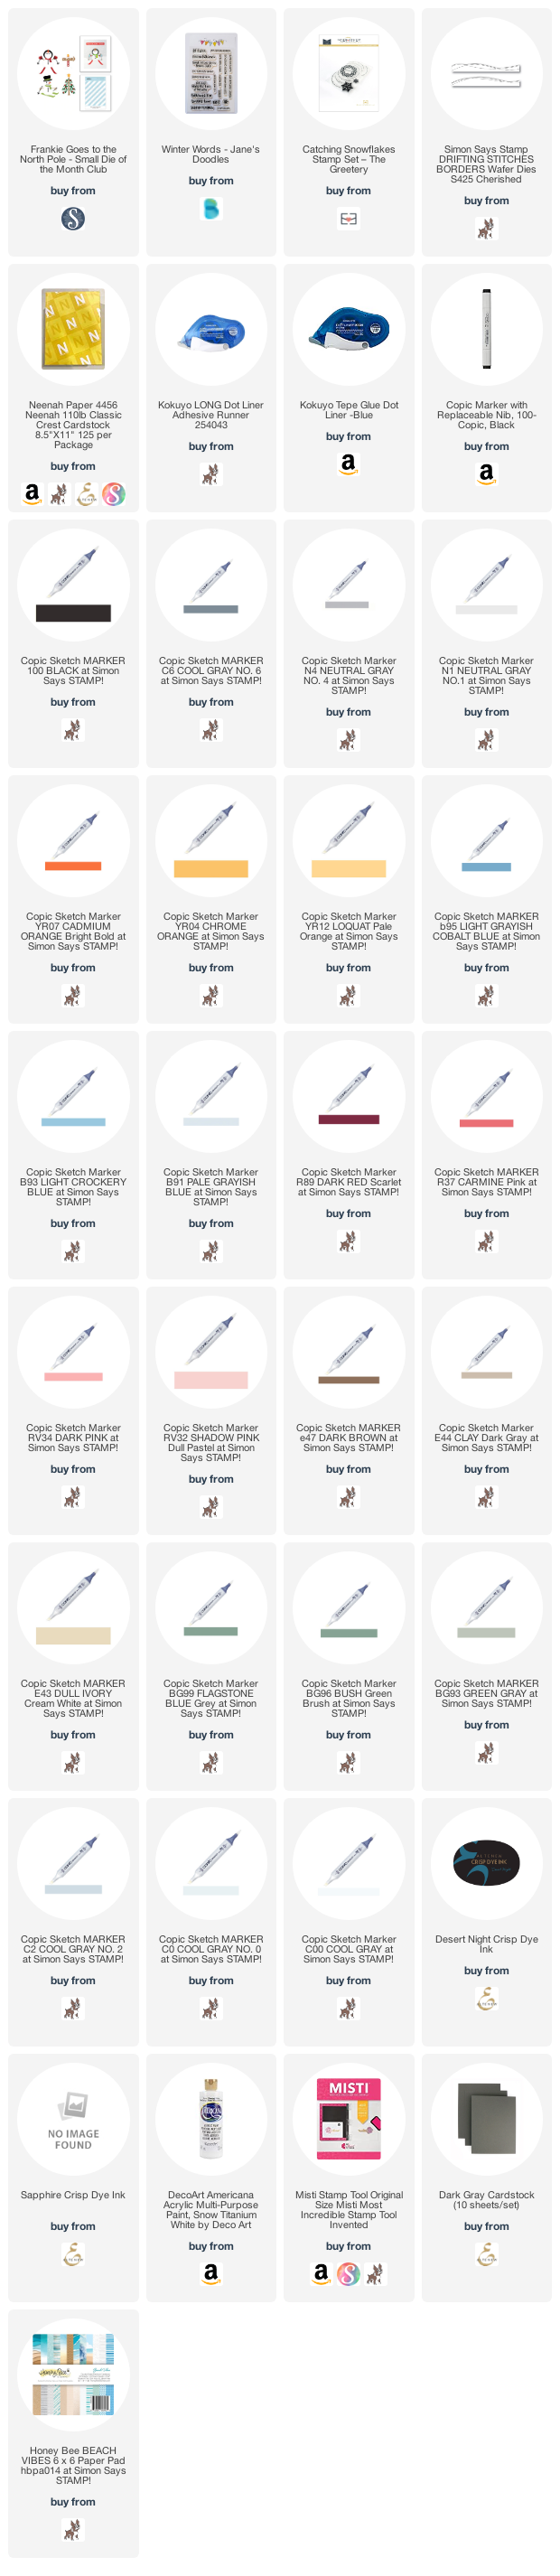
SUPPLIES USED: