Hi there, welcome to the Altenew Seasonal Texture Embossing Folder Collections Release Blog Hop! If you are arriving here from Laura Jane’s blog, your right on track, otherwise simply click back to the start of the hop at the Altenew Card Blog so you don’t miss a thing!
This post contains affiliate links that are listed below. By clicking through to purchase products linked, you are helping to support this blog at no additional cost to you and that allows me to continue to provide you with creative inspiration and instructive help.
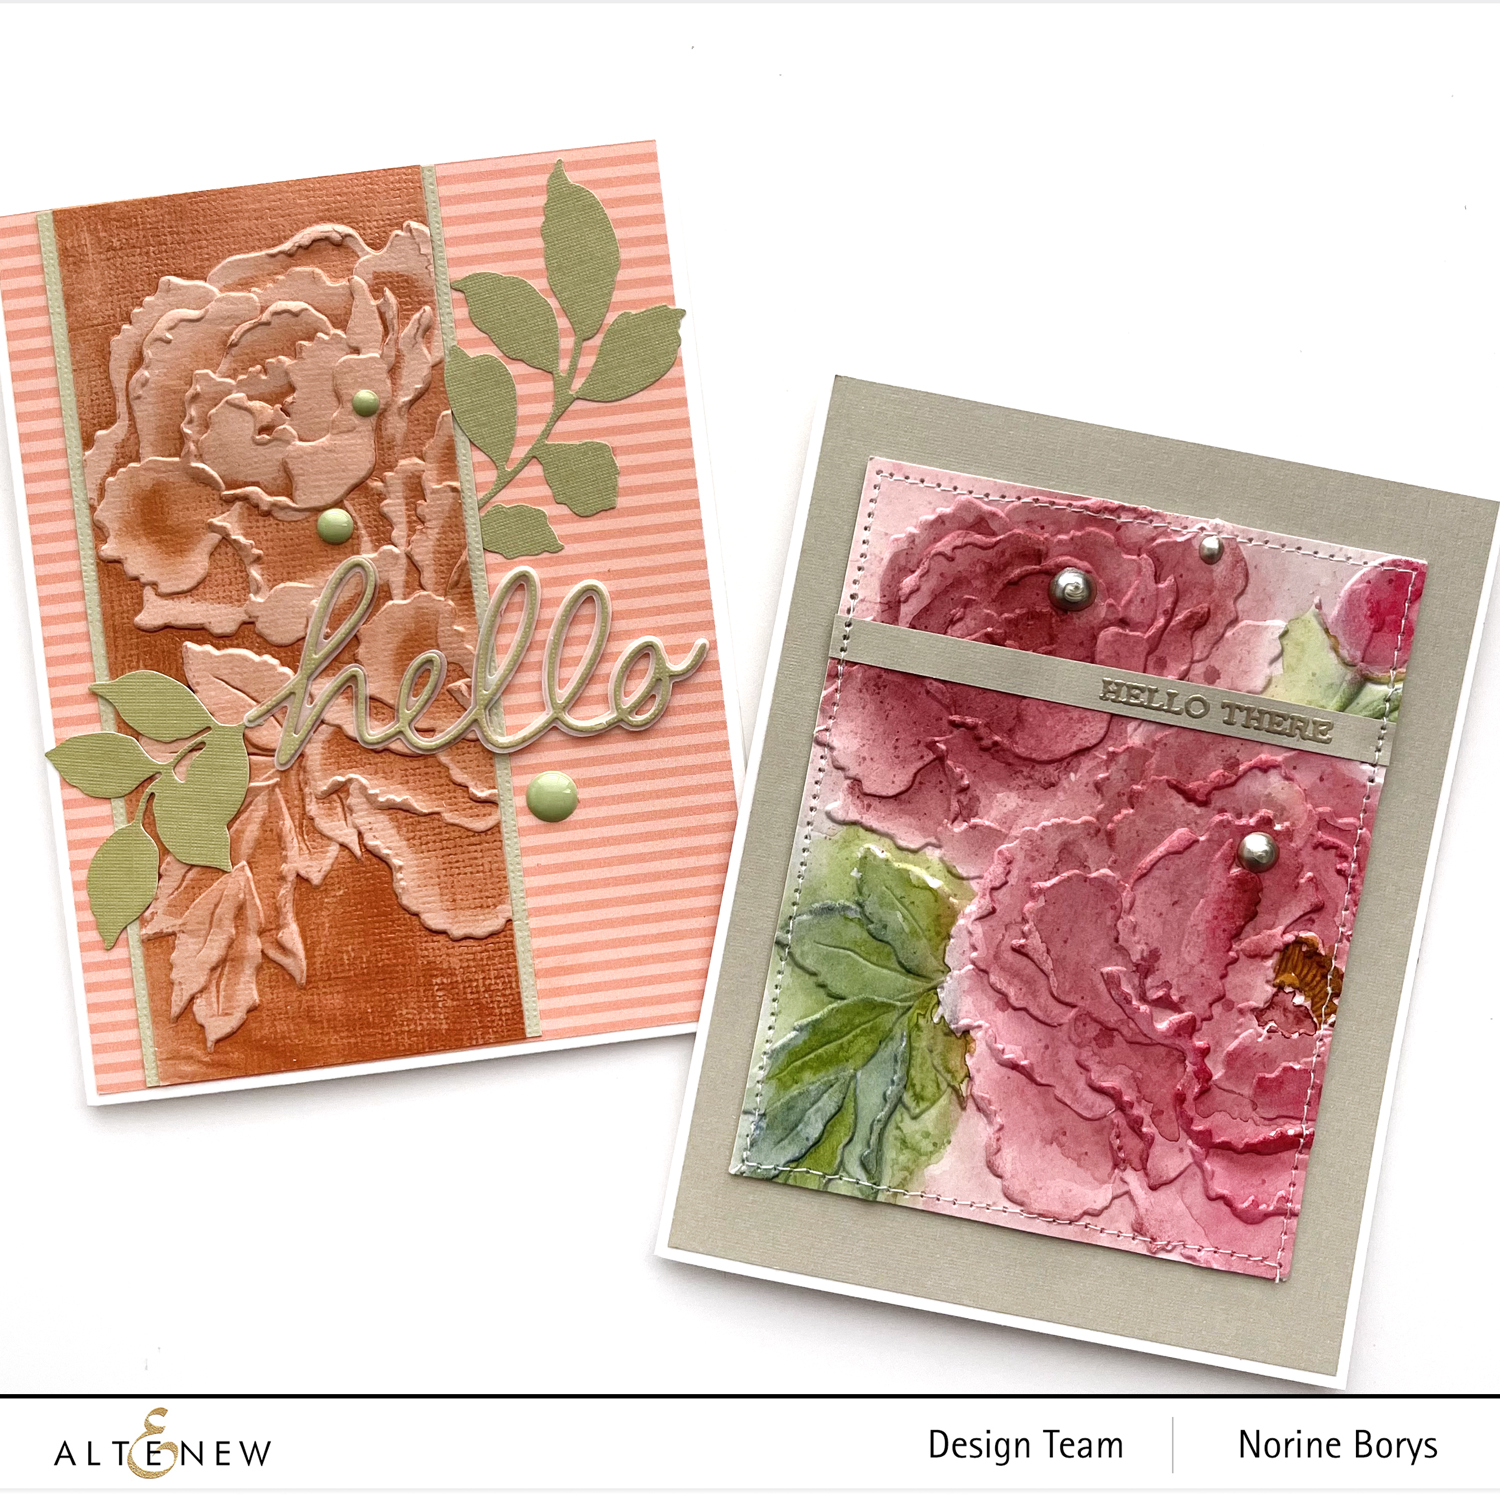
I used the beautiful Frilly Peonies 3D Embossing Folder to make today’s cards and I’m going to tell you what and how I did!
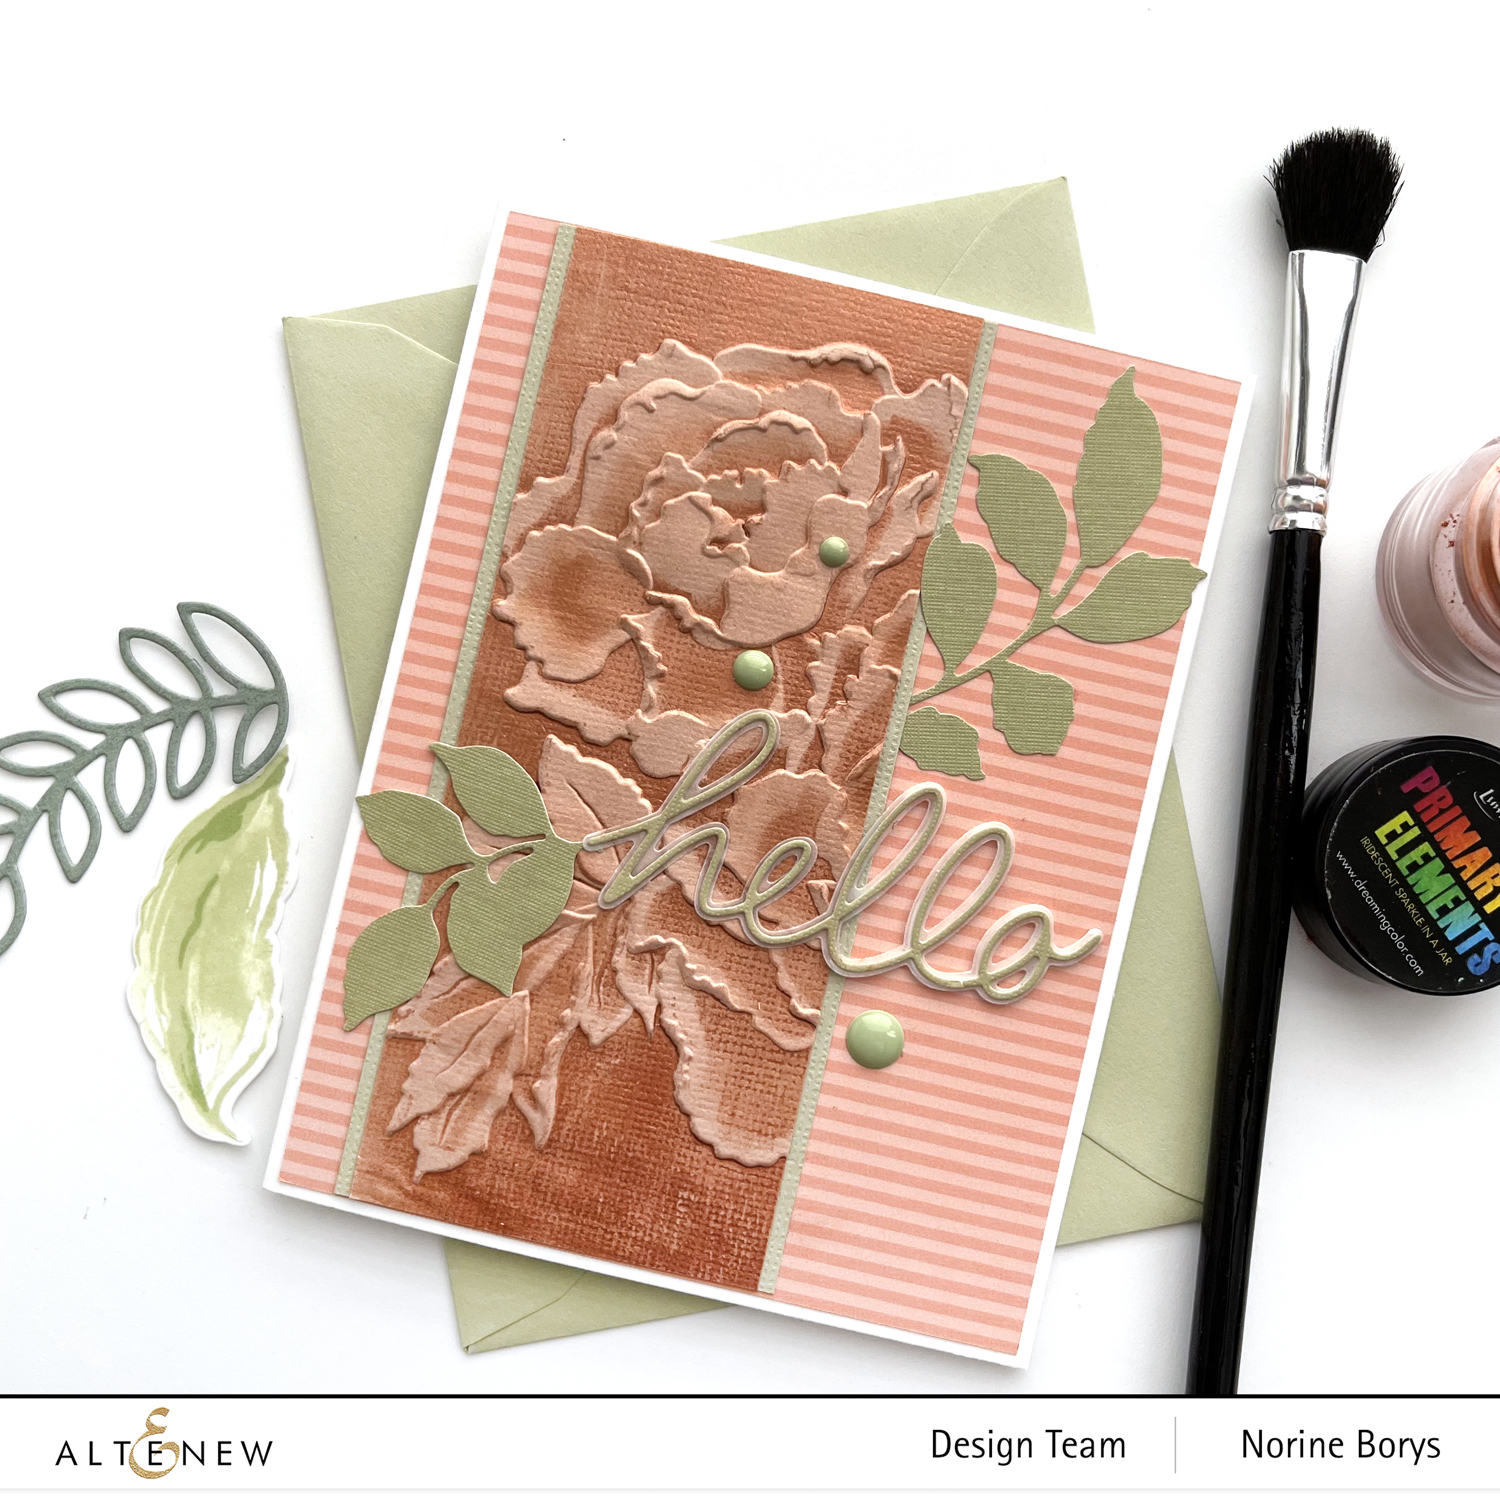
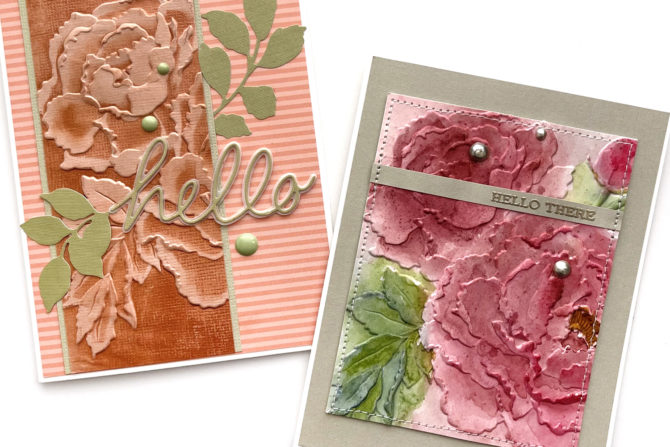
For the first card I dug out some long-time-since-I-last-used-them supplies, namely my brayer and some Perfect Pearls! I first rolled the brayer not the Embossing Ink pad and loaded it up with sticky embossing ink, then rolled that onto the inside of the embossing folder on the side where the design is INdented in the folder.

I inserted a piece of textured cardstock and rolled it through the die cutting machine. I pulled the cardstock out of the folder and used a soft, fluffy paintbrush to dip into a little pot of Perfect Pearls Copper iridescent powder, brushing it all over the embossed cardstock. You can see that the hollows in some of the flower petals and leaves also got embossing ink, so I brushed less of the powder there to keep the darker shades of pearly gloss focused on the background of the design. That helps the design to stand out better.
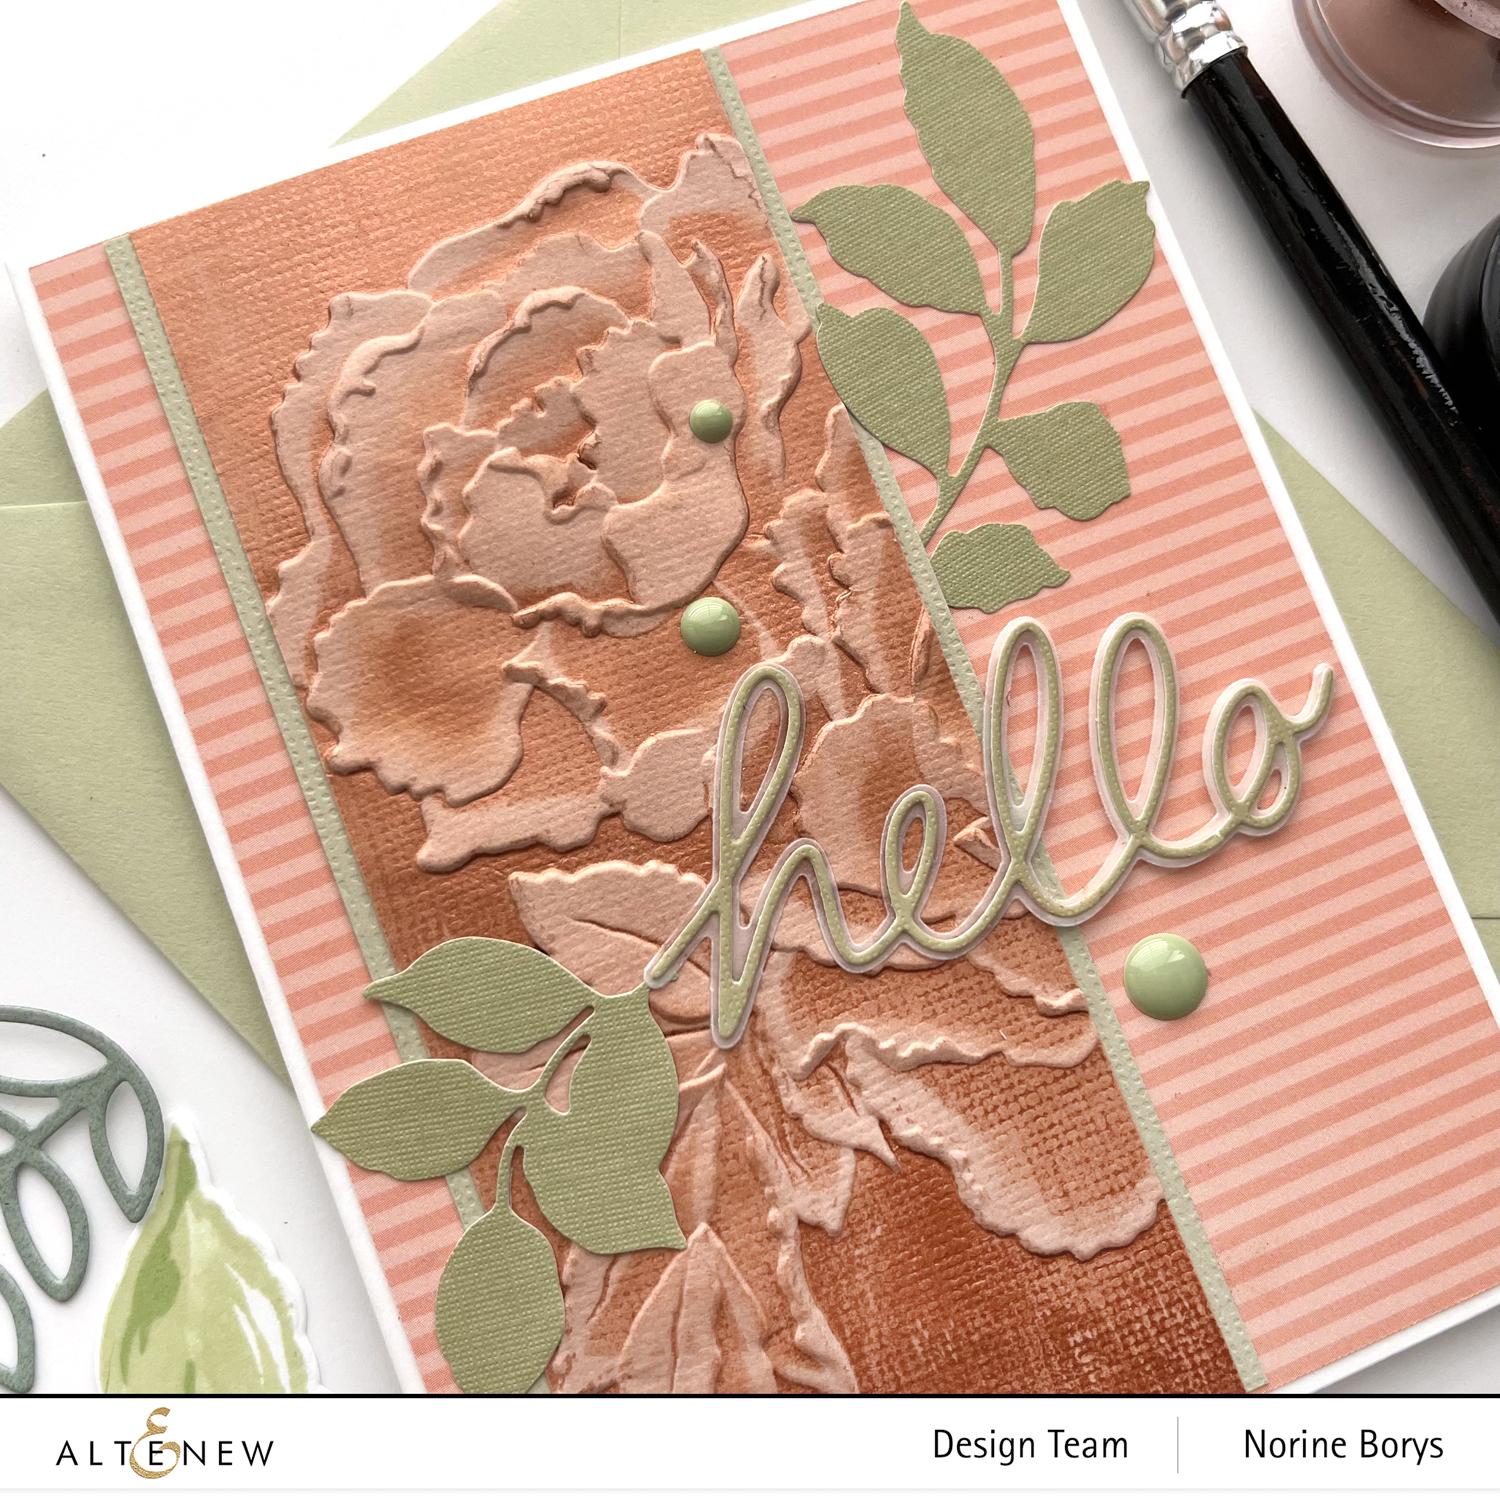
I trimmed the embossed design to a narrow strip, matted it with some complimentary green cardstock, and adhered the strip over top of some matching patterned paper. I die cut some leaves from more of the same green cardstock using dies from the Just Leaves dies set and a greeting from the same paper using the dies from the Handwritten Hello die set with it’s shadow die. I tucked the leaves in around the greeting and added some green enamel dots to complete the card.
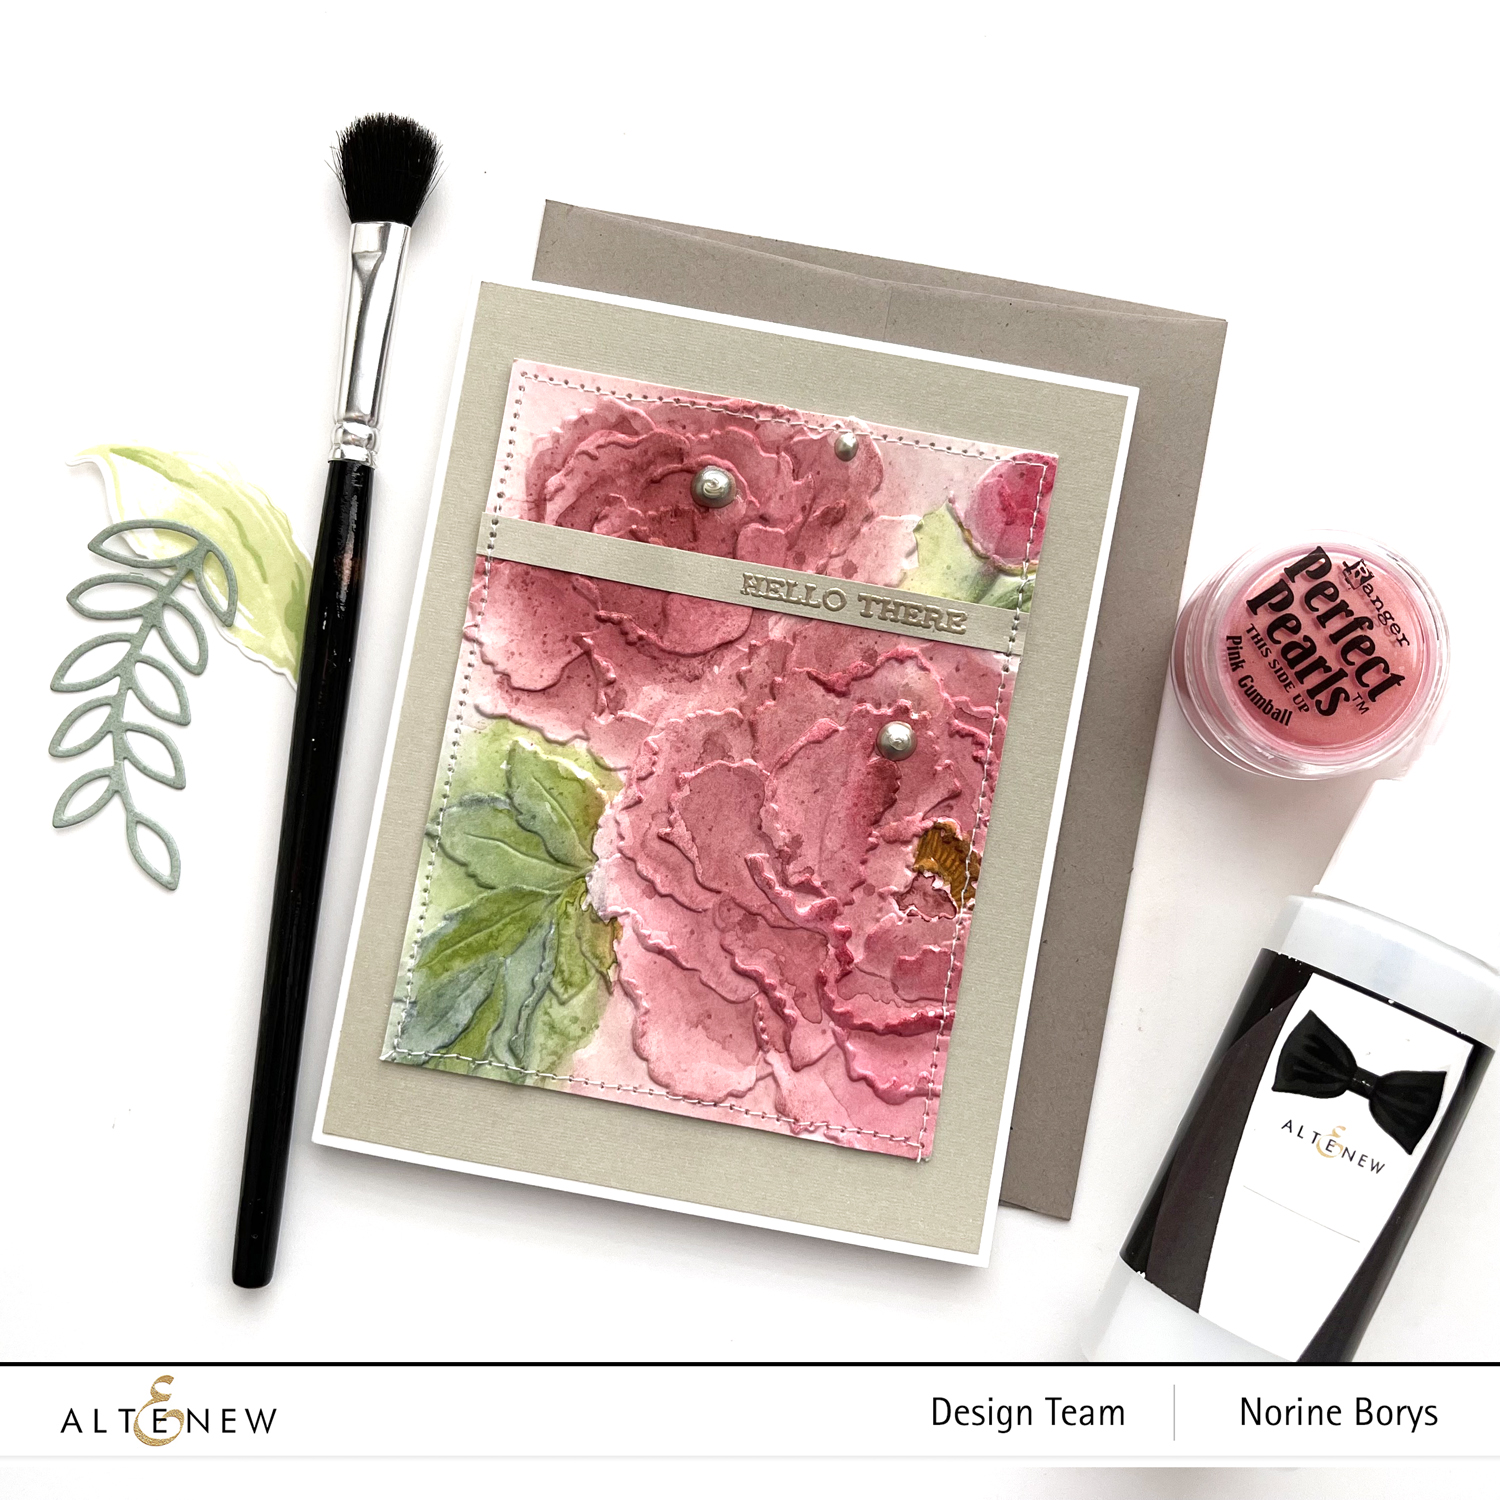
My second card uses the same Frilly Peonies embossing folder, but this time I used a piece of watercolor paper to emboss with this gorgeous design. That way I could lay down an under-painting layer of watercolor all over the blooms and leaves (and beyond) that adds color but hardly any shading or definition.
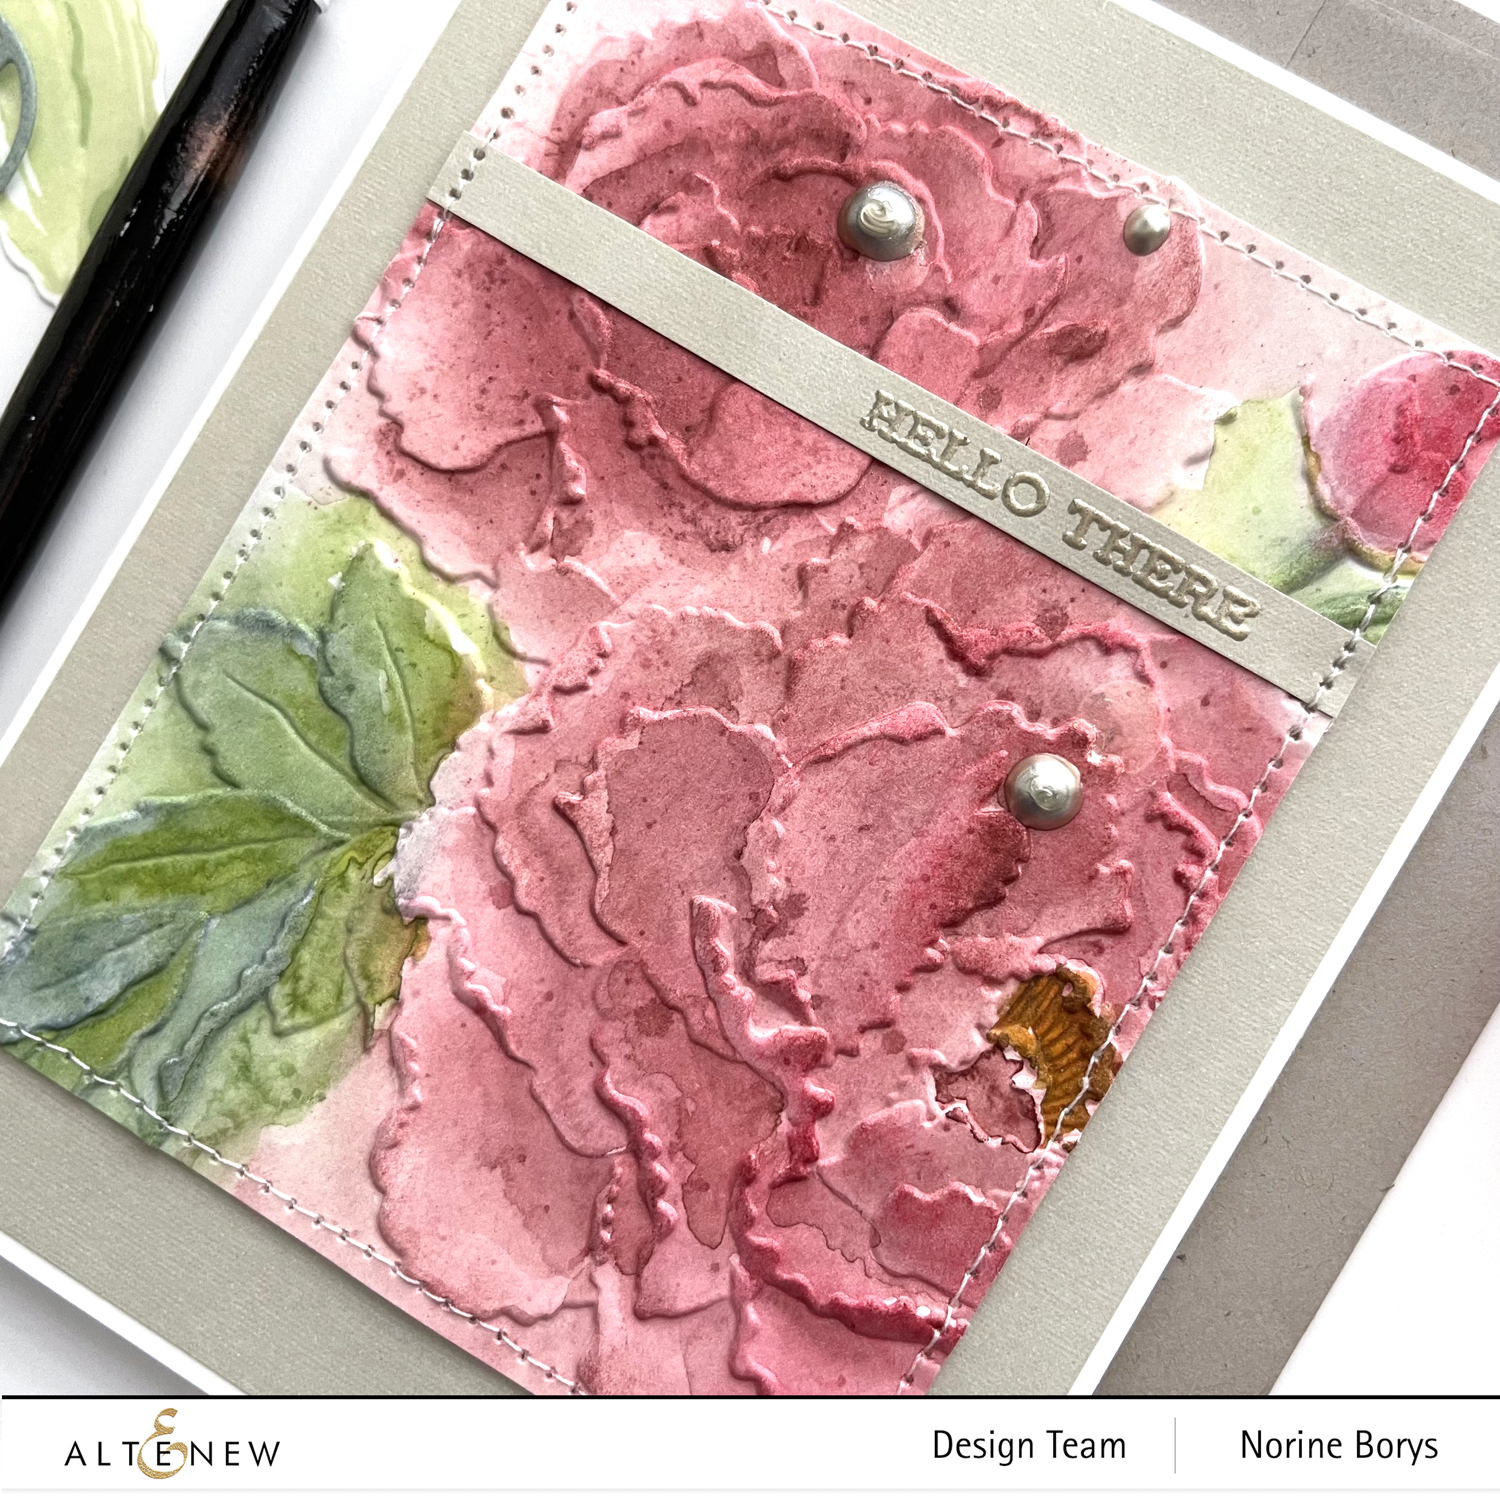
Once the paint was dry, I went over the design with blending brushes and matching ink to add more depth of color to the high points. I’ll be honest and admit this was pretty much just an experiment to this point but after all was said and done, I kind of liked the big, frowsy, indistinct-but-for-the-embossing blooms! Finally, I used the new Altenew mister bottle to apply a light mist of water over the whole card and added more Perfect Pearls to the blooms. (Harder to detect in the photos than in reality.)
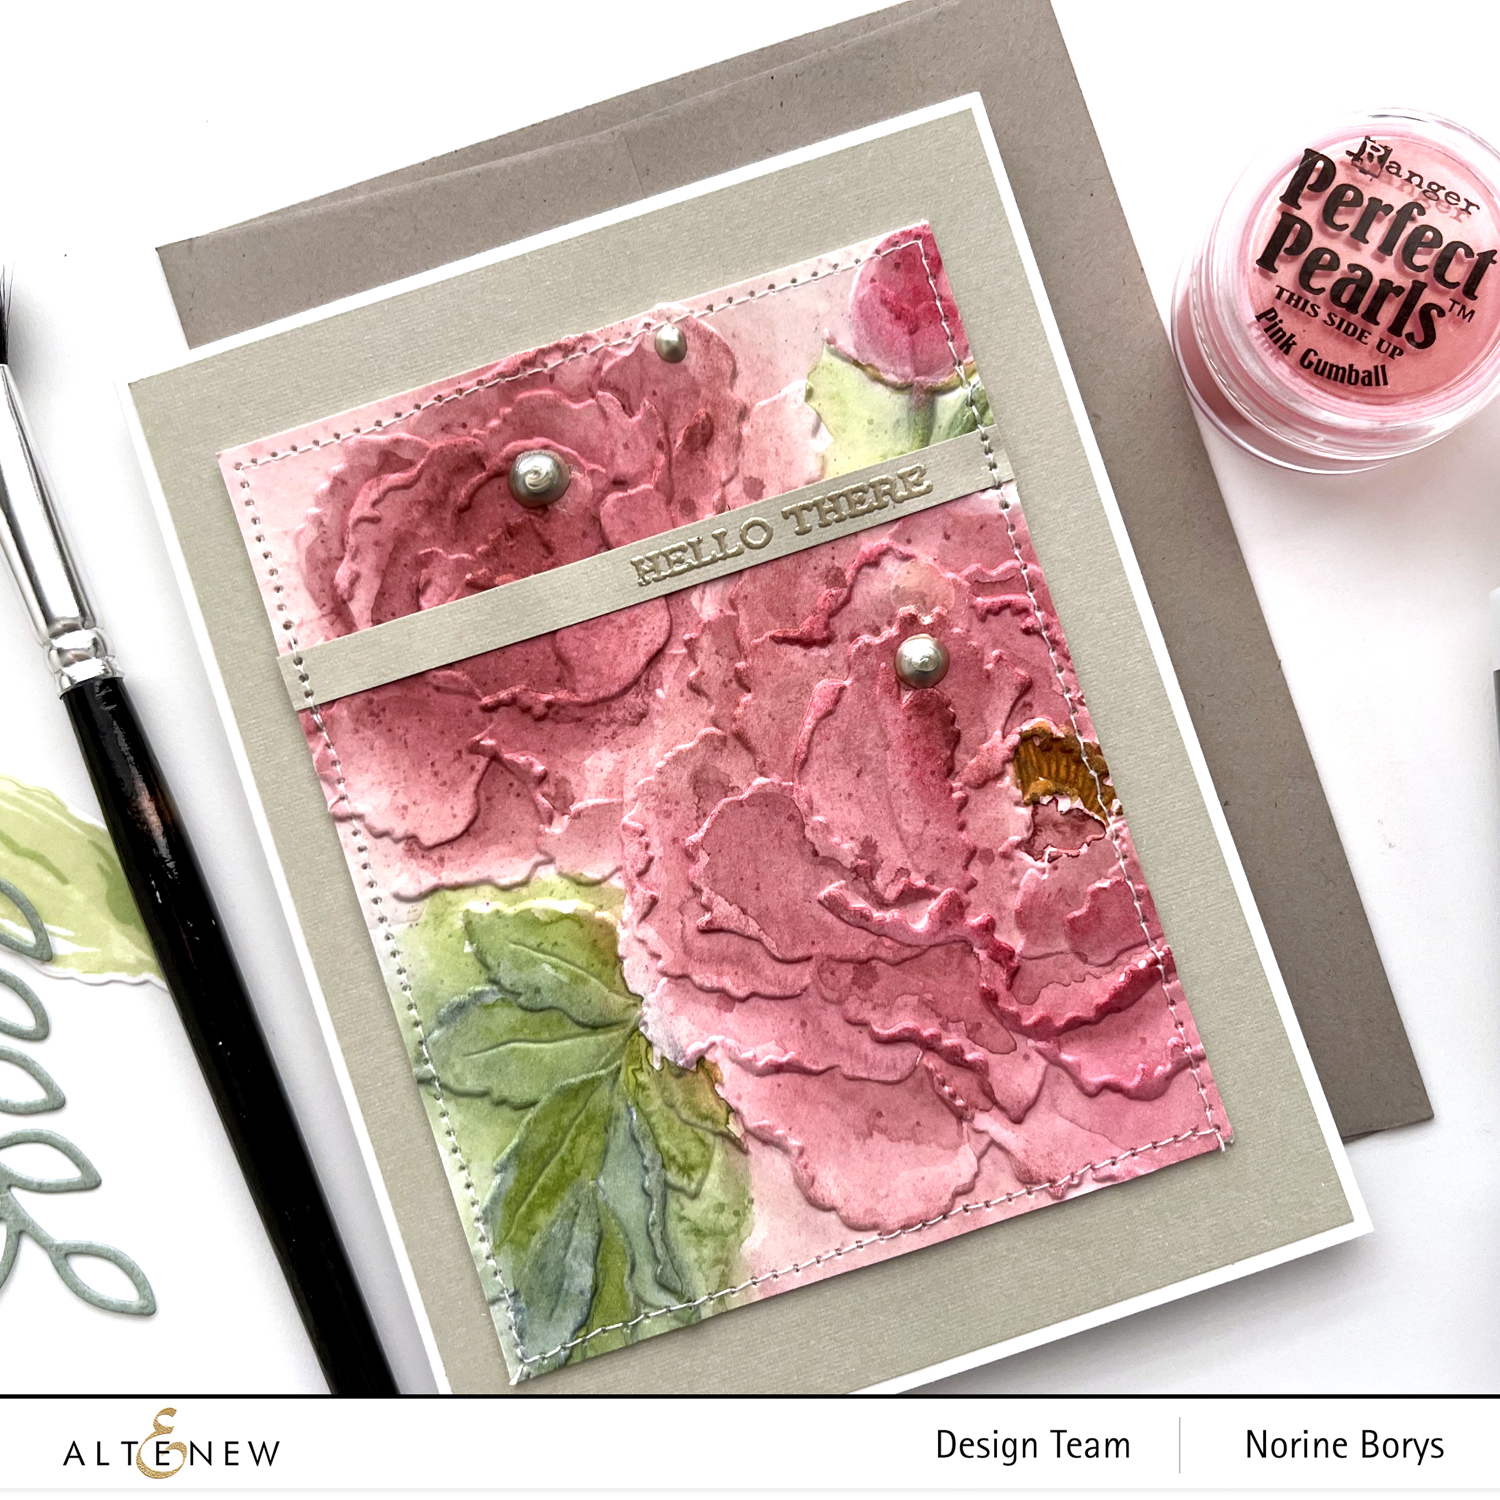
I wanted to add a distinctive edge to the trimmed, embossed panel, but running it through the die cutting machine again with a stitched rectangle die would completely flatten the embossing, so I took it to my sewing machine and added a real stitched edge. I stamped a greeting with the Sentiment Strips 2 stamp set and adhered it to the panel before sewing. Some platinum Nuvo Drops to match the platinum embossing powder complete this card!
Thank you so much for stopping by! Your next stop on the hop is Teri Koszler’s blog, but before you go, be sure to check out the details below!
Giveaway Prizes
$300 in total prizes! To celebrate this release, Altenew is giving away a $50 gift certificate to 2 lucky winners and a $25 gift certificate to 8 winners! Please leave a comment on the Altenew Card Blog and/or each designer’s blog post on the blog hop list below by 09/23/2021 for a chance to win.
Altenew will draw 10 random winners from the comments left on each stop of this blog hop and announce the winners on the Altenew Winners Page on 09/25/2021.
Free Gift
- Get a FREE brand new Seasonal Textures Mini Inspiration Guide with every order from 09/17/2021 through 09/19/2021. Shop HERE!
Blog Hop Order:
Norine Borys – You are here.
SUPPLIES USED:


