Hi, hello! I’m up on the Altenew Card Blog today with a stamp focus post and wanted to let yous over here know about it too! I won’t go into all the how-to details here, just post some photos for you and if you want to know more, feel free to click on over to there! If you’re here for the Reverse Confetti Countdown Day 2 post, click here.
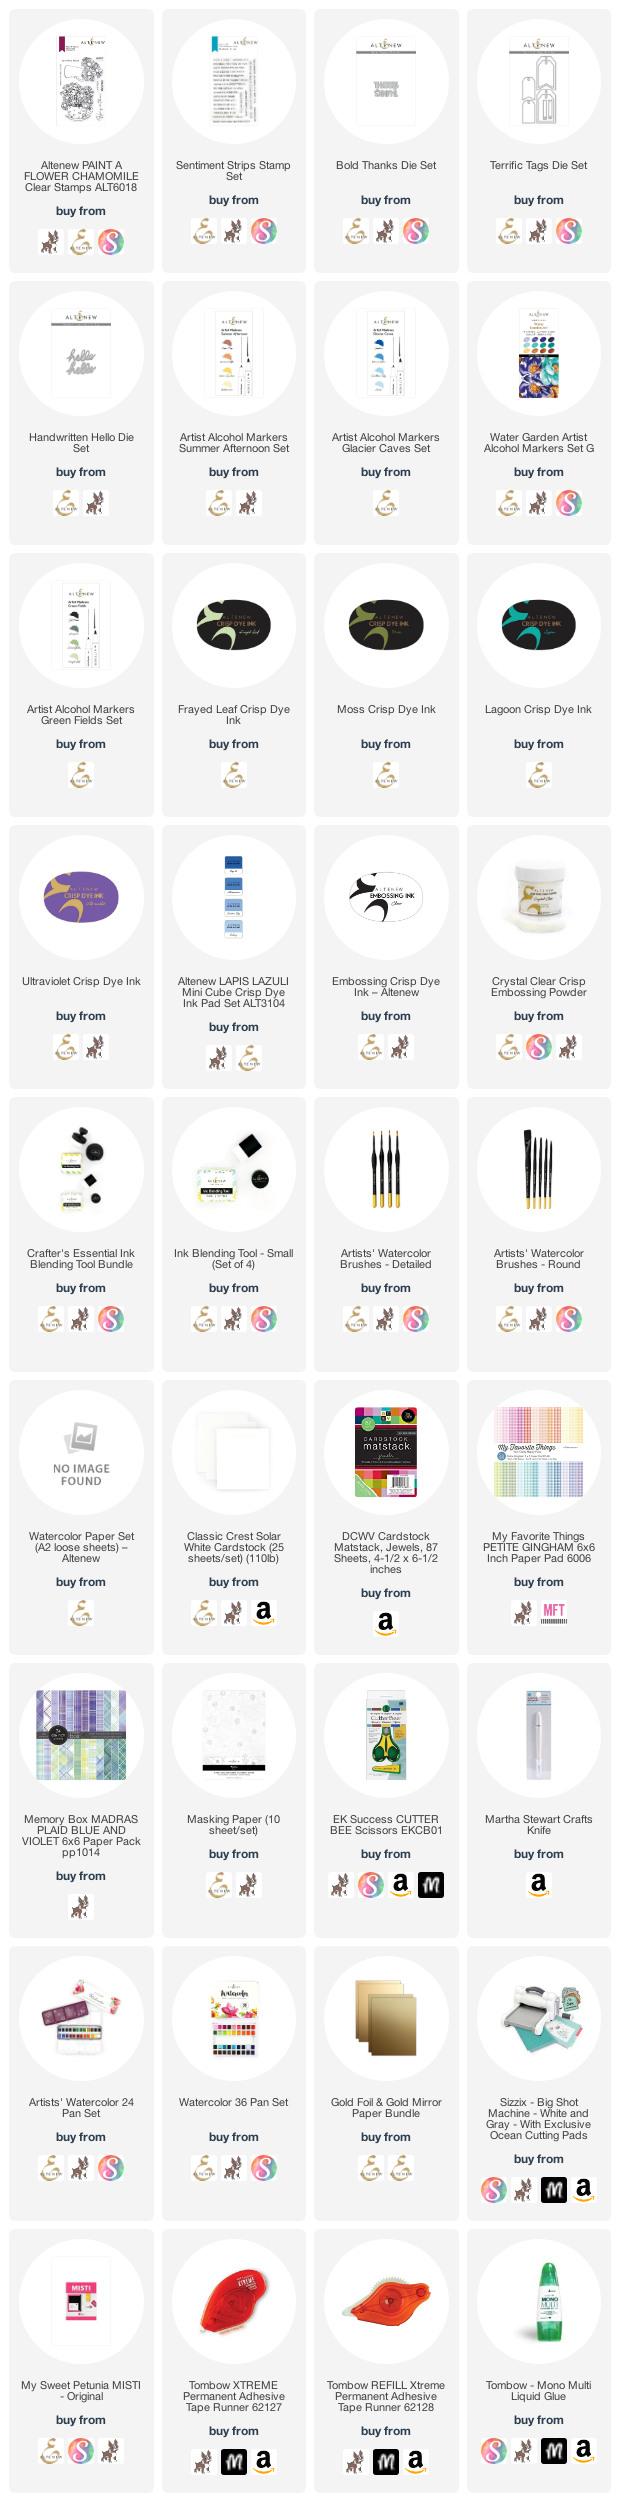
This post contains affiliate links that are listed below. By clicking through to purchase products linked, you are helping to support this blog at no additional cost to you and that allows me to continue to provide you with creative inspiration and instructive help.

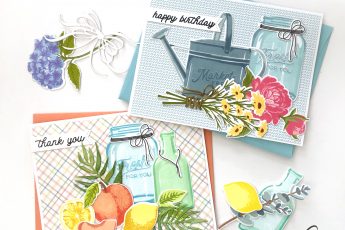
These are the three cards I made with the recently release Paint-A-Flower: Chamomile stamp set. You might remember the first cards I made with this stamp set over here? (I think maybe I like these more!?)
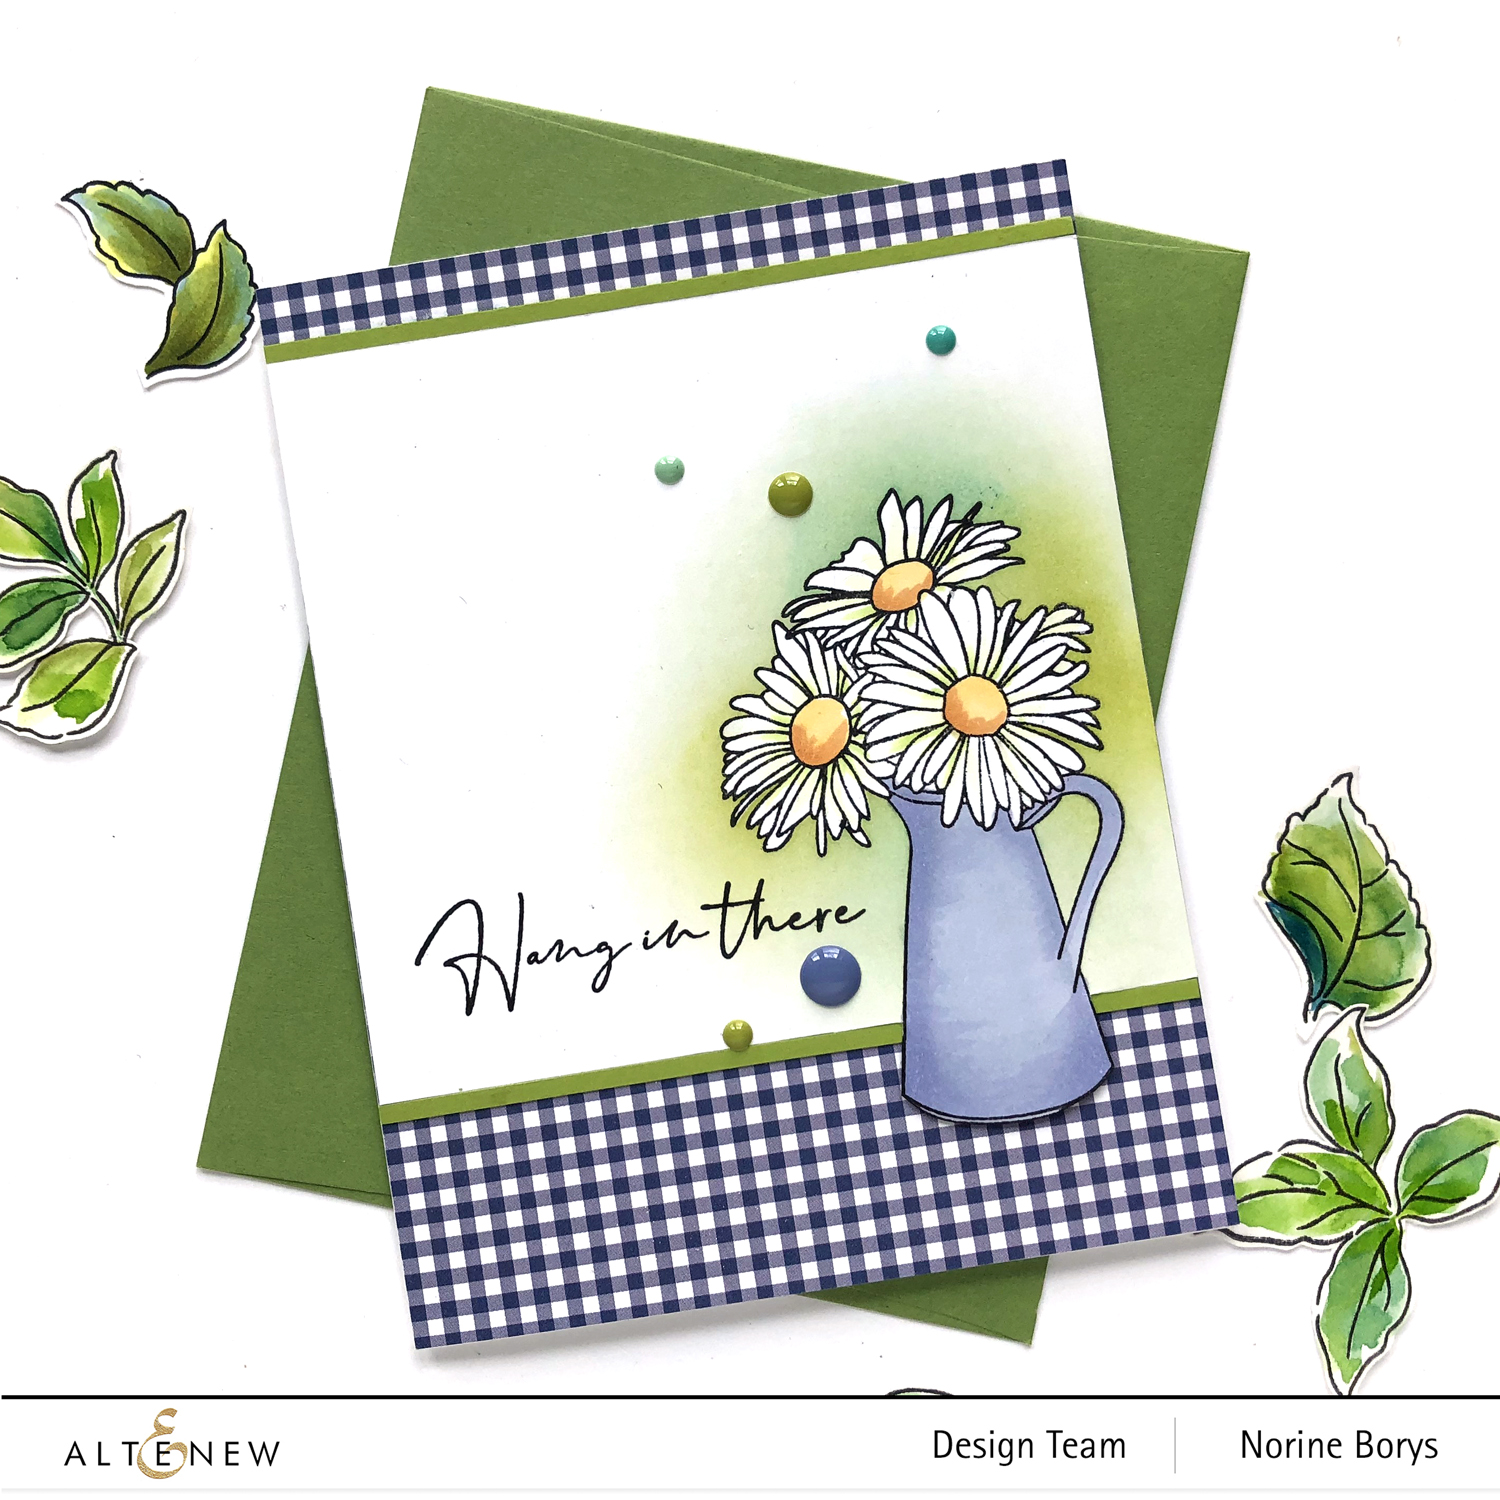
Card #1 is stamped on Classic Crest 110lb cardstock and colored with alcohol based Artist Markers. Then I masked the flower/pitcher and ink blended some background color to help the petal pop as really white!

I fussy cut and Xacto-knifed the bottom of the pitcher and the stamped card panel and layer it over some patterned paper and added a strip of contrasting cardstock. The sentiment is stamped from the same Chamomile stamp set.
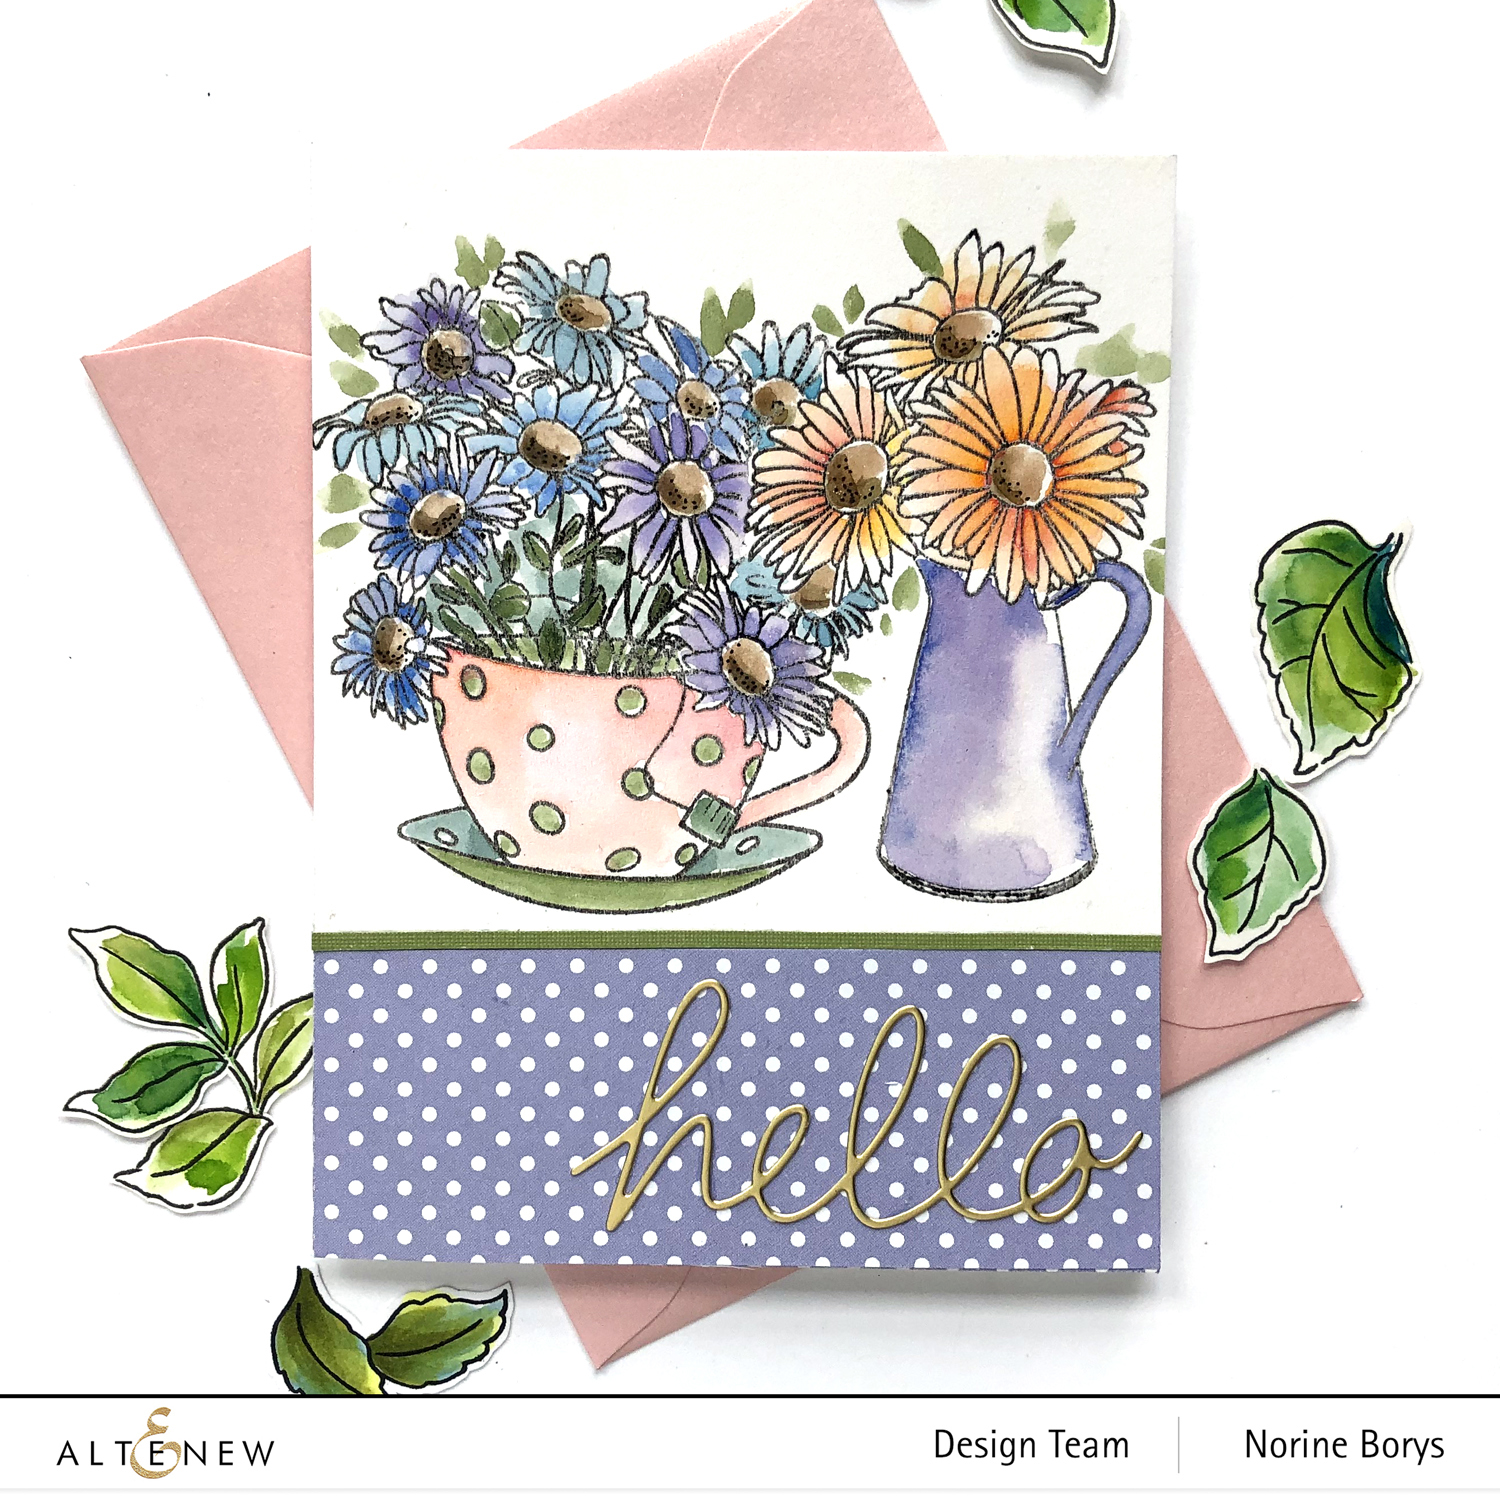
Card #2 makes use of the same pitcher/flower mask that I used for the card above, and allowed me to make a stamped scene using both images in the Chamomile stamp set. I watercolored the scene with Altenew 24 and 36 Pan Paint sets, trying to keep the colors light and airy, and not worrying too much about details. I did add more leaves behind the teacup flowers with a simple paint brush stroke.

I assembled the card very simply by combining the painted panel with some coordinating patterned paper and die cutting a hello greeting with the Handwritten Hello die and some gold cardstock.
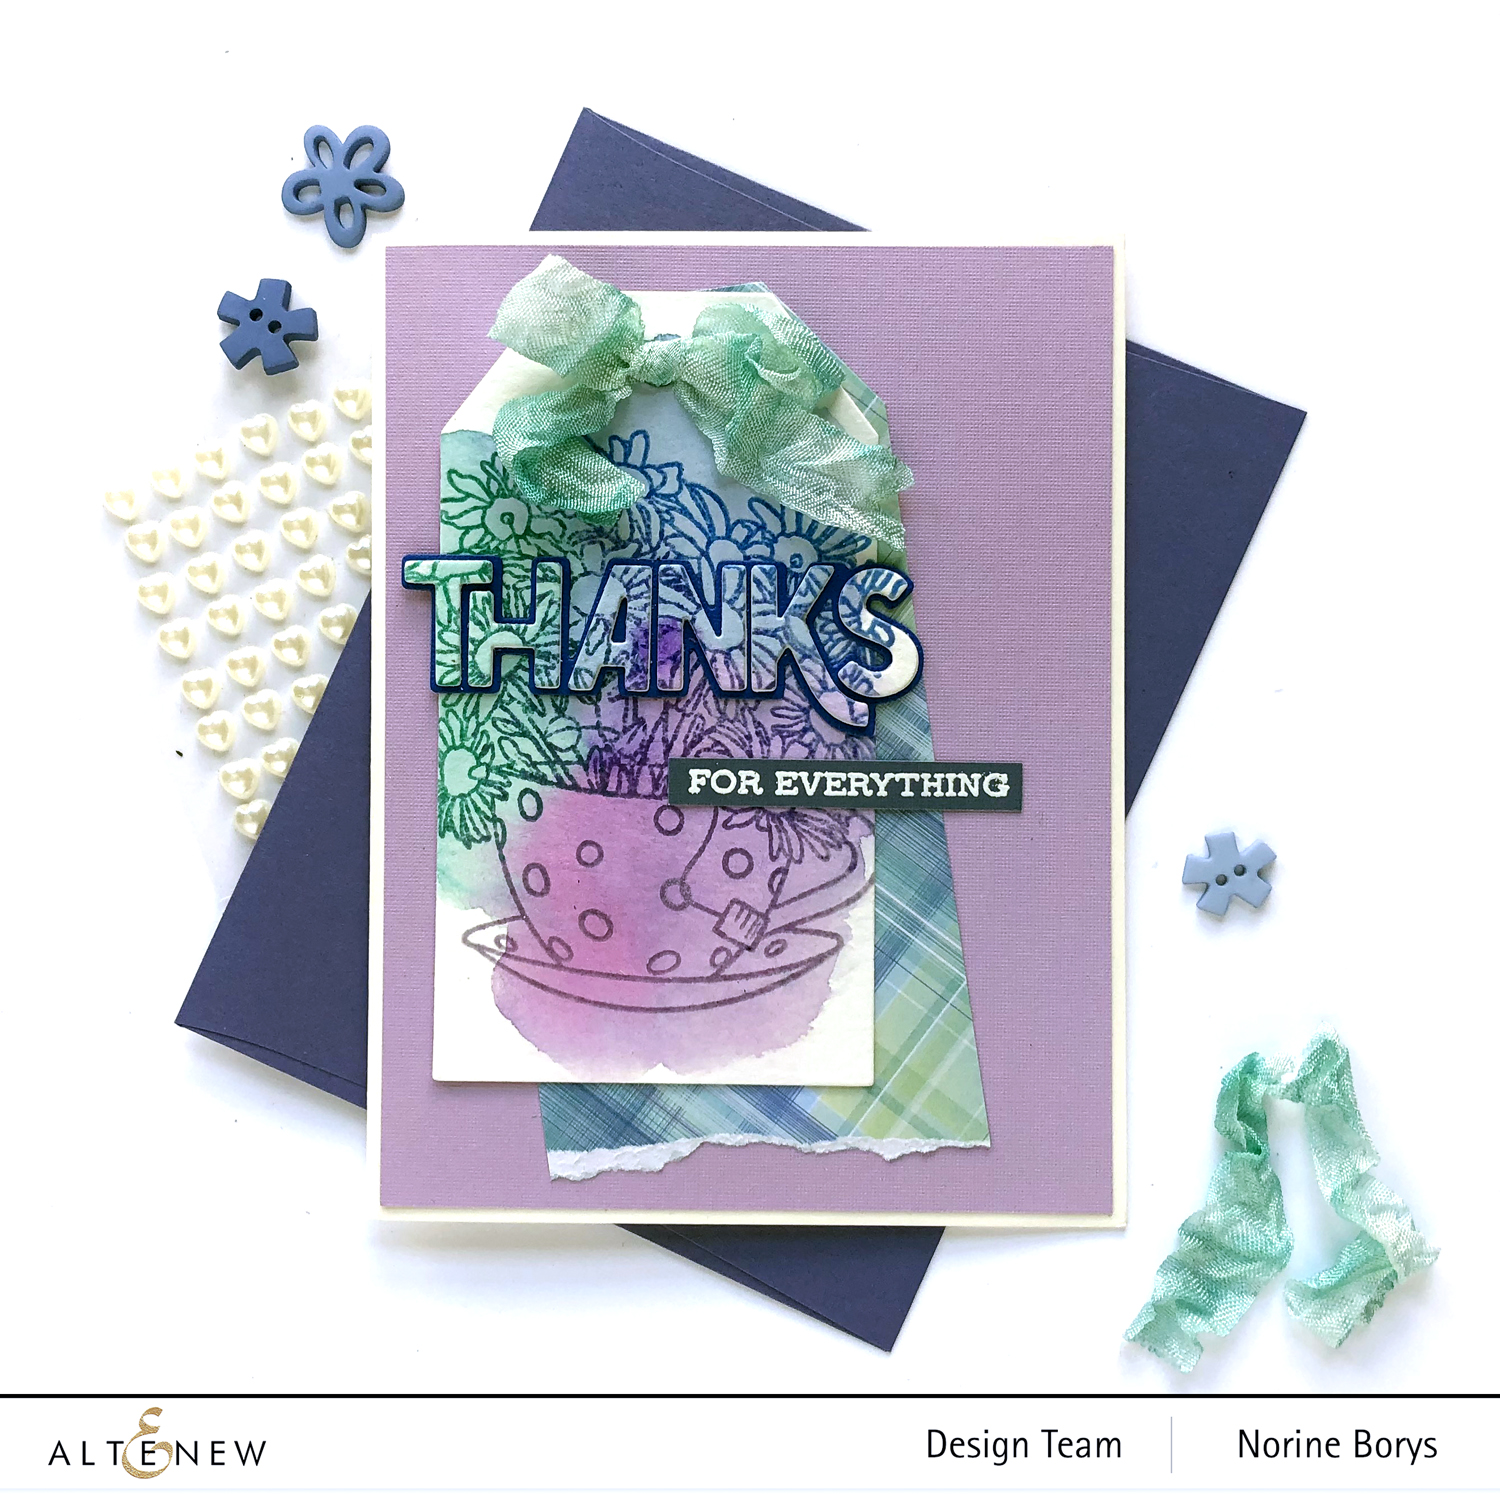
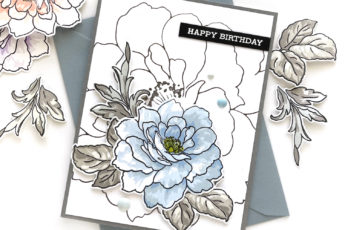
Lastly, I slapped three colors of watercolor paint onto watercolor paper and let it dry. Then I stamped the teacup image over the dried color, using colored ink pads that correspond to the paint color beneath. I stamped again with embossing ink and heat set with clear embossing powder.

I die cut the greeting with the Bold Thanks Die, then the tags with the Terrific Tags dies set, and stamped the smaller greeting from the Sentiment Strips Stamp set. I dyed the ribbon using a coordinating shade of watercolor ink.
Thanks so much for stopping by and have a lovely day!
SUPPLIES USED: