Hi, hello! I have a few cards to share over the next week, showcasing some of the beautiful Spellbinders lines that have been newly released this fall for the upcoming holiday season! Today I want to share two cards that use products from the Susan’s Holiday Floral collection by Susan Tierney-Cockburn, namely, Winter Bough and Evergreen Shrub, Garden Lantern and Poinsettia.
This post contains affiliate links that are listed below. By clicking through to purchase products linked, you are helping to support this blog at no additional cost to you and that allows me to continue to provide you with creative inspiration and instructive help.
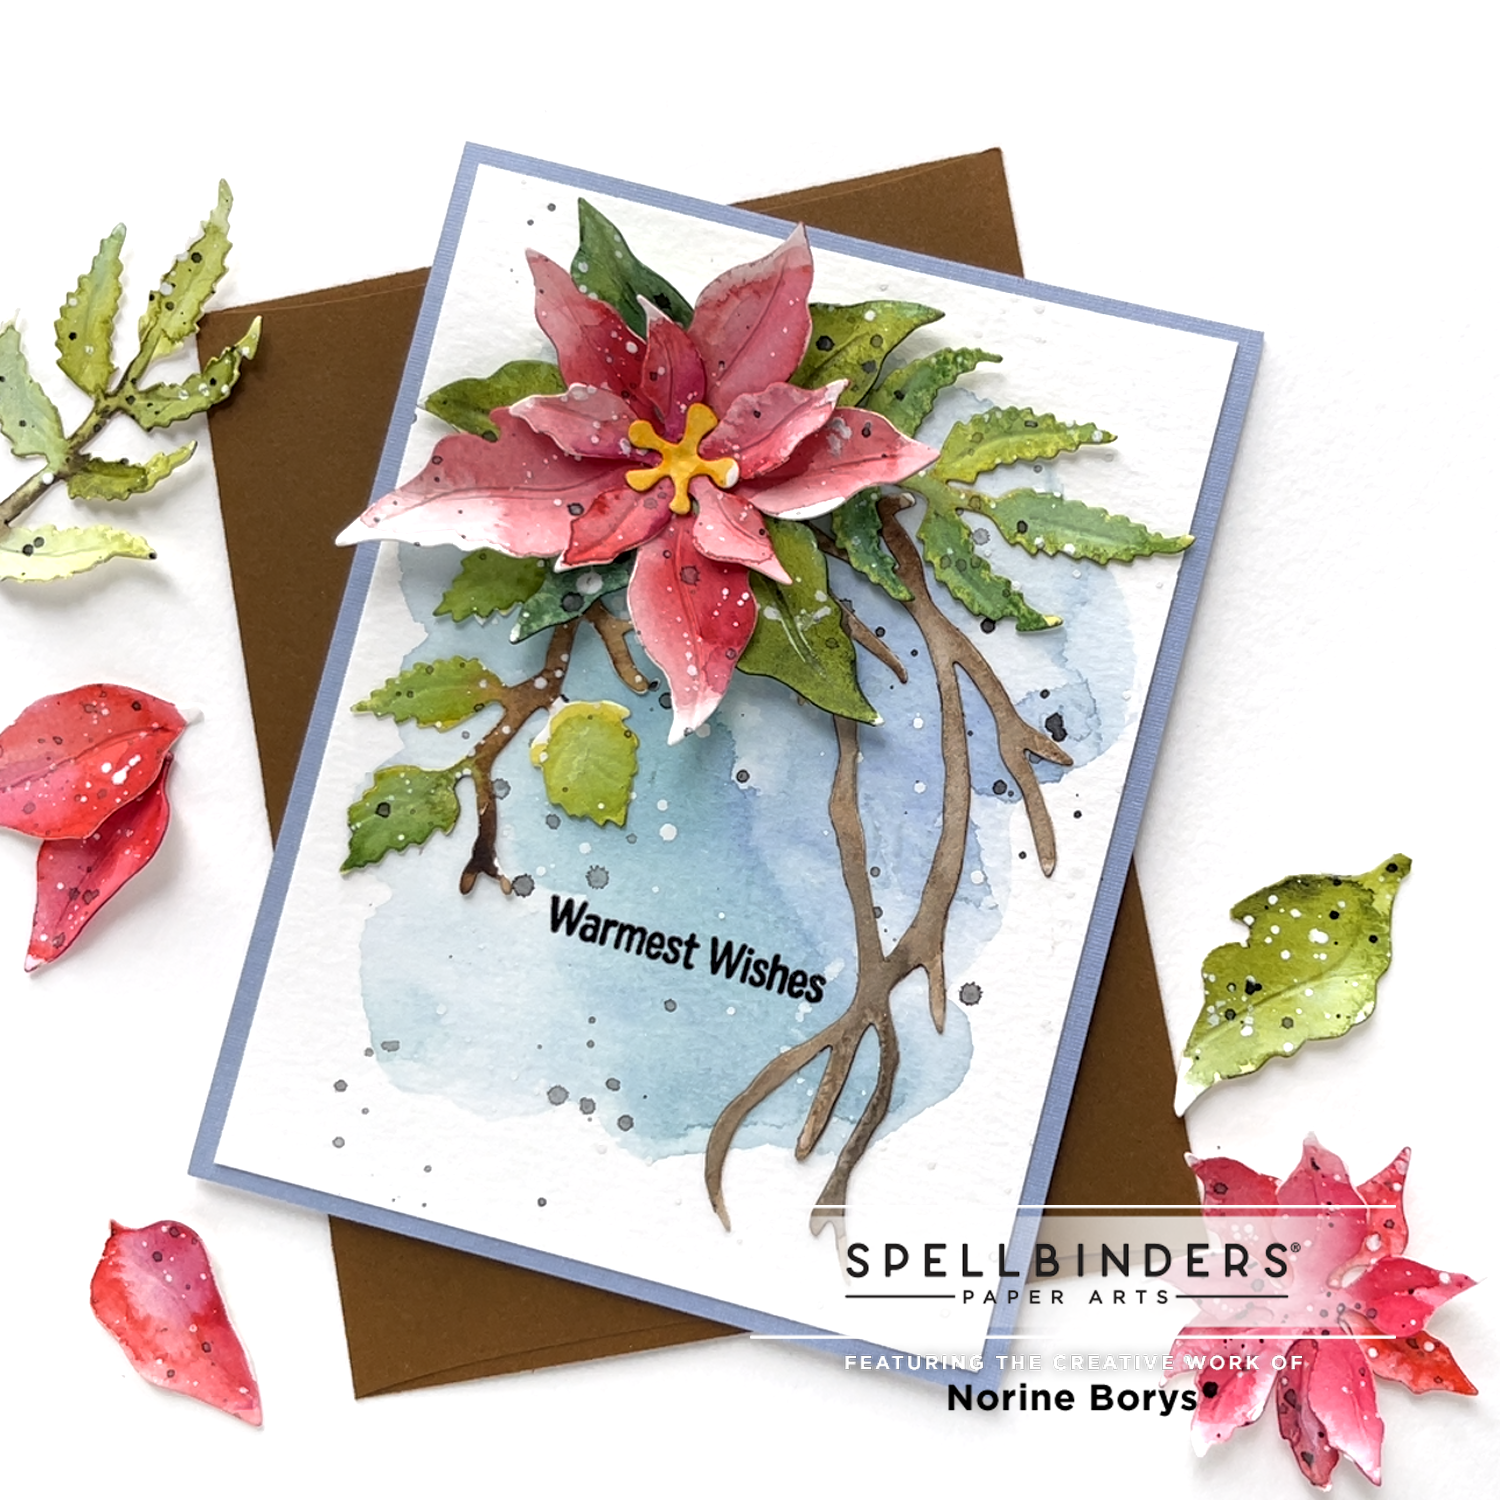
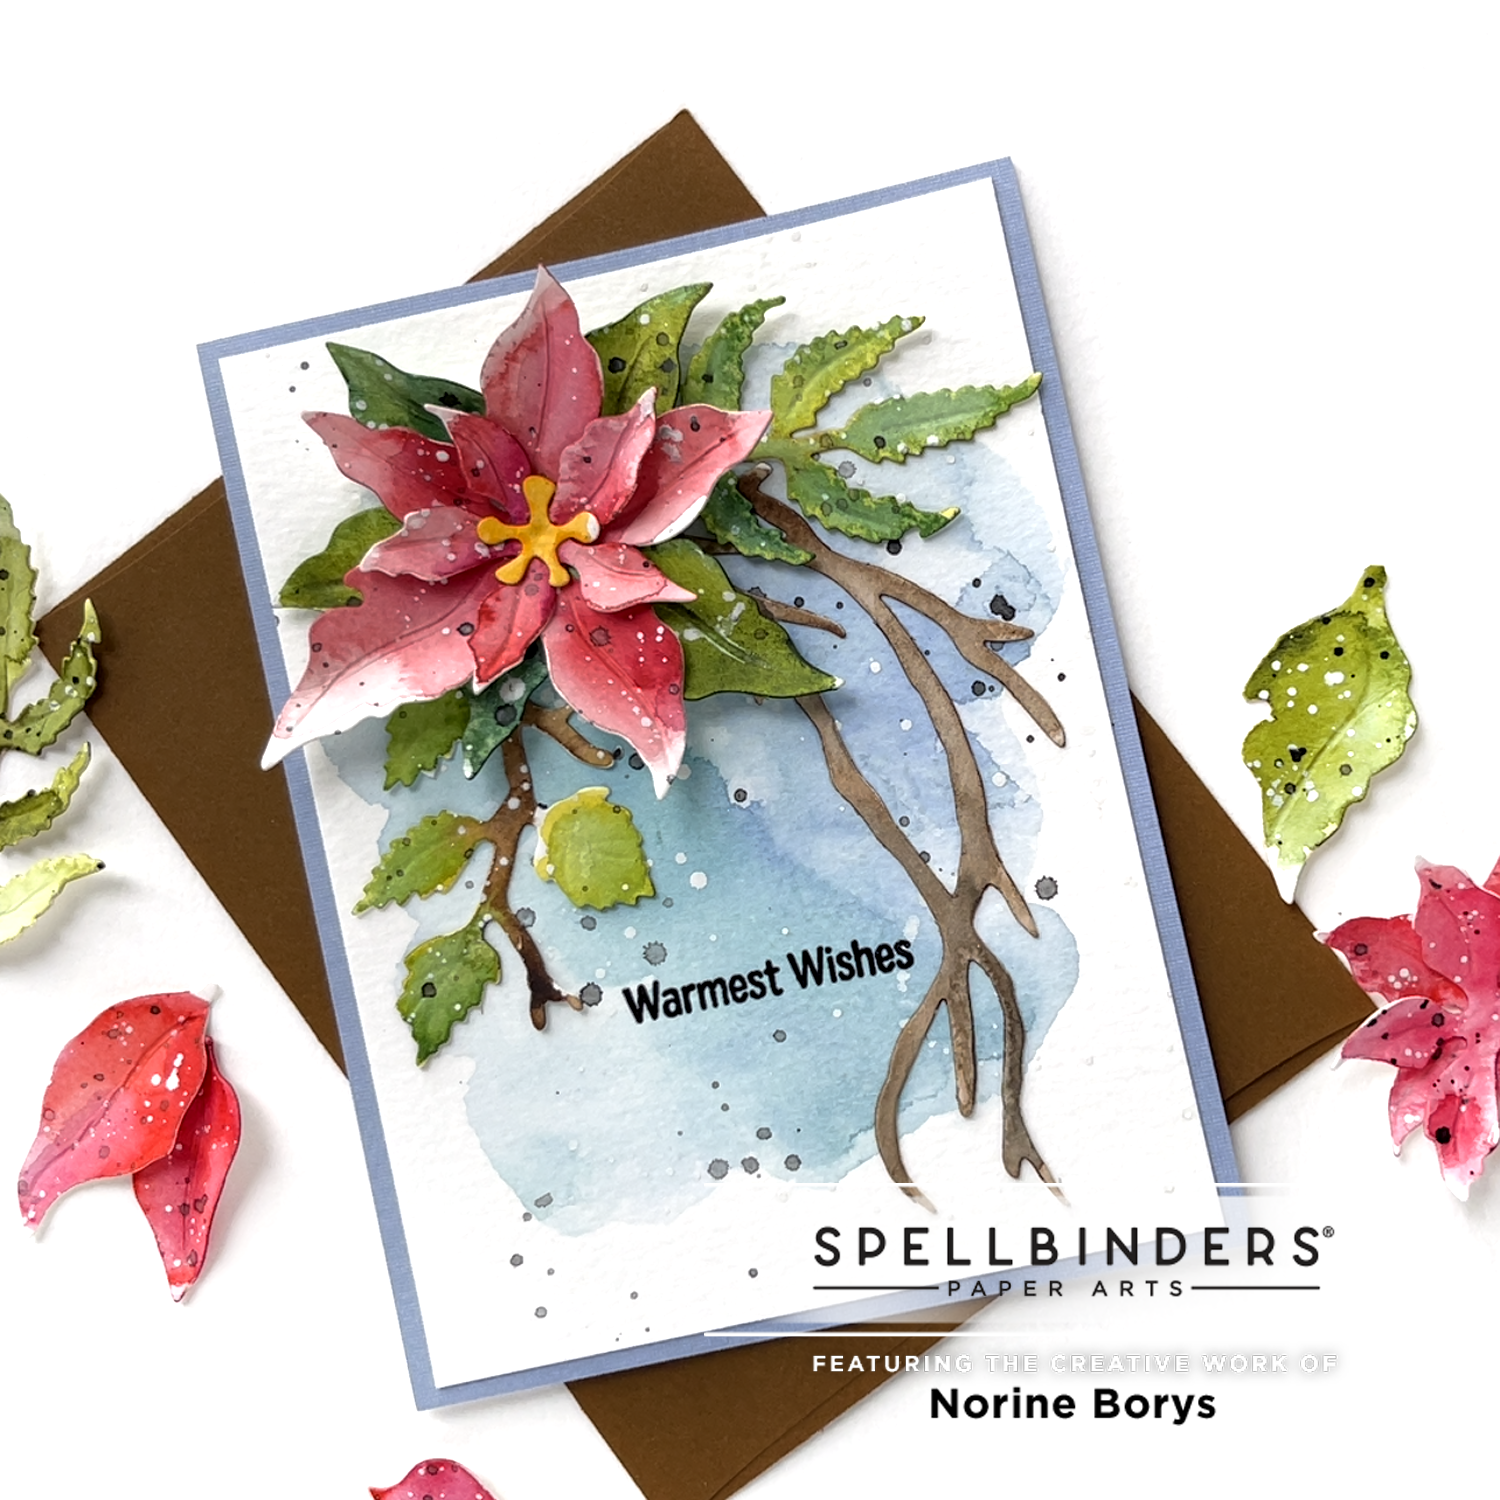
My first card features the Poinsettia dies set, where I die cut all the pieces from watercolor cardstock and painted them very loosely, then once dry, scored to emphasize the groove lines made from the dies. (Here is a good video to watch and see how that’s done.)
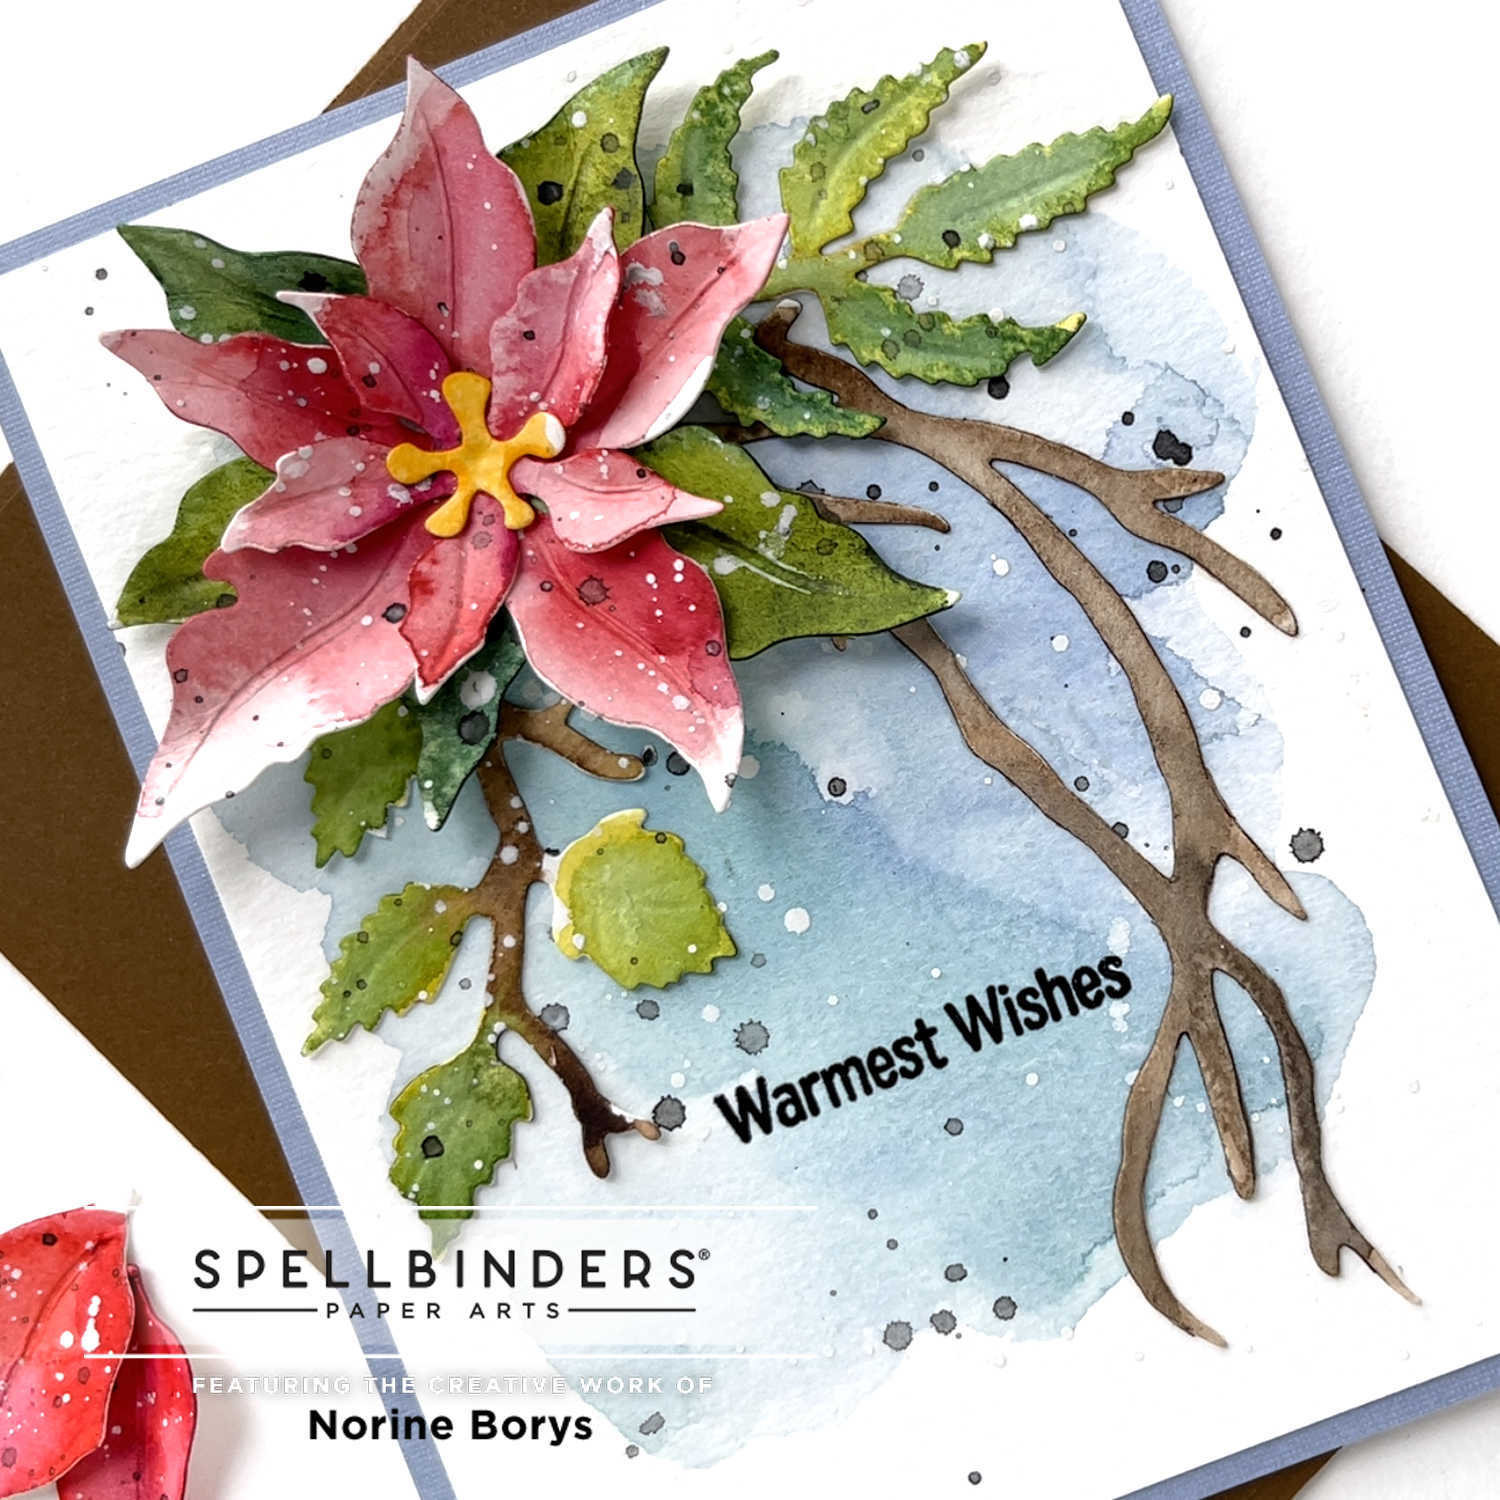
Besides the poinsettia layers, I die cut the three pieces from the Winter Bough and Evergreen Shrub dies, painting them and layering them beneath the poinsettia arrangement.
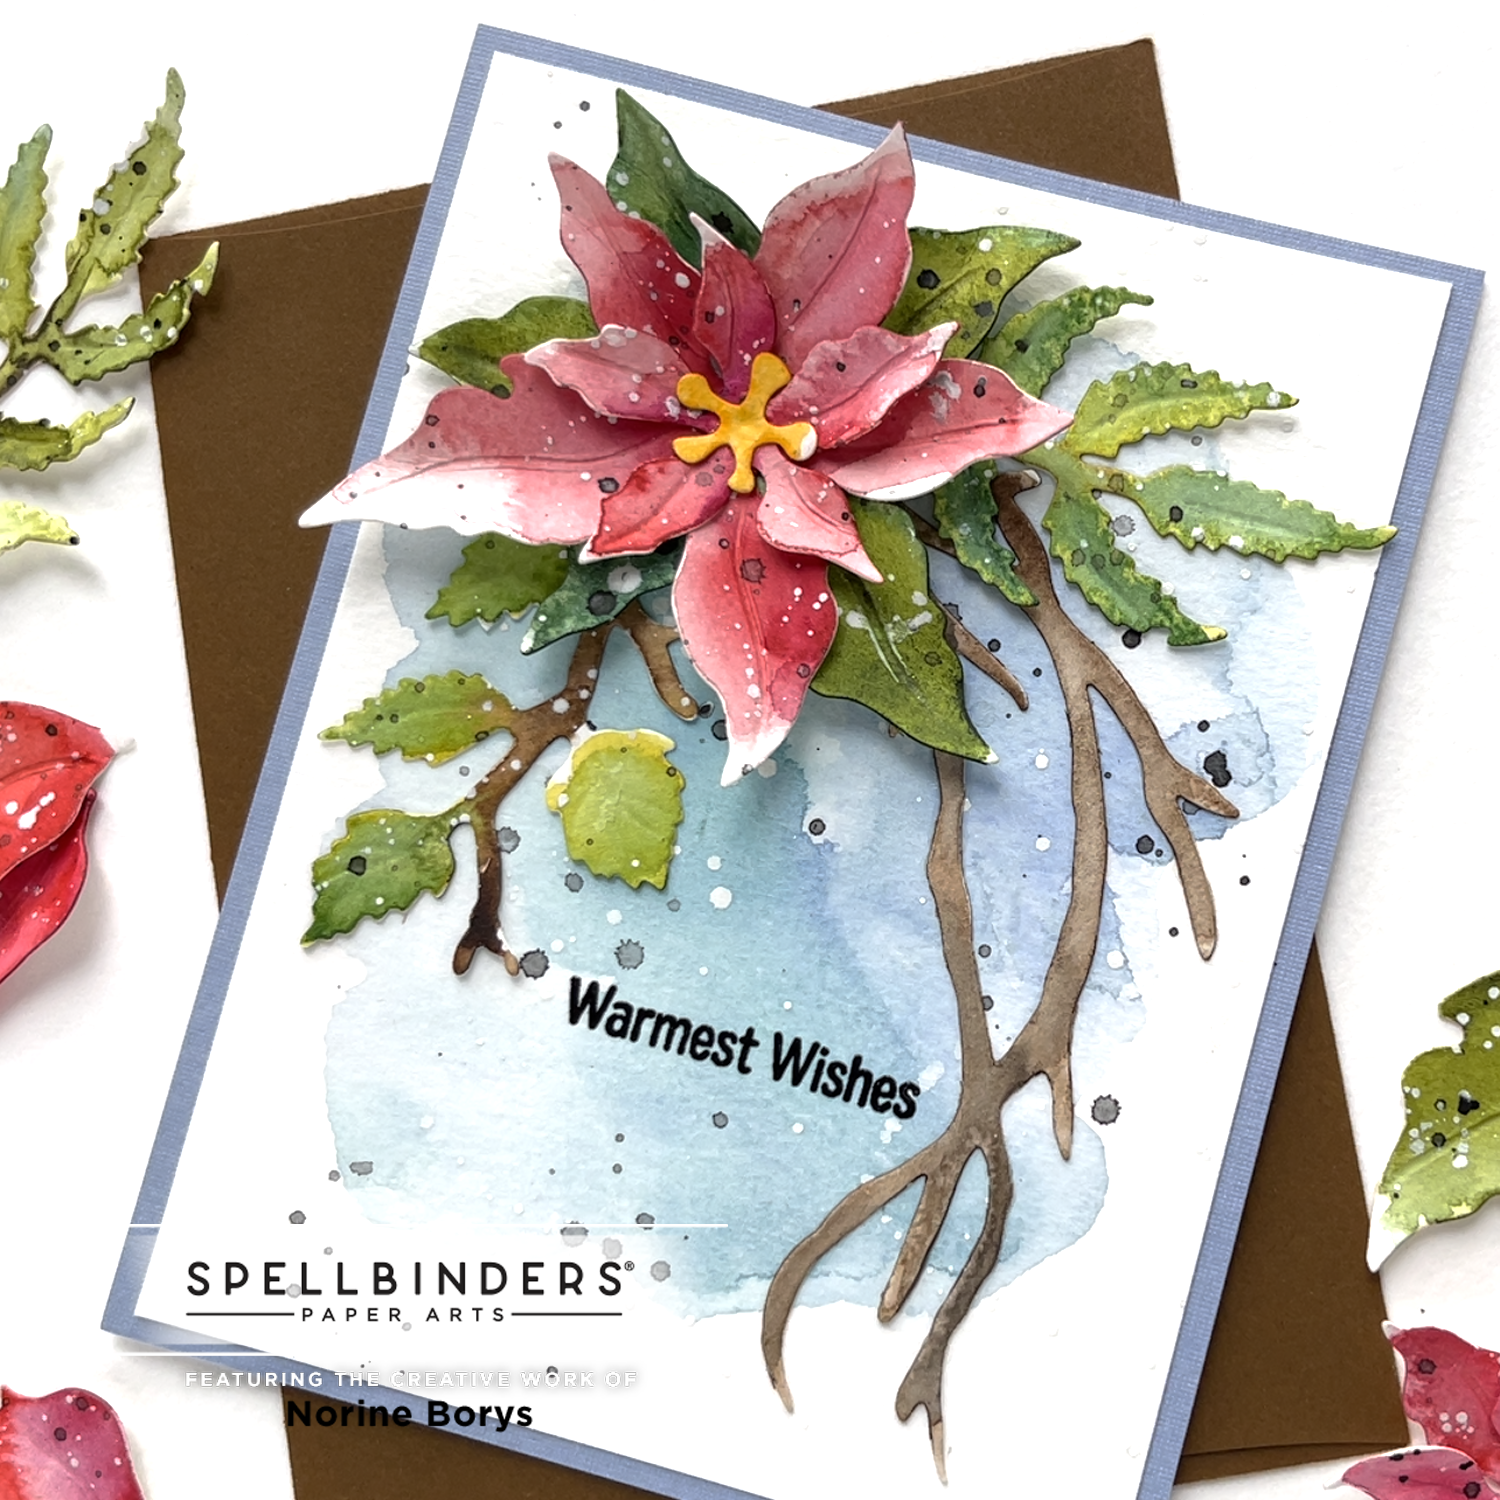
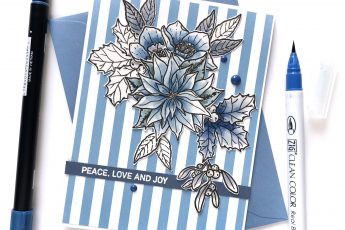
For the card front, I painted a loose wash of 2 or 3 shades of blue onto an A2 sized watercolor card panel, keeping a slight border of unpainted edge around the perimeter. I positioned the die cuts approximately where they would be adhered, then stamped a sentiment from the Friendly Snowmen stamp set, in the center of the opening, stamping with Versafine Onyx Black ink and heat setting with clear embossing powder.
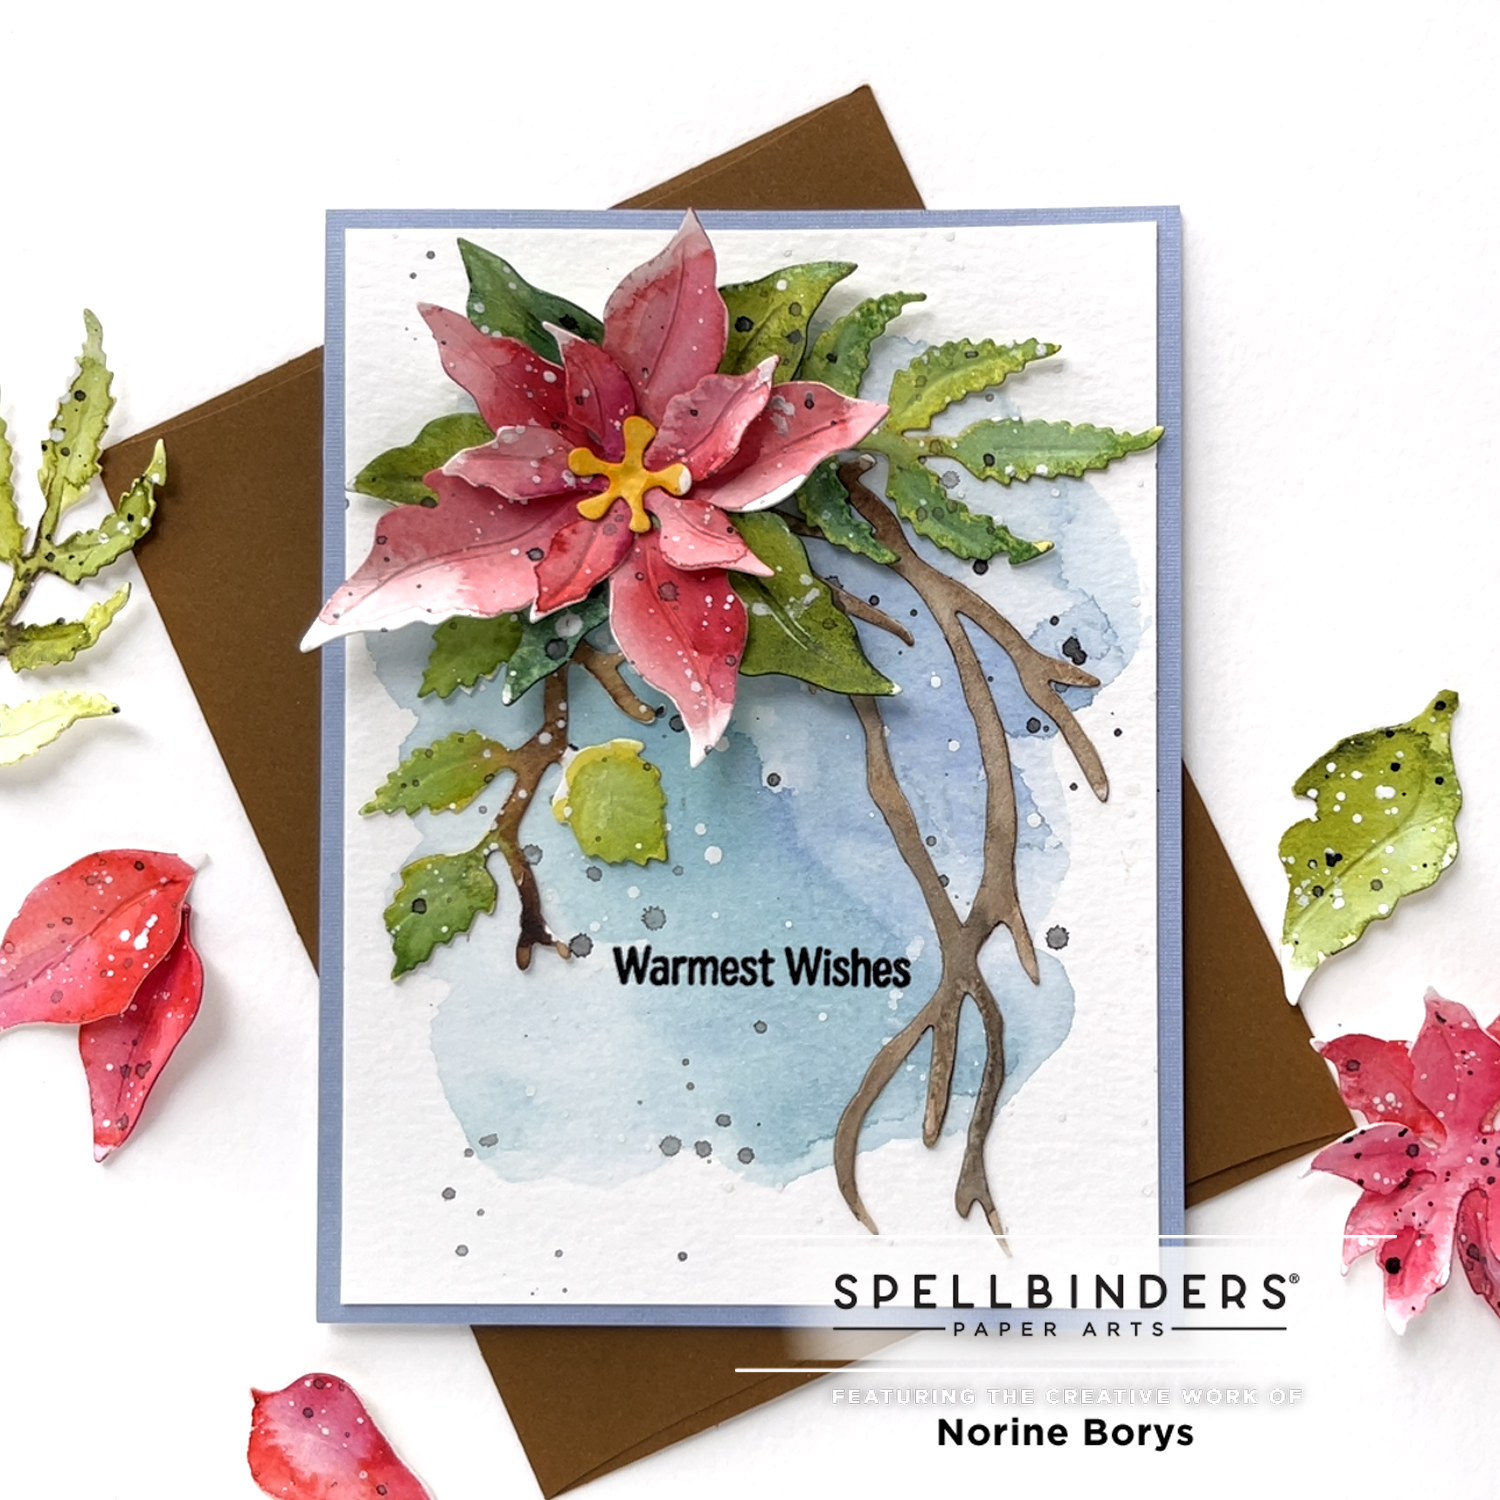
Once the layers of die cuts were all adhered in place, I splattered with some dilute black paint (to get a faded back lighter-than-black look) and some white gouache paint.
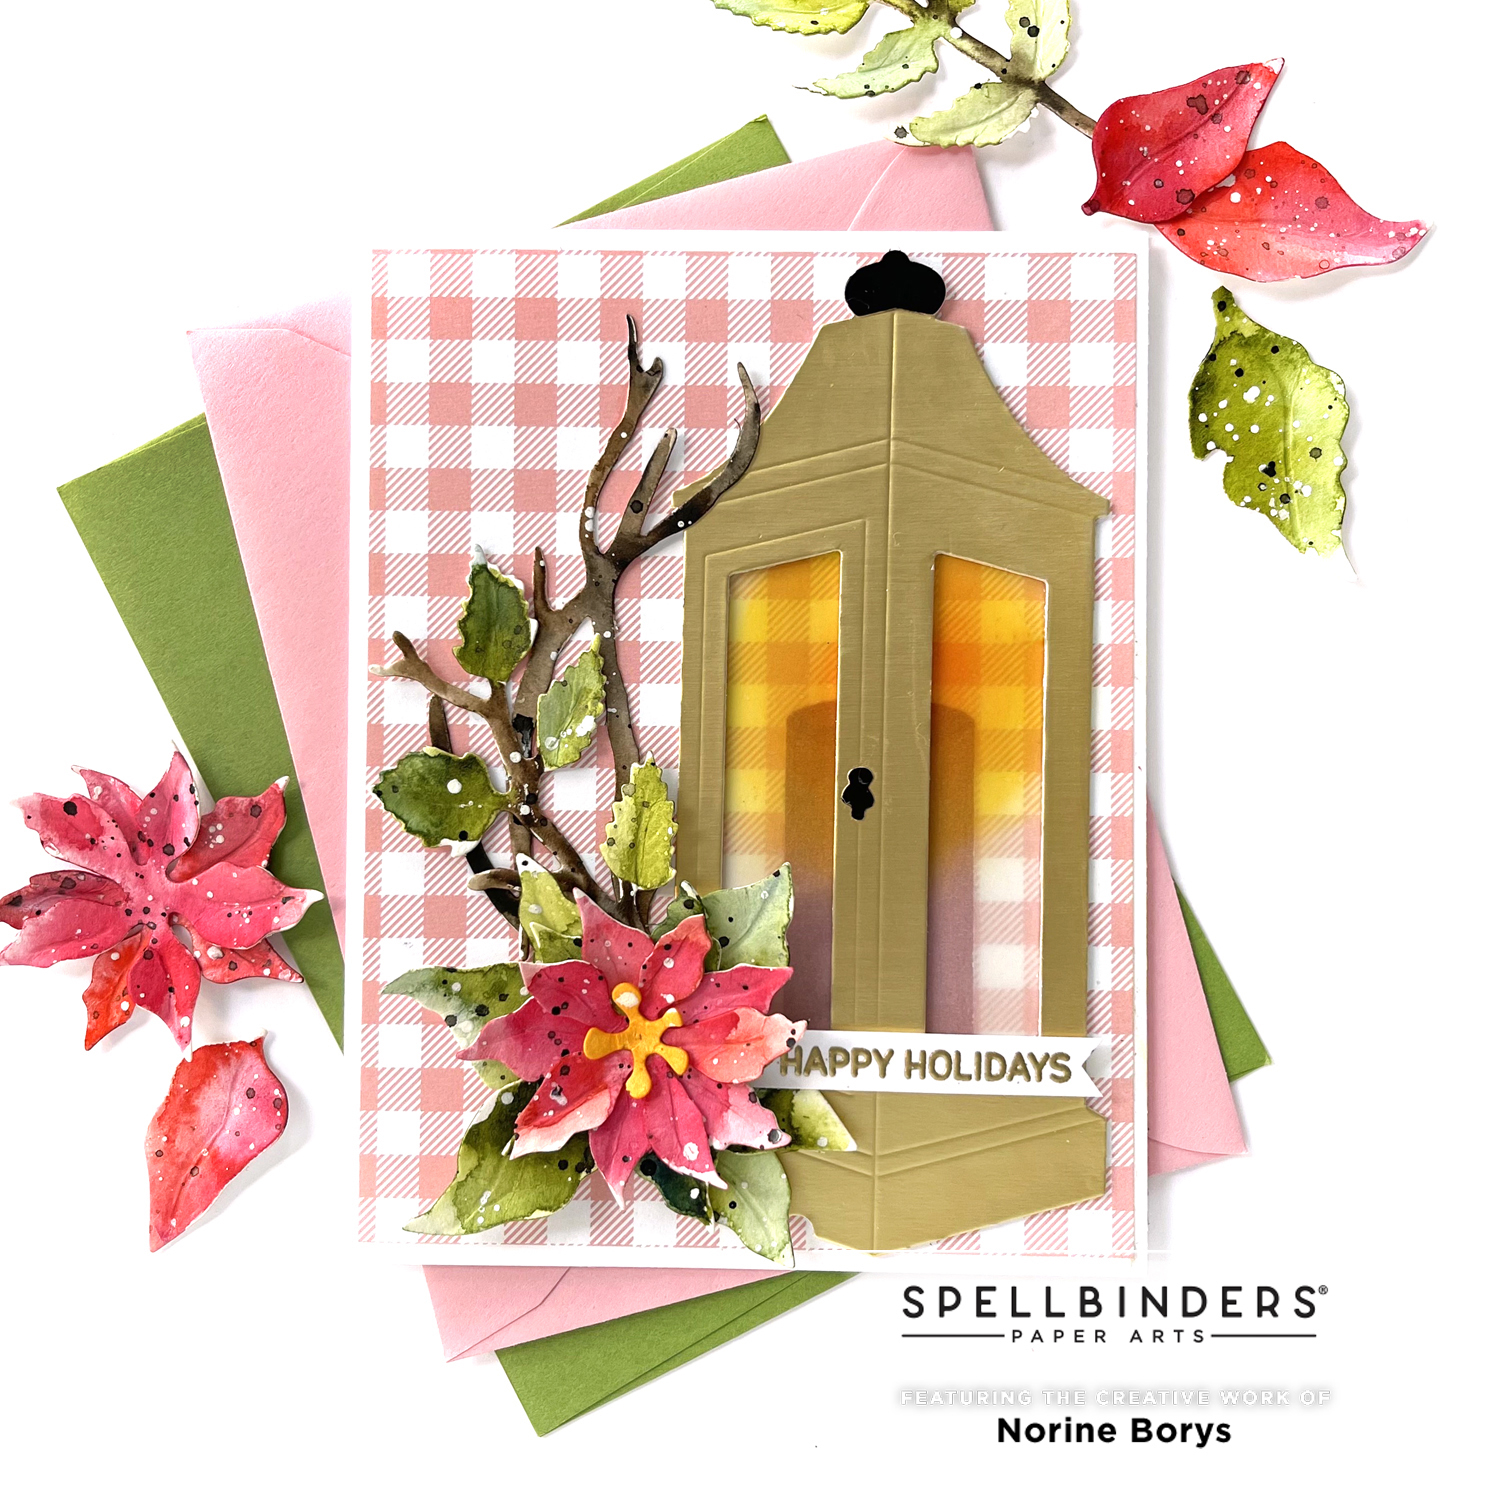
My second card uses the same die sets mentioned above, as well as the Garden Lantern die with it’s candle inside, glowing brightly.
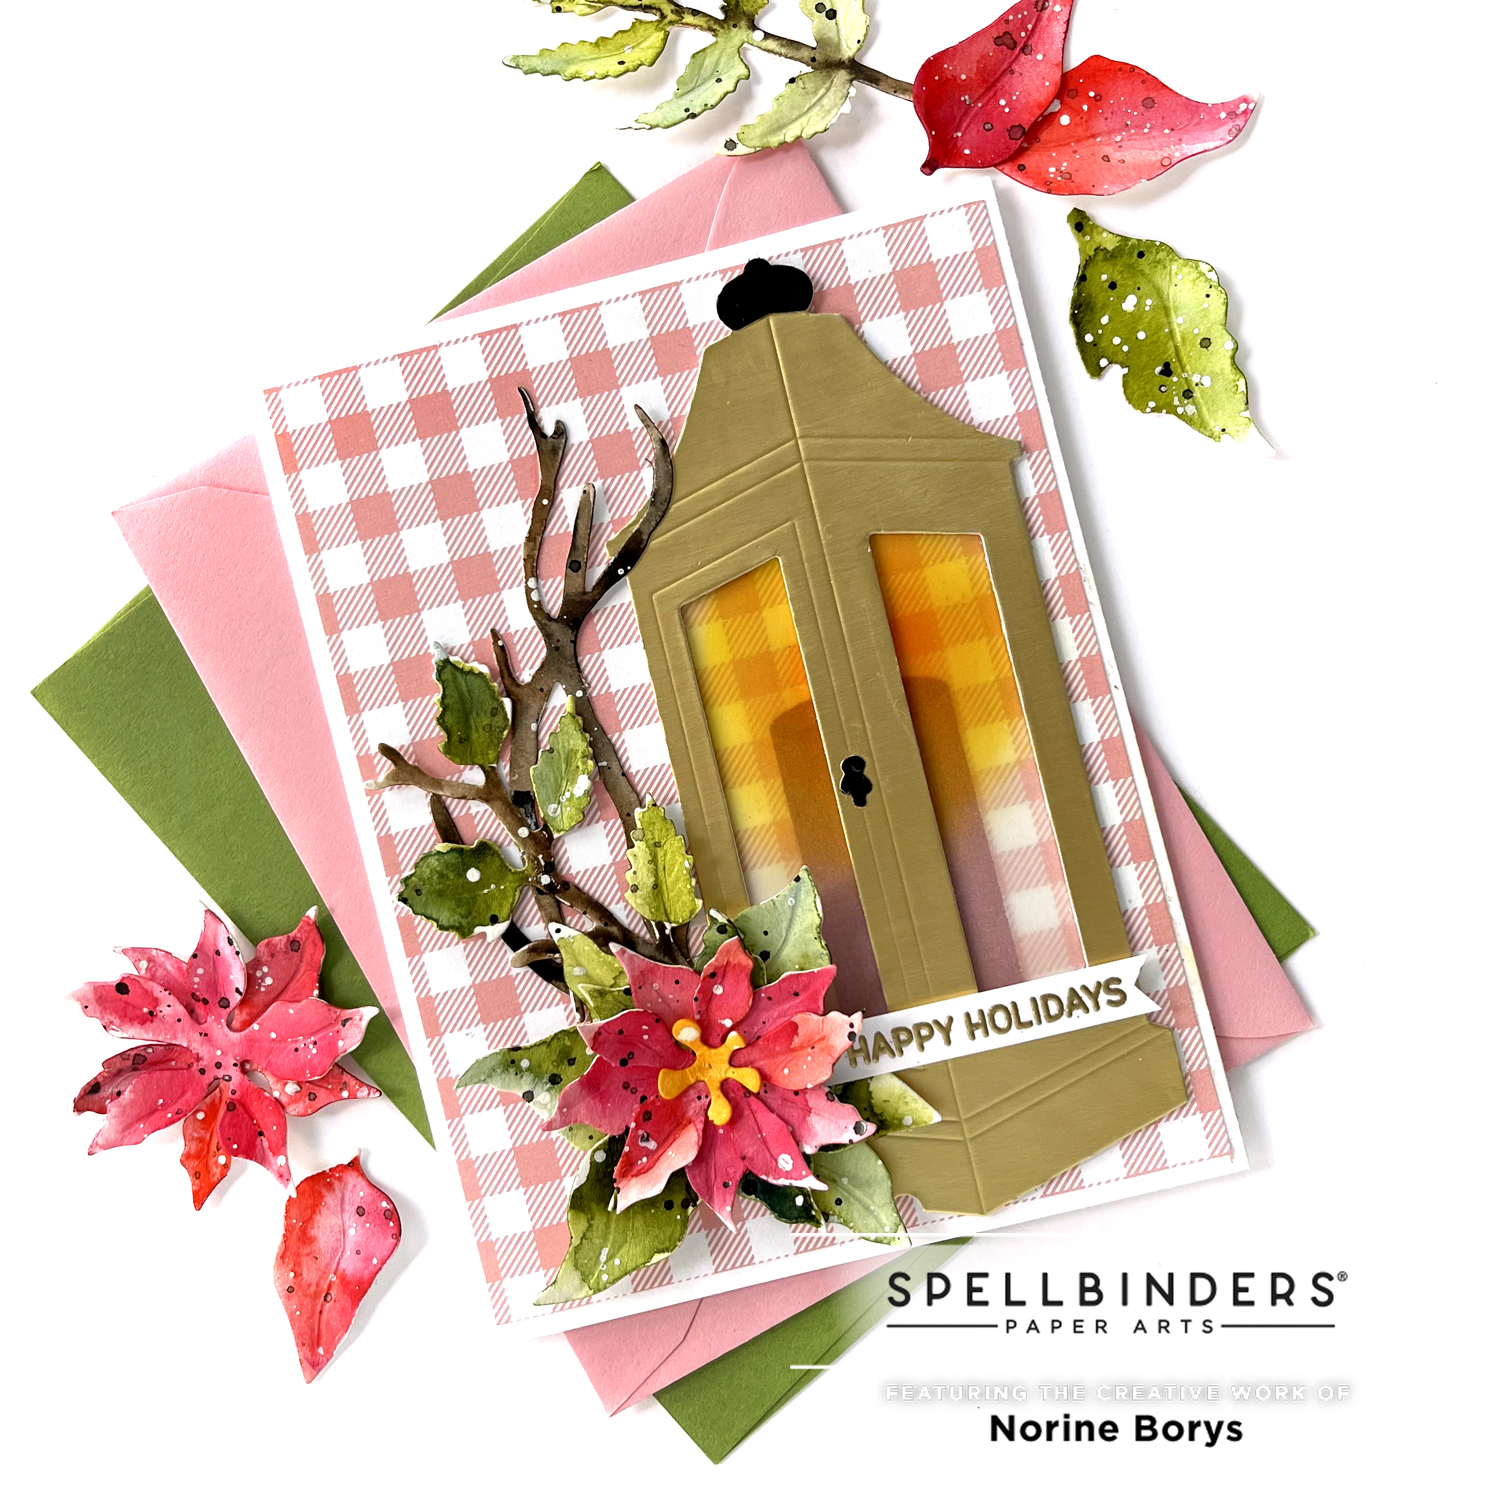
I die cut the components again from watercolor cardstock and painted them loosely and let them dry. Because of the size of the lantern I wanted to keep the poinsettia arrangement small so I cut the bottom layer die cut into individual leaves, and die cut more of the separate leaf dies and built a green layer beneath the red leaves using those. Then I stacked and shifted two of the small red layers and added the yellow center on top.
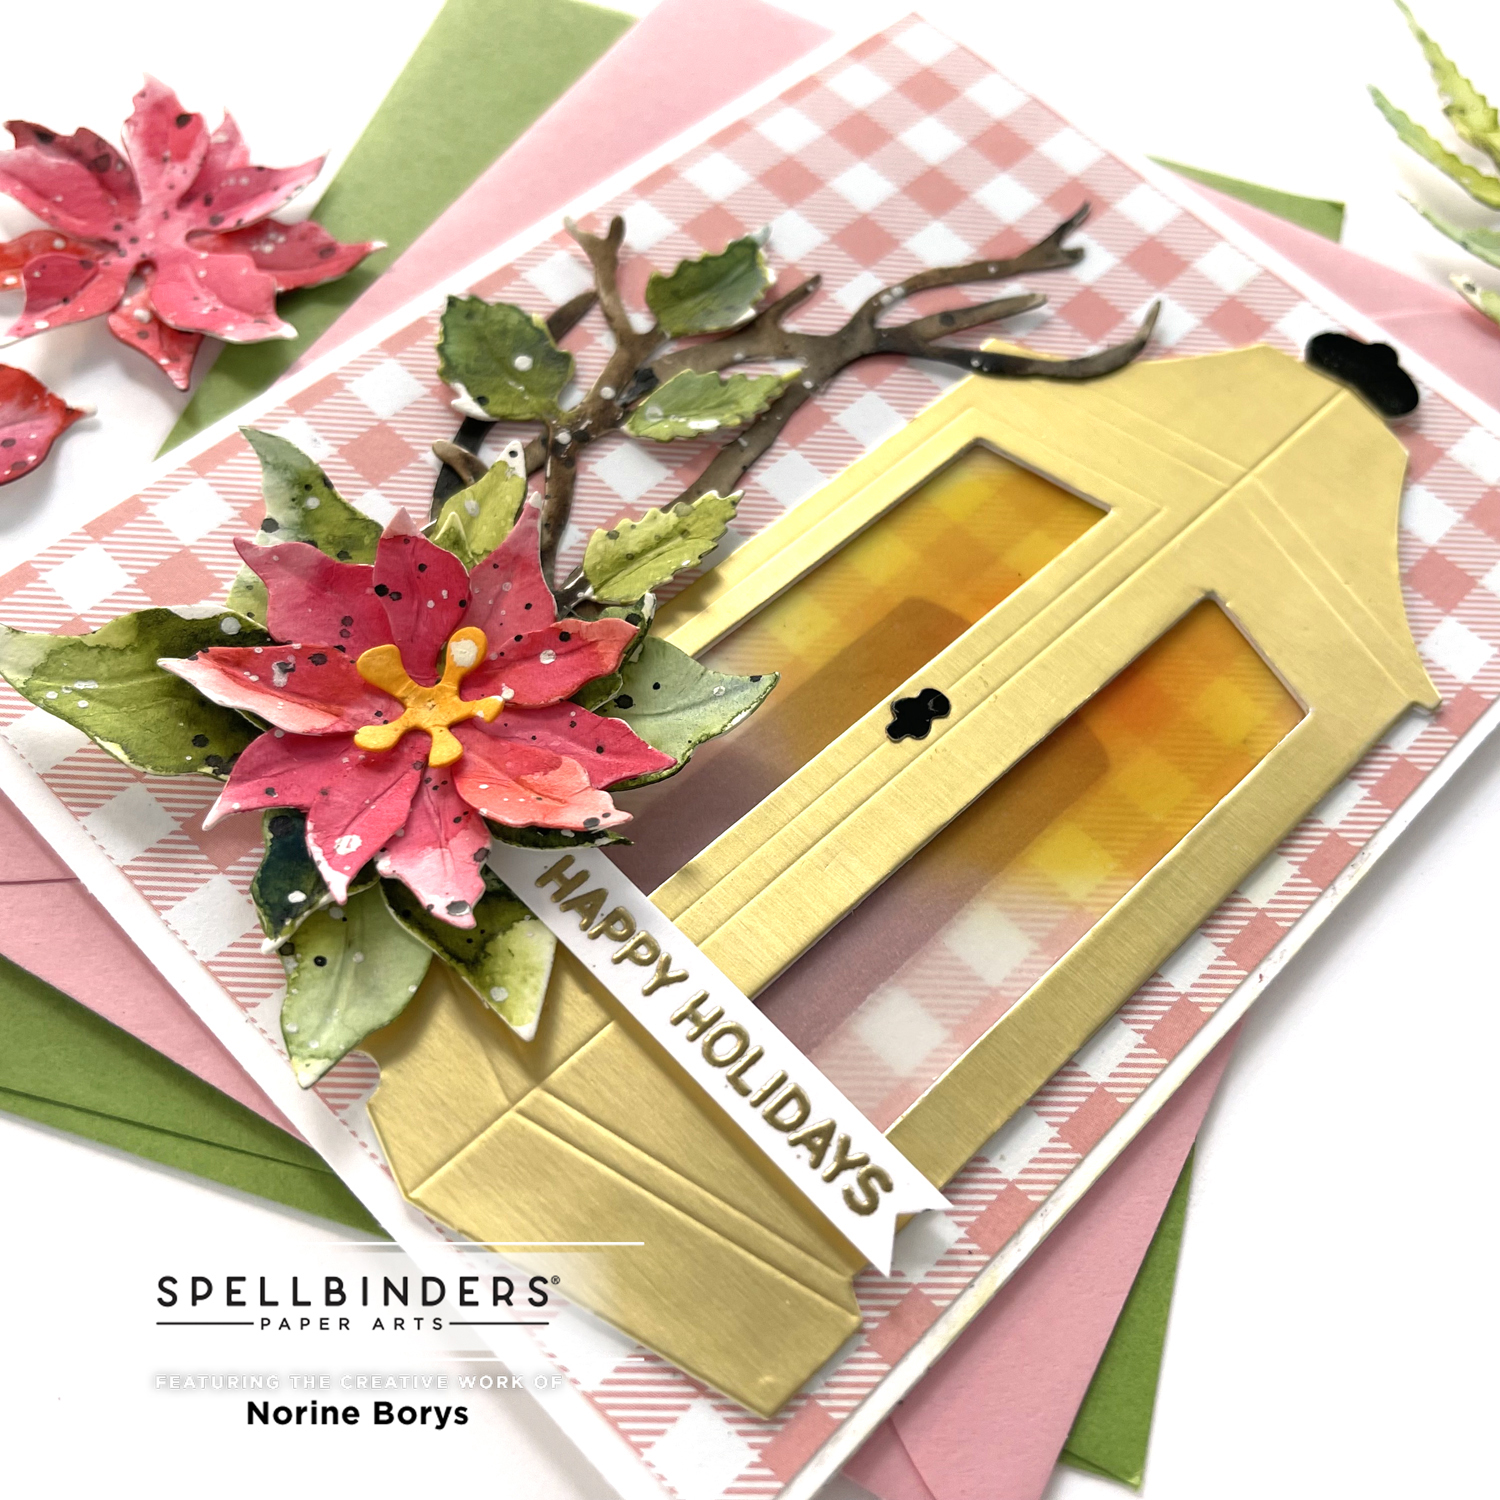
I adhered the smaller poinsettia overtop more of the Winter Bough leaves and twigs, then splattered them with black paint and white gouache again.
Next, I die cut the lantern from heavy gold cardstock, and the knob on top and the latch from black mirror cardstock. I cut a piece of vellum to fit behind the lantern openings and estimating where the top of the candle would be, inked on some yellow and orange ink to suggest a lit flame.
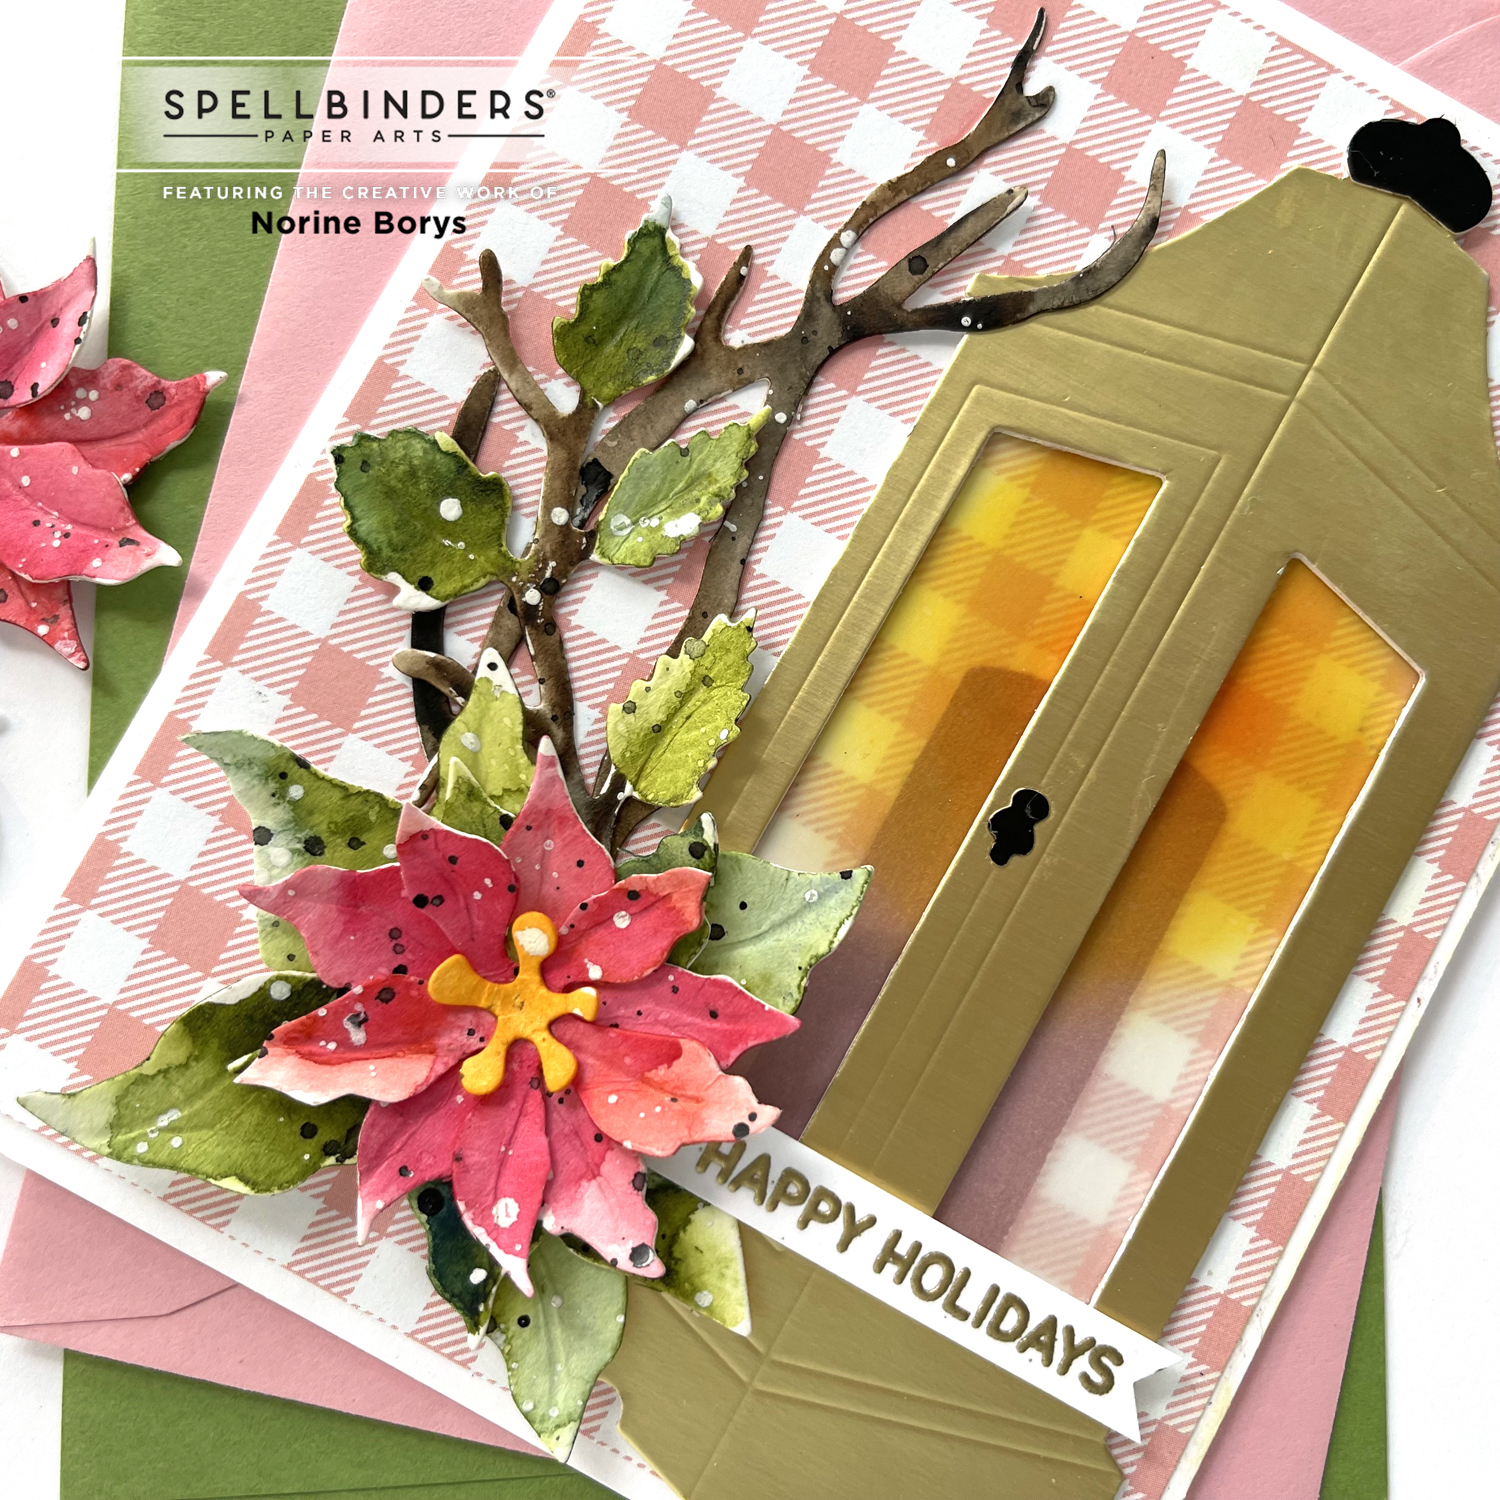
I stamped a Happy Holidays sentiment from another stamp set and heat set with gold embossing powder, then cut it to a narrow strip with fishtail ends and tucked it into the flower layers, with some foam adhesive behind for dimension. I tried layering everything over more obvious “holiday” patterned and colored papers, but nothing suited as well as the pink gingham, oddly and non-conformingly enough, so that’s what I went with!
Thanks so much for stopping by and have a wonderful day! If you are interested in products use, check out the links below.
SUPPLIES USED: