Hello, hey! I’m back today with a holiday card featuring the November Club kit from Spellbinders’ Clear Stamp and Die Club, called Around the Holidays. I’ve combined it with another Spellbinders’ die set from the Add to Cart Collection.
This post contains affiliate links that are listed below. By clicking through to purchase products linked, you are helping to support this blog at no additional cost to you and that allows me to continue to provide you with creative inspiration and instructive help.
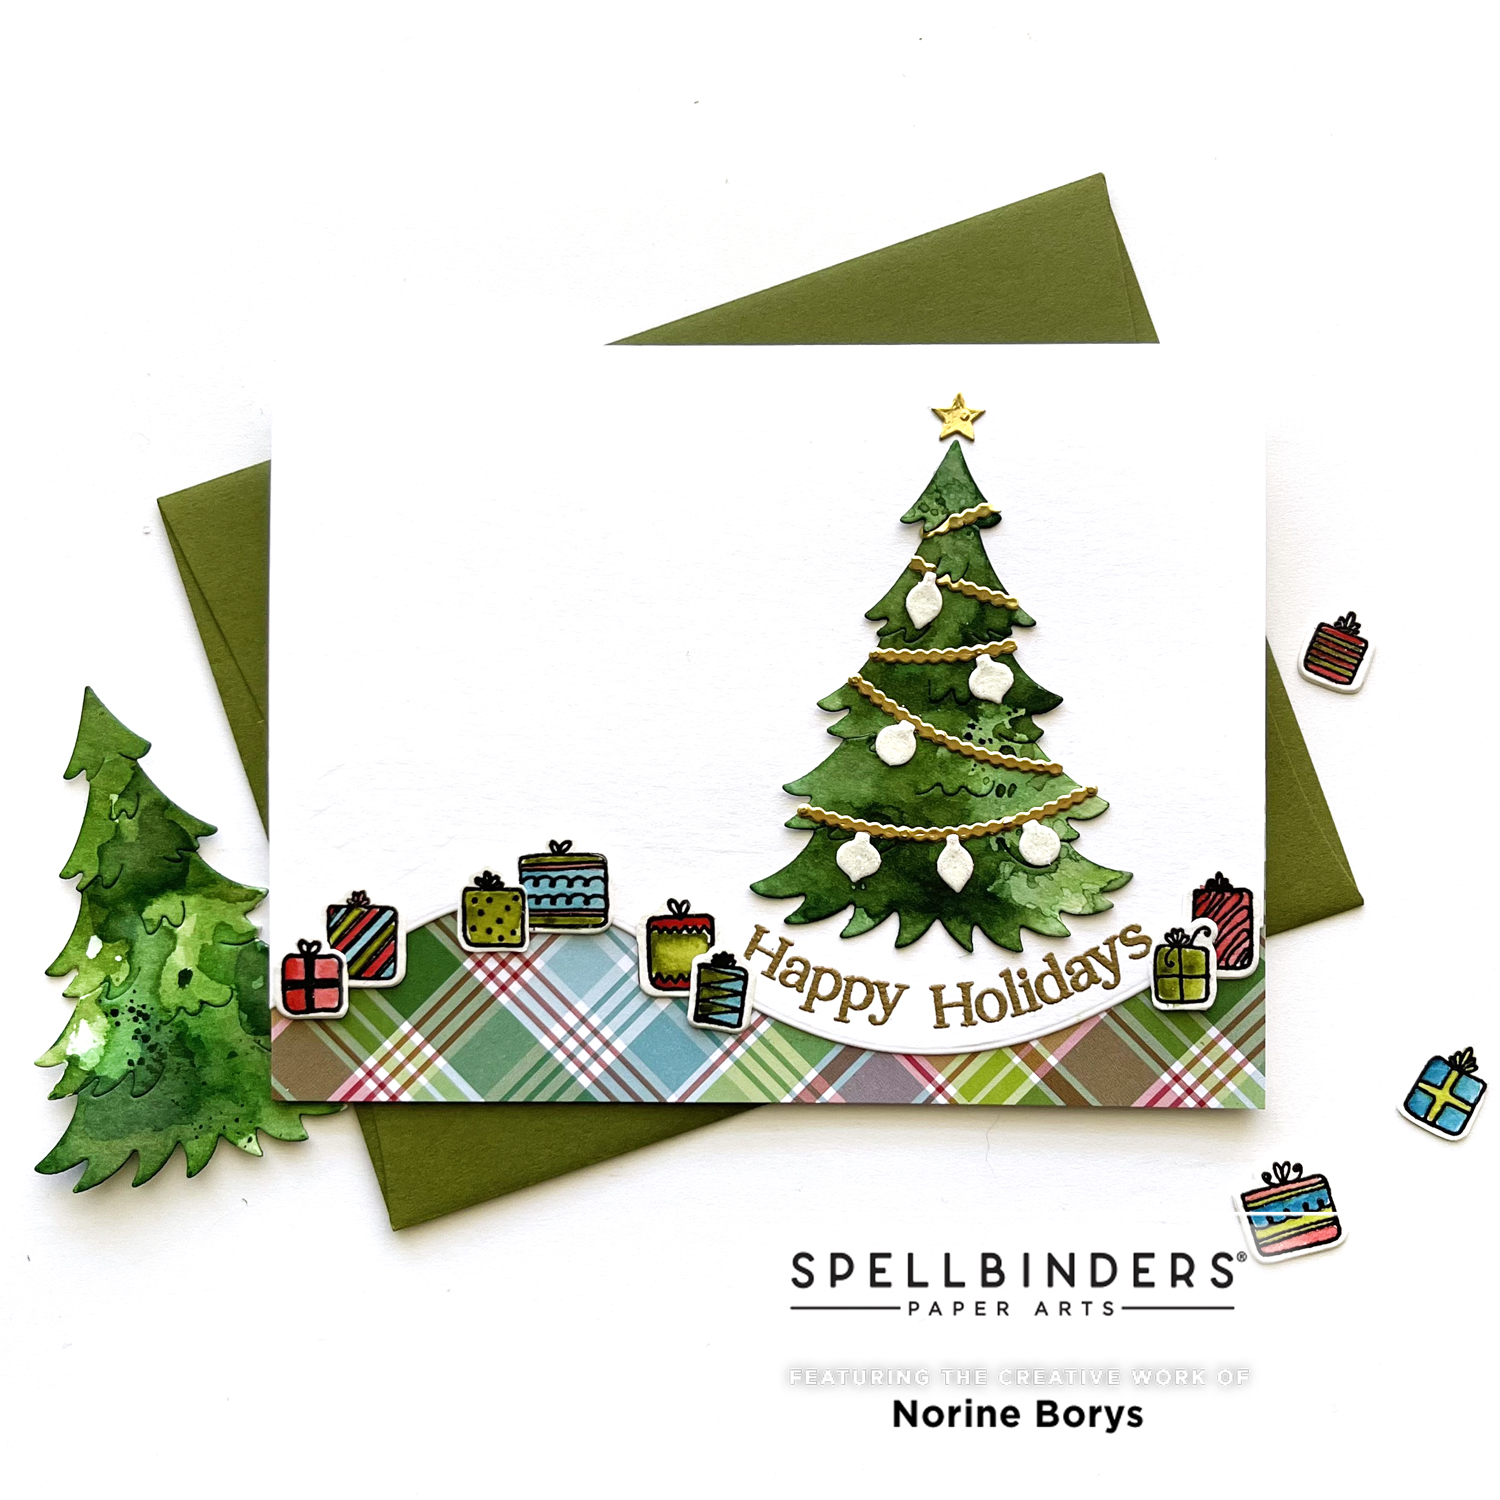
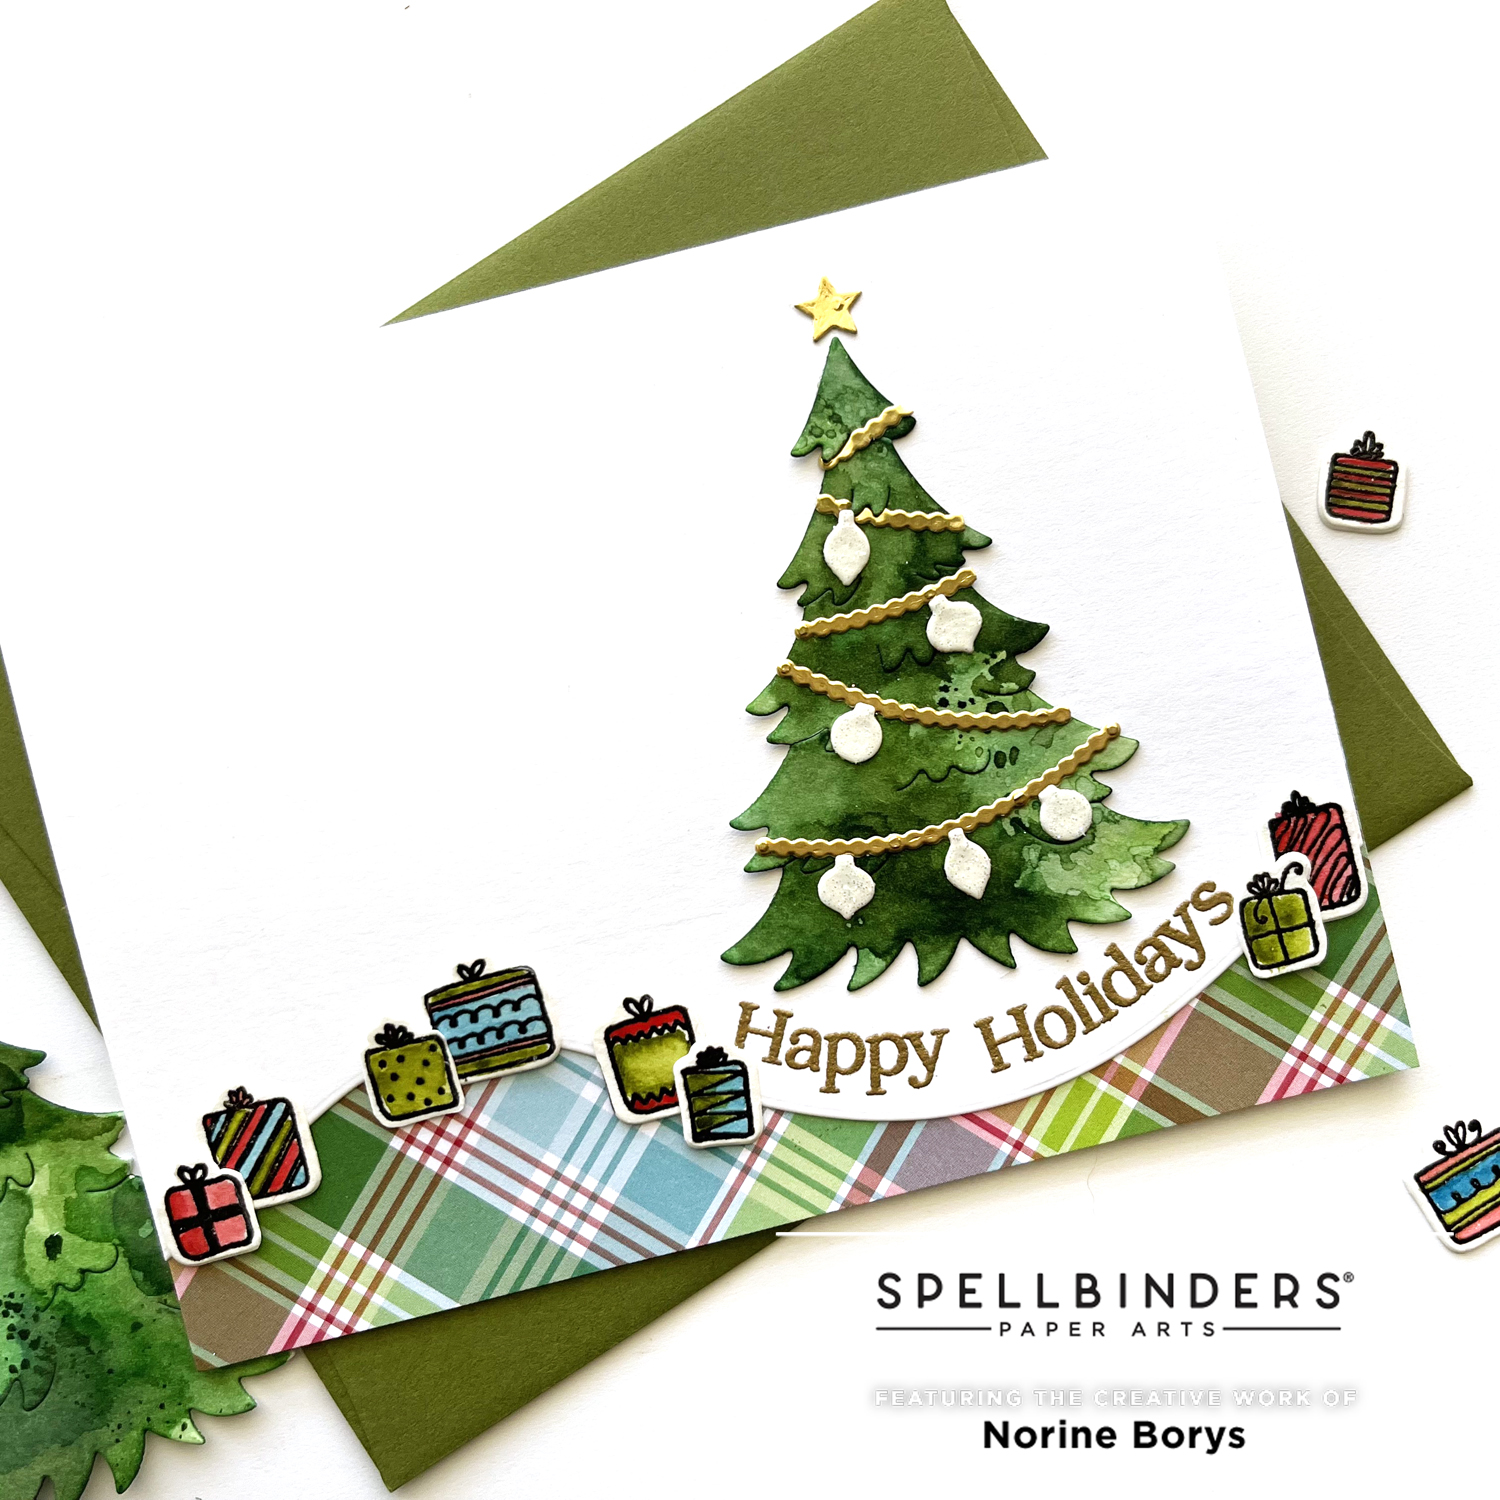
The part of the card that features the November Club kit, is the arched die cut on, the bottom edge of the white card front, and the wee stamped and die cut presents. The tree with star and ornaments is from the Shopping Cart & Holiday Presents die set.
I began by stamping the presents – the stamp is actually all of them in a line that follows the rolling edge of the die cut card front and the set includes two more similar images of a string of ornaments and a row of snowflakes. For this card, I stamped on watercolor paper with Versafine Onyx black ink and heat set with clear embossing powder to make painting such small images a bit easier by providing a slightly raised edge to contain the fluid paint.

Once painted and dry, I die cut each of the presents using the coordinating dies, and set them aside. I die cut the tree from watercolor cardstock as well and “painted” it by smearing three different shades of green Distress inks on a paint palette and spritzing with water. Then I lay the tree face down in the paint repeatedly, drying with a heat tool between each repetition.
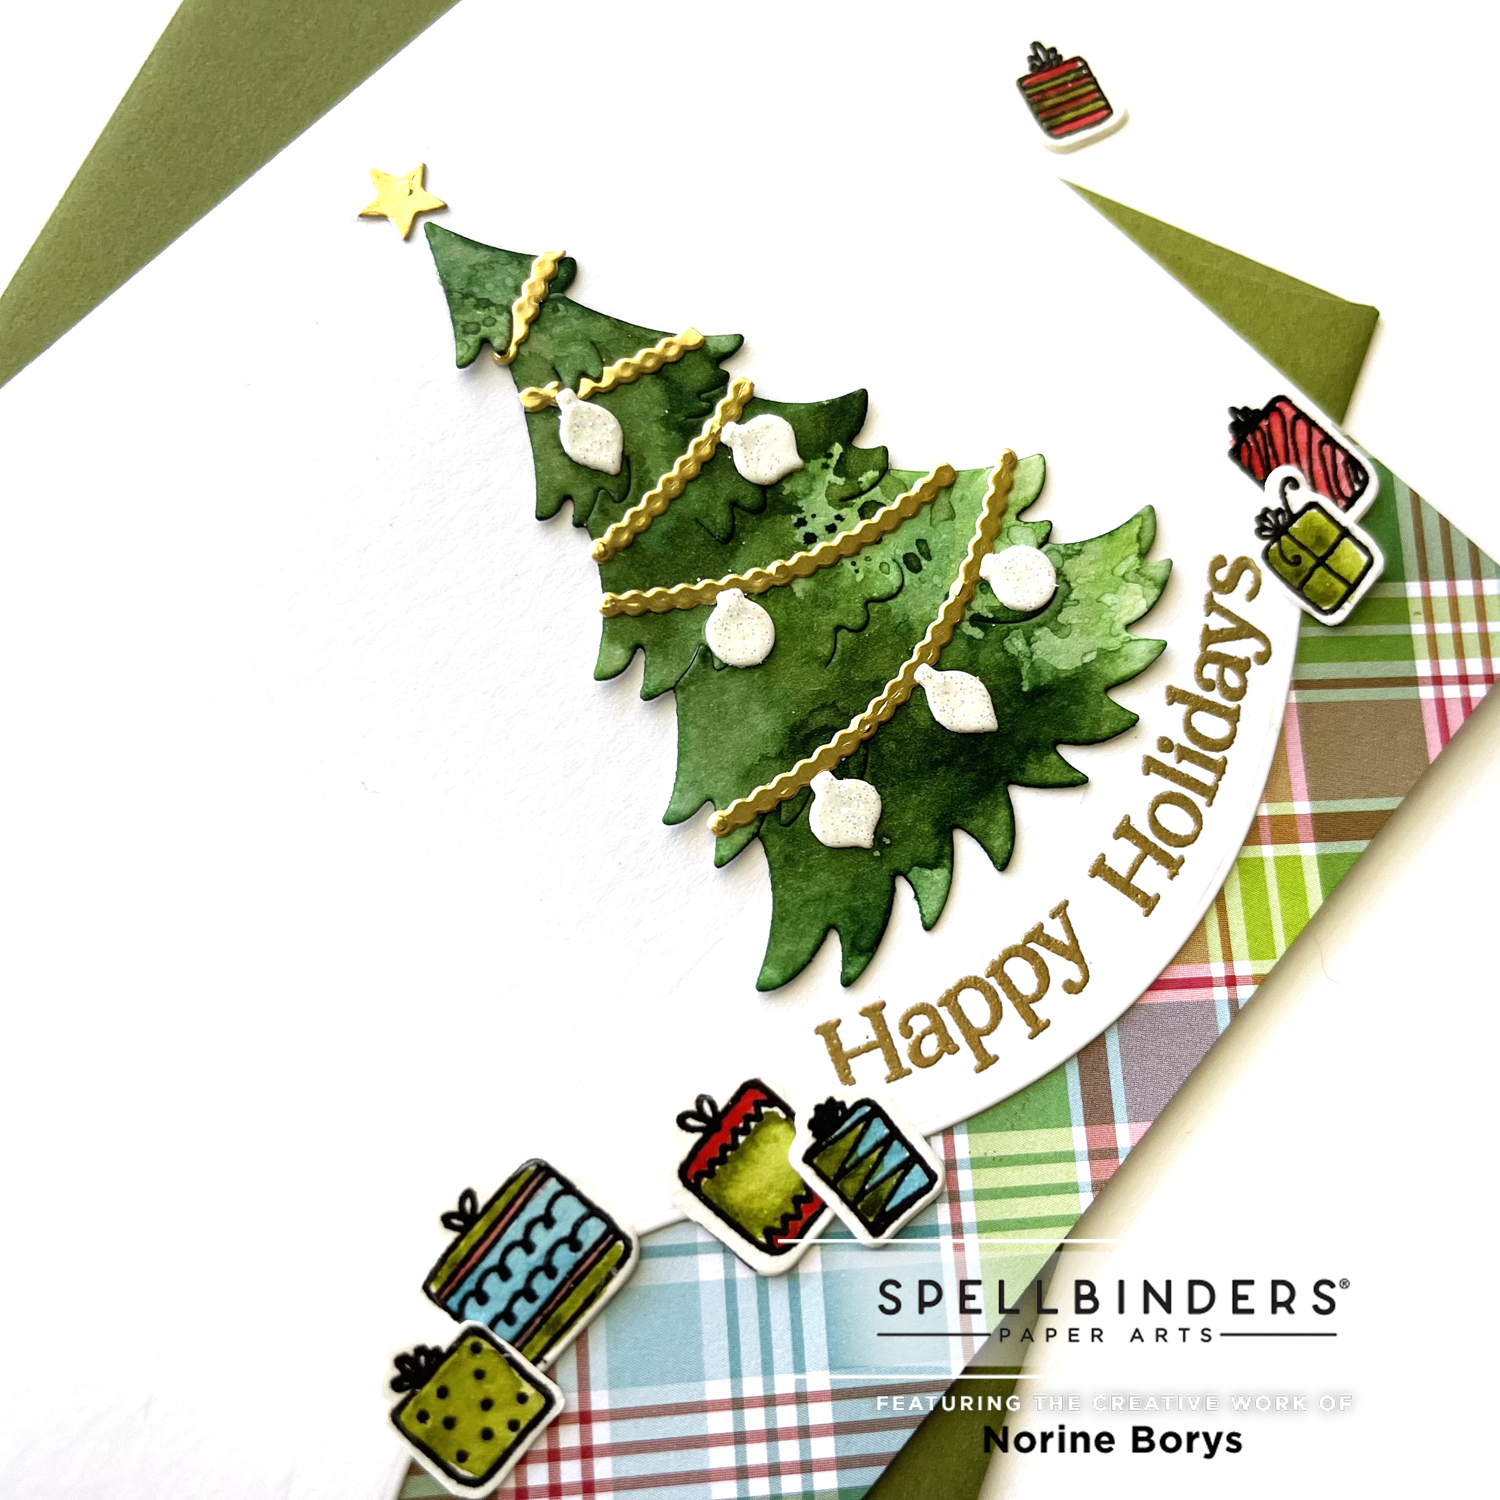
While the tree dried, I die cut the gold garland and star from gold foil cardstock, and the ornaments from white glitter cardstock. I assembled each of the pieces and adhered them in place on the tree.
I die cut the bottom edge of the card front and backed it with a piece of patterned paper from the My Favorite Things Cheerful Plaid paper pad, then stamped one of the sentiments in the stamp set, positioning it to follow the arc of the die cut card front. Then I placed the die cut presents along the die cut edge.

Thanks so much for stopping by today! You can see more of the monthly subscriptions available at Spellbinders by clicking here. Have a wonderful day!
SUPPLIES USED: