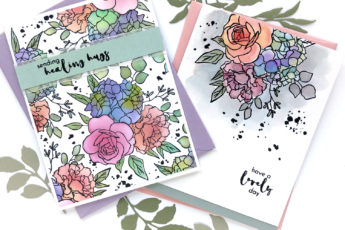
Hi, hello! Ohhhh you guys….have I some great news for you! I don’t know if you’ve ever played with water-soluble gel crayons of any kind or brand, but I have a few times! Recently, Spellbinders sent me some products from their Jane Davenport Artomology line, including the Colorstick Gel Crayons and let me tell you, they are deLICious to use!!

I had to try them a few different ways and so obviously, the result is going to be a fresh stack of cards! Let’s start with the first two. Spellbinders was also kind enough to send me some stamps and dies to work with, and for these cards I was all over the Floating Feathers stamps, also part of the Jane Davenport Artomology release.

Before we start, can we just make note of the fantastic packaging of the crayons?? Each is in it’s own cute triangular shaped (so it doesn’t roll off the table) lipstick tube! I love that!
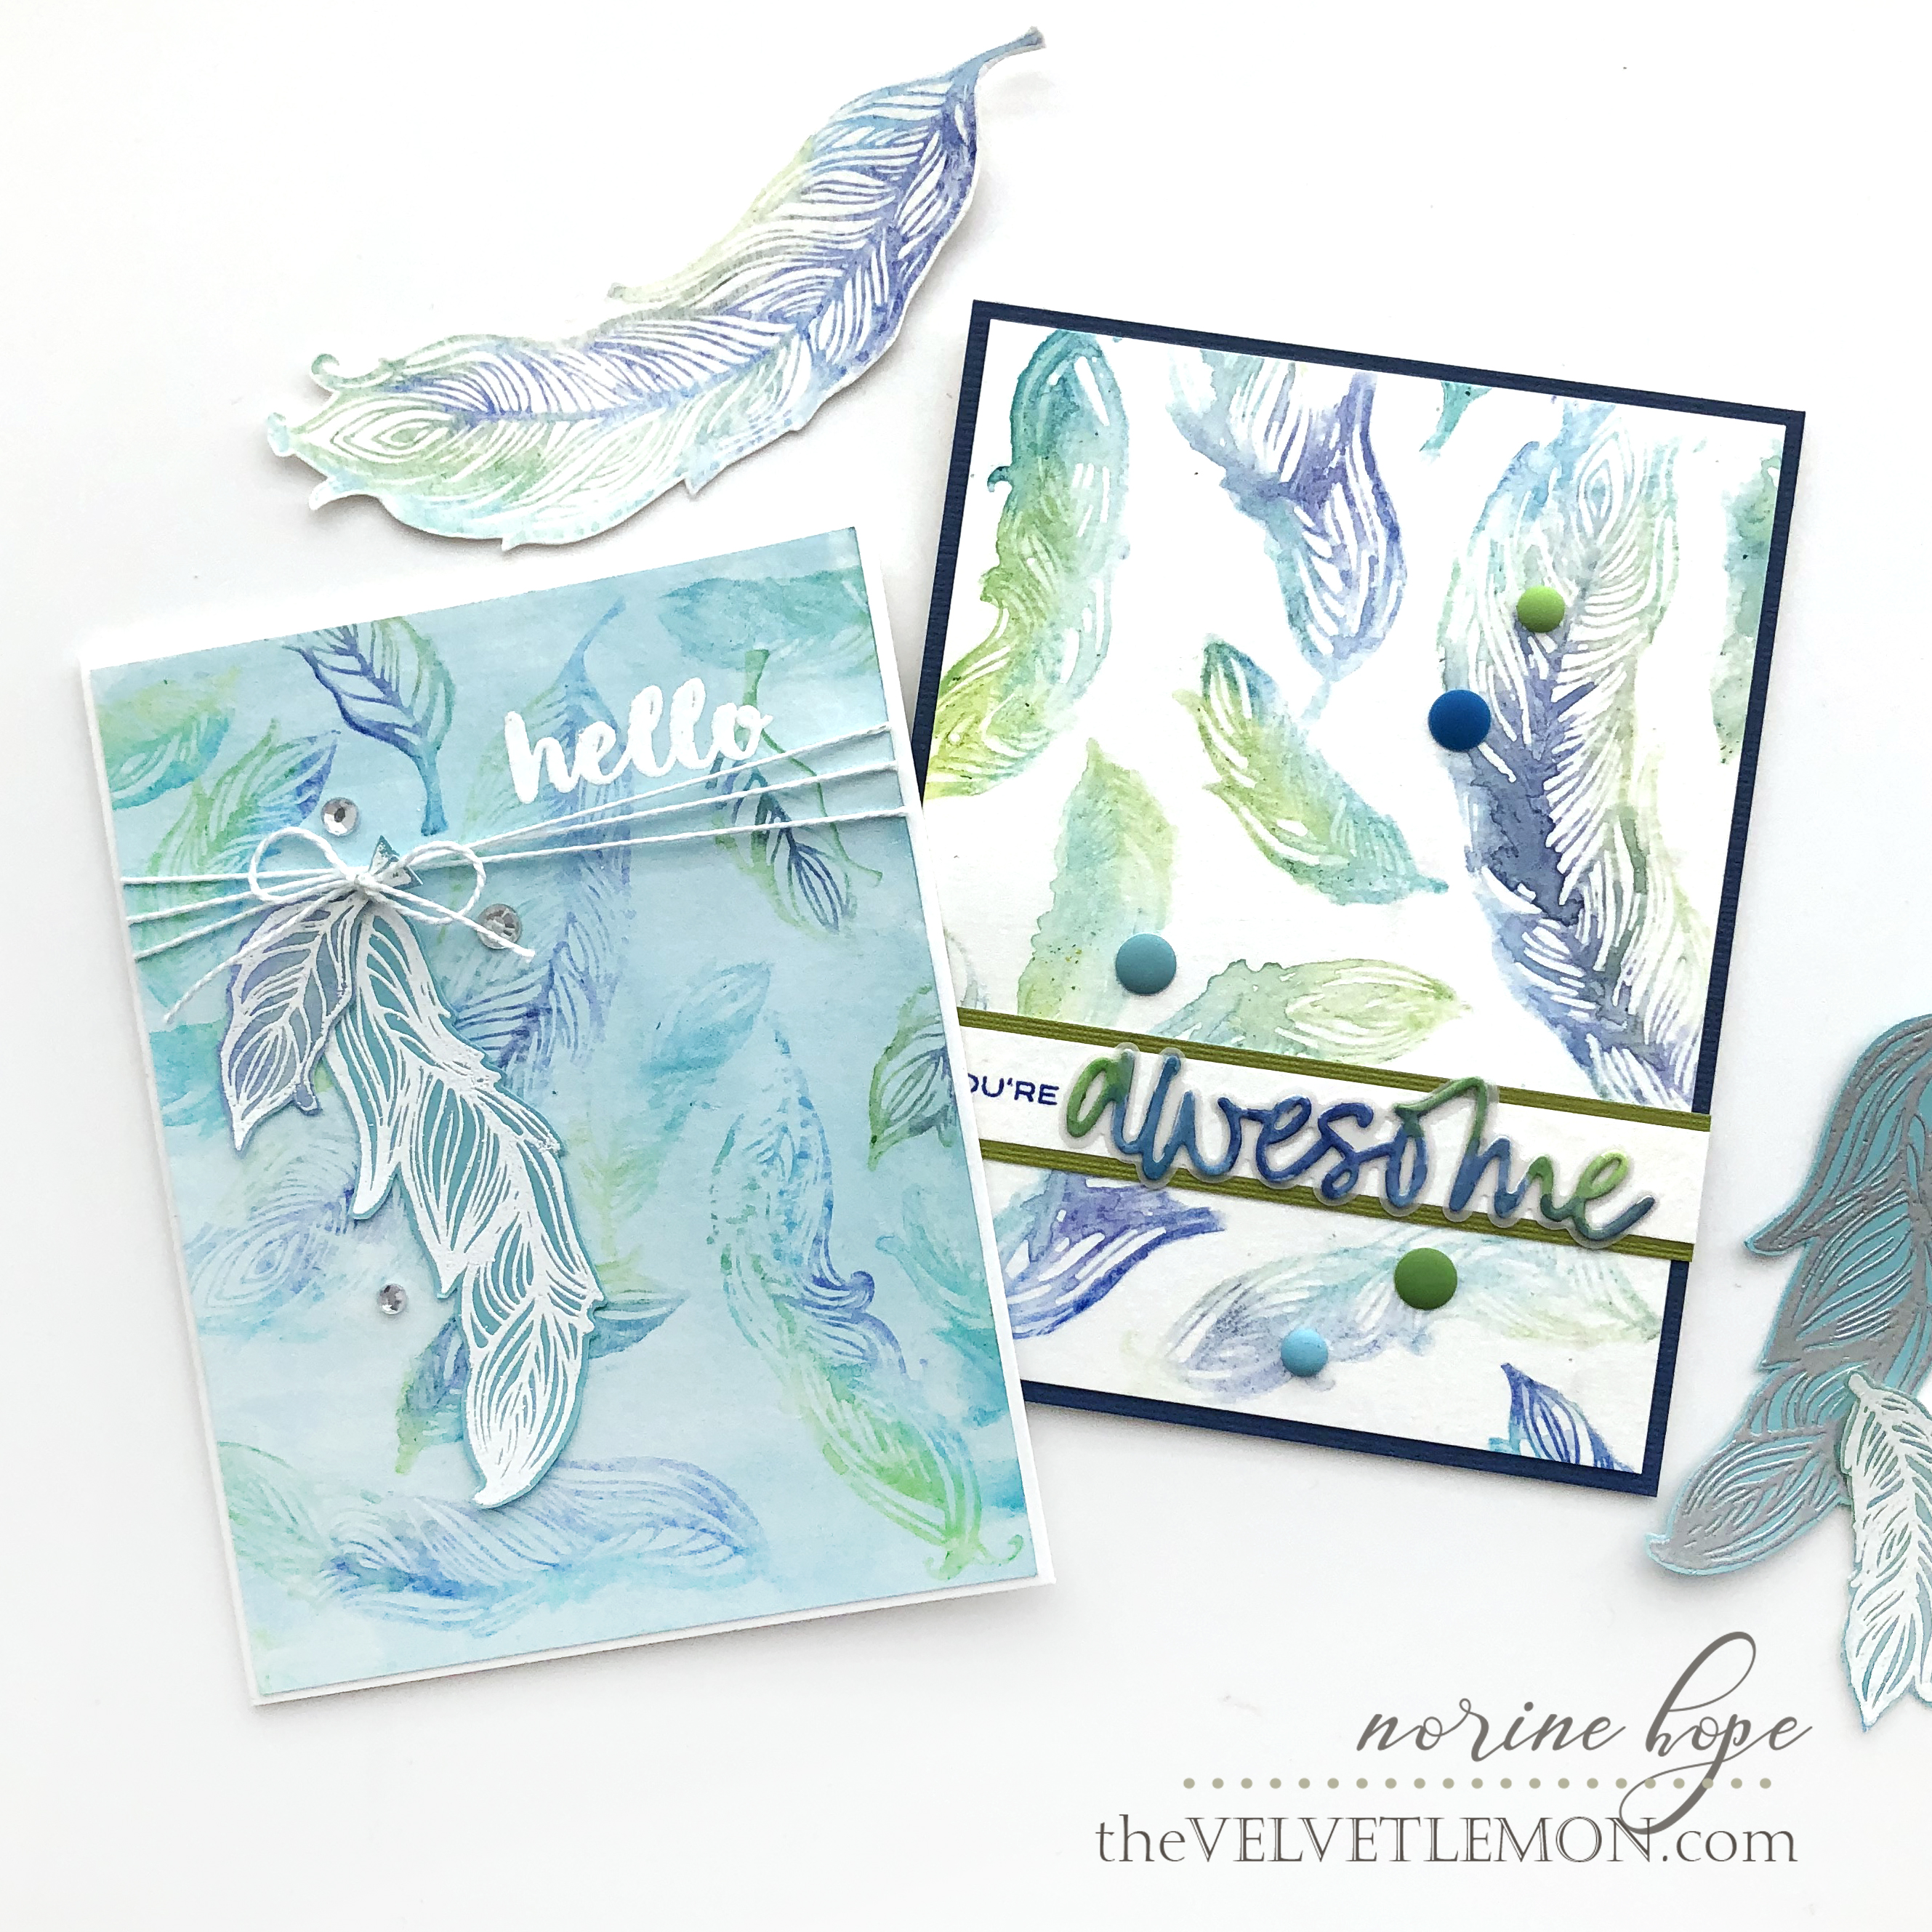
To create the feather card above, I used a technique that I have long loved to do with any kind of gel crayons. I colored each of the feather stamps in a patchy fashion, directly with the crayon straight onto the stamping surface of the stamp, with 3-5 different colors of crayons from lime green to indigo. Then I spritzed the stamp with a water bottle and stamped down on watercolor paper. The first stamping is always more vibrant and often more distinct, but I lightly spritz again and stamp a second time on another piece of watercolor paper.

Because the images stamped on the first piece of paper are very strong, I also spritz the paper lightly before the original pigment has a chance to fully dry. This softens the edges and blurs some of the lines in a way that I really like. For this card, I also colored directly with the same colors of crayons onto some watercolor paper, then blended the colors with a wet paintbrush, and once dry, die cut the word “awesome” from the colored paper. I mounted the watercolor paper die cut onto another vellum die cut and adhered both to a stamped strip of watercolor paper for the sentiment.

I edged the sentiment strip with some thin coordinating cardstock strips and embellished the card with matte enamel dots by Doodlebug Design.

The second feather card started off as the 2nd stamping of the colored and spritzed stamps. You can see the less distinct lines and shapes that are produced. For some variety, and to test the gel crayons a little bit, once the feathers were completely dry, I colored the crayon onto my craft mat, and used a wet paint brush to pick up the pigment to paint with. I covered the entire piece of watercolor paper this way, allowing for more intense color in some spots and less in others.

To create the feather embellishment shapes, I stamped the feather images onto watercolor paper, heat embossed with white embossing powder and then fussy cut them out. Then I painted them with other crayon color combinations, and let them dry.

For this card, I stamped the “hello” from the Spellbinders Sentimental Words stamp set with Versamark ink and heat embossed with white embossing powder, adhered the hand cut feathers and wrapped the card panel with white embroidery cotton, then tied it in a bow. A few rhinestones complete the card.

Next up is a couple of cards that still use the Colorstick gel crayons, but this time I’m watercolor painting with them. These gel crayons are SOOO thick, rich and creamy that coloring with them on a craft mat and adding a little bit of water gives you a gorgeous consistency of paint to paint with.

For the Spellbinders Mum’s the Word die card, I die cut the bloom from watercolor paper and covered the back with Press & Seal before painting. That way, the paper pieces that will be popped out, have color on them and are still adhered to the Press & Seal, just waiting for another project down the road.
I painted the watercolor paper with shades of the blue and green crayons, then die cut the leaves after the paper dried. To accomplish the painted pattern and color mix, I popped out the leaf centers from one die cut and inserted it into a second identical one, mixing them up back and forth. It’s a cool effect, I think.

Then I painted the background watercolor paper panel and stamped the sentiment from the Sentimental Words stamp set, with Versamark ink and heated with white embossing powder before adhering all the layers to a card base.

The last card is quick and simple and uses only the leaf dies from the Mum’s the Word die set. I die cut them from white cardstock and left the outline pieces in place by taping them in place on the back. Then I put the card panel into the MISTI with the individual word stamps positioned where I wanted them, and stamped with Versamark ink and heat embossed with silver embossing powder.

The next step was then to approximately position the top panel over a piece of watercolor paper and mark where I wanted color to show through, then painted those spots with a quick splash of three different colors of the crayons.

Once dry, I backed the card panel with lots of foam tape and popped it up over the watercolor panel. I chose a piece of silver metallic paper (from my stash – sorry) to mat the card panel, to match the silver embossing and added a few rhinestones to finish it off.
Guys, I am totally in love with these Jane Davenport Colorsticks from Spellbinders and look forward to playing with them again soon!! Thanks for stopping by and enjoy the rest of your day!