Hey, hello! Have you had your fill of turkey leftovers and cyber shopping and now you’re ready for a new diversion?? Well it’s DieCember at Simon Says Stamp and you KNOW that means a bunch of awesome new dies!
This post contains affiliate links listed below. Thank you for clicking through on any of my links. Your purchase helps to support this blog at no additional cost to you and allows me to continue to provide creative inspiration and instructive help.

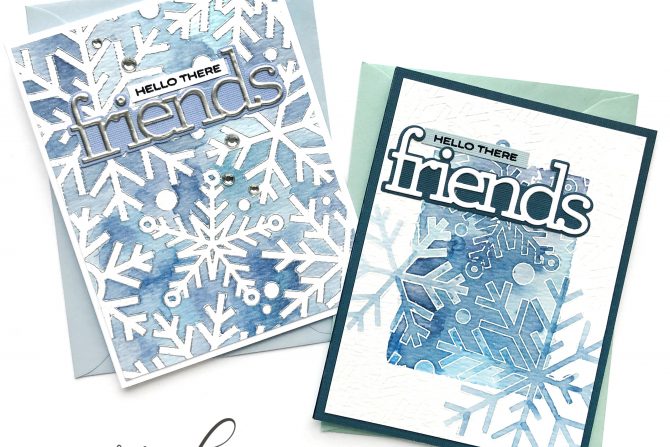
I used a couple of background stamps as well for my projects today, but the new product common to every project is the CZDesigns Friends die! There are no end of “friend” dies available in the SSS store, but I love that this one finally lets me send a greeting from all of us to more than one of them.

For my first card, started by stamping an A2 sized watercolor panel with the Outline Snowflakes stamp and heat embossing with white embossing powder. Then I did the old acrylic stamping block trick where you rub one side of the block with 3 or more colors of ink (I used Tim Holtz distress inks), spritz the block with water then press it down onto the stamped watercolor paper and leaving it for a few minutes with something heavy to weight it down.

After removing the inked block, I used more of the same inks (smooshed onto the same acrylic block again) to paint a select few of the snowflakes overlapping the edges of the center block. (If there were any areas left blank from the block, I simply added some paint with my brush and let it blend in.

I die cut the word “friends” from watercolor paper (for a perfect match) and backed it with a navy blue cardstock (the same cardstock as the card front) silhouette die cut. I stamped “hello there” onto a strip of coordinating cardstock and heat set with black embossing powder.

I used the same Outline Snowflakes stamp for card #2 and this time I heat embossed with silver embossing powder.

Instead of painting inside the snowflake outlines, I painted the background using the same Tim Holtz distress colors as the card above, and letting them blend together.

I die cut the word “friends” from heavy white cardstock, then covered the top surface of the die cut with a Versamark clear ink before covering it with more silver embossing powder. Once heat set, I repeated that step a second time to achieve a thicker, smoother finished embossing effect!
I backed the word with another silhouette cut from a coordinating shade of scrap cardstock, stamped the “hello there” again, onto white cardstock with black ink and clear embossing powder. A few clear rhinestones finish this card nicely!

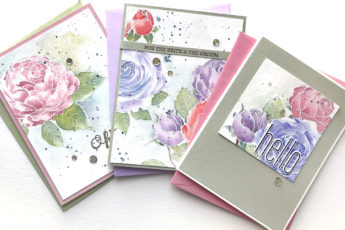
My last card featuring the “friends” die cut, also showcases the Gift Boxes stamp (currently out of stock but you can hit the notification button to get an email when it’s back in stock).

I used Mijello Mission Gold watercolor paints to paint this card front, but wanting to keep the die cut greeting a focal point, I chose to keep the color scheme subtle but vibrant with only two shades – olive green and burgundy red. Both colors are a mix of several reds and greens, with a little black added to give them a more serious tone.

This time the “friends” is die cut from black glossy cardstock and backed with a silhouette layer of vellum. I stamped an additional greeting with the CZDesigns Clean Line Gratitude stamp set on black cardstock and heat setting with white embossing powder.
Thanks so much for stopping by and have an amazing day!
Supply List:


