Hey, hello! I’m thrilled to be joining Pinkfresh Studio again for a release blog hop and I have a ton of inspo to share! You should be arriving here from Nichol Spohr’s blog, and if not, simply click back to the start of the hop at the Pinkfresh Studio blog.
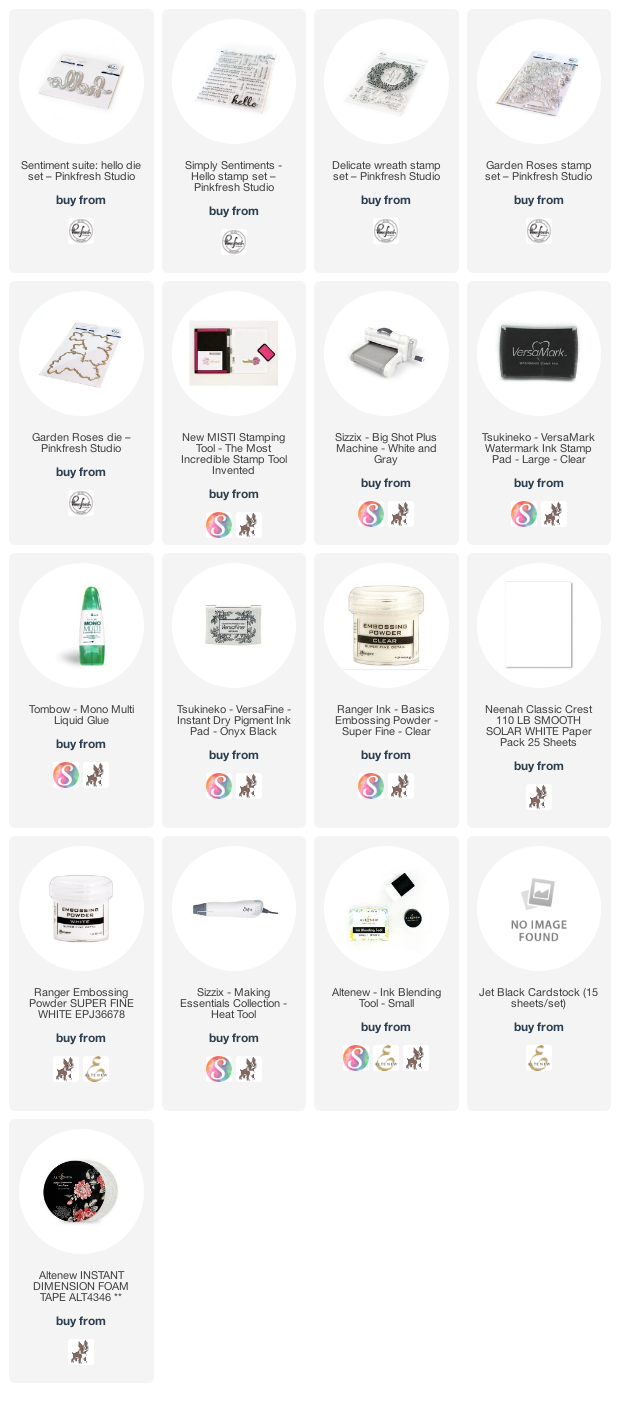
This post contains affiliate links that are listed below. By clicking through to purchase products linked, you are helping to support this blog at no additional cost to you which allows me to continue to provide you with creative inspiration and instructive help.
The first pair of cards are ones I’ve been dying to share since the dies were delayed/pulled from a previous release, but today I can, so count that as a Day Made event!
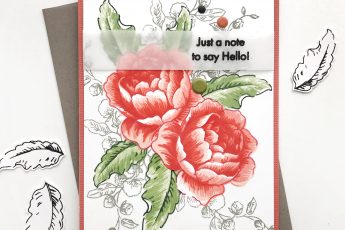
I used the smaller sized Blanket Stitched Slimline dies to make these cards, and I started by stamping the Garden Roses floral stamp onto a full sized 8.5”x11” sheet of cardstock. I stamped in the middle of the paper to allow positioning of the die any which way it looked best.
Once colored with Copic markers (colors listed below) I played around with the blanket stitched die until I was happy with the division of the complete floral design. Then I sliced the stamped image in half with the paper trimmer, and ran each side through the die cutting machine to create perfect slimline card panels. A perfect way to get two cards for the effort of one!
I stamped greetings on each with Versafine Onyx Black ink and heat set with clear embossing powder. The “sending smiles & hugs” is from the Garden Roses stamp set and the “hello friend” is from the Delicate Wreath stamp set. I matted the card panels with coordinating grey cardstock and added some enamel dots to complete the cards.
Copic Colors: Roses: R89, R85, R83, R81, RV10. Leaves: BG99, BG96, BG93, BG90, V12, BG72.
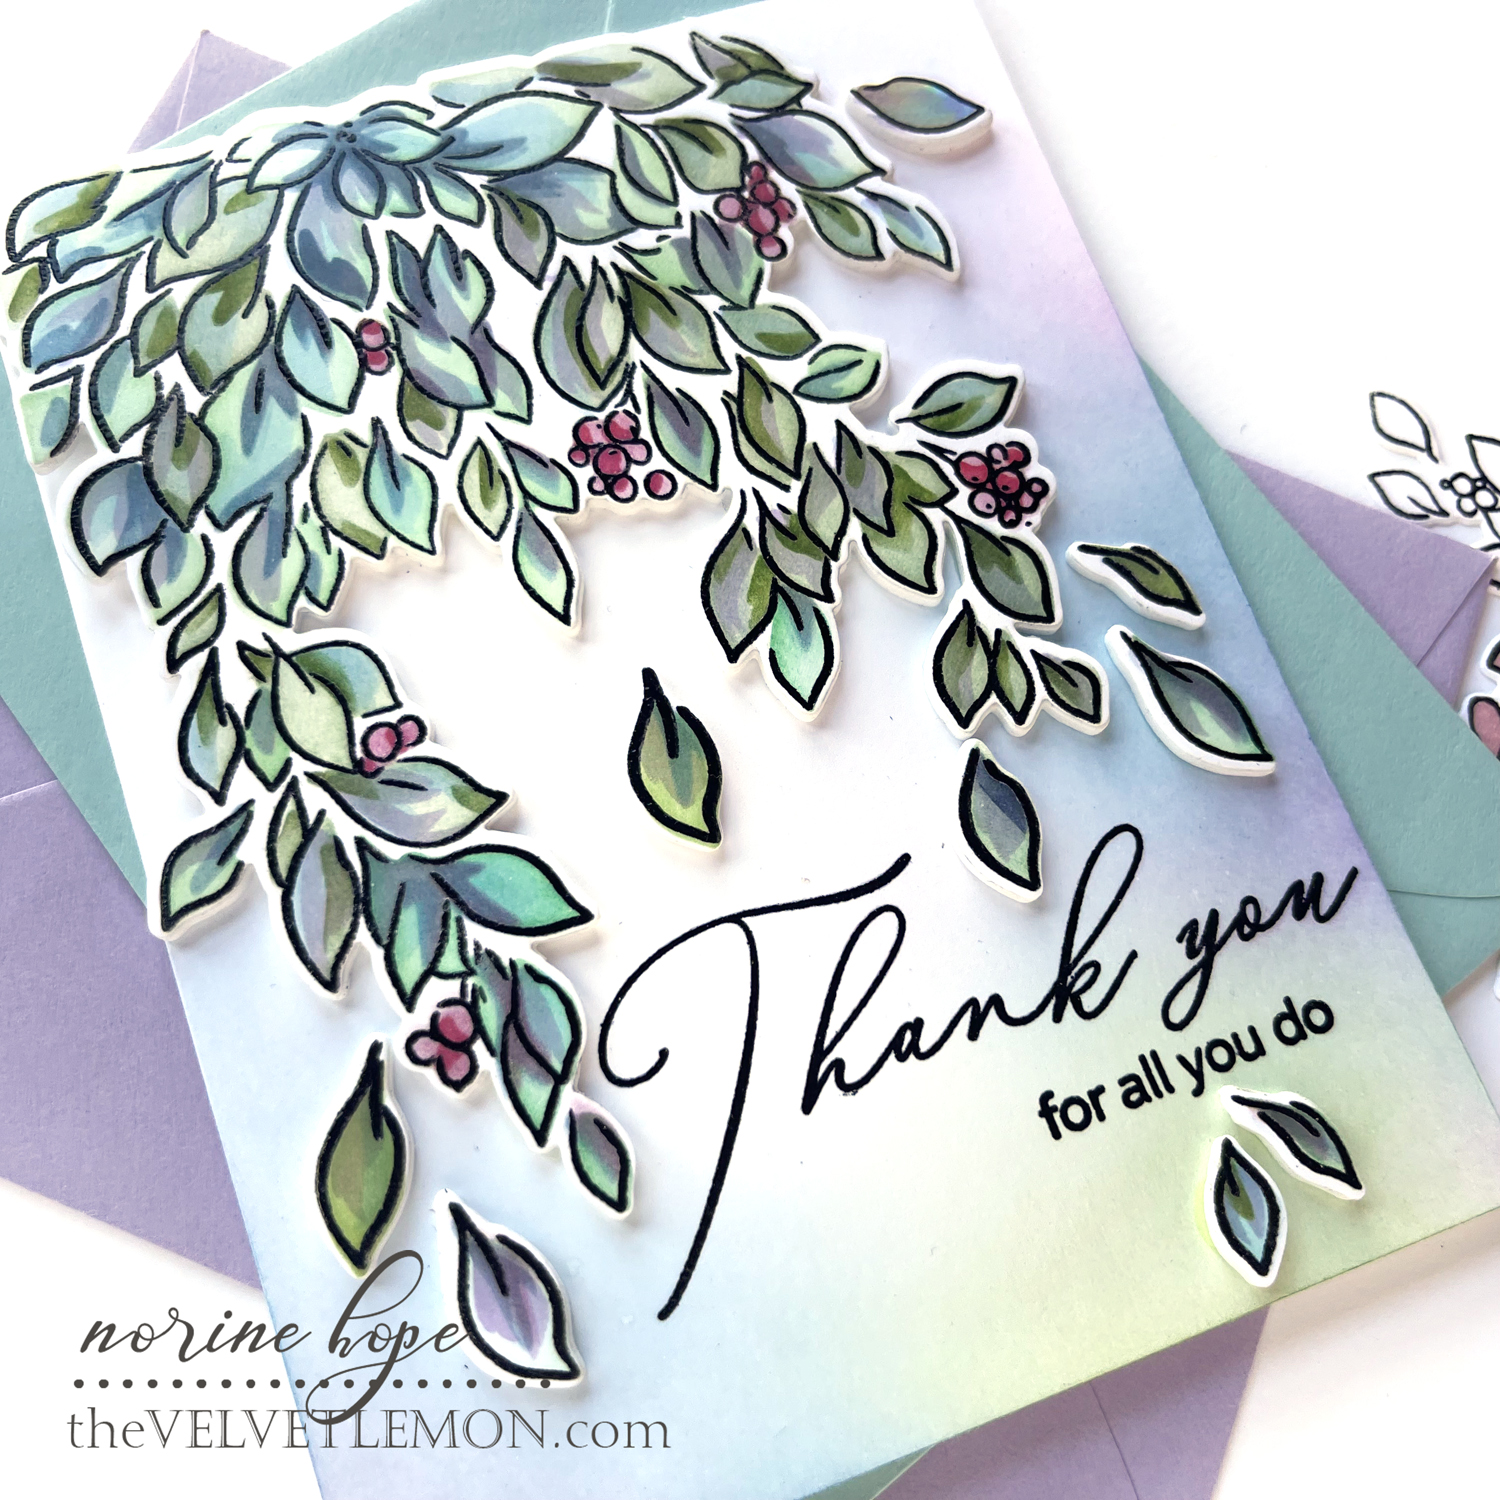
Next up is a card that showcases the In The Meadow stamp, die, and stencil set.
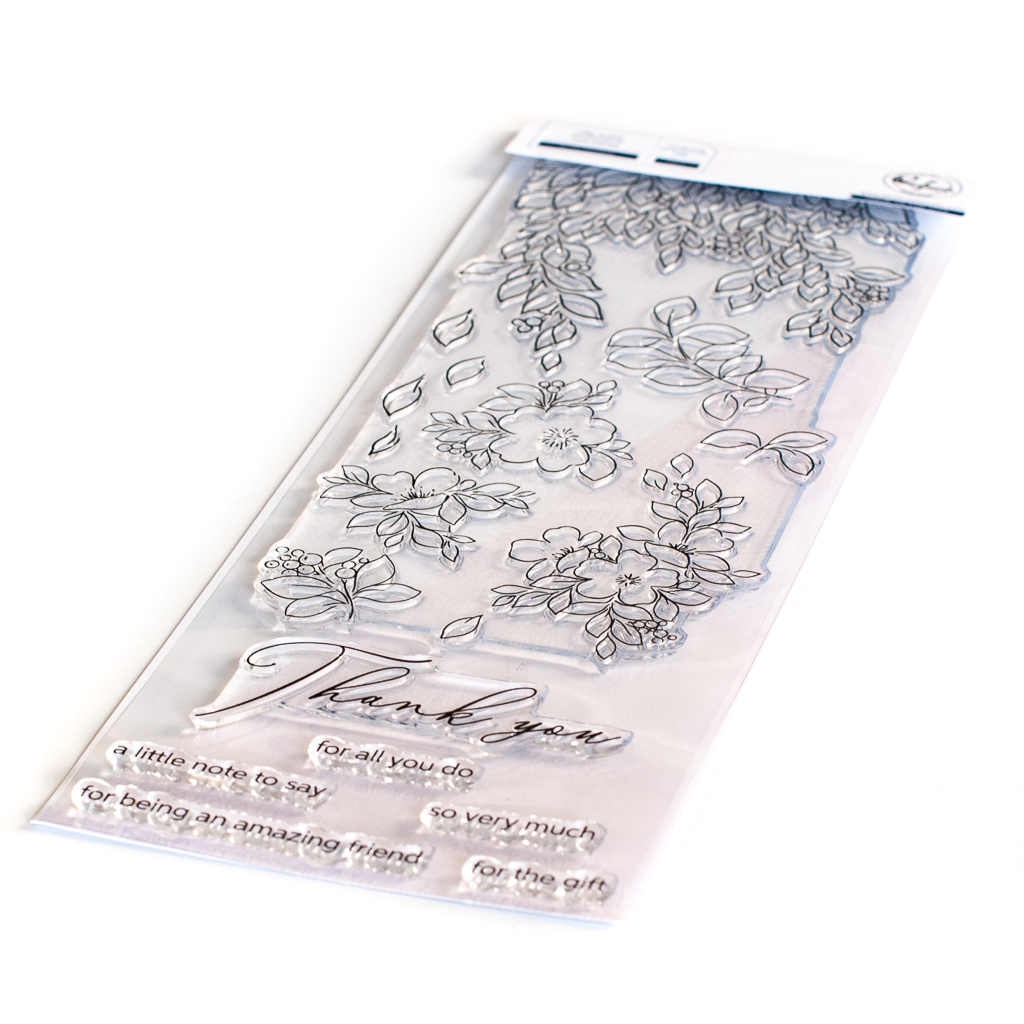
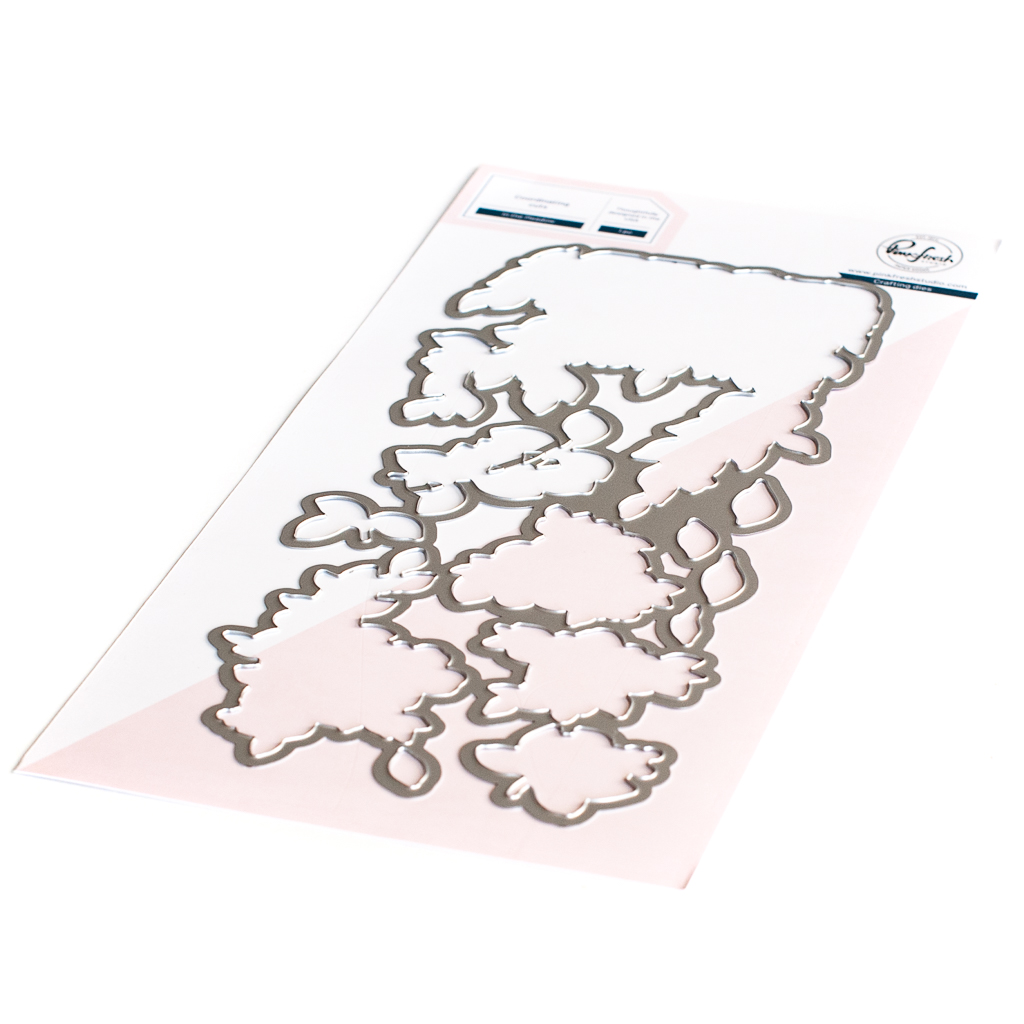
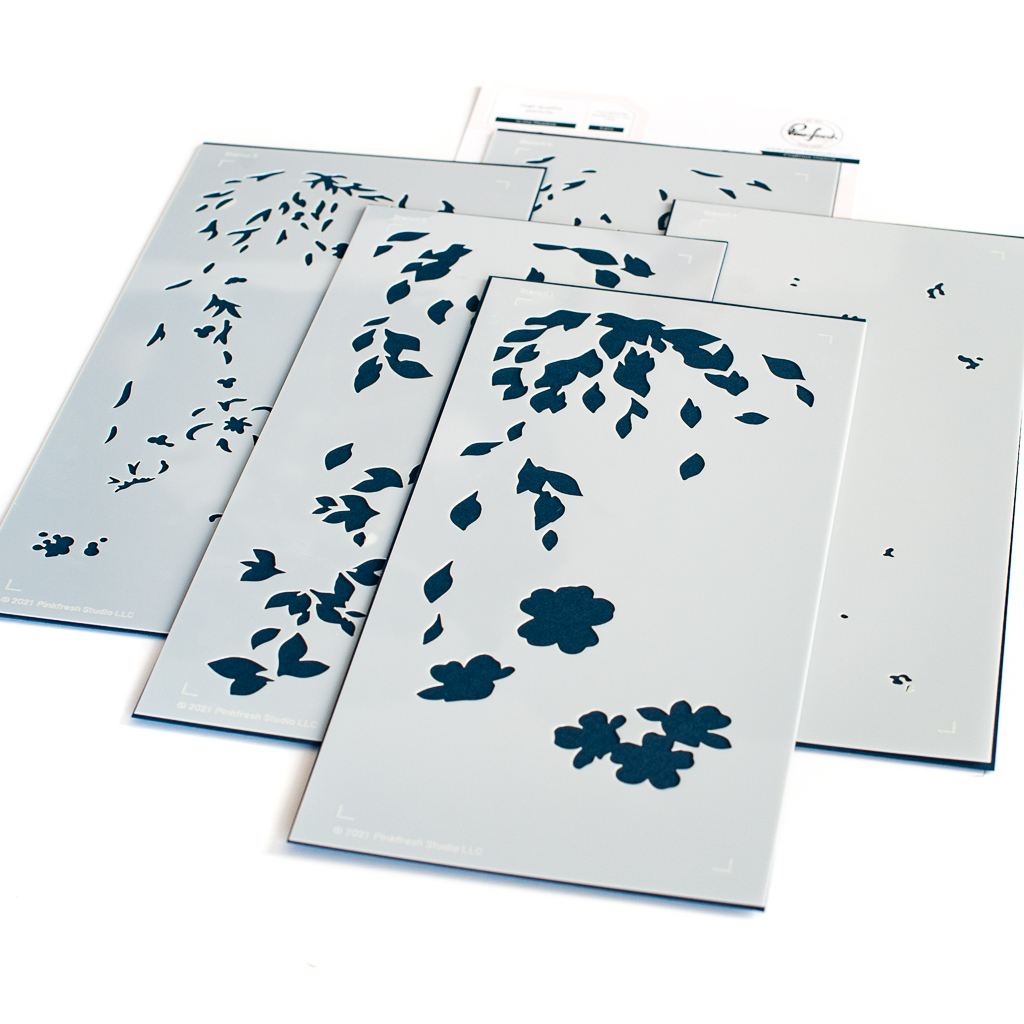
As you are probably already aware, Pinkfresh designs their stamp and die sets to cover an entire 8.5” panel at once, and then die cut at one pass. This makes it easy to stencil a complete set of coordinating die cuts all at one go! The stamp is slightly longer than the regular sized MISTI, but there is a cool trick under Tips and Tricks, called “Stamps Too Large For Your Stamp Positioner” that made accomplishing this so much easier.
I stenciled all the colors and layers onto the leaves after stamping the outlines with Versafine Onyx Black ink and clear heat setting. The stencils make short work of a base layer of color, and then I added some unique shades over top with various shades of Copic markers. Then I die cut the stamped and colored images, and die cut once more from craft foam which I adhered together.
I stamped the greeting using sentiment stamps from the In The Meadow stamp set, then used coordinating colors of ink to lightly ink blend some color onto the bottom right corner of the folded card base and adhered the dimensional die cuts to the card front.
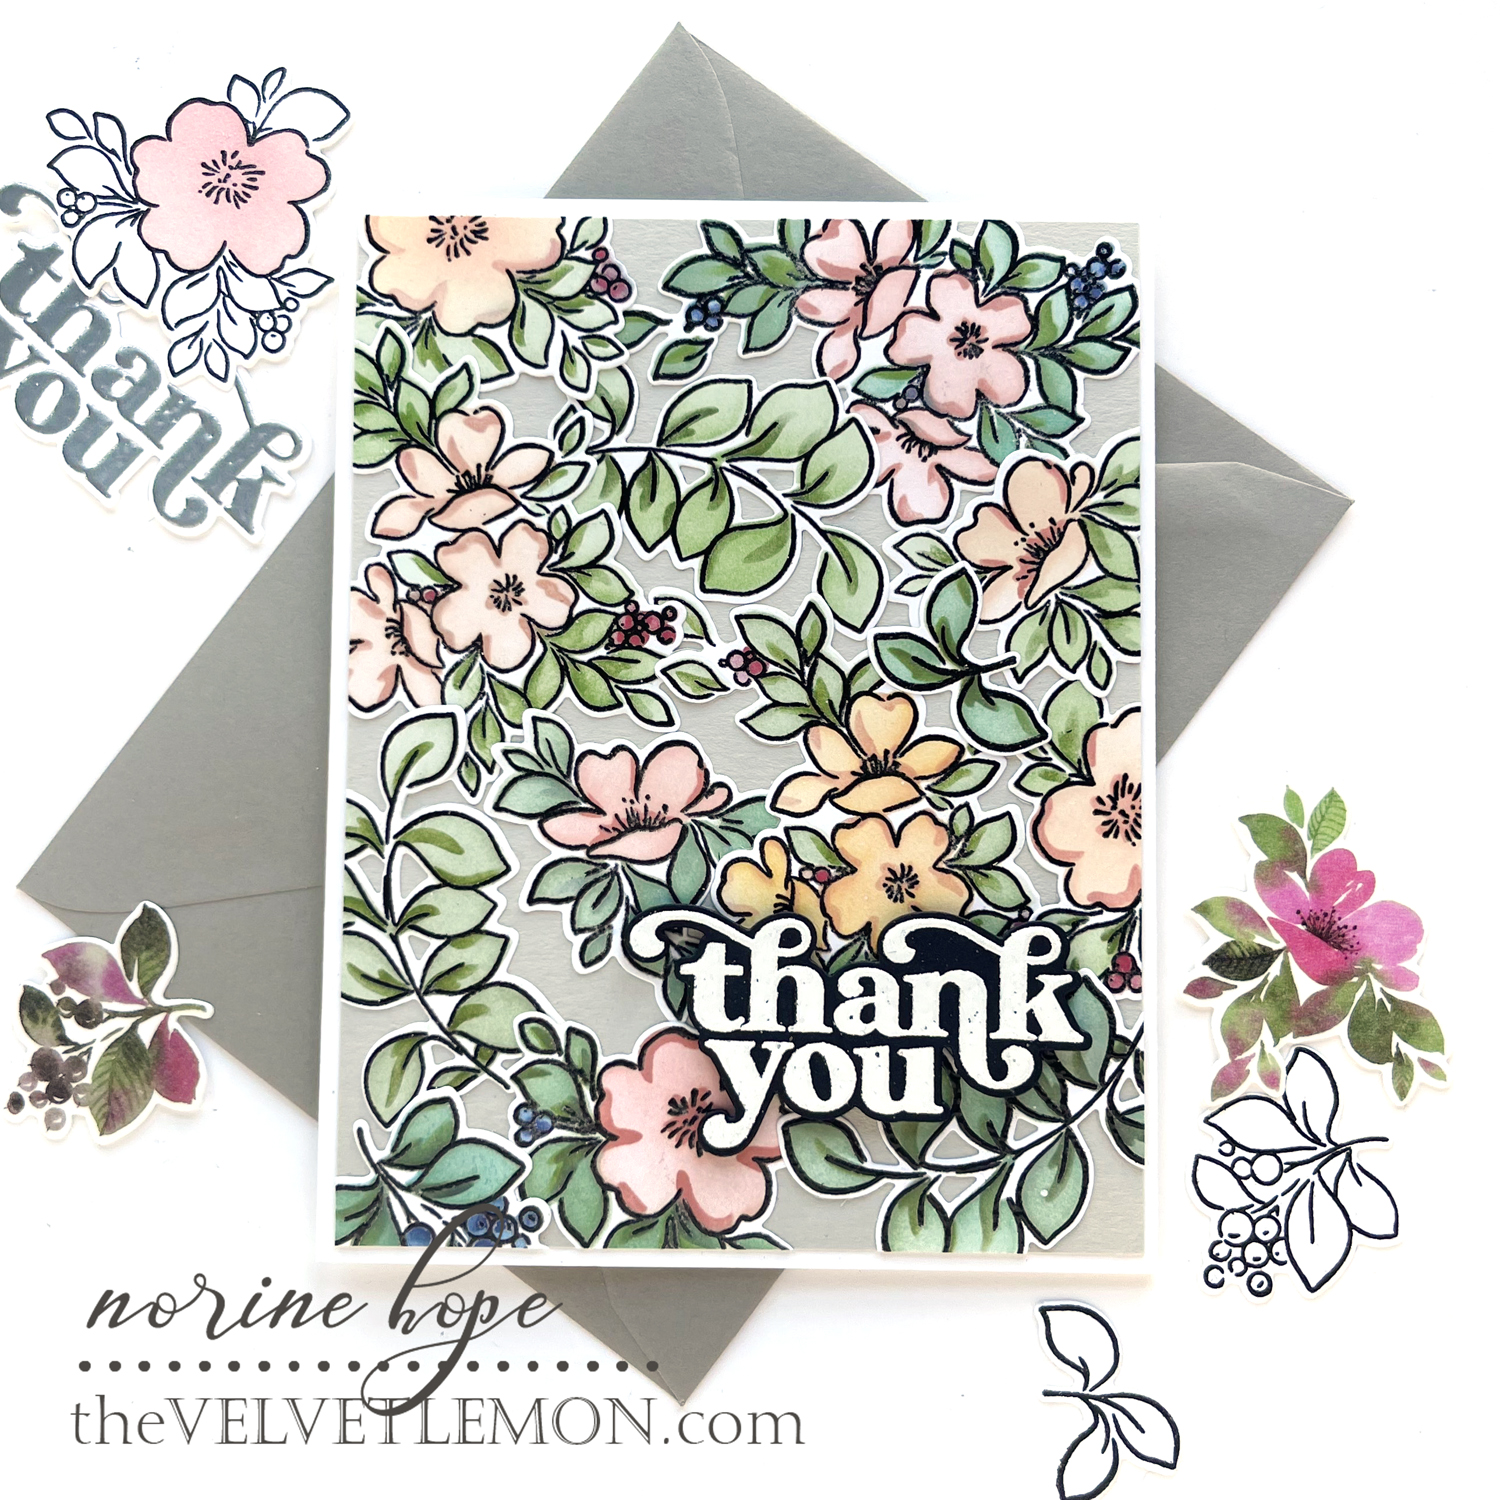
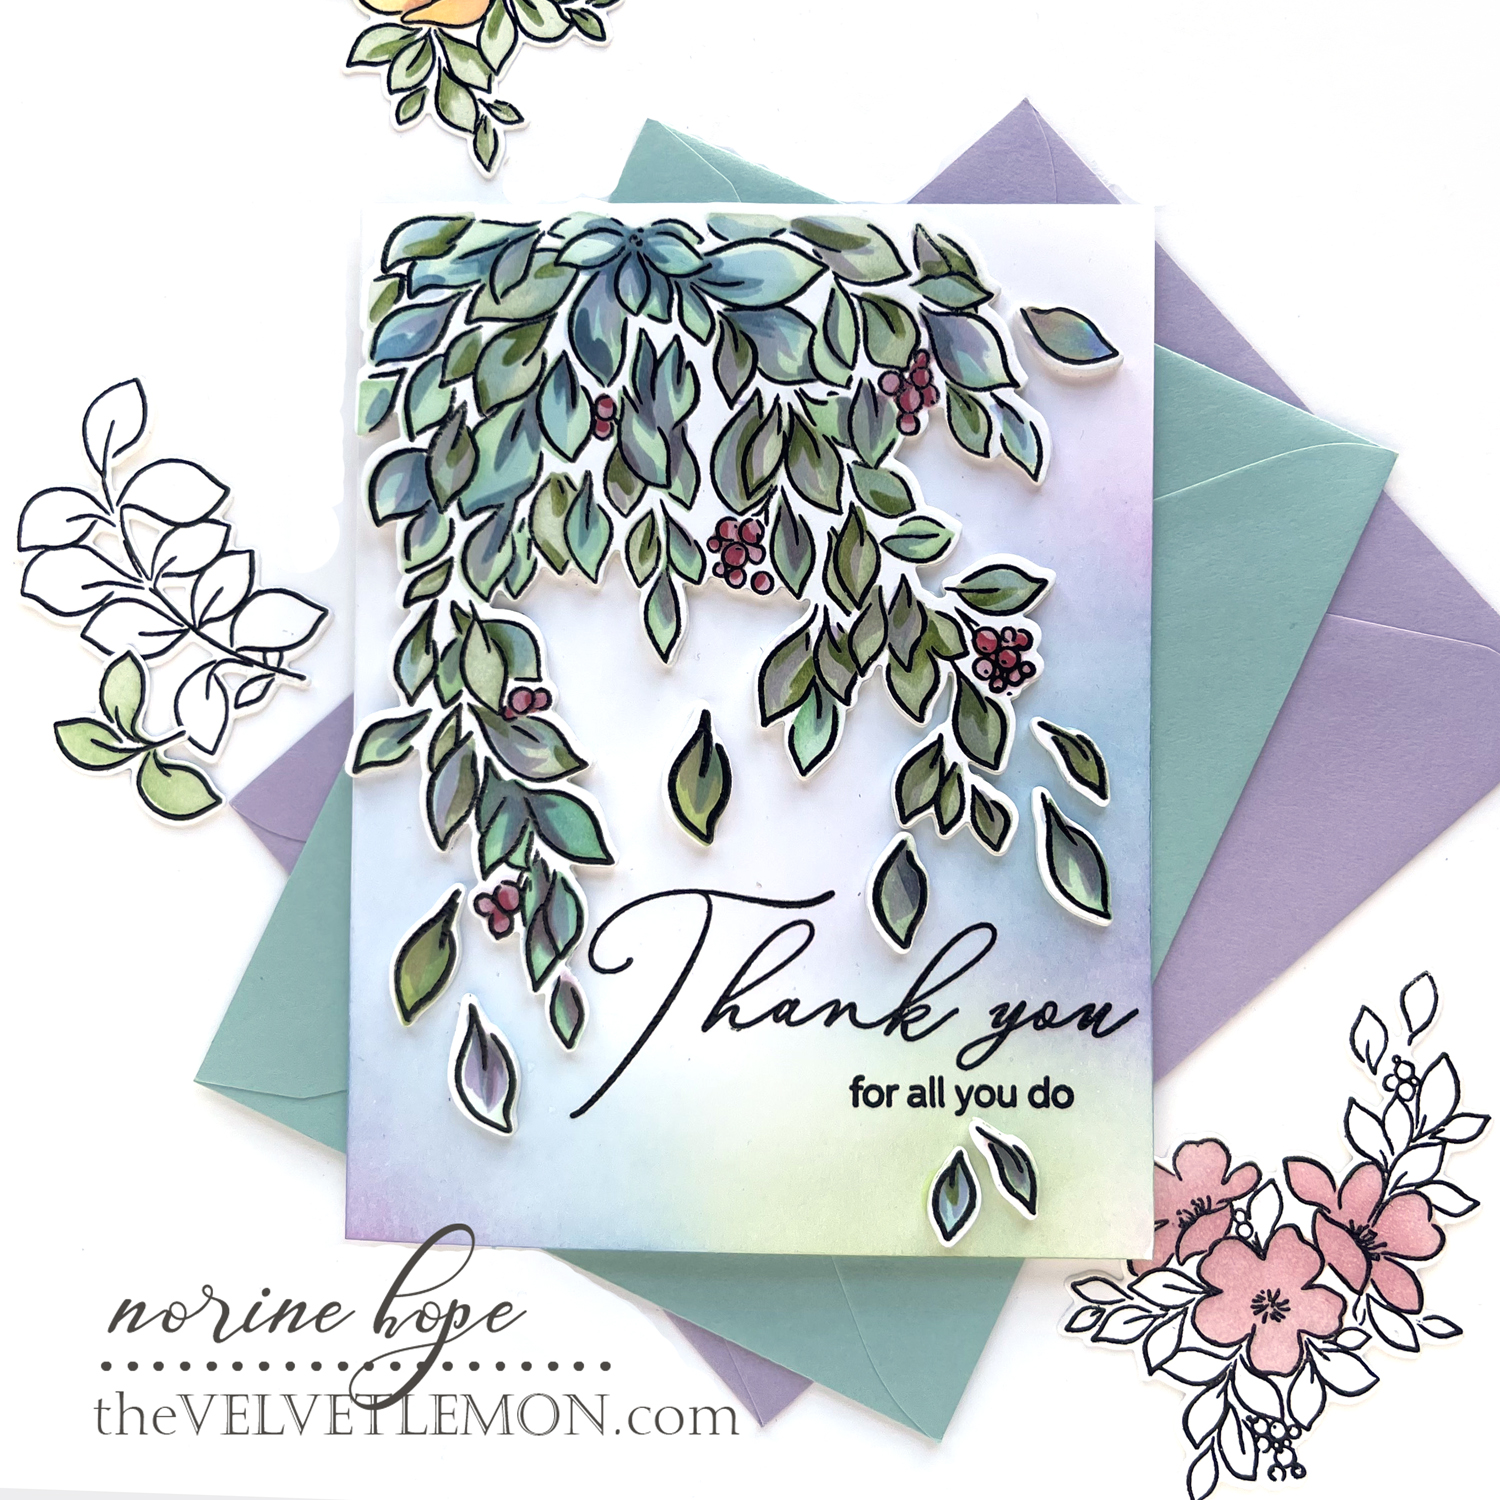
This next card is a by product of the last one, in that, I stamped, heat embossed, stenciled and die cut three of the In The Meadow stamps – just for variety, y’know?
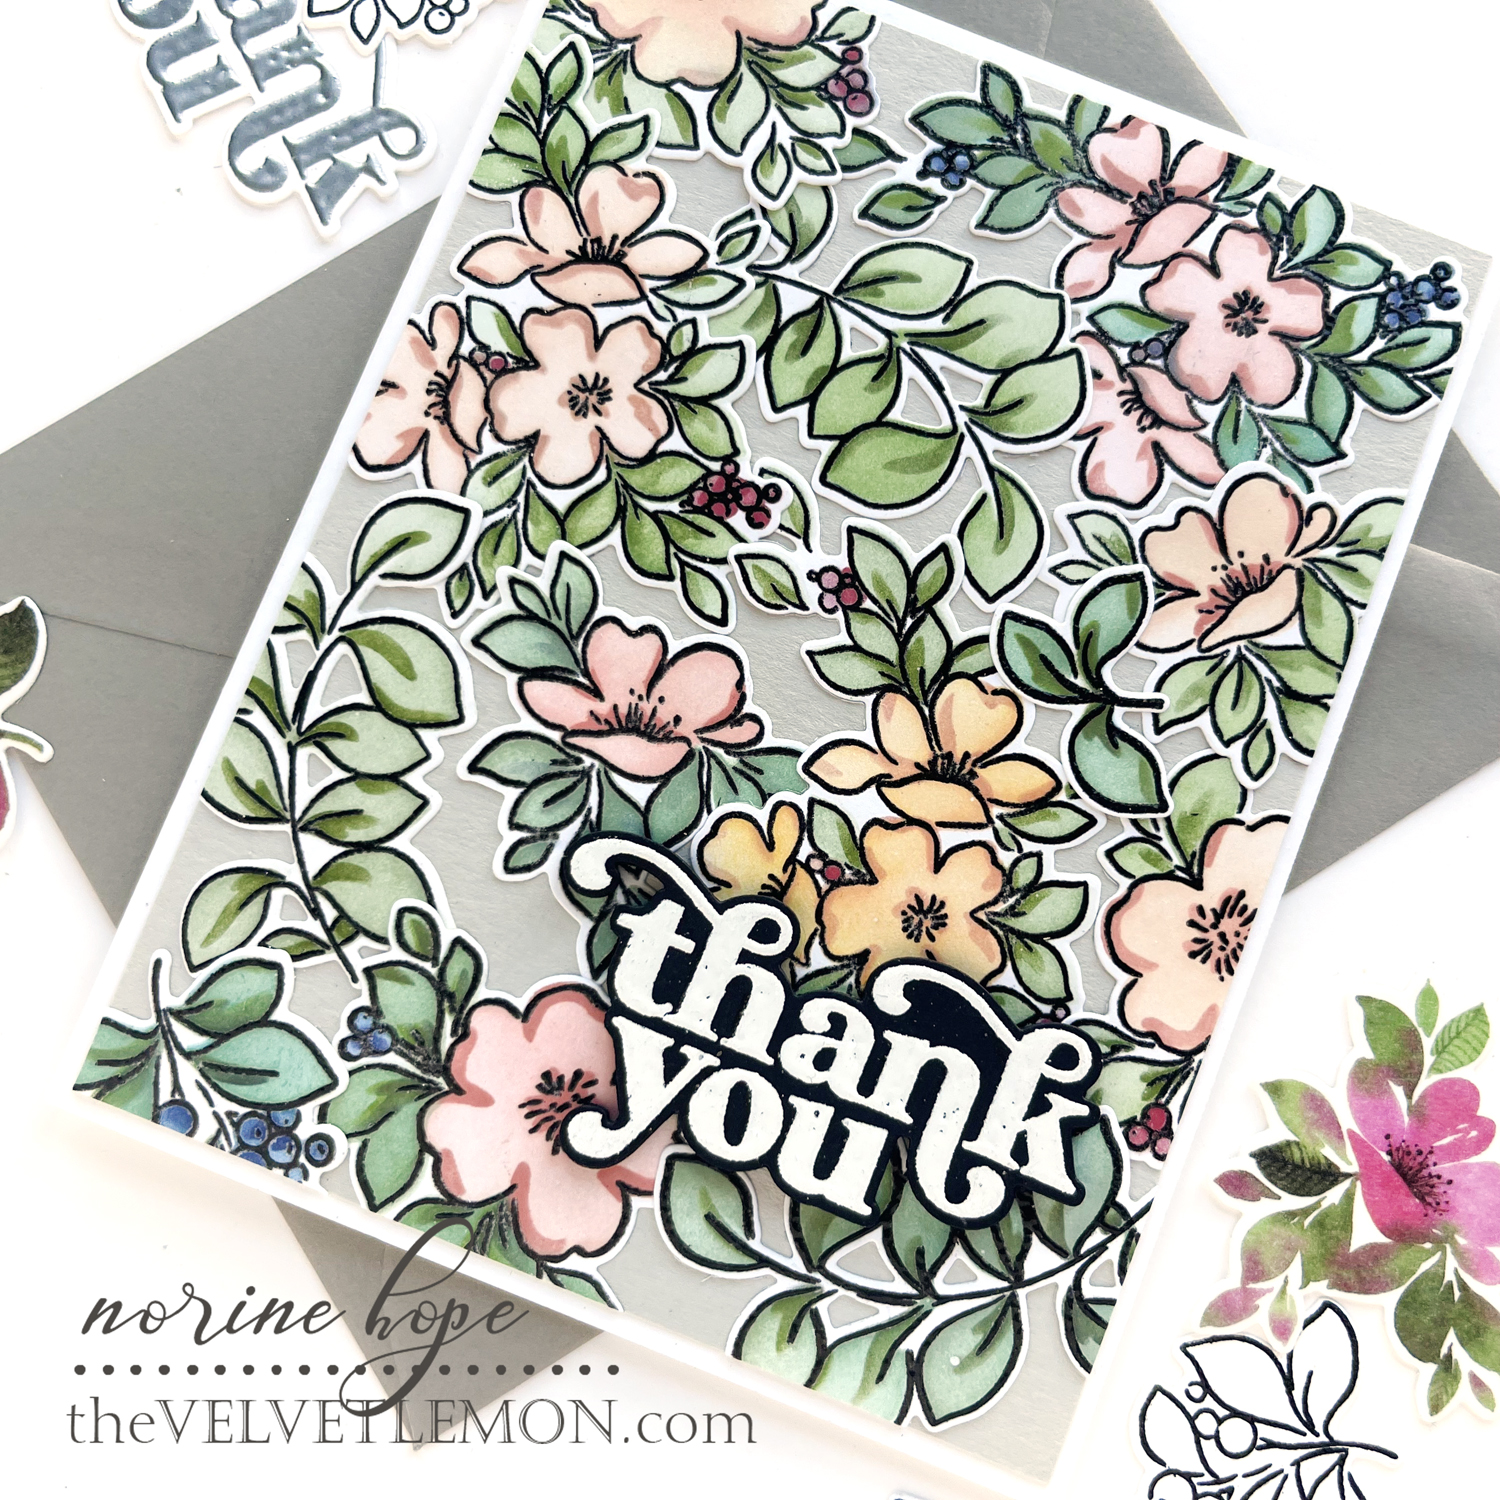
Once all the pieces were stencil-colored and die cut, I set about arranging them to touch and cover an A2 sized card panel. I used a light gray cardstock for the background to enhance the depth of color shades used on the die cuts.
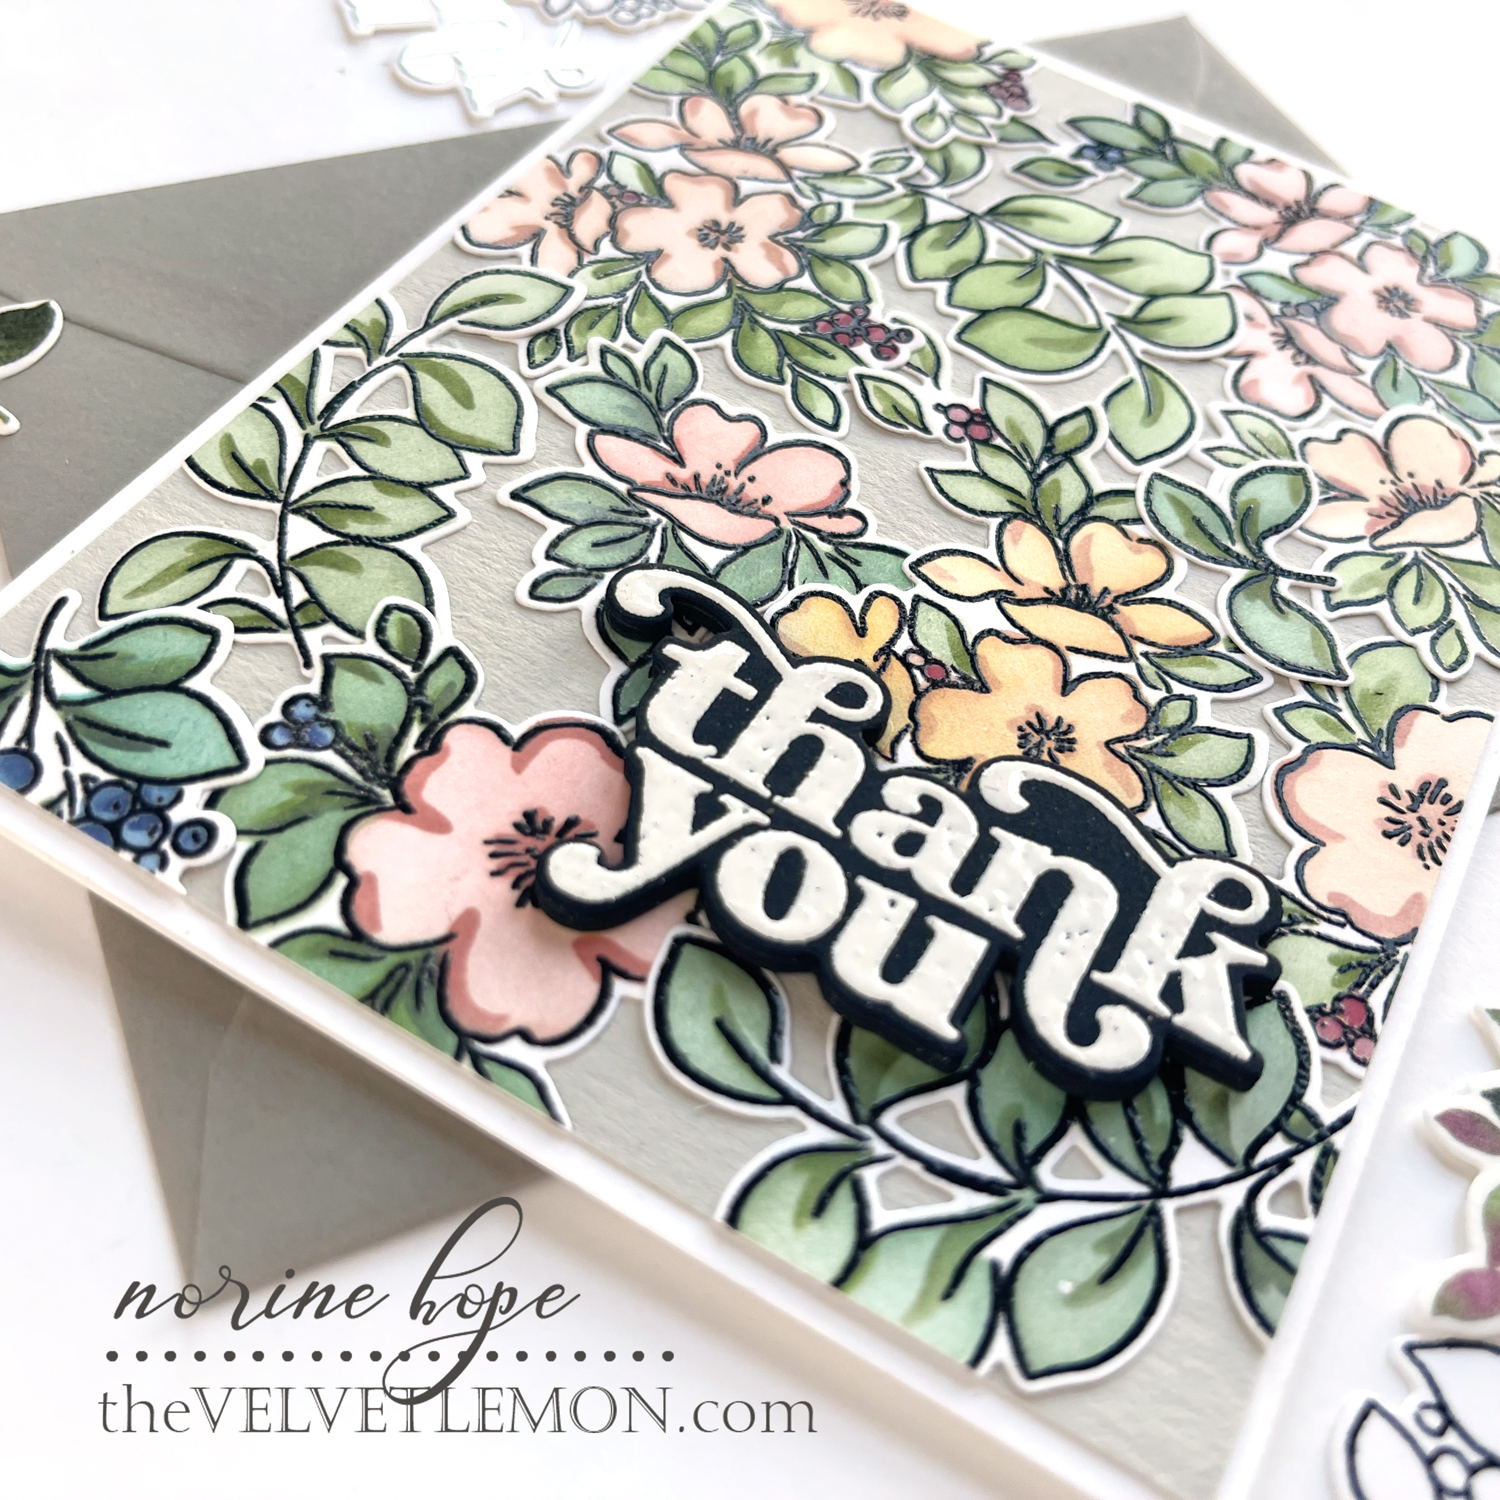
I stamped the “thank you” with Versamark ink and white embossing powder onto heavy-weight black cardstock then die cut both the stamped version and a craft foam layer which I adhered together and then to the card front It’s a very simple card that comes together way easier than appearances would suggest!
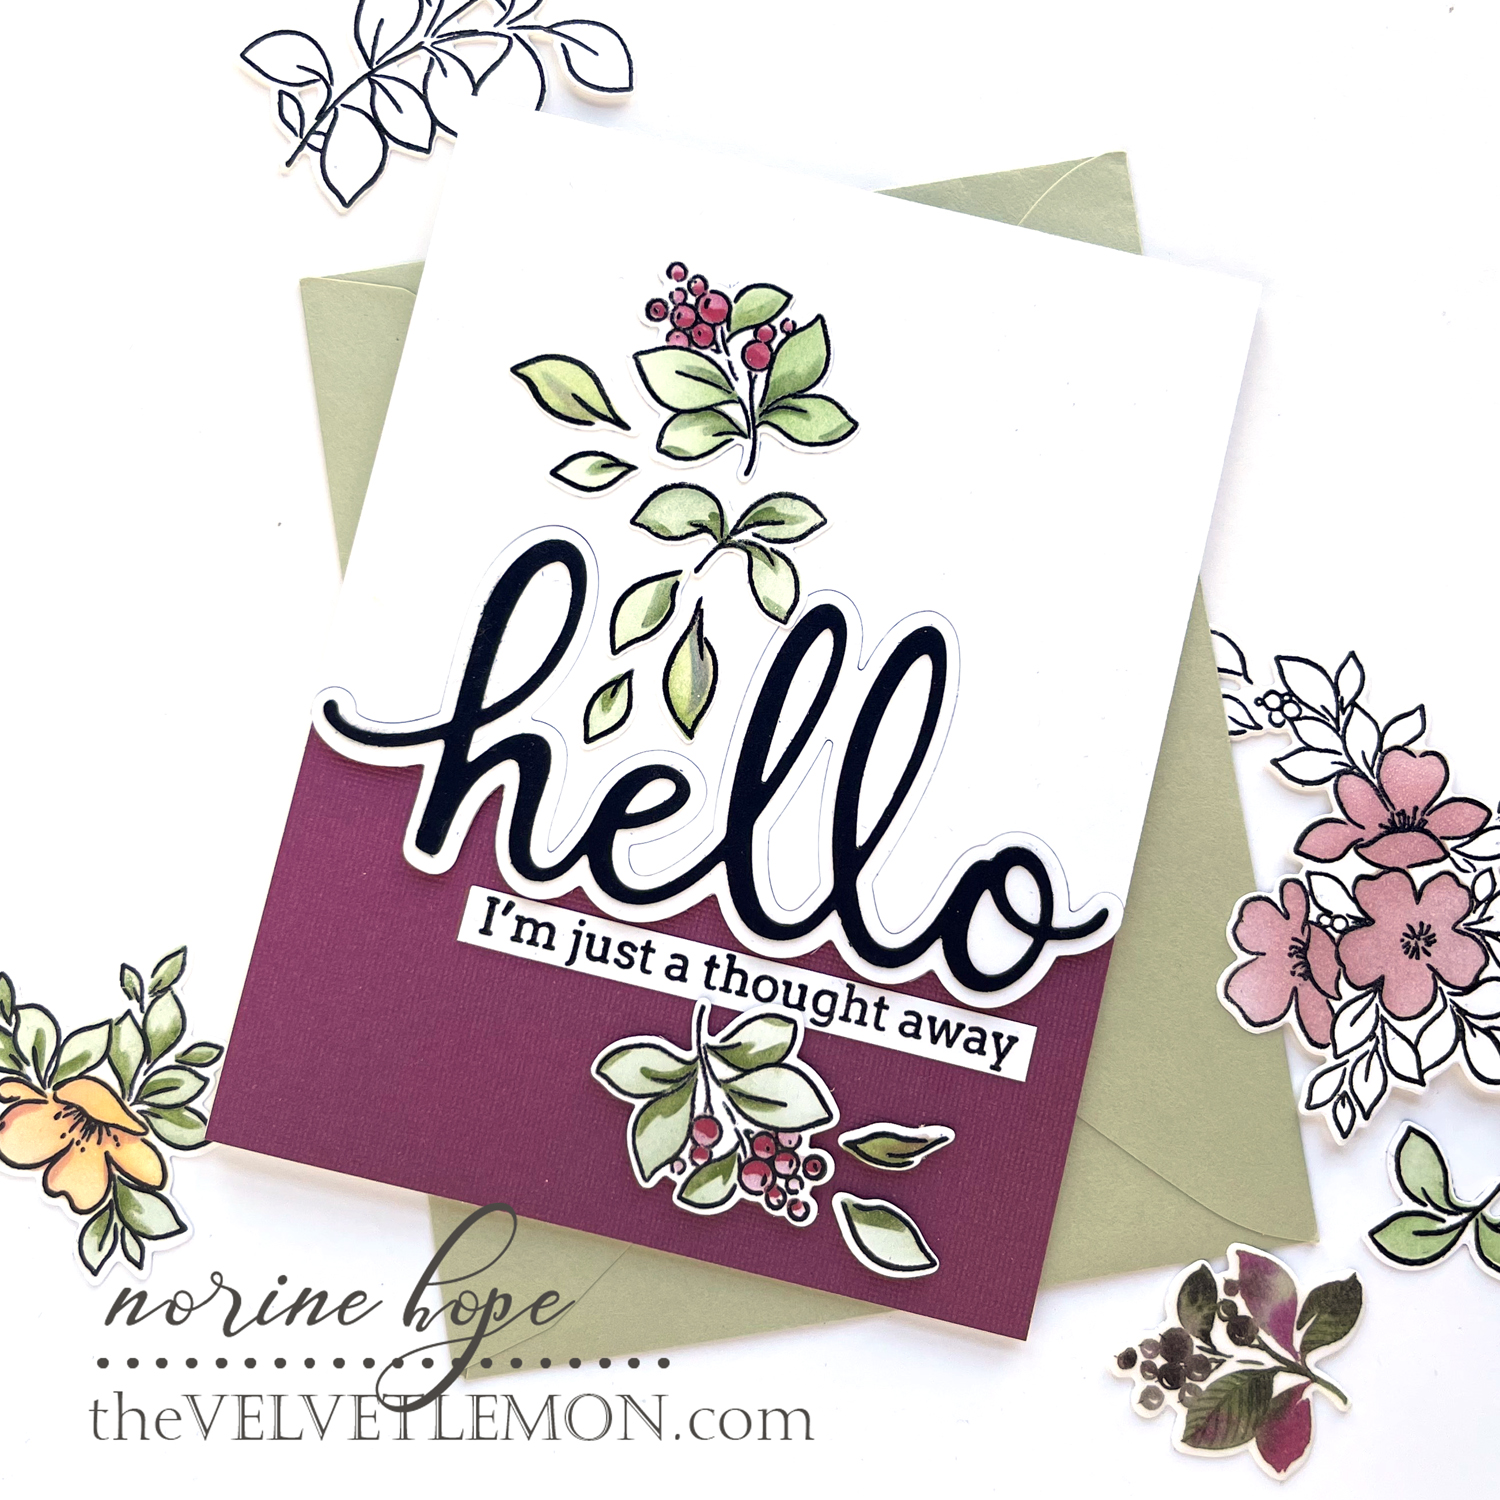
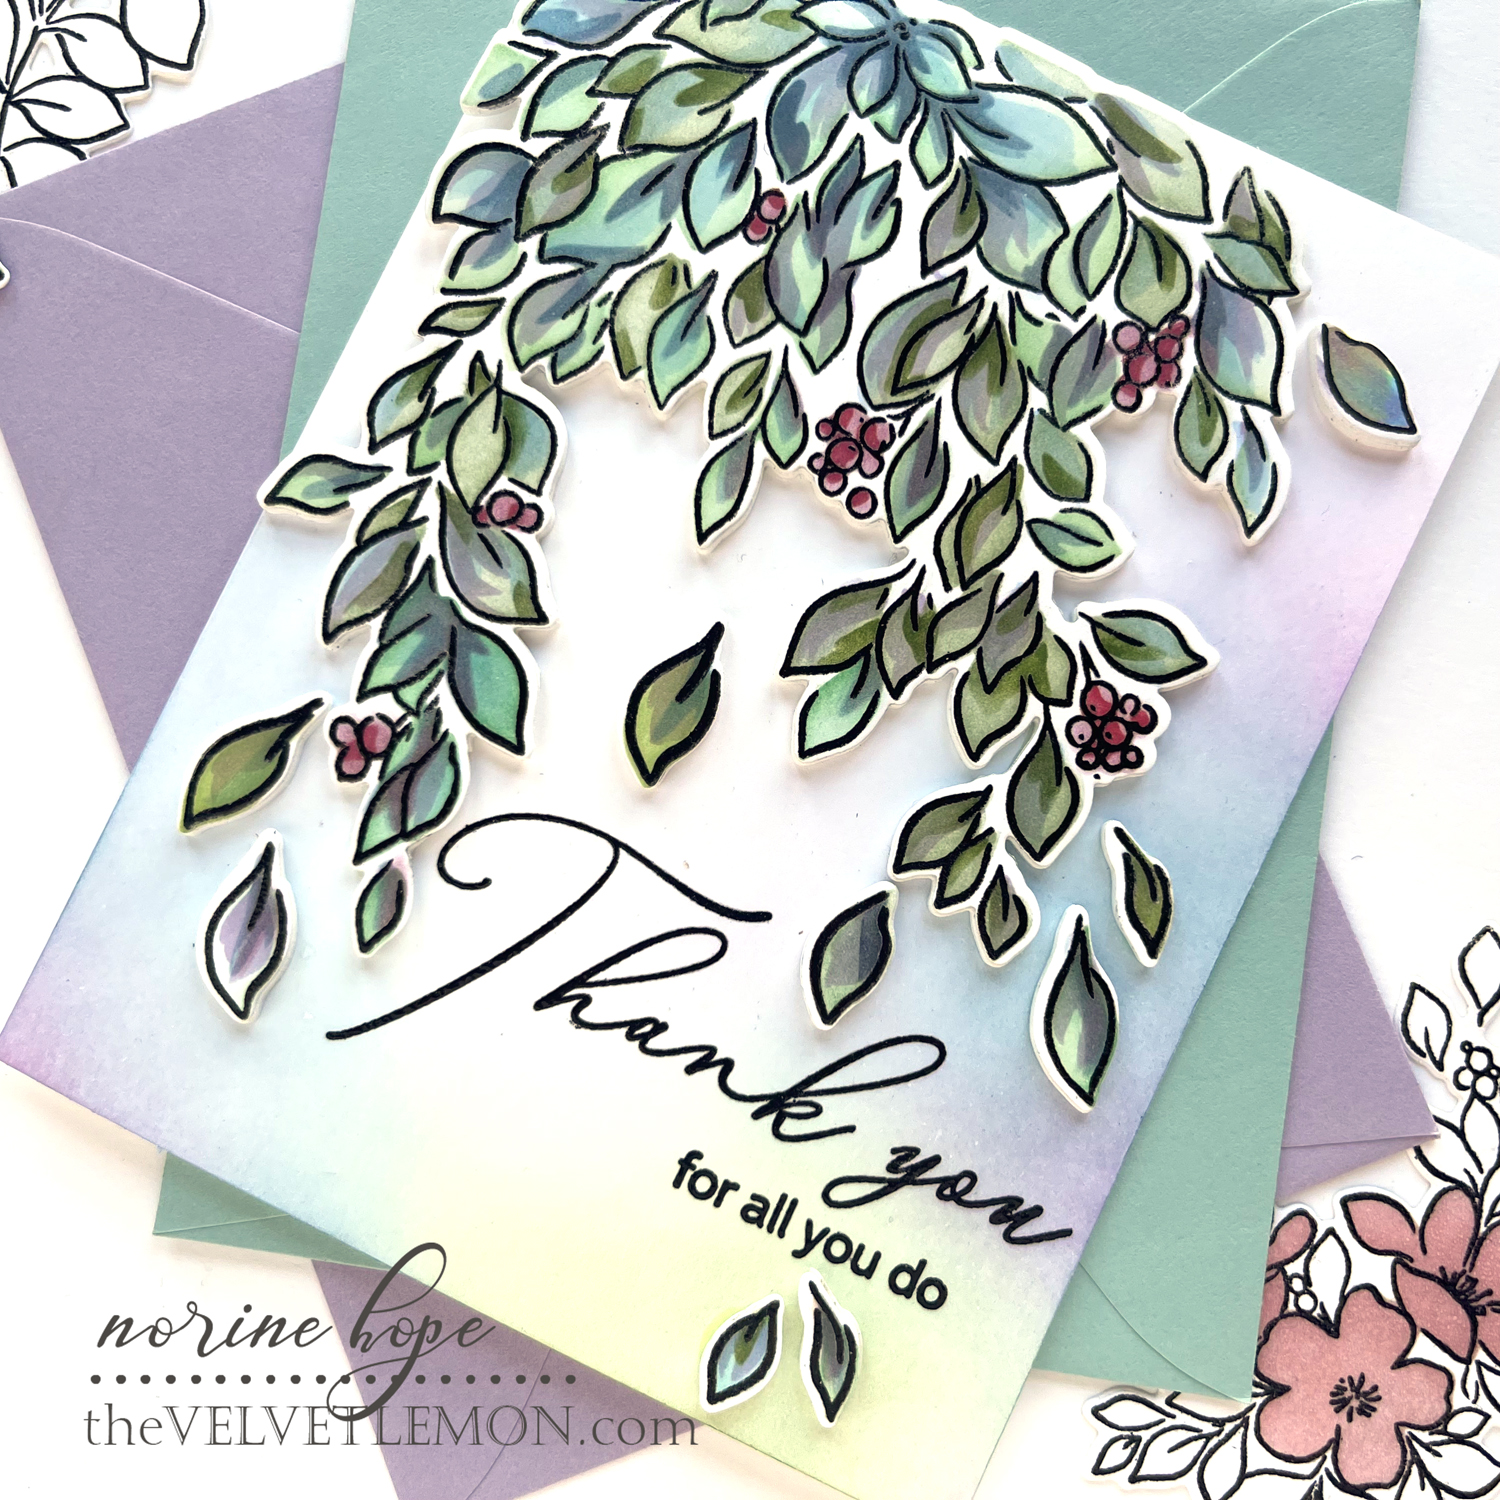
Before moving on from the In The Meadow stamp and die set, I have one more card! I used the leftover colored and die cut pieces from the In The Meadow set, which I clustered around the die cut “hello”.
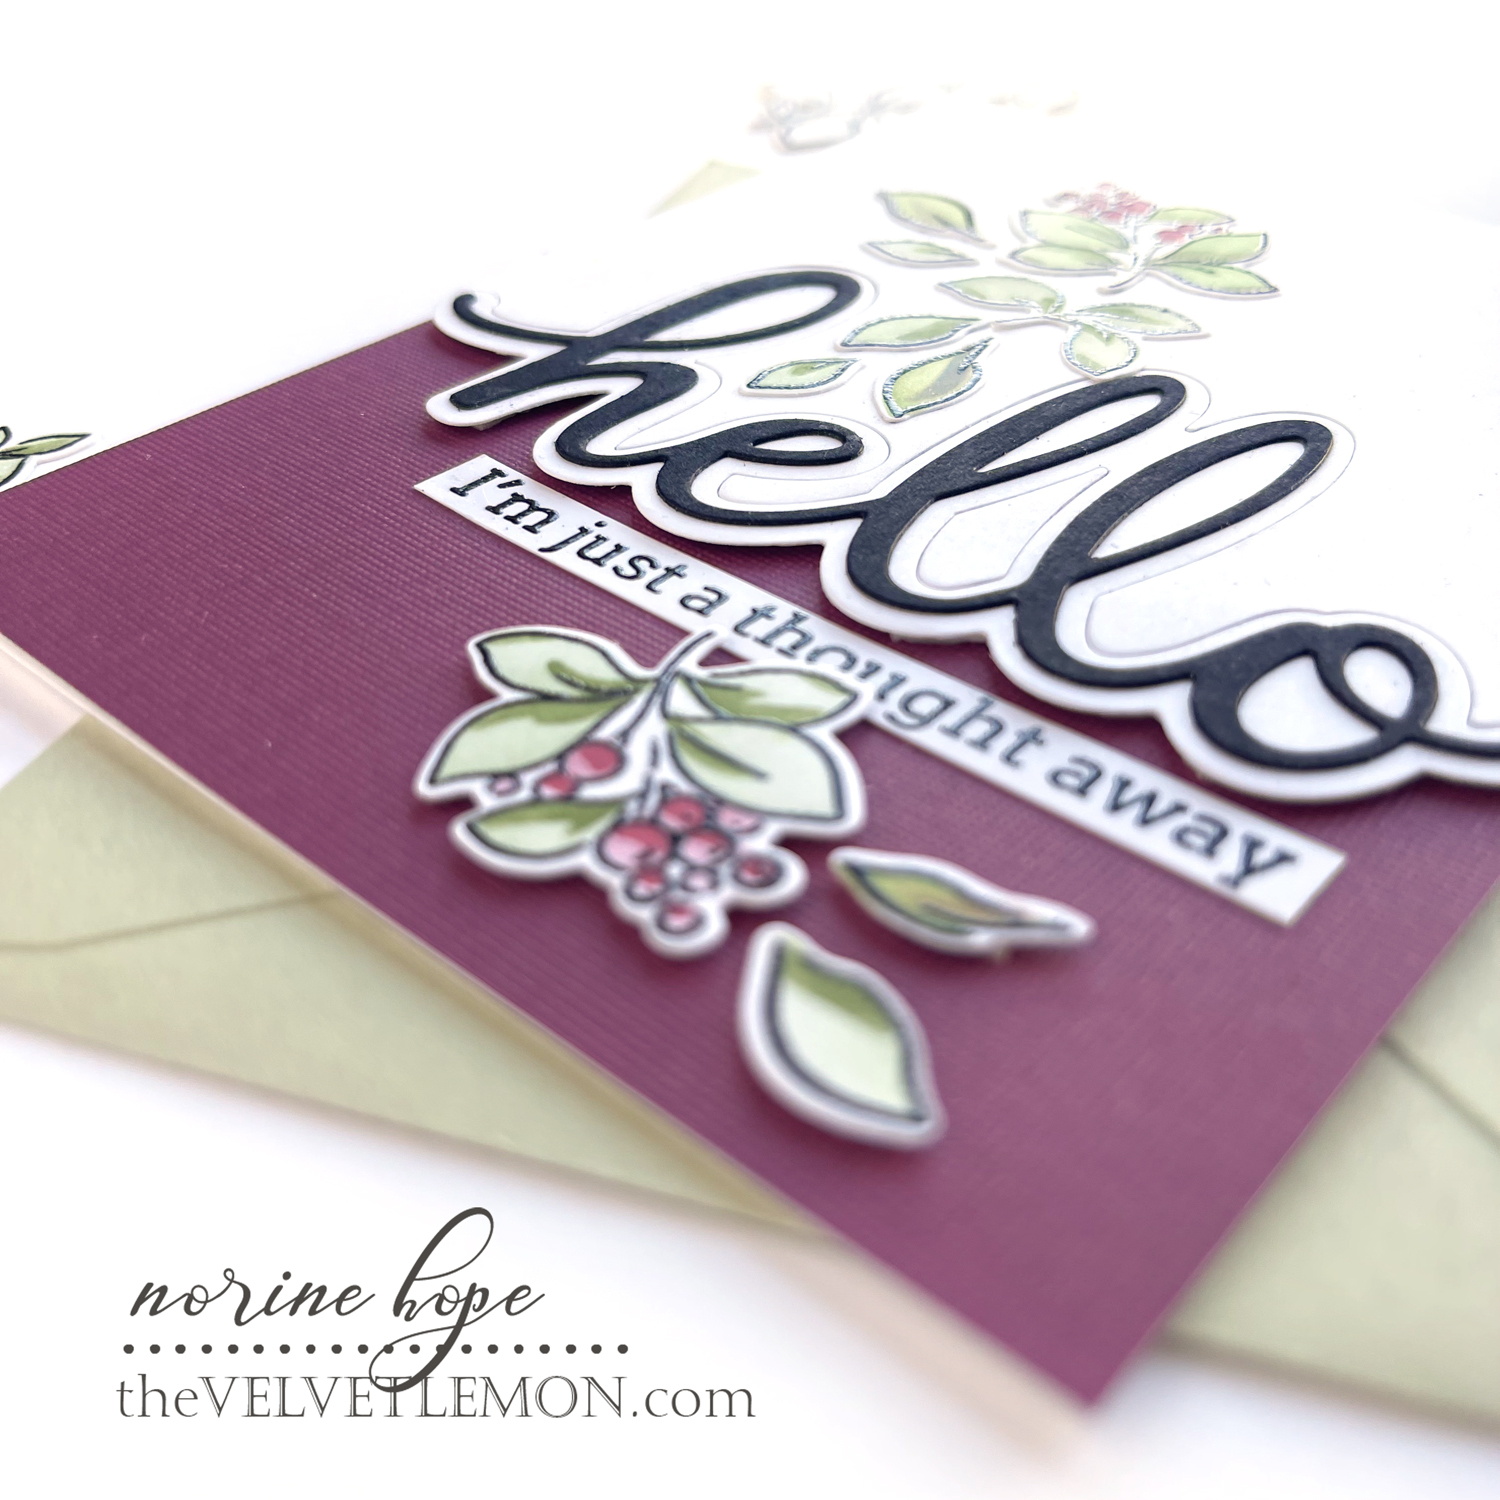
I let the bottom edge of the silhouette die cut from the Sentiment Suite Hello set serve as a decorative edge popped up overtop of a burgundy textured cardstock card base. I added a sentiment from the Simply Sentiments – Hello stamps, trimmed to a narrow sentiment strip.
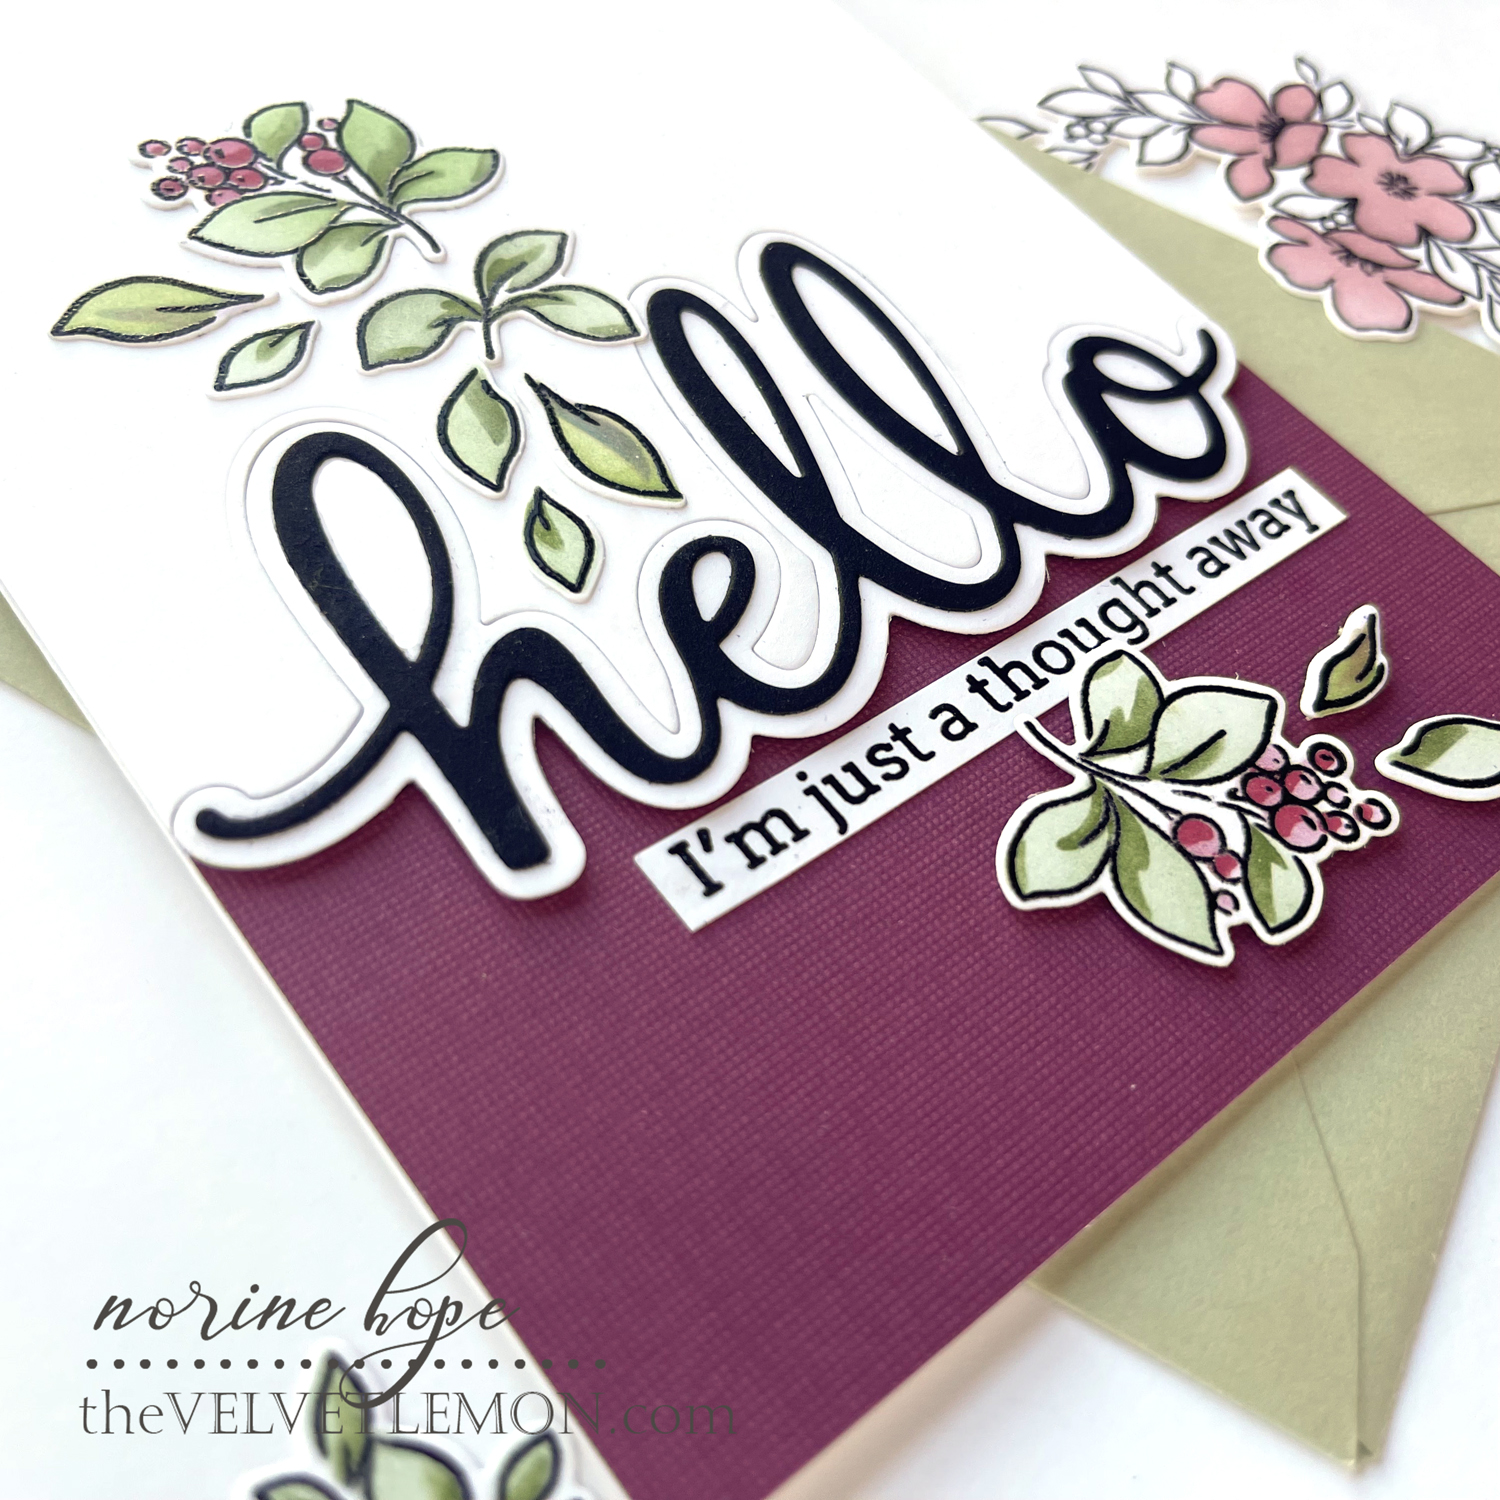
I popped up the top panel of the card with dimensional foam tape, as well as the three small die cut pieces on the lower section. I opted to leave the card clean and simple without any embellishments. Whoa, right!? Who am I even!?

Moving along, I have a card that showcases the gorgeous, awesome, amazing, beautiful hot foil Lush Vines plate that I love very much and which you probably couldn’t tell!
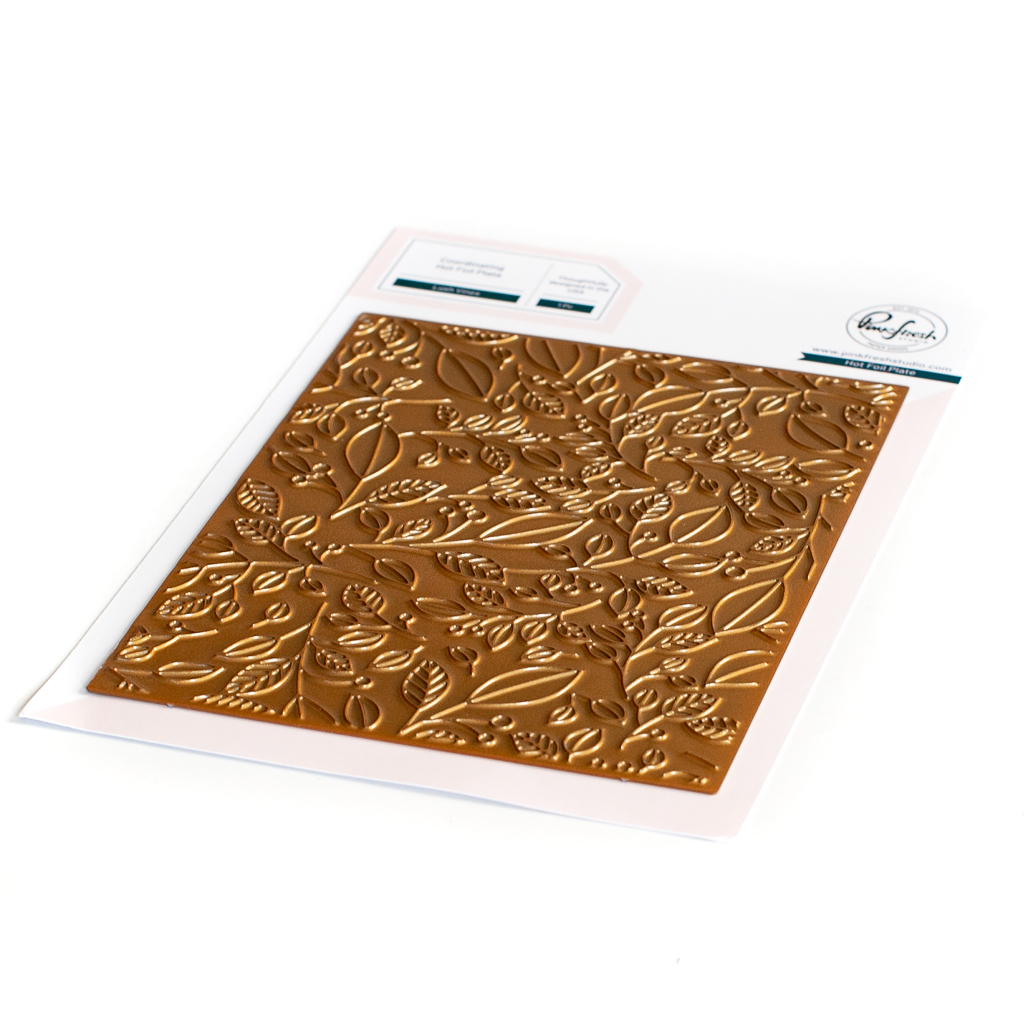
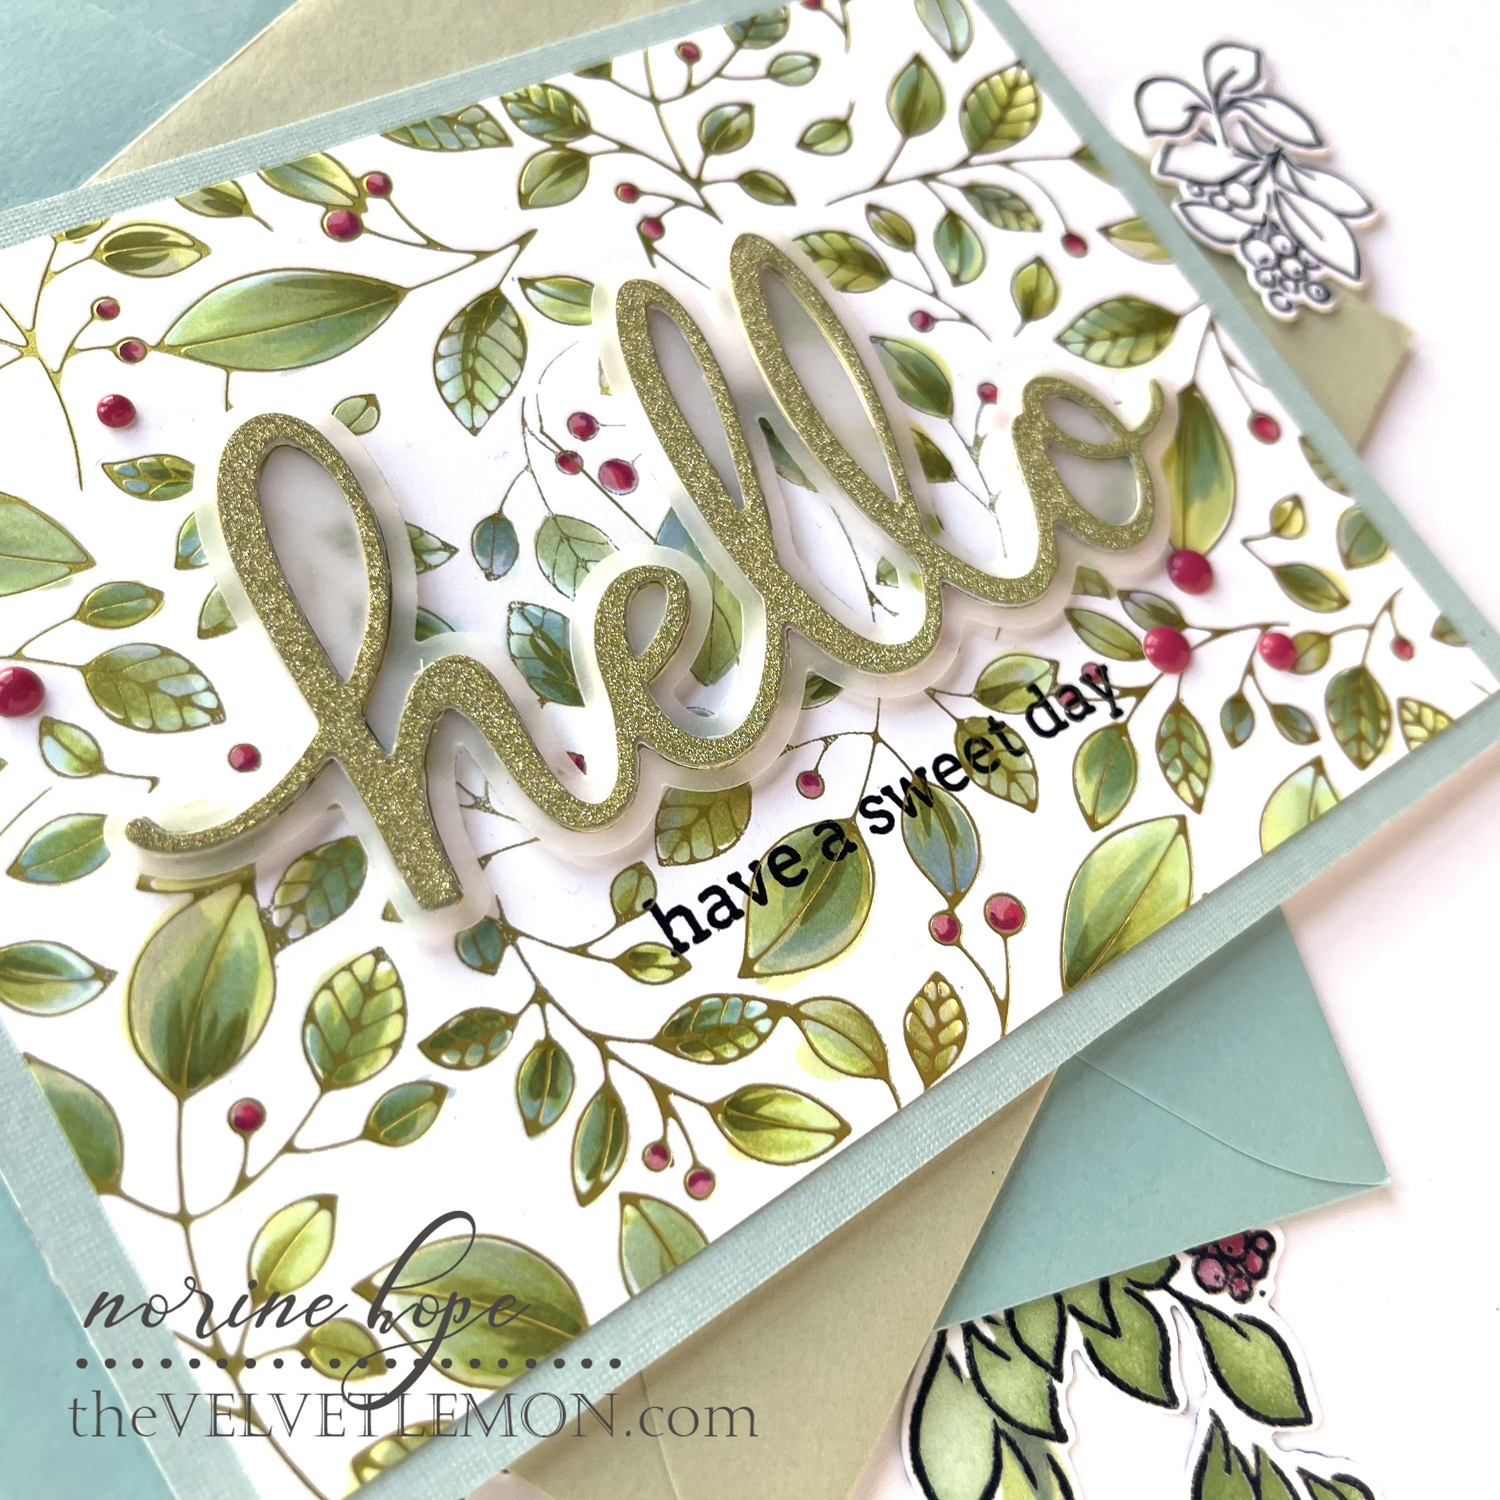
I used the Spellbinders Citrine foil to hot foil the design onto white cardstock and then I colored the leaves with a wide variety of alcohol markers whose colors I didn’t keep track of as I just kept pulling out another one and another one until this was the result!
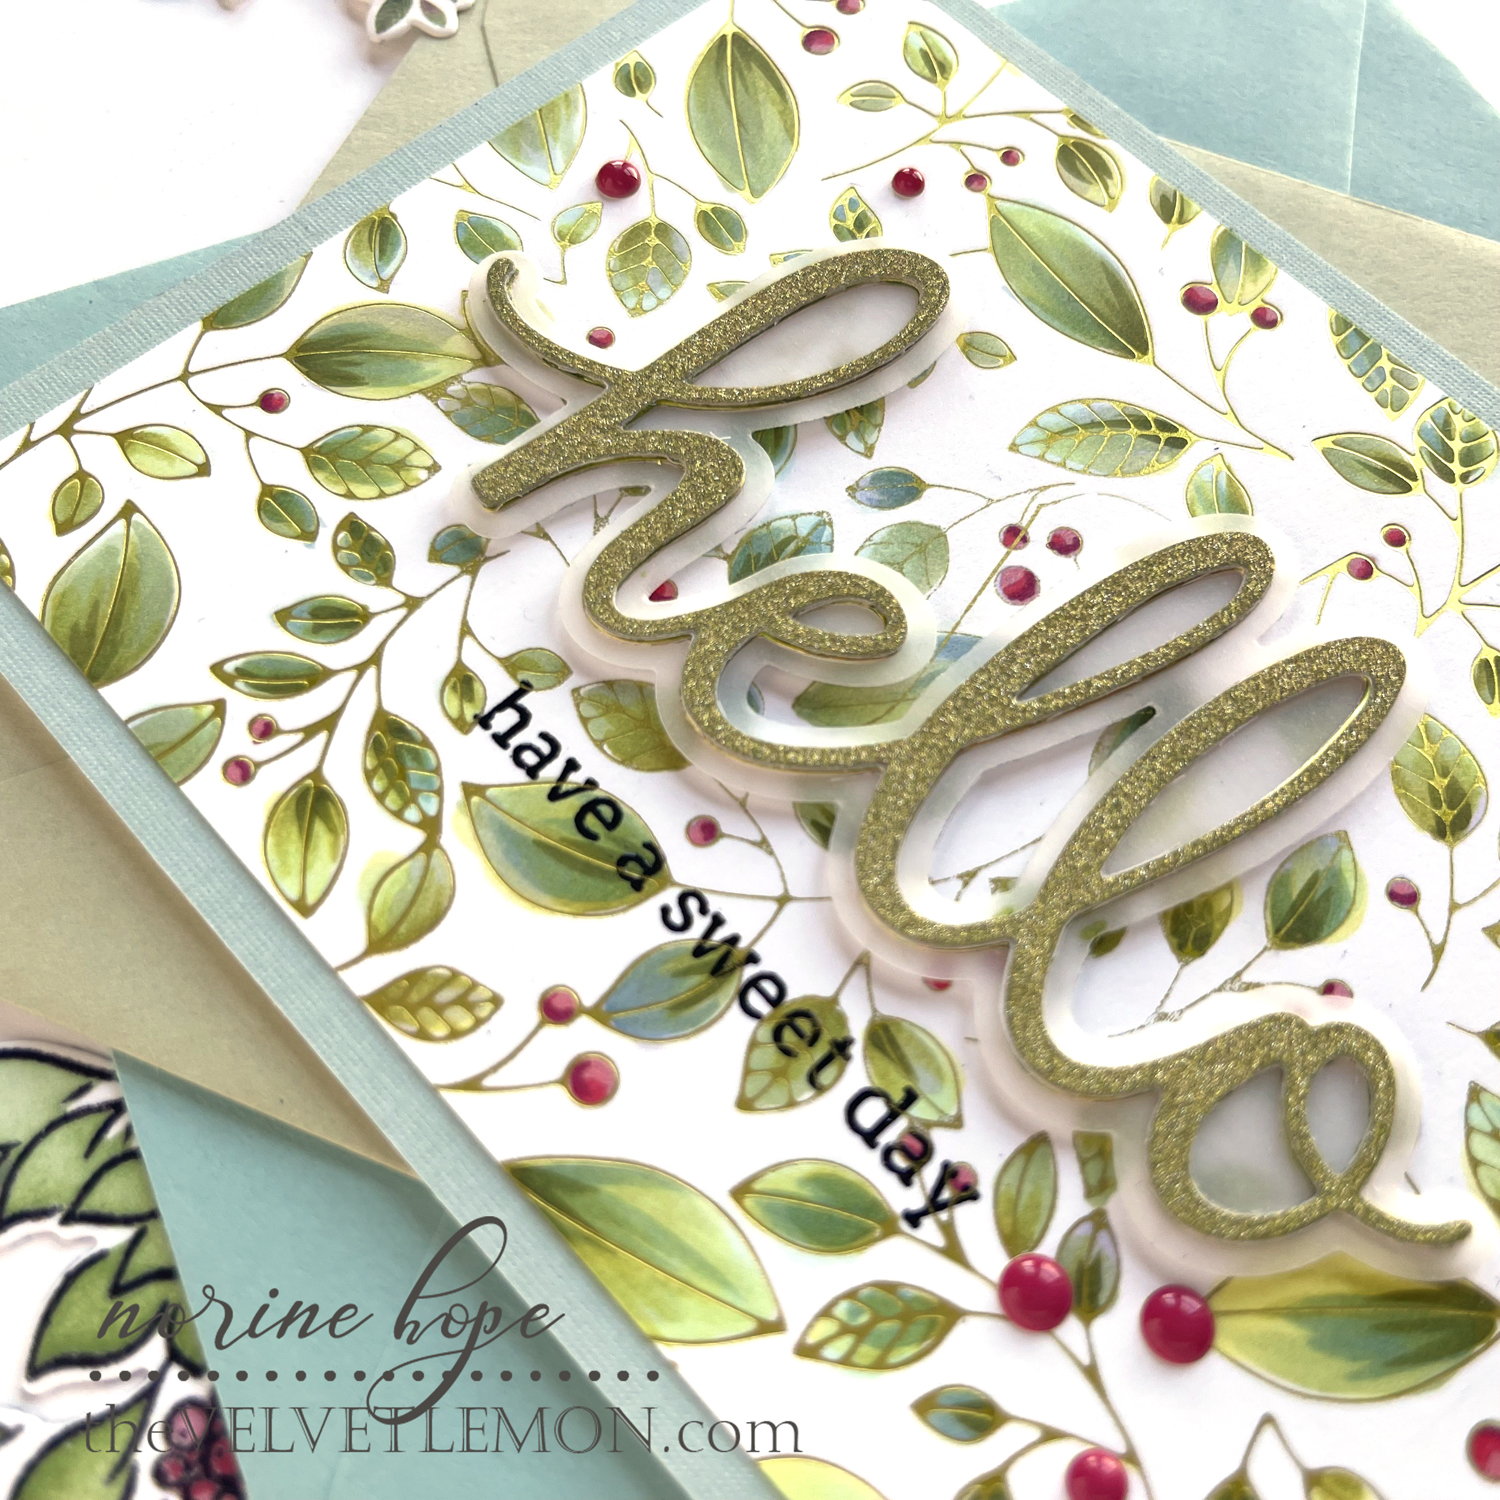
I die cut the greeting using the the Sentiment Suite Hello dies again, cutting once from vellum (the silhouette die), once from green glitter paper that just happens(!!) to match the foil, and several more times from scrap cardstock so that I could add dimension both on top and below the vellum layer. I stamped and heat embossed a secondary greeting from the Simply Sentiments: Hello set and finished the card with some red enamel dots to support the colored berries.
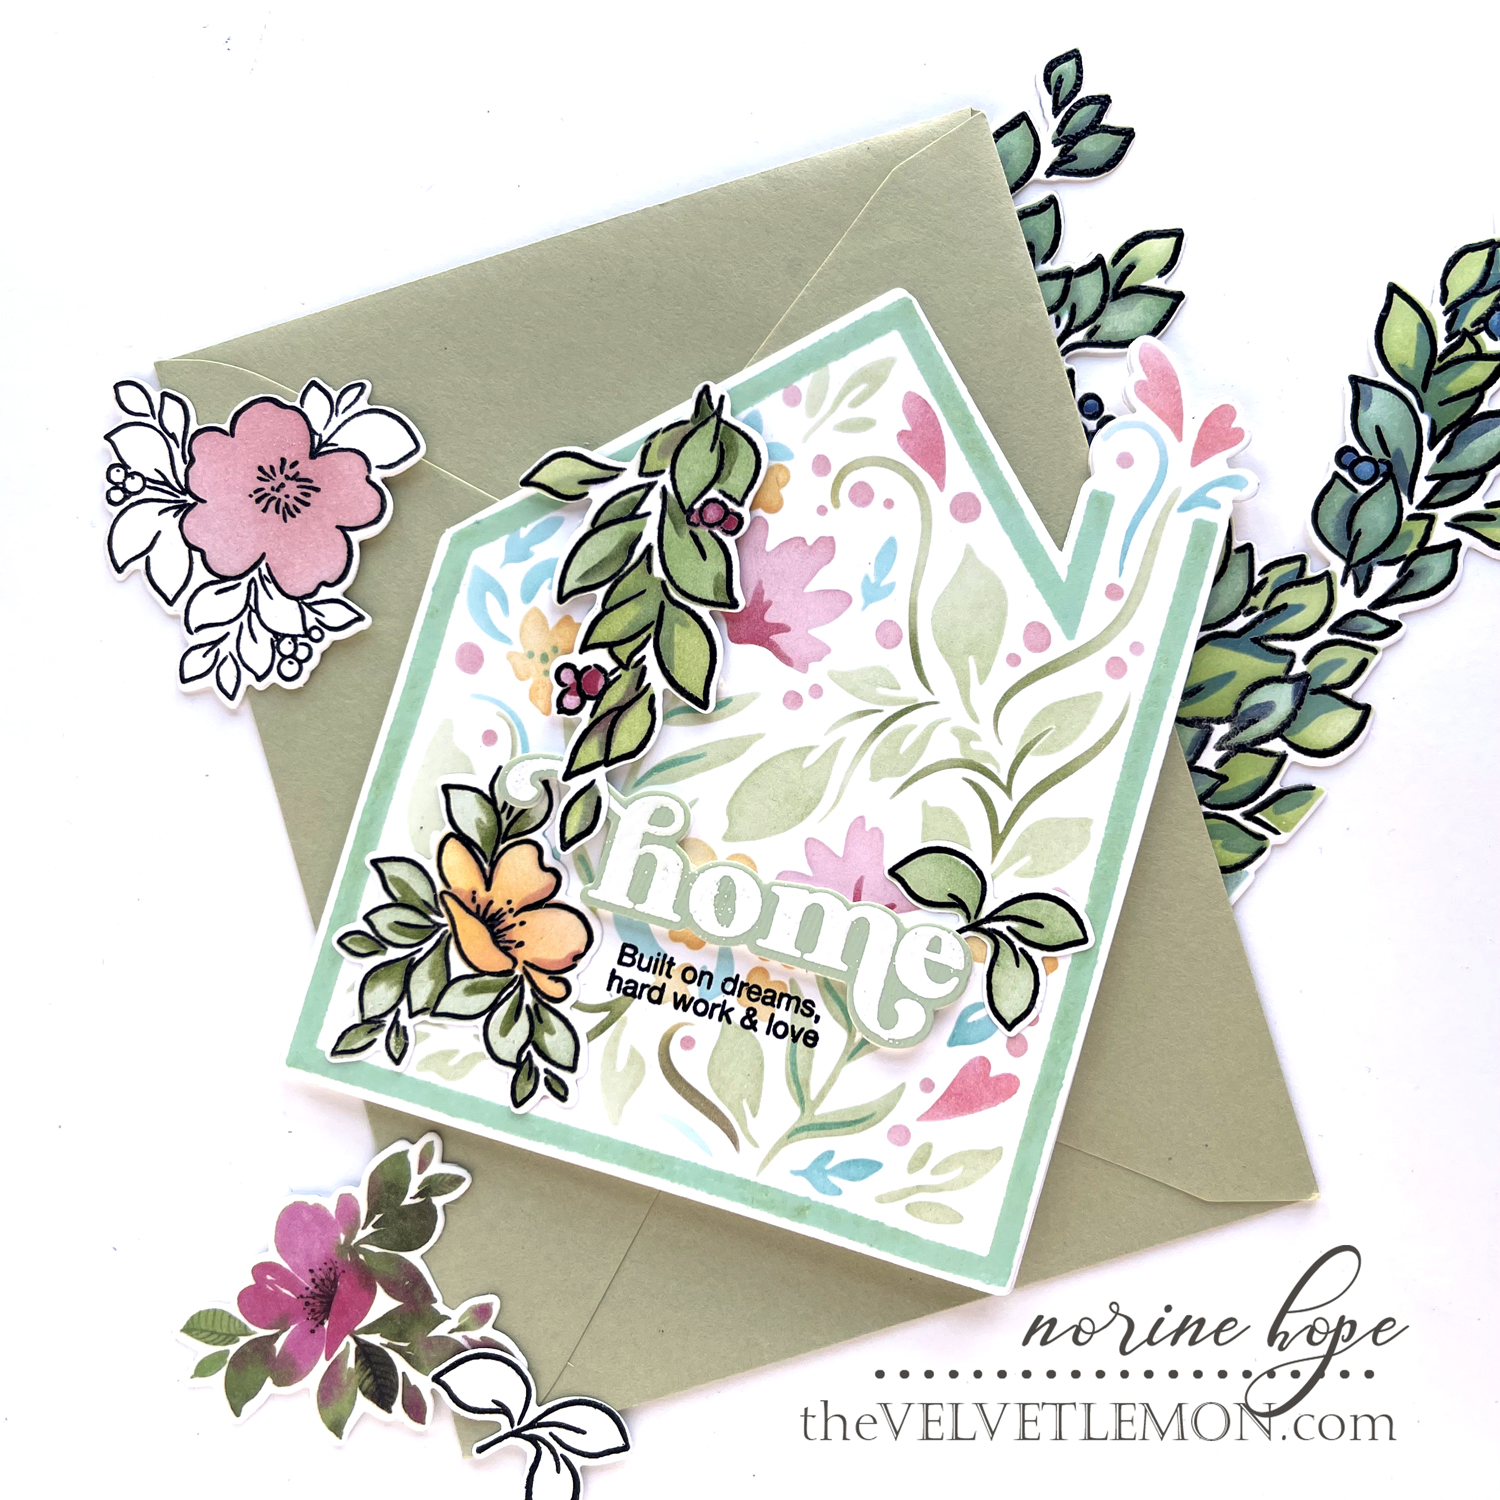
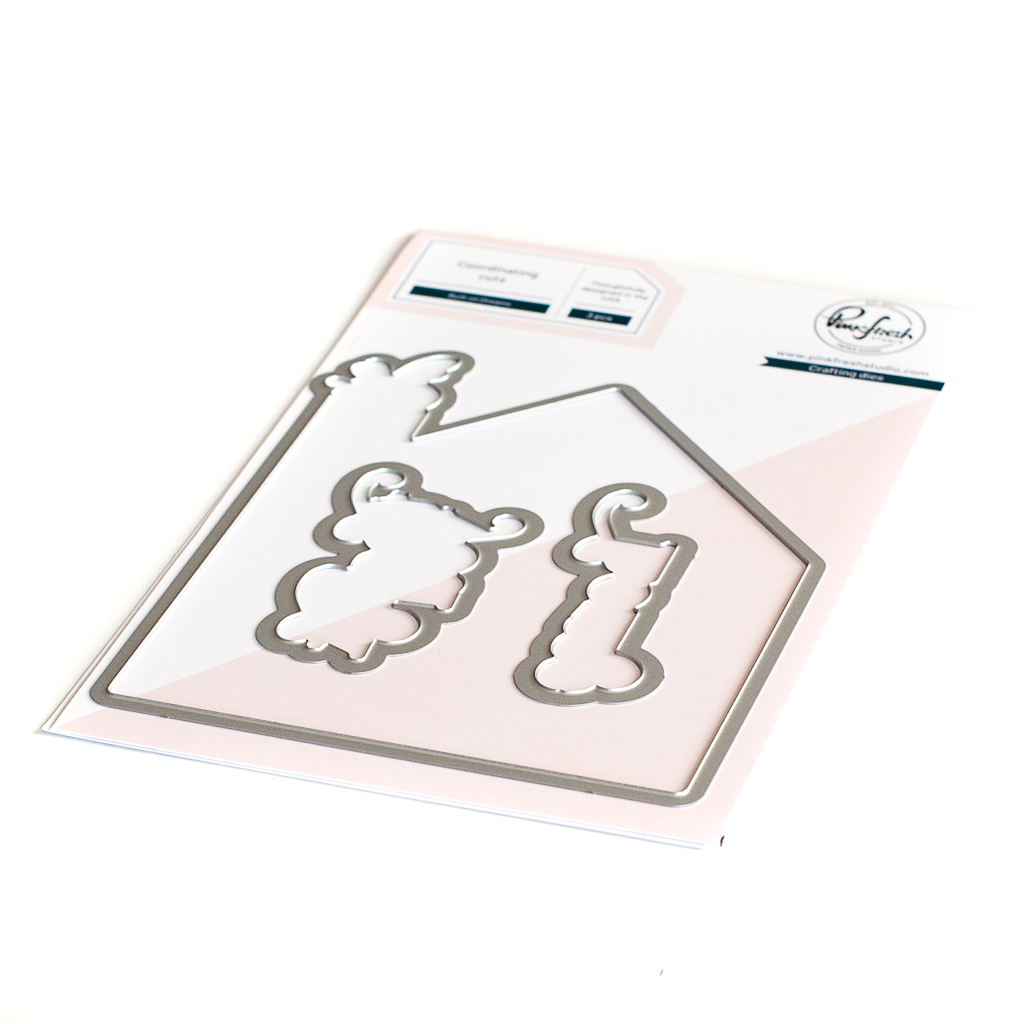
My last card today features the Built on Dreams stamps, stencils and dies sets. I die cut the house shape and used the negative opening to position the outline stamp of the house, making sure it didn’t wow or wobble on any side.
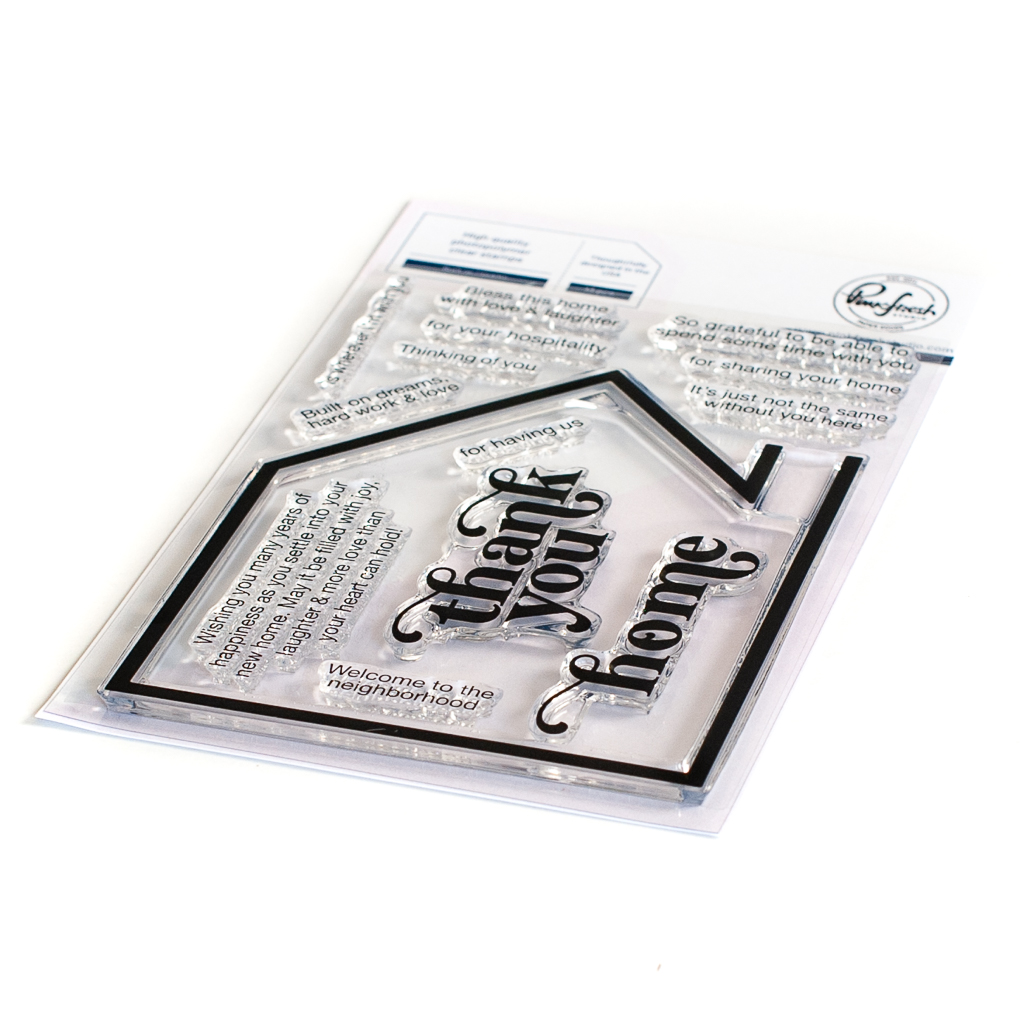

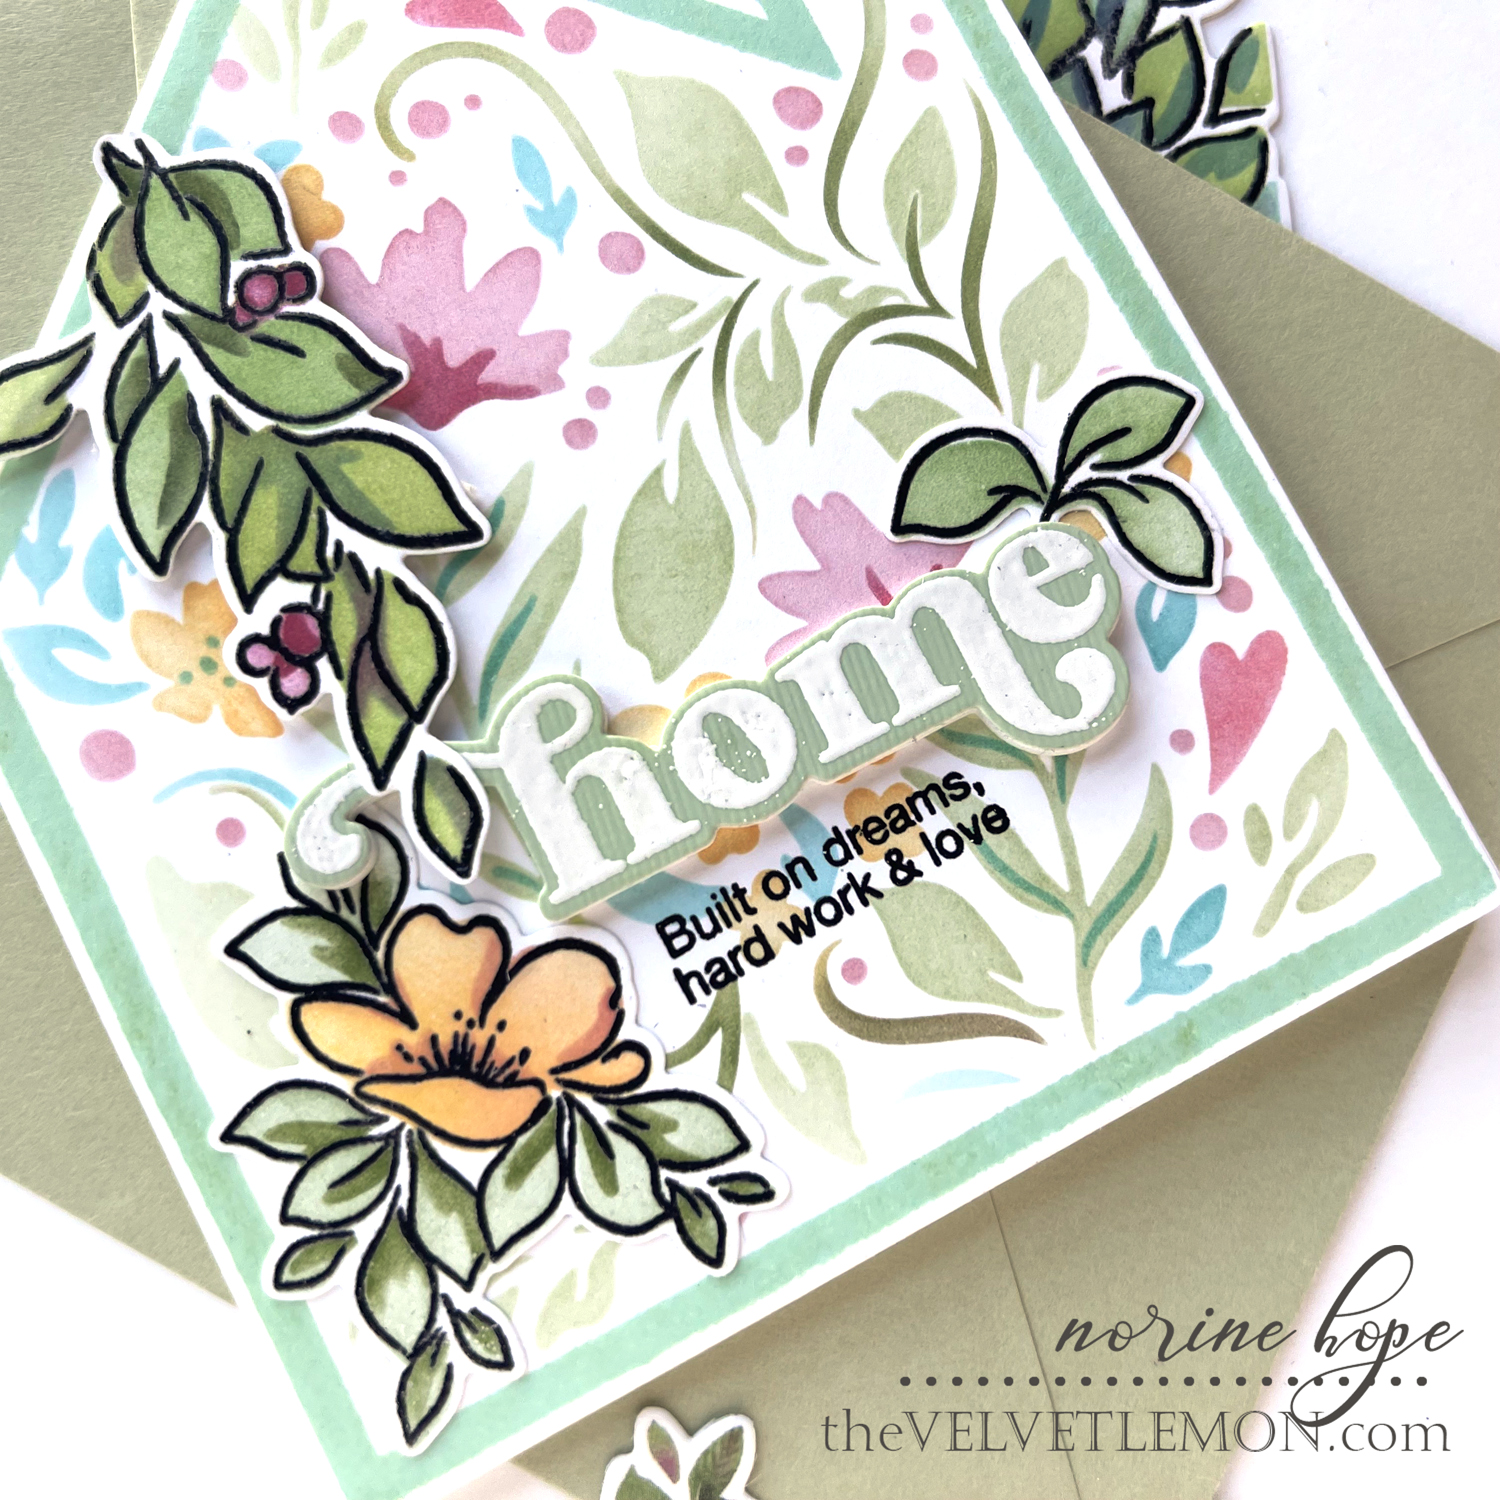
I filled in the house with the five stencil layers and a variety of ink shades. I stamped the “home” greeting onto colored cardstock and heat embossed with white embossing powder, then die cut the stamped word and stacked it with another craft foam die cut. I stamped a secondary sentiment from the Built on Dreams stamp set with black ink.
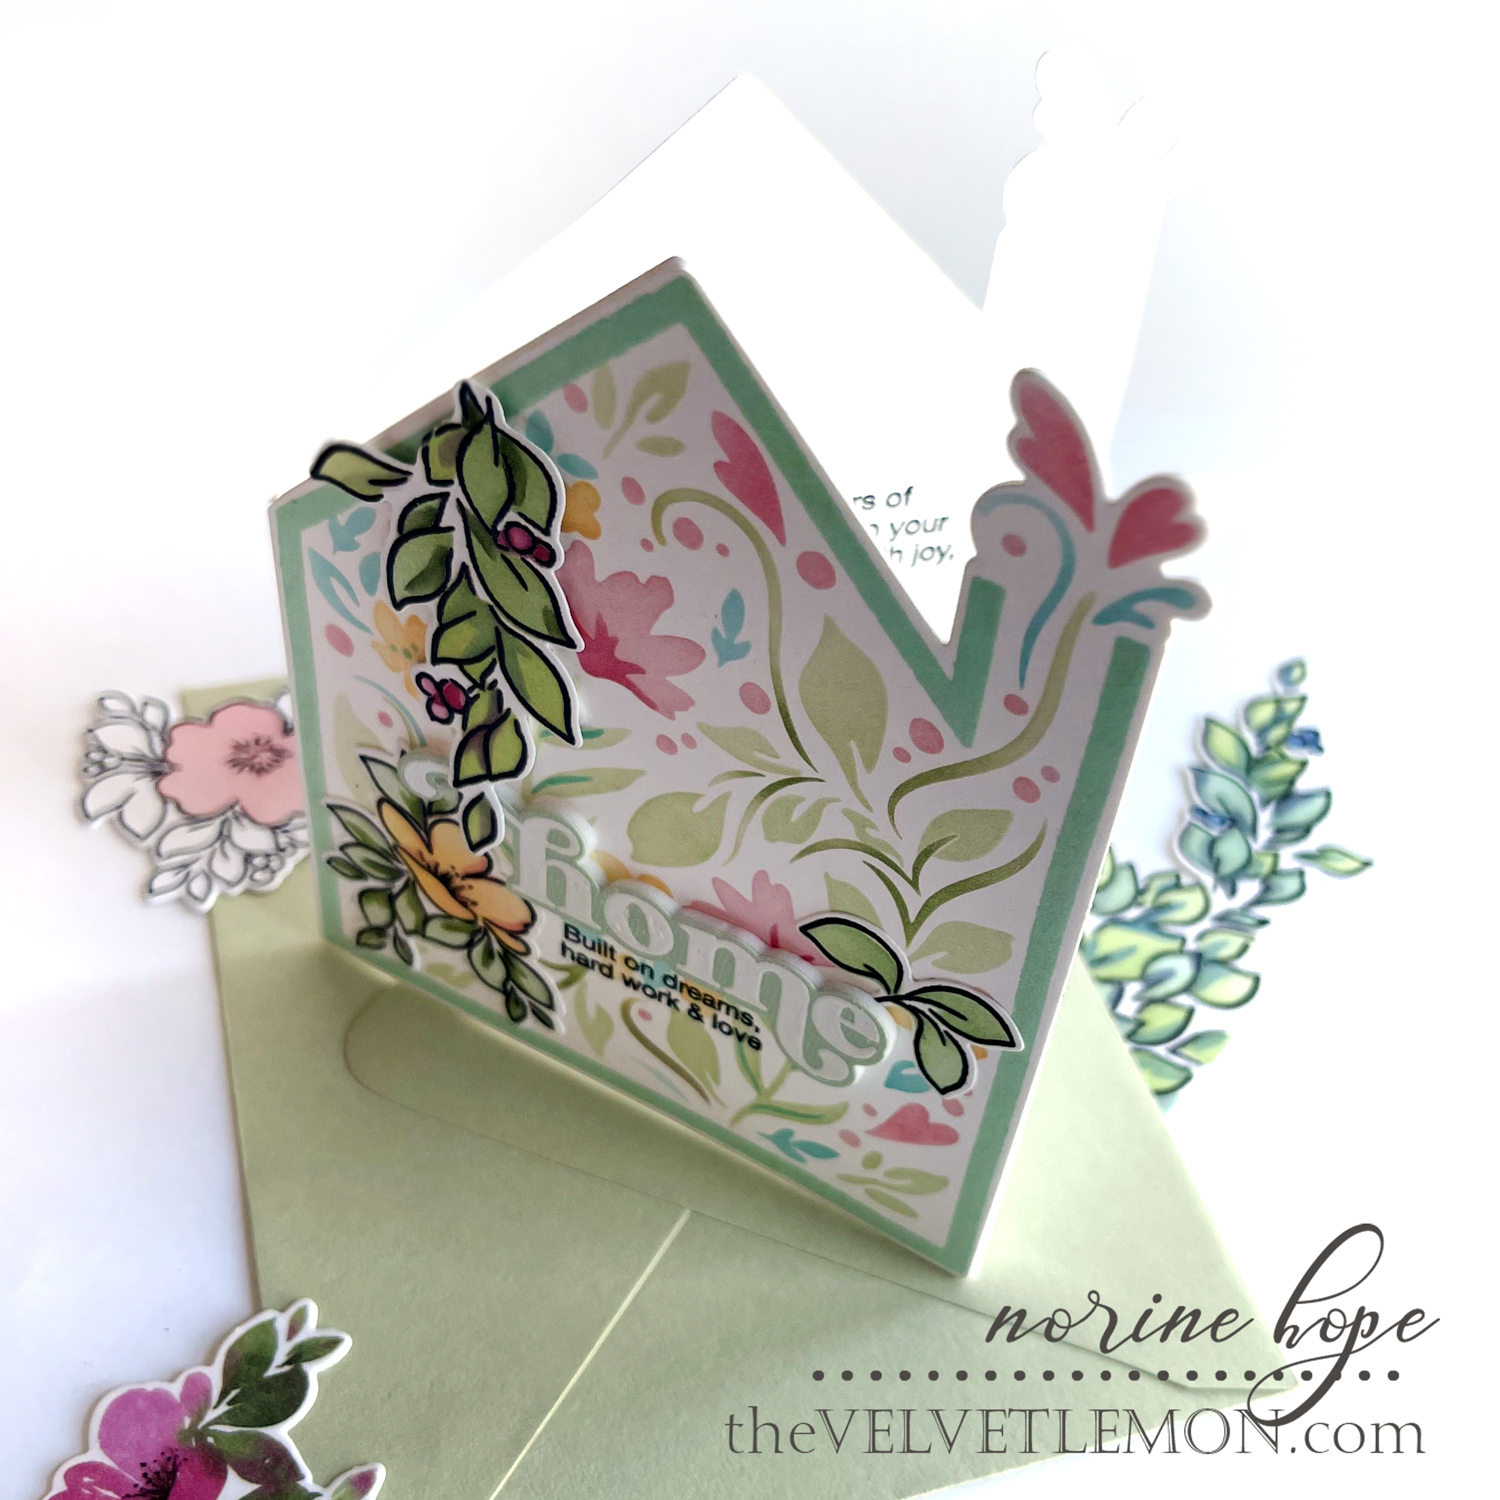
Then I die cut a folded card base, pushing the left side of the die cut off the folded cardstock to produce a folded, shaped card base. I adhered the stamped and stenciled panel to the card base, then added a few of the leftover pieces of stamped, stenciled In the Meadow die cuts.
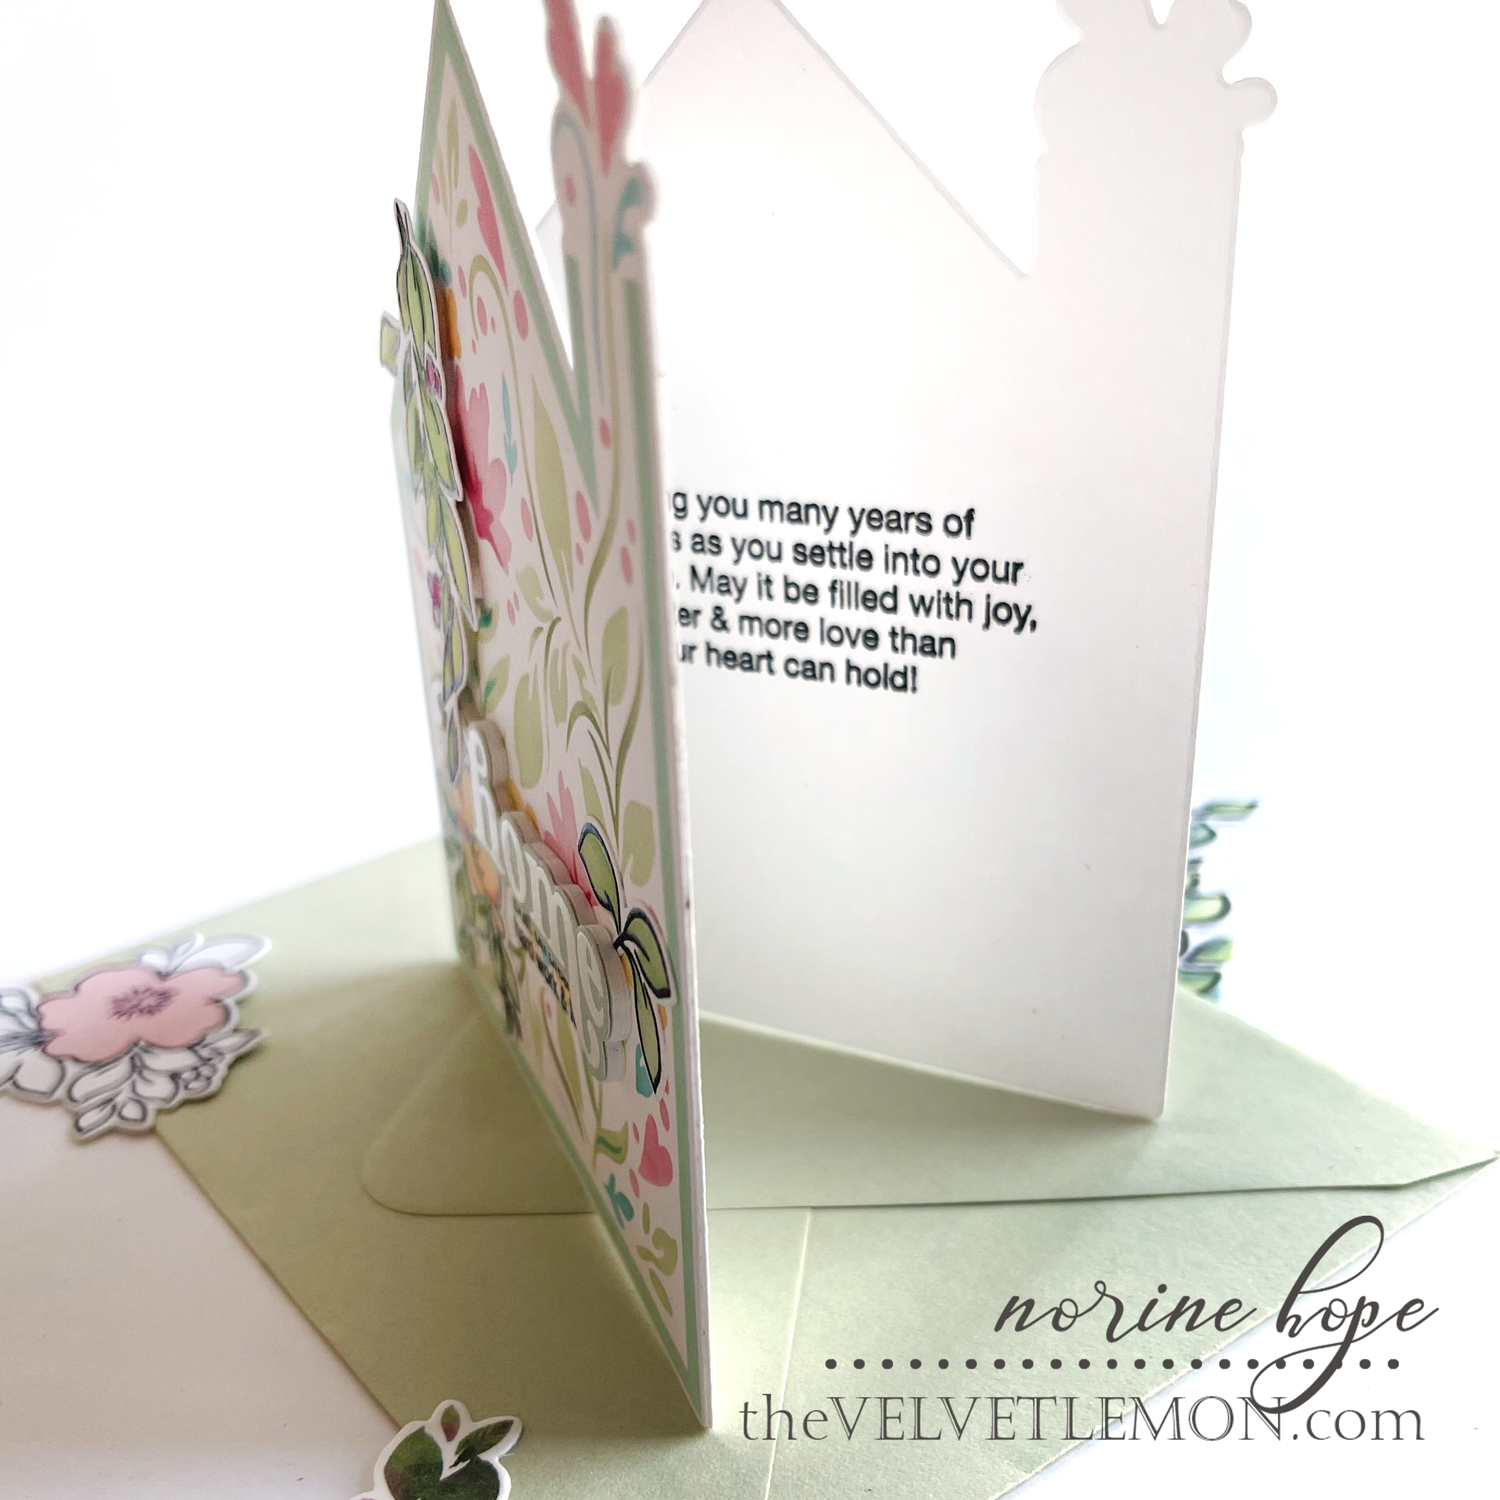
I added another sentiment to the inside of the card and am looking forward to sending it to friends who are moving into a lovely new home!
Whew! Are you still with me?? That was a lot! But when I get going with products I love, I have a hard time getting stopped! Your next stop on the hop is Raquel Arribas’ blog.

Before you go though, be sure to take note of the prizes that are being offered! Pinkfresh will be giving away the FULL RELEASE on the Pinkfresh blog & YouTube channel. As well, they will be giving away a total of TEN $25 gift cards along the hop – the winners to be picked from the blog comments. Winners will be drawn & posted on December 21, 2021 on the Pinkfresh Studio GIVEAWAY PAGE. You must check that page & claim your prize within 2 weeks.
Blog Hop Order:
- Pinkfresh Studio
- Keia Shipp-Smith
- Kelly Griglione
- Laura Bassen
- Lea Lawson
- Marie Nicole
- Mindy Eggen
- Nichol Spohr
- Norine Borys – You are here.
- Racquel Arribas
- Susi Becerra Jimenez
- TaeEun Yoo
- Yasmin Diaz
- Angela Simpson
- Angelica Conrad
- Anett Gelencsér
- Anne Fiene
- Ashley Ebben
- Carissa Wiley
- Cathy Zielski
- Channin Pelletier
- Dilay Nacar
- Erica Andersson
- Heather Hoffman
- Jennifer McGuire
- Emily Midgett
SUPPLIES USED: