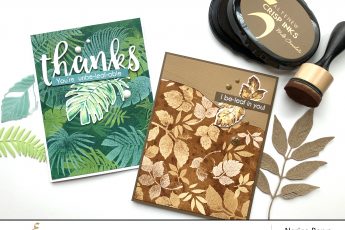

Hi there! I’m up on the Altenew blog today with four cards I’ve made showcasing the recently released Stained Glass Window Stamp & Die Bundle. Maybe it was the (subliminal message) of the name of this stamp set, but I really enjoyed taking it in a stained glass window direction!

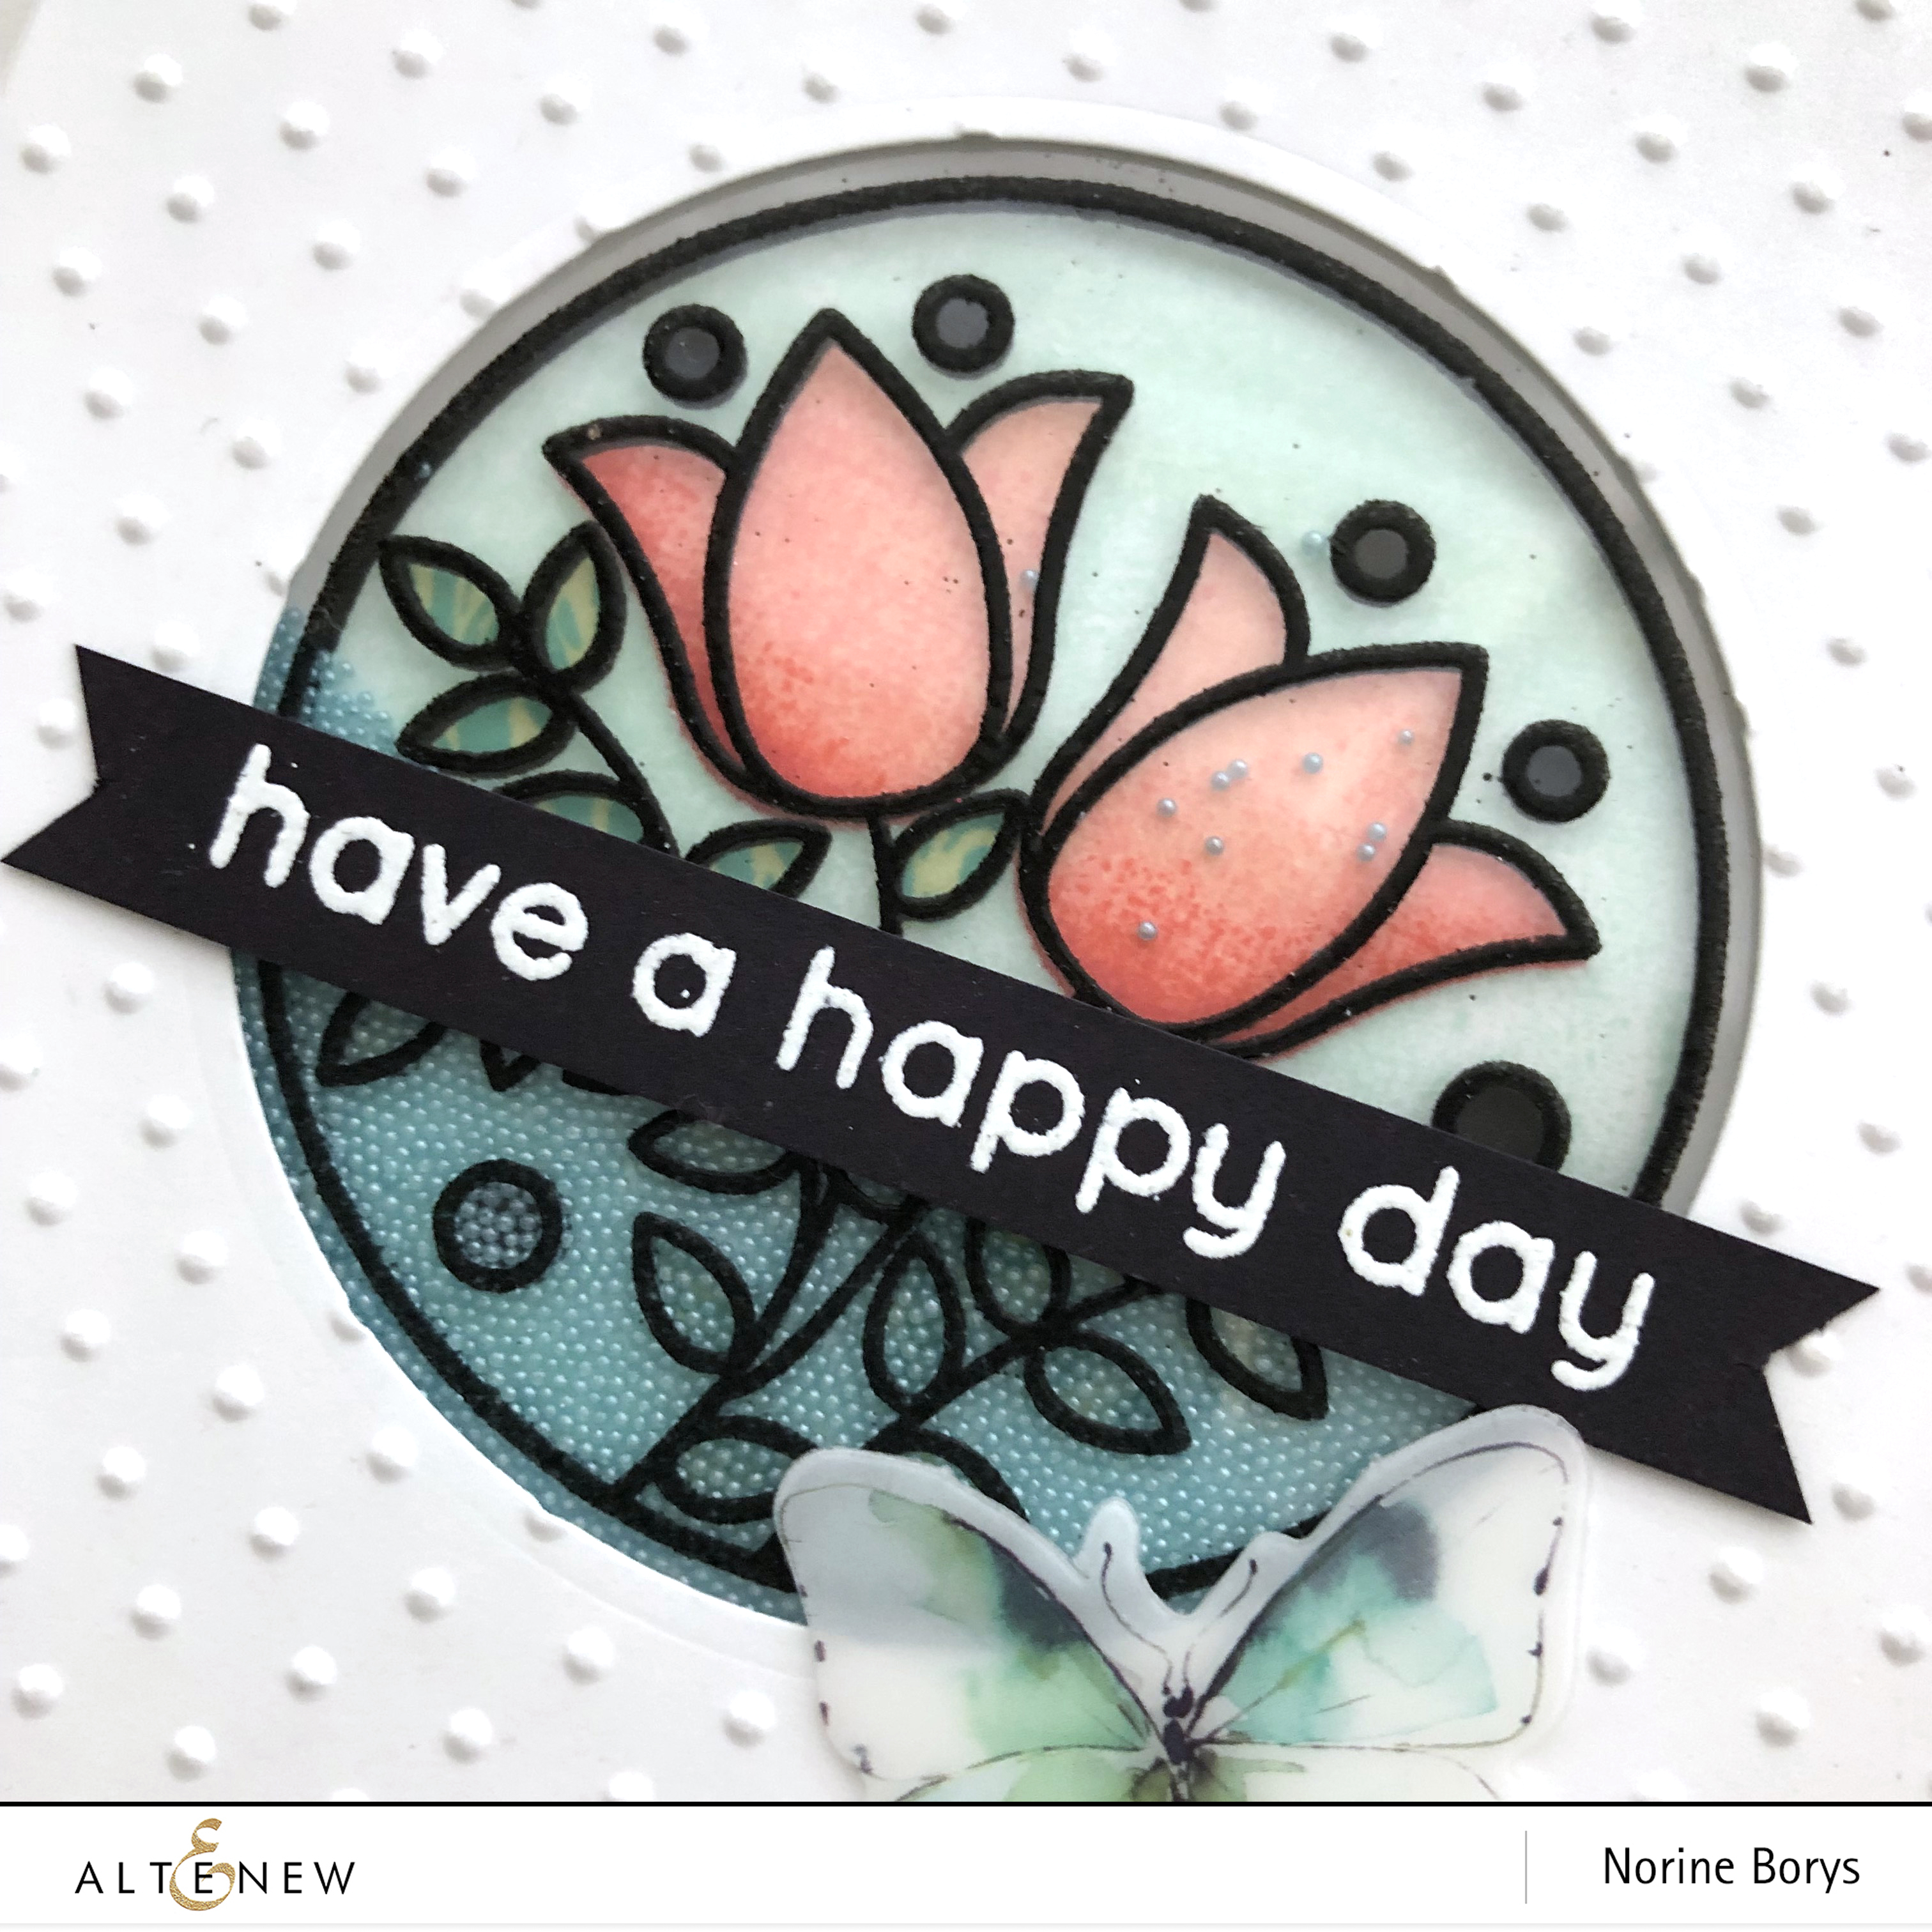
The first card I’m sharing is actually a shaker card. I don’t make shaker cards very often I know, but I had fun with this one and kept it pretty minimal in its shaker-cardness, using only some microbeads and keeping them the same color as the background.

I stamped the main image of this set onto a white card base and then filled in the colors with the matching solid stamps, including the background, the blooms and the leaves. I also stamped on heat resistant acetate and embossed with black Versafine ink and heat embossed with clear embossing powder. I die cut the window in a white card panel and dry embossed with polka dots then assembled the layers of the shaker element. I stamped one of the sentiments from this stamp set onto black card stock with white embossing powder and adhered it over top the window. Finally, I finished up with adding one of the acetate butterflies from the December 2018 Scrapbook Embellishment Kit.

The next card is similar but comparatively more simple, in that I didn’t add an acetate window layer, but did pop up the black patterned paper (from the Essential Black and White Paper Pad). The image is stamped on the front of the card base itself, and colored with Altenew Artist Markers. I added another white embossed on black card stock sentiment from the stamp set and matted it with white card stock to help it pop. Finally, I adhered a few red enamel dots from this embellishment pack.


Next up are a couple of truly stained glass window-esque cards, because I used vellum. I love vellum. I reach for it often. And obviously I’m going to use it for window cards like these!

The vellum window on the first card appears to be colored, but it’s not. The image is stamped on both the inside of the card base and on a piece of vellum paper. Inside the card, the image is “colored” with the solid and pattern stamps that coordinate with the outline image.


I left the vellum layer on the front of the card uncolored for the fun surprise of opening the card. I layered several “sweet” die cuts from the Altenew Script Words 3 die set on top of each other and adhered them to the front of the card, in addition to the birthday wishes sentiment from this stamp set. That fun, perfectly matching plaid patterned paper on the front is from a Lawn Fawn Perfectly Plaid paper pad.

Last but not least is a small, square card, also with a vellum window, but this time I stamped and colored the front of the vellum and left the inside blank. I used Altenew Artist Markers to color on the vellum, and used some patterned paper from an American Crafts 6″x6″ paper pad.

There is an easy way to have the circle opening of both the patterned paper and the card base line up perfectly. Rather than measure and mark, and still have it come together slightly wonky, I cropped the green paper to the size I wanted the finished card panel to be and temporarily tacked it to the card base and then ran them both through the die cutter together. Presto, chango, complete perfection! Then I just slipped the stamped and colored vellum in between the two layers and adhered everything with permanent adhesive. Once again I used a sentiment from the stamp set, this time black embossed on white with a black mat to make it pop. A few black enamel dots and this card is finished. I am obsessed with the way the light glows through the vellum when the card is propped up and open!
Thanks for stopping by and enjoy the rest of your day!