Hello, hi! Welcome to the Altenew Exotic Garden Blog Hop where we are showcasing the beautiful May release of stamps, dies, embossing folders, stencils and more! You should be arriving here from Carol Hintermeier’s blog, but if not, you can click back to the beginning of the hop at the Altenew Card Blog.
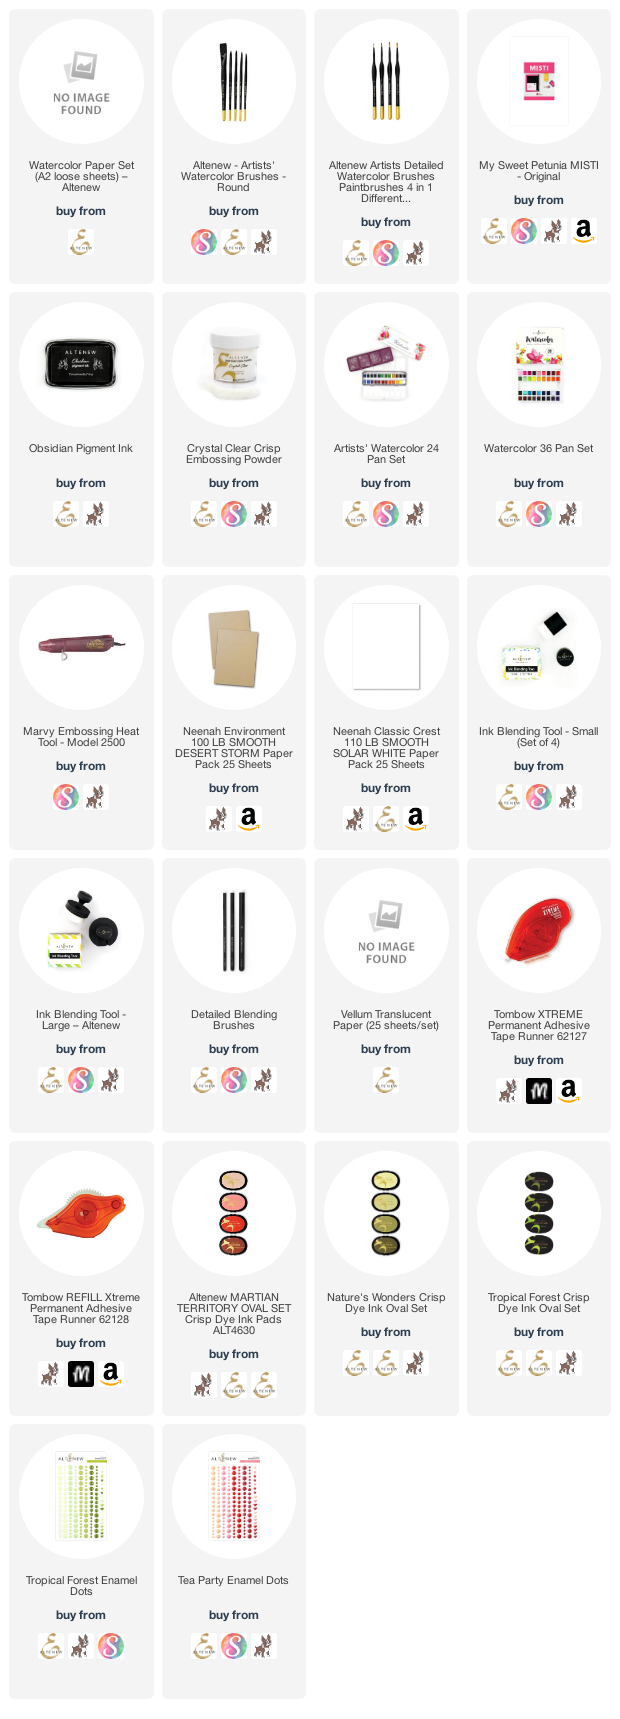
This post contains affiliate links that are listed below. By clicking through to purchase products linked, you are helping to support this blog at no additional cost to you and that allows me to continue to provide you with creative inspiration and instructive help.

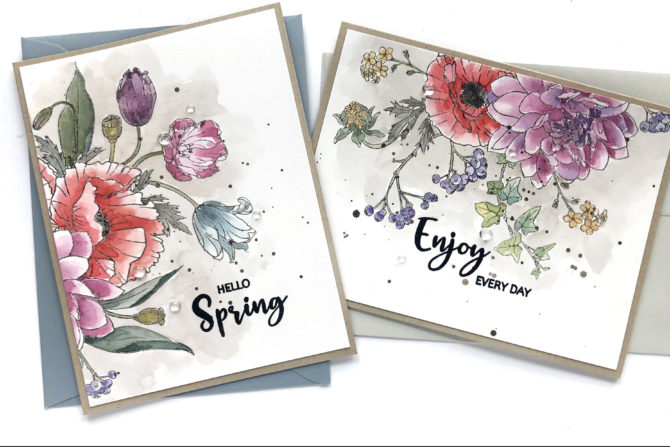
My first cards to share with you today are made using the Simple Spring stamp set, which has a single large stamped image, and I stamped over two card panels butted up to and taped together in the MISTI.
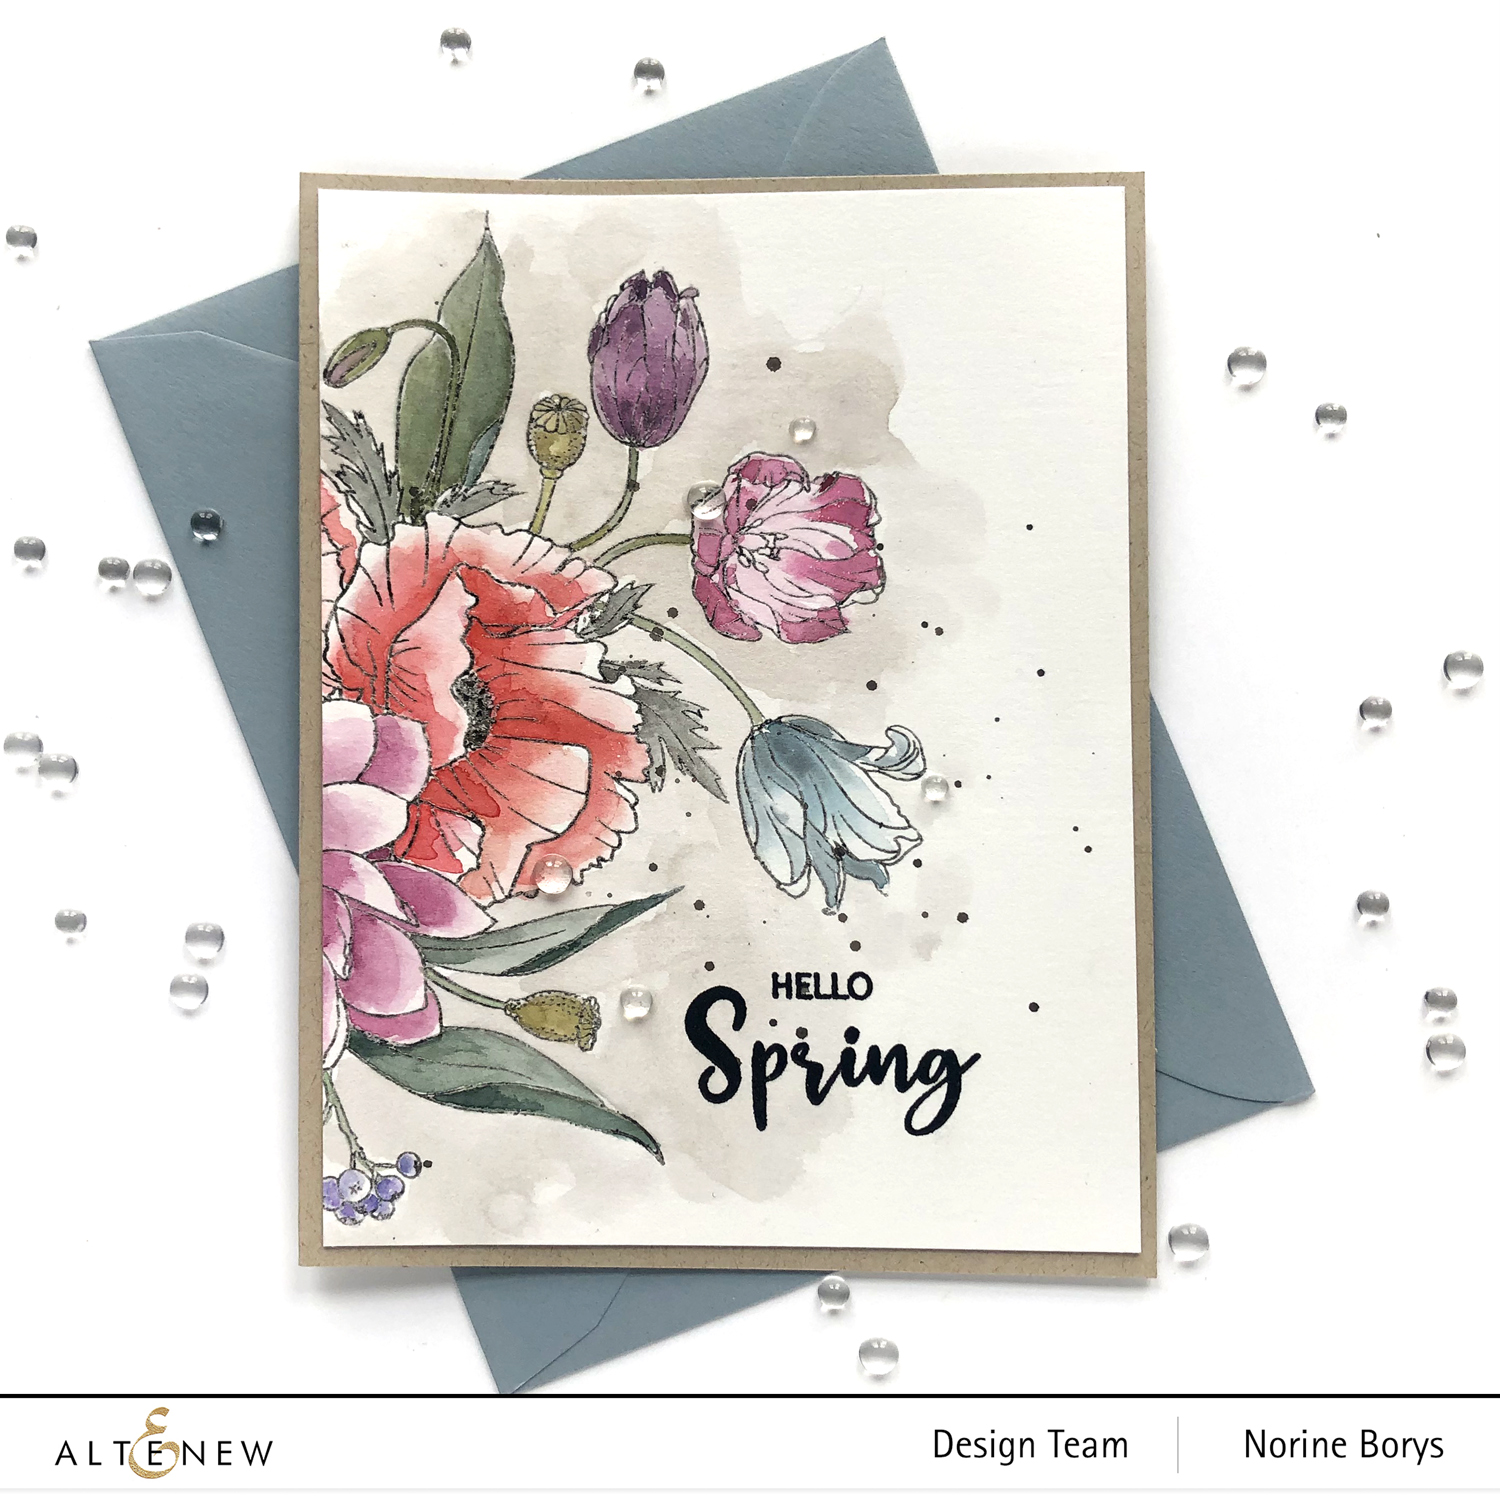
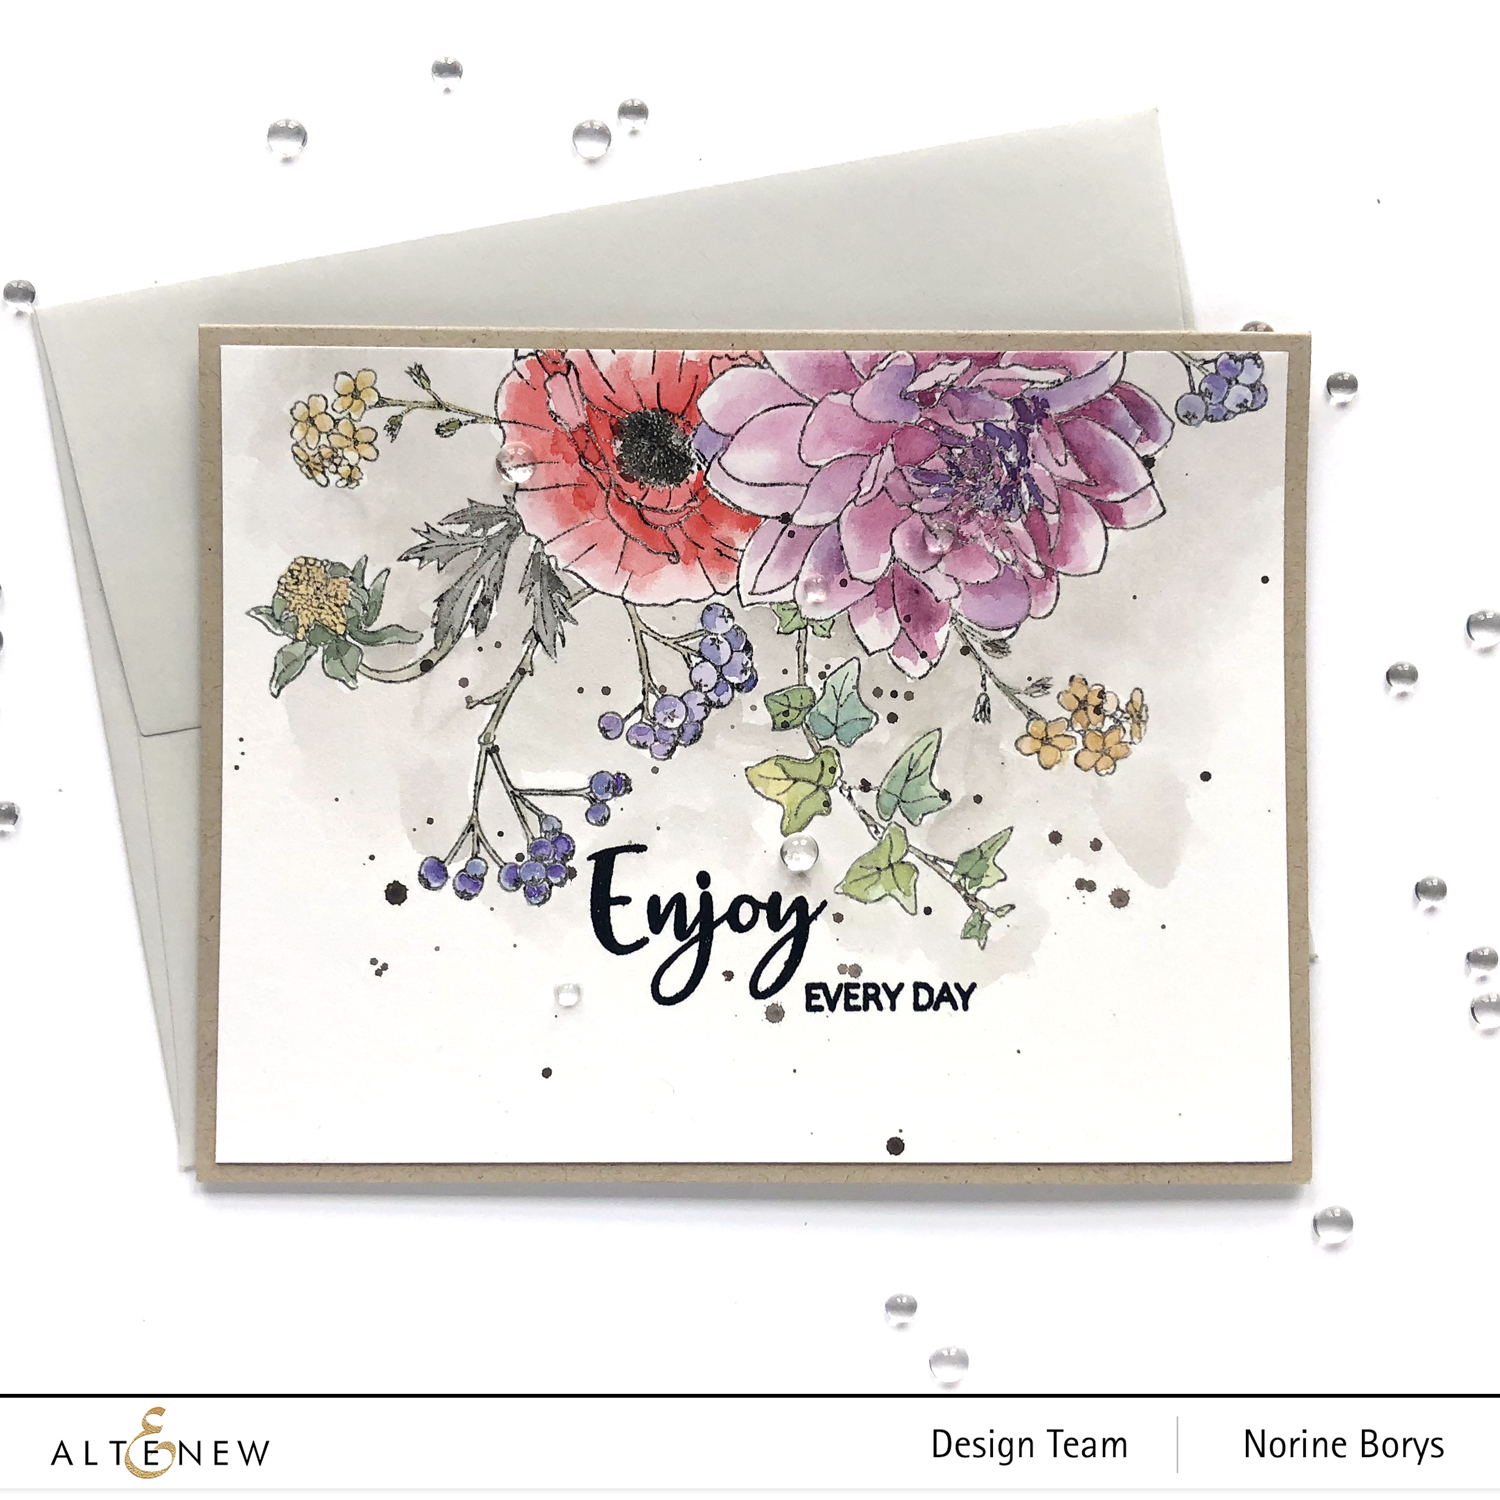
Both of these cards are stamped with Obsidian Pigment ink, but are each 2nd generation stamping, which produces a lighter image outline. I stamped the first time onto scratch paper and the 2nd time, onto Altenew Watercolor paper and heat embossed with clear embossing powder, and I love the lighter gray outline that results.
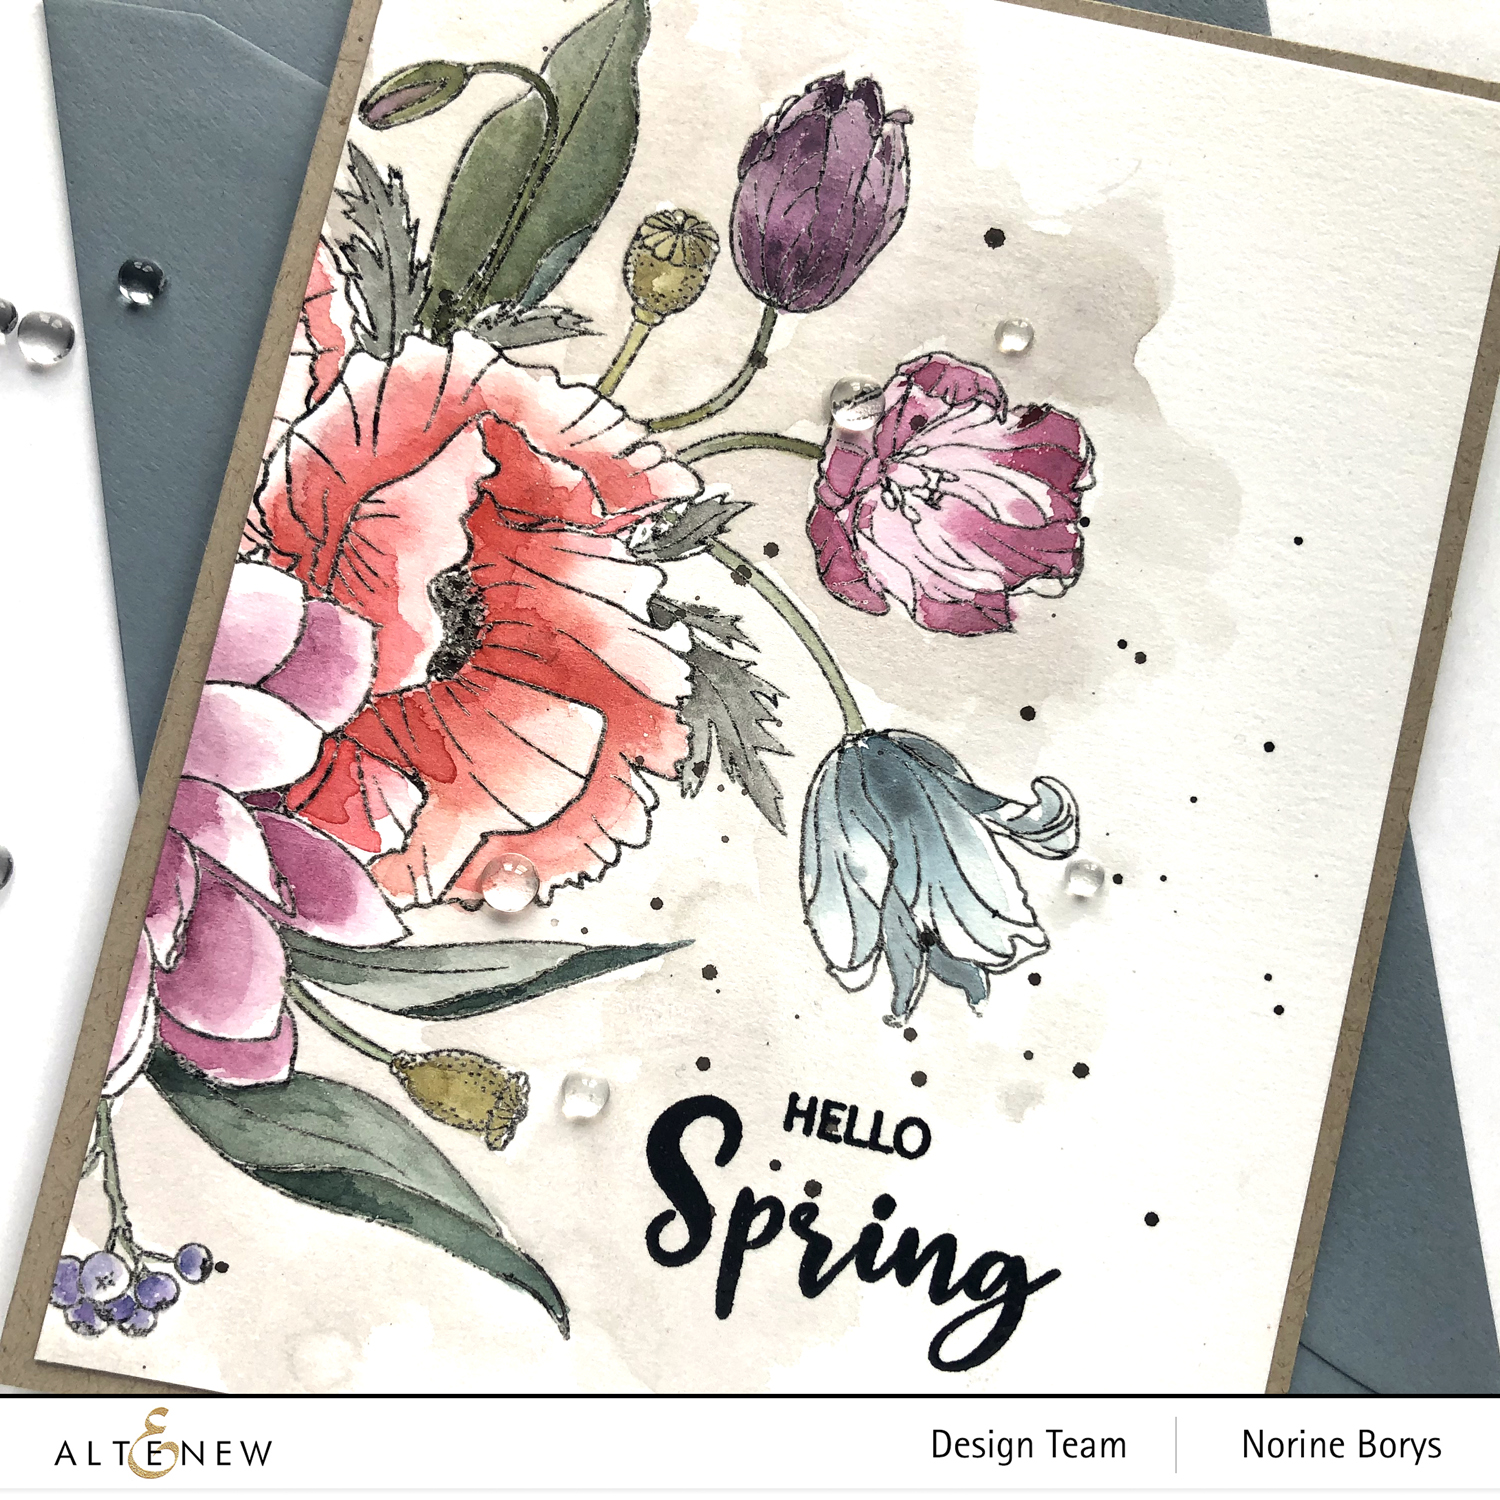
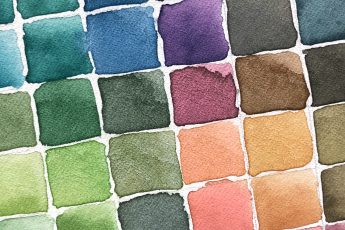
Once I had stamped the two card panels, I used Altenew Watercolor 24 Pan paints and the 36 Pan paints to paint the images.
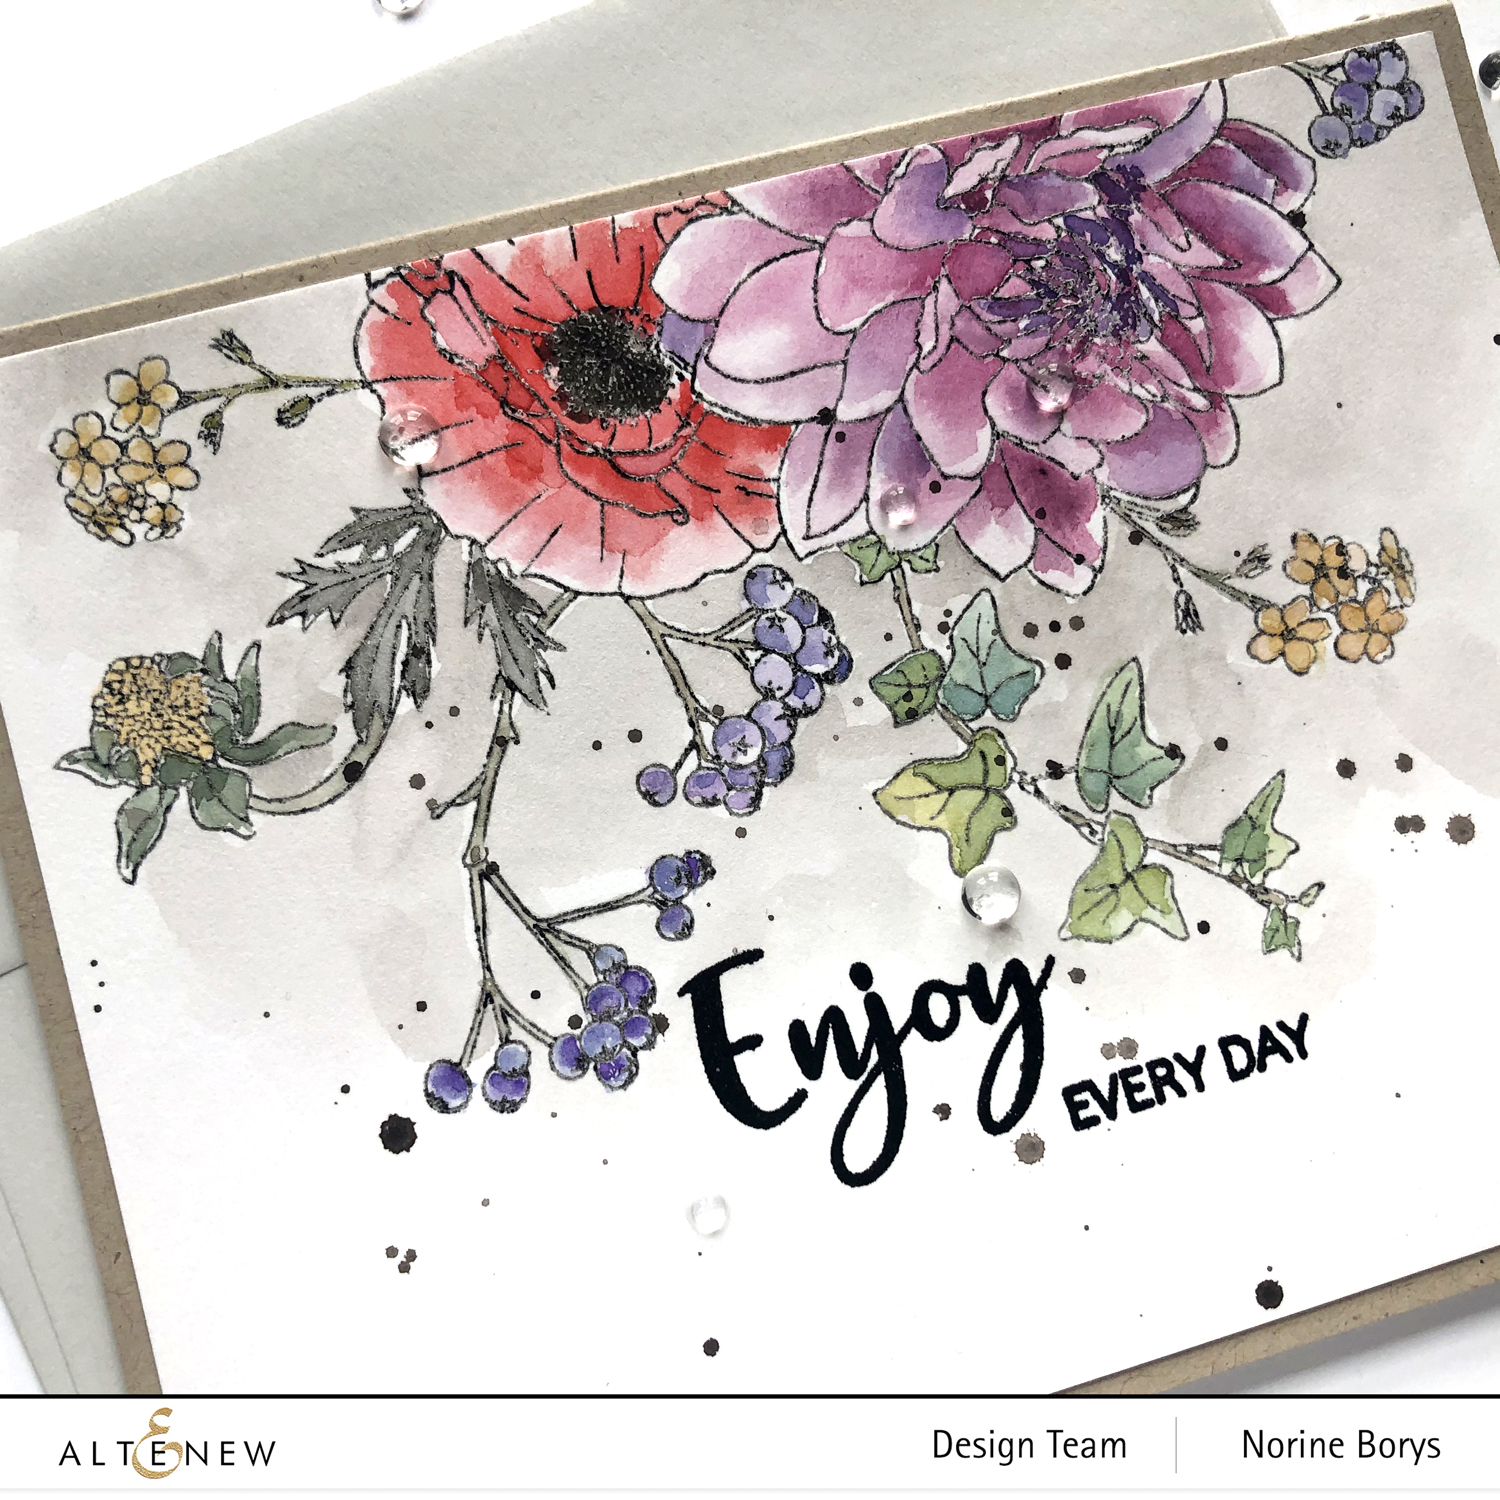
I wanted to try and achieve a muted look, reminiscent of vintage botanical prints, so I added a little bit of brown and black paints (greige) to tint all of my color mixes.
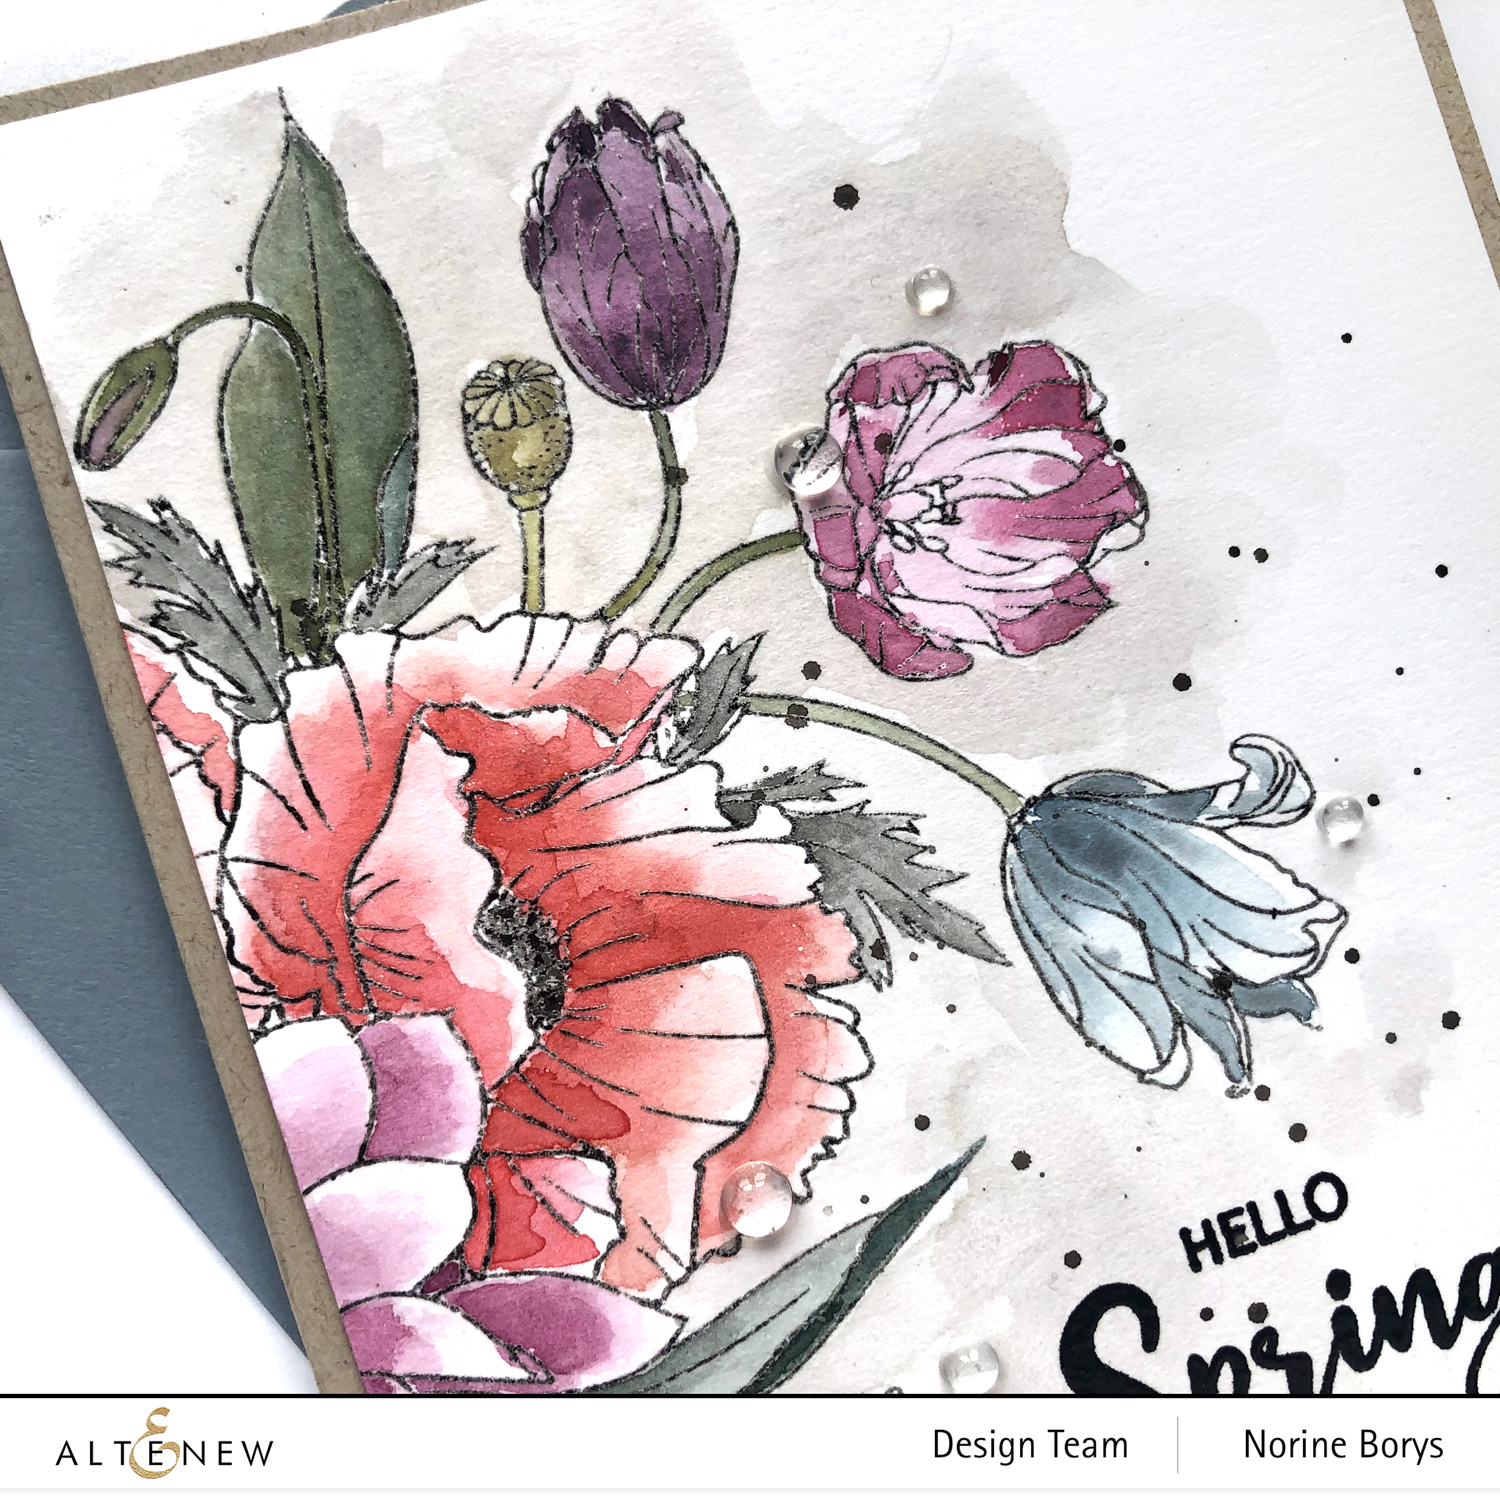
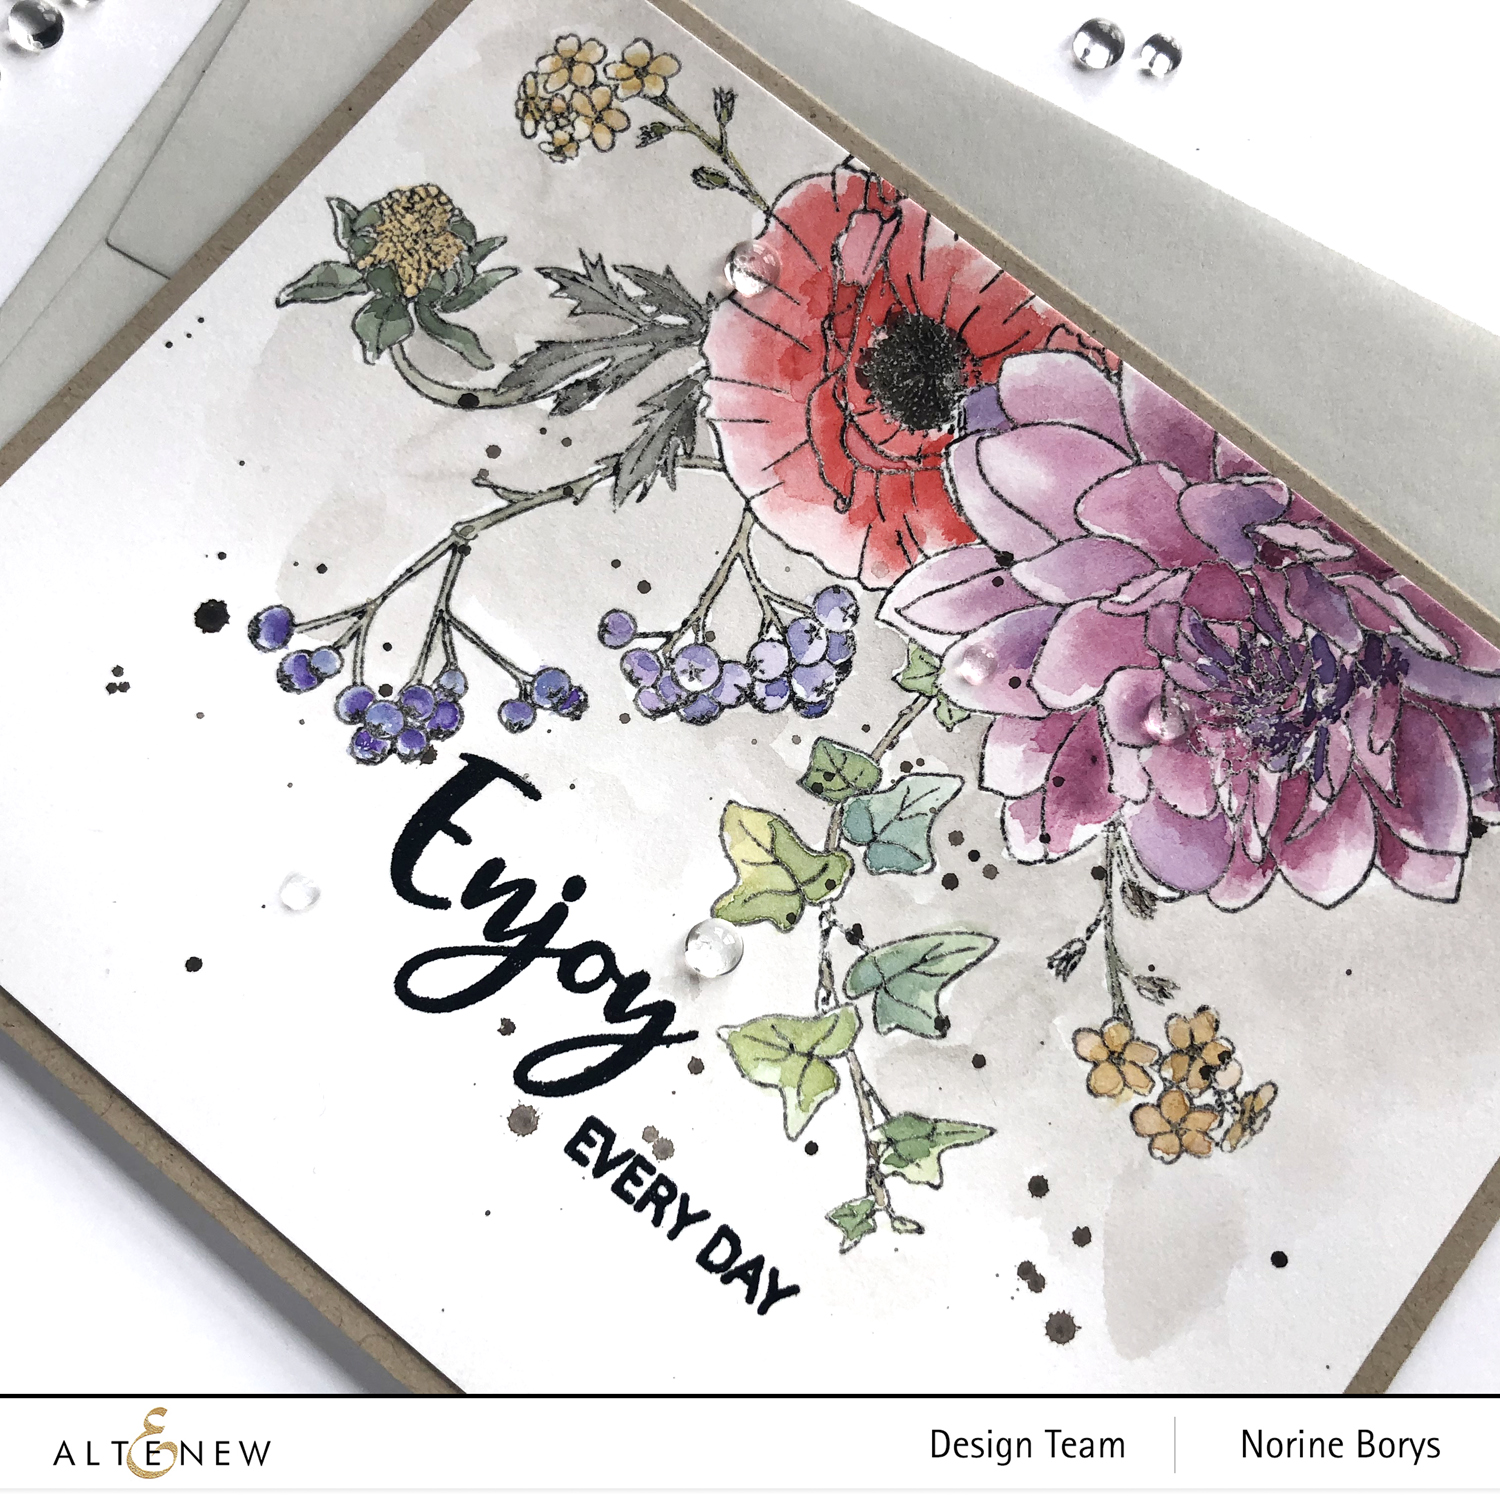
I also diluted that “greige” color mix and used it to paint in the background behind the floral images. Once dry, I added dark paint speckles to both cards.
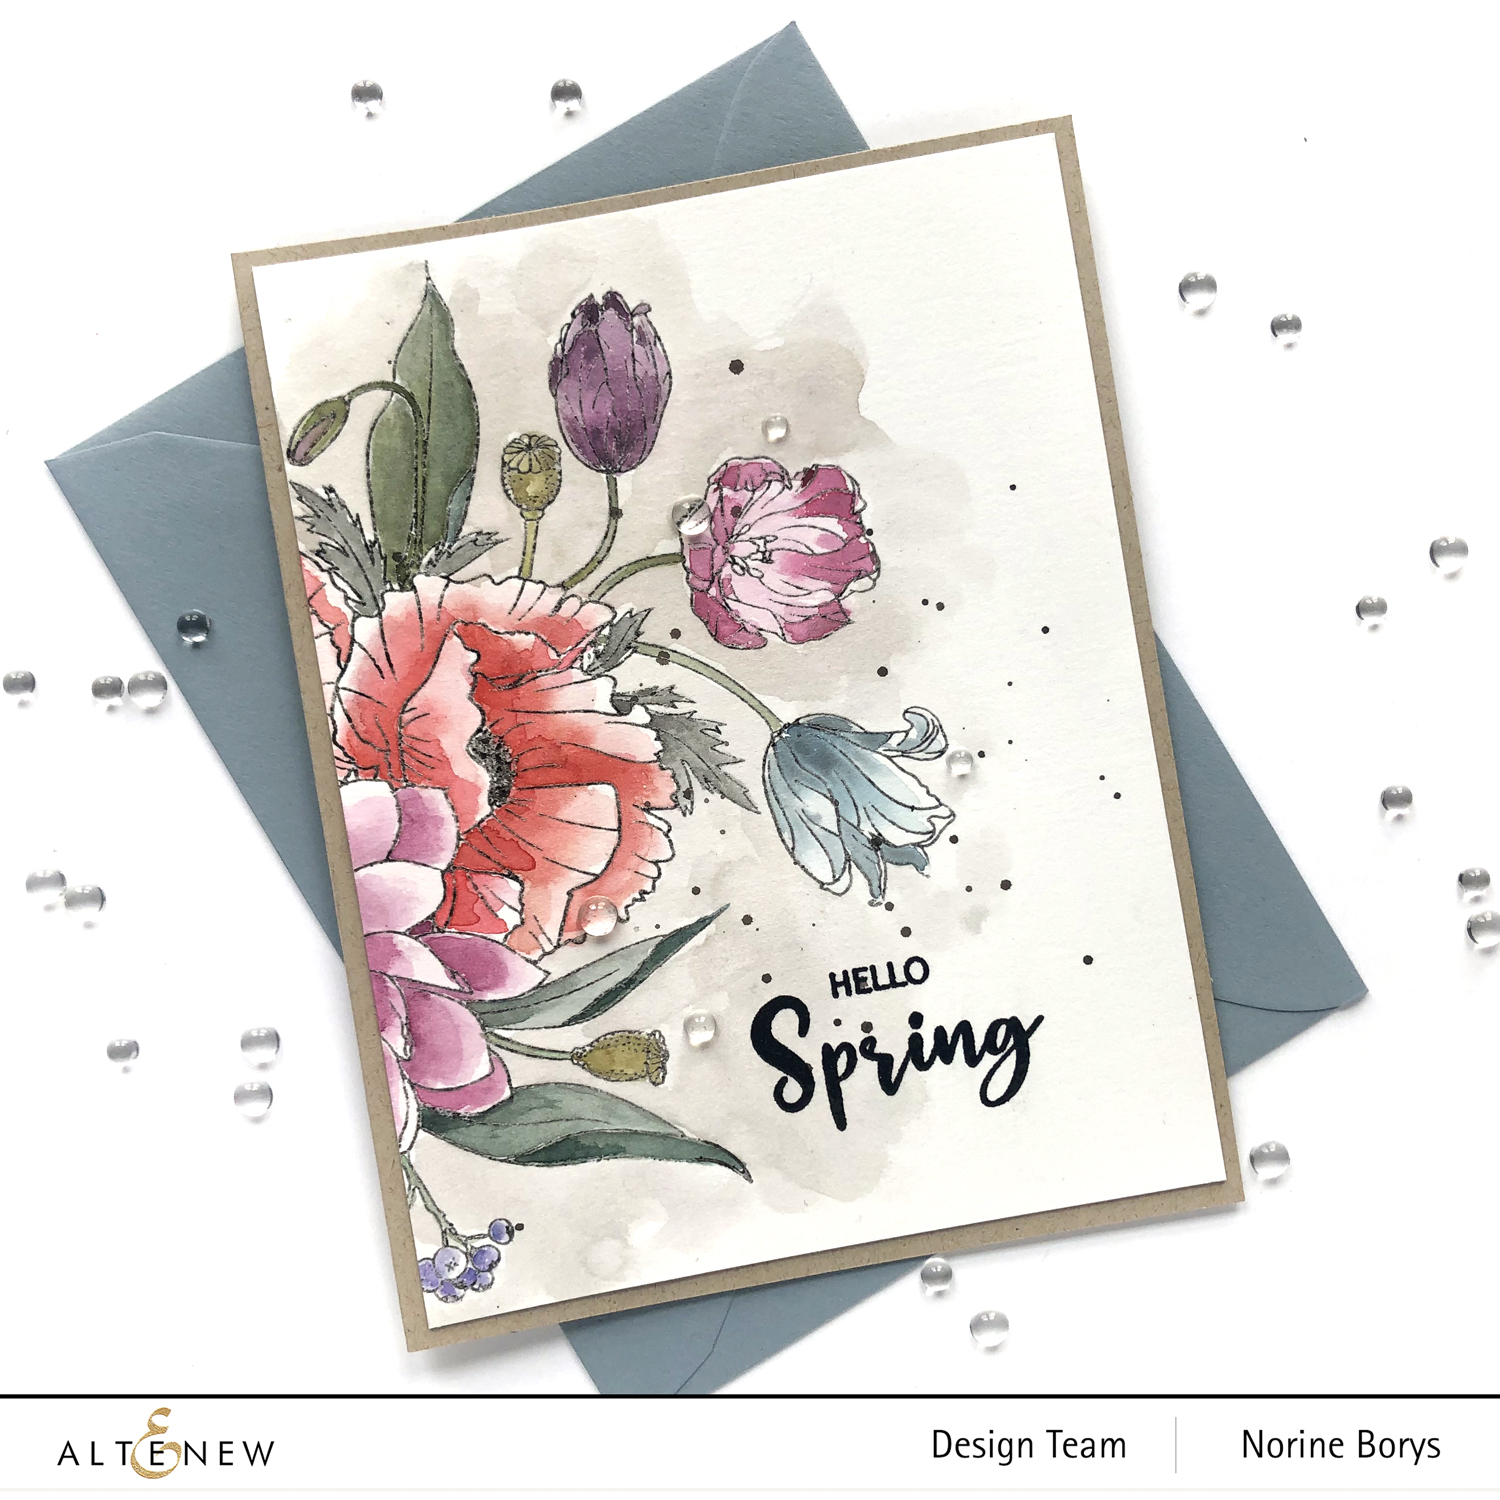
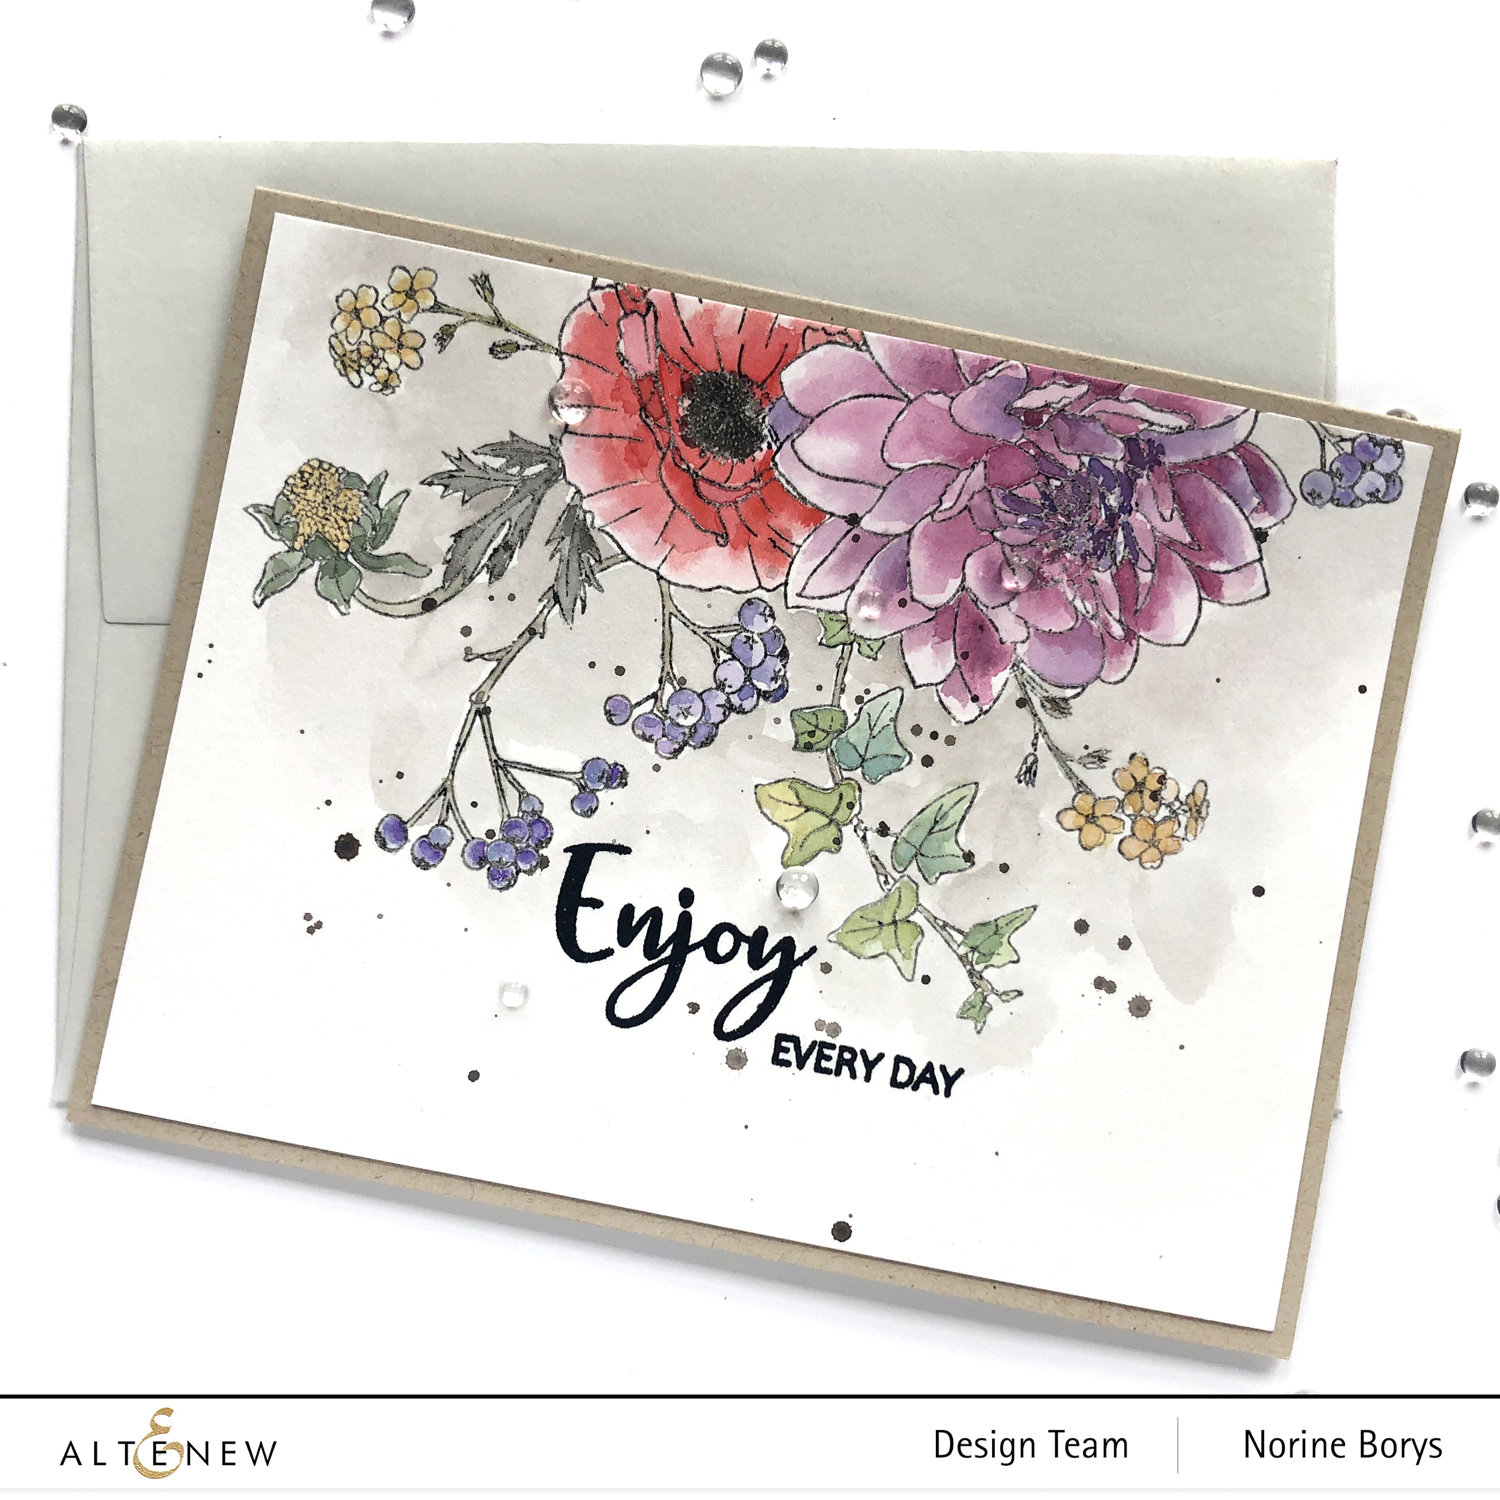
For a little variety, I oriented one card vertically, and the other horizontally, then combined the individual sentiment stamps in the Simply Spring set to create these two greetings. I stamped full strength with Obsidian Pigment ink and heat set again with clear embossing powder. I trimmed both painted card panels slightly smaller than A2 card size and adhered them to folded Kraft cardstock card bases.
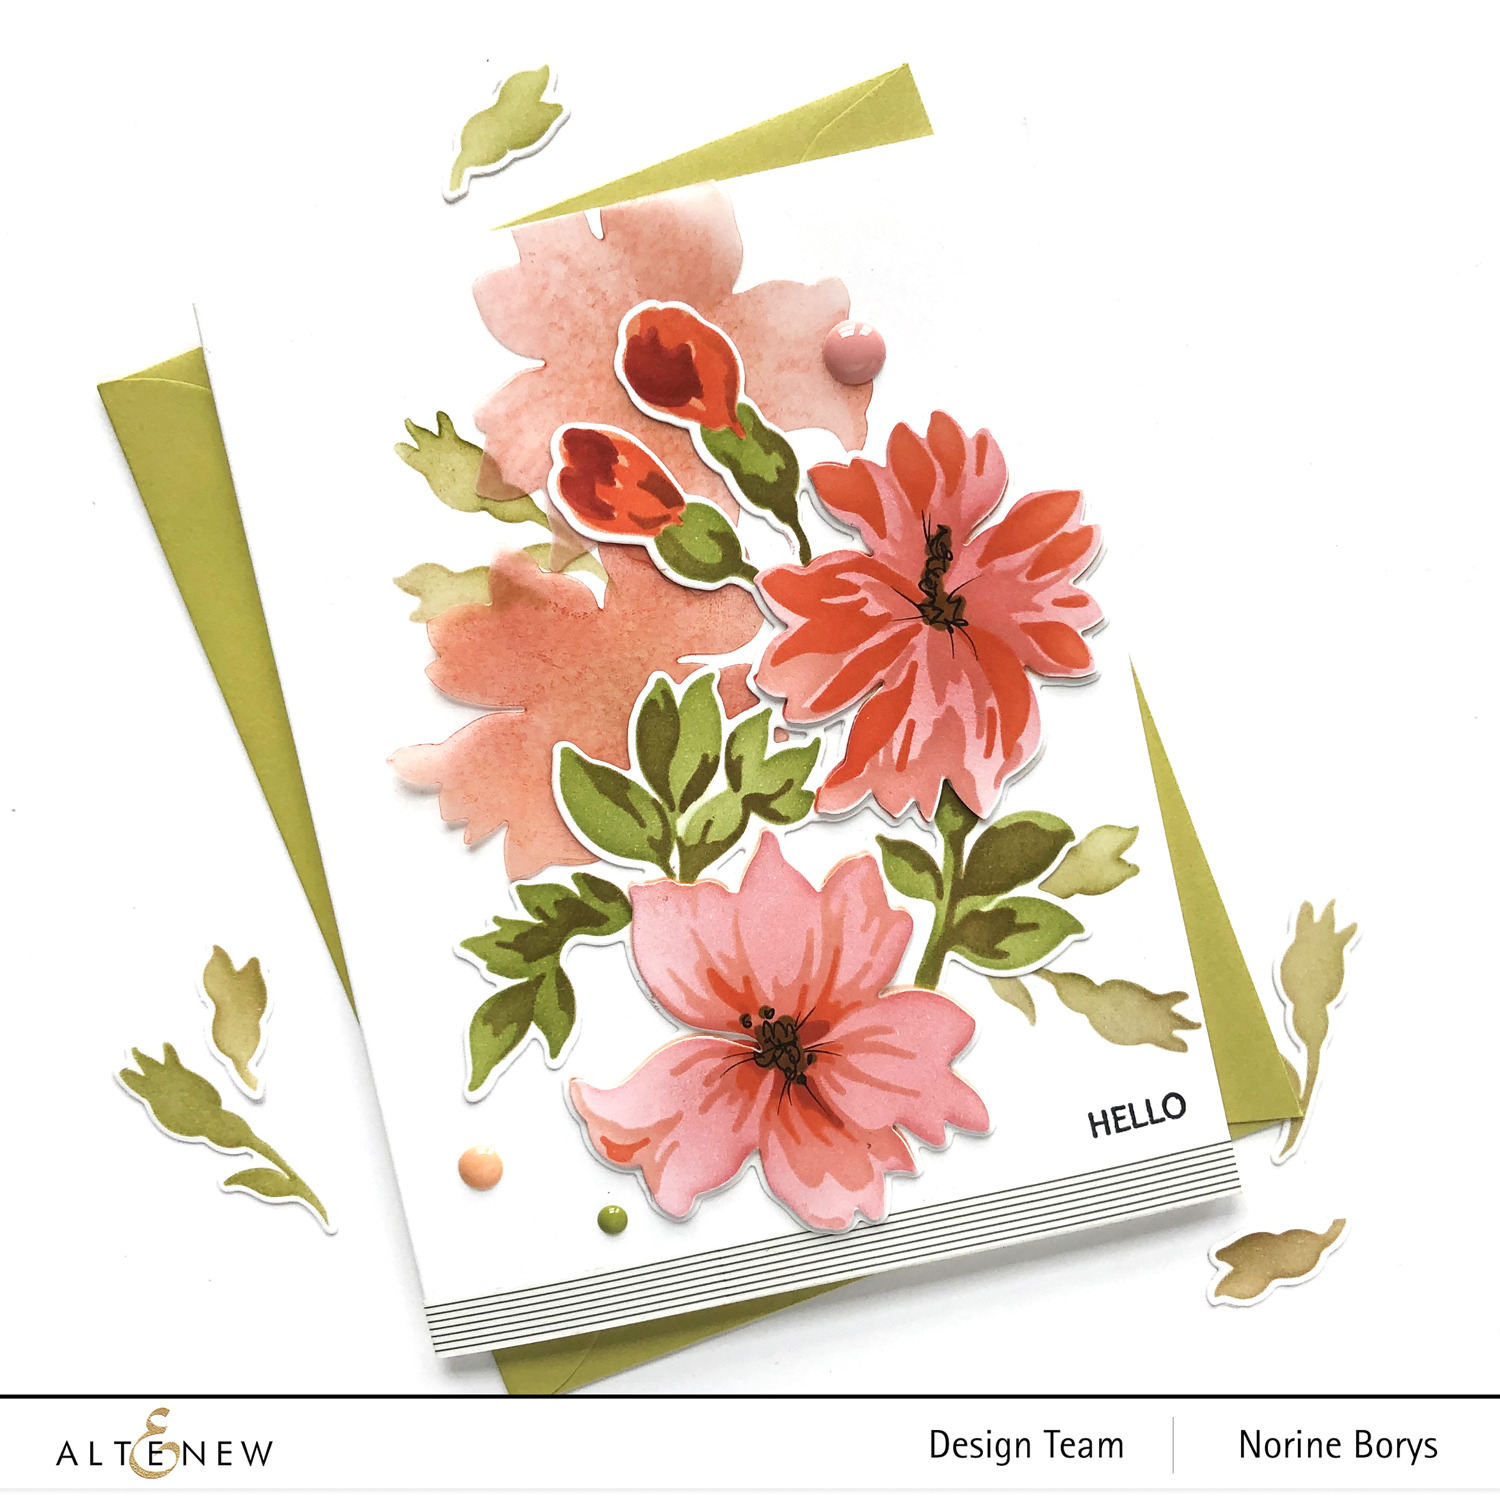
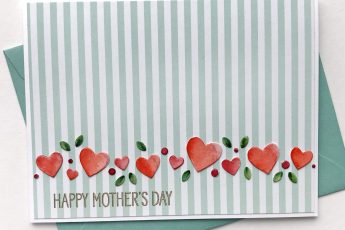
My second card today is made using the Bitterroot Flower Stencil and Dies sets. I am falling harder and harder for these layering stencil sets that achieve the same look as layered stamping but more easily and for a better price point than stamps.
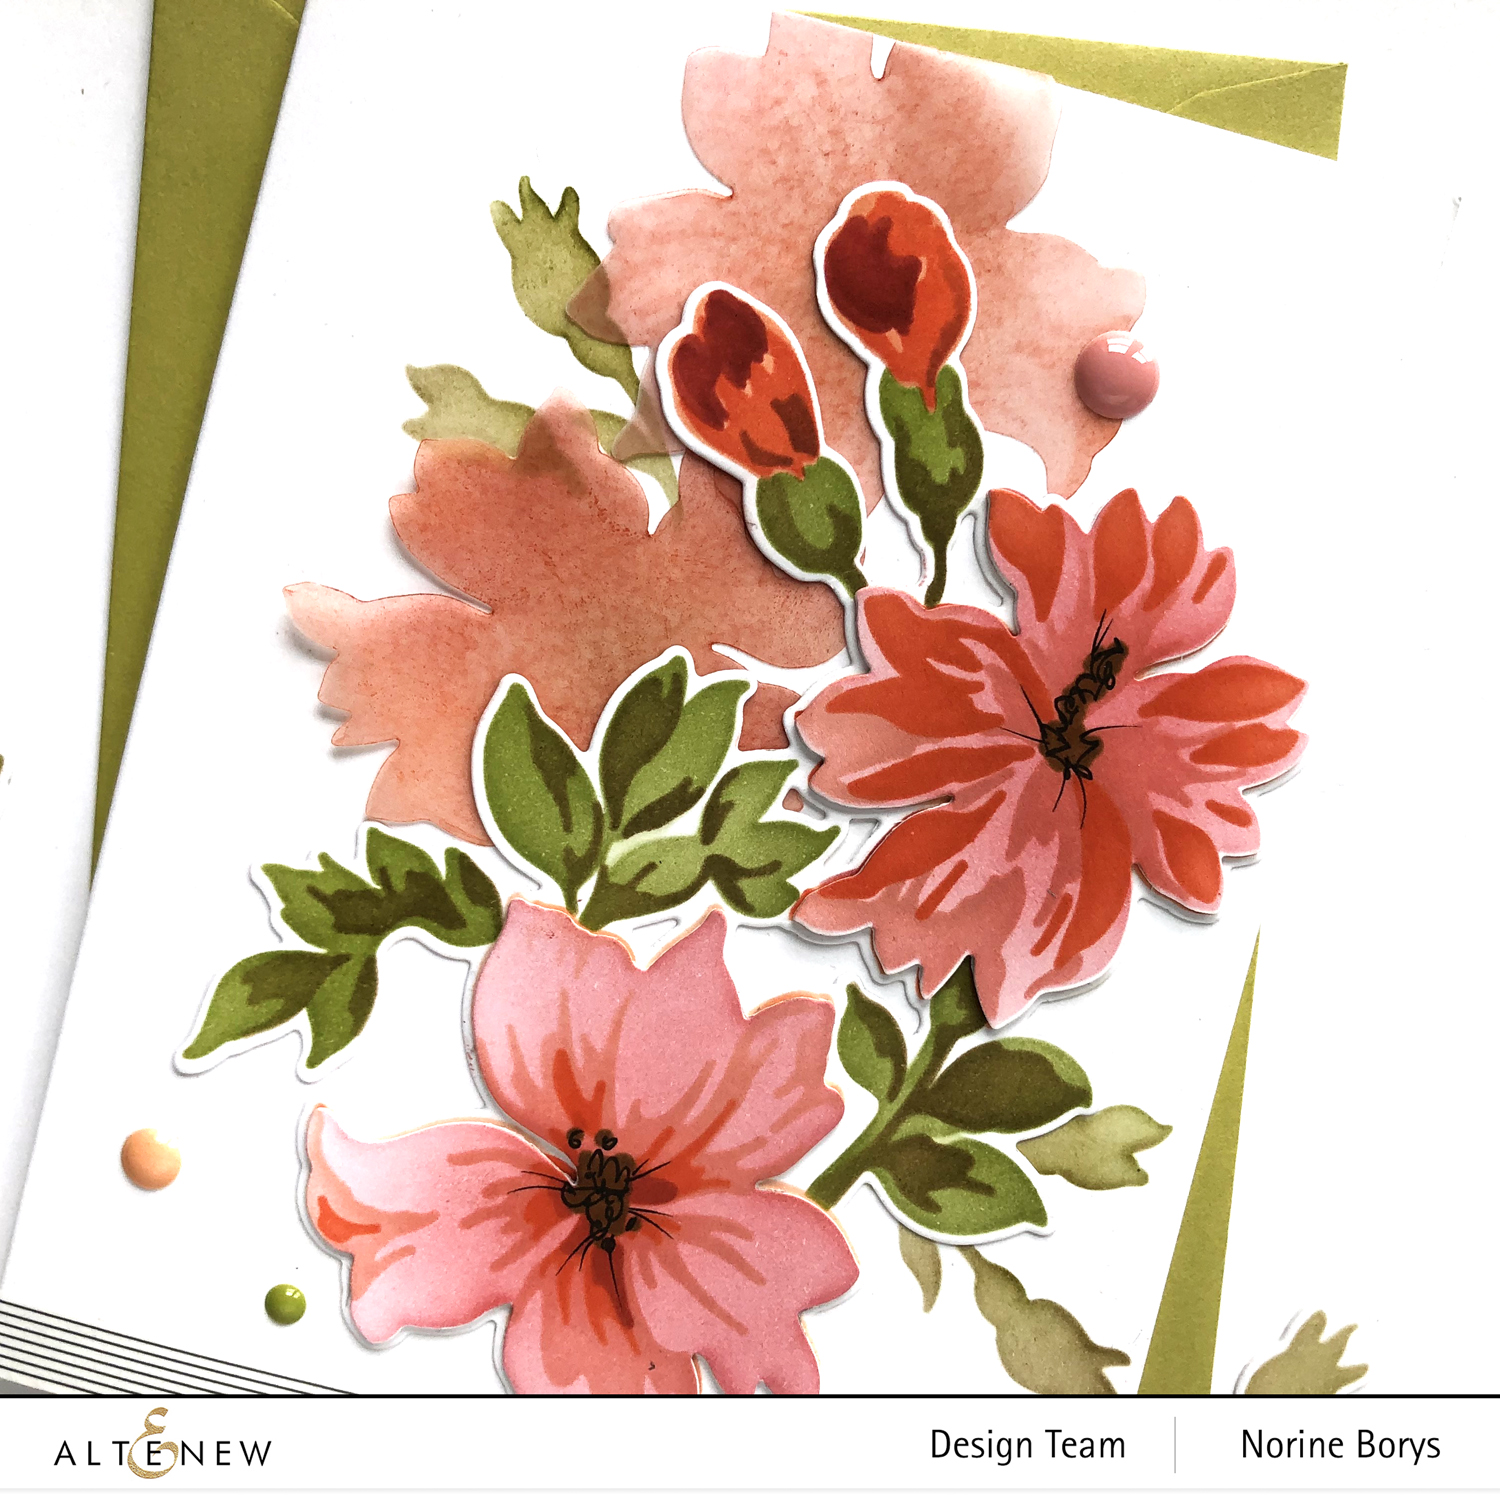
In particular, what I love about this set is, there is a single large die for the complete floral design that cuts with a tiny margin around the whole image as we are accustomed to, as well as individual dies for the two blooms and two buds, that cut exactly on the line around the smaller images, leaving no margin of white.
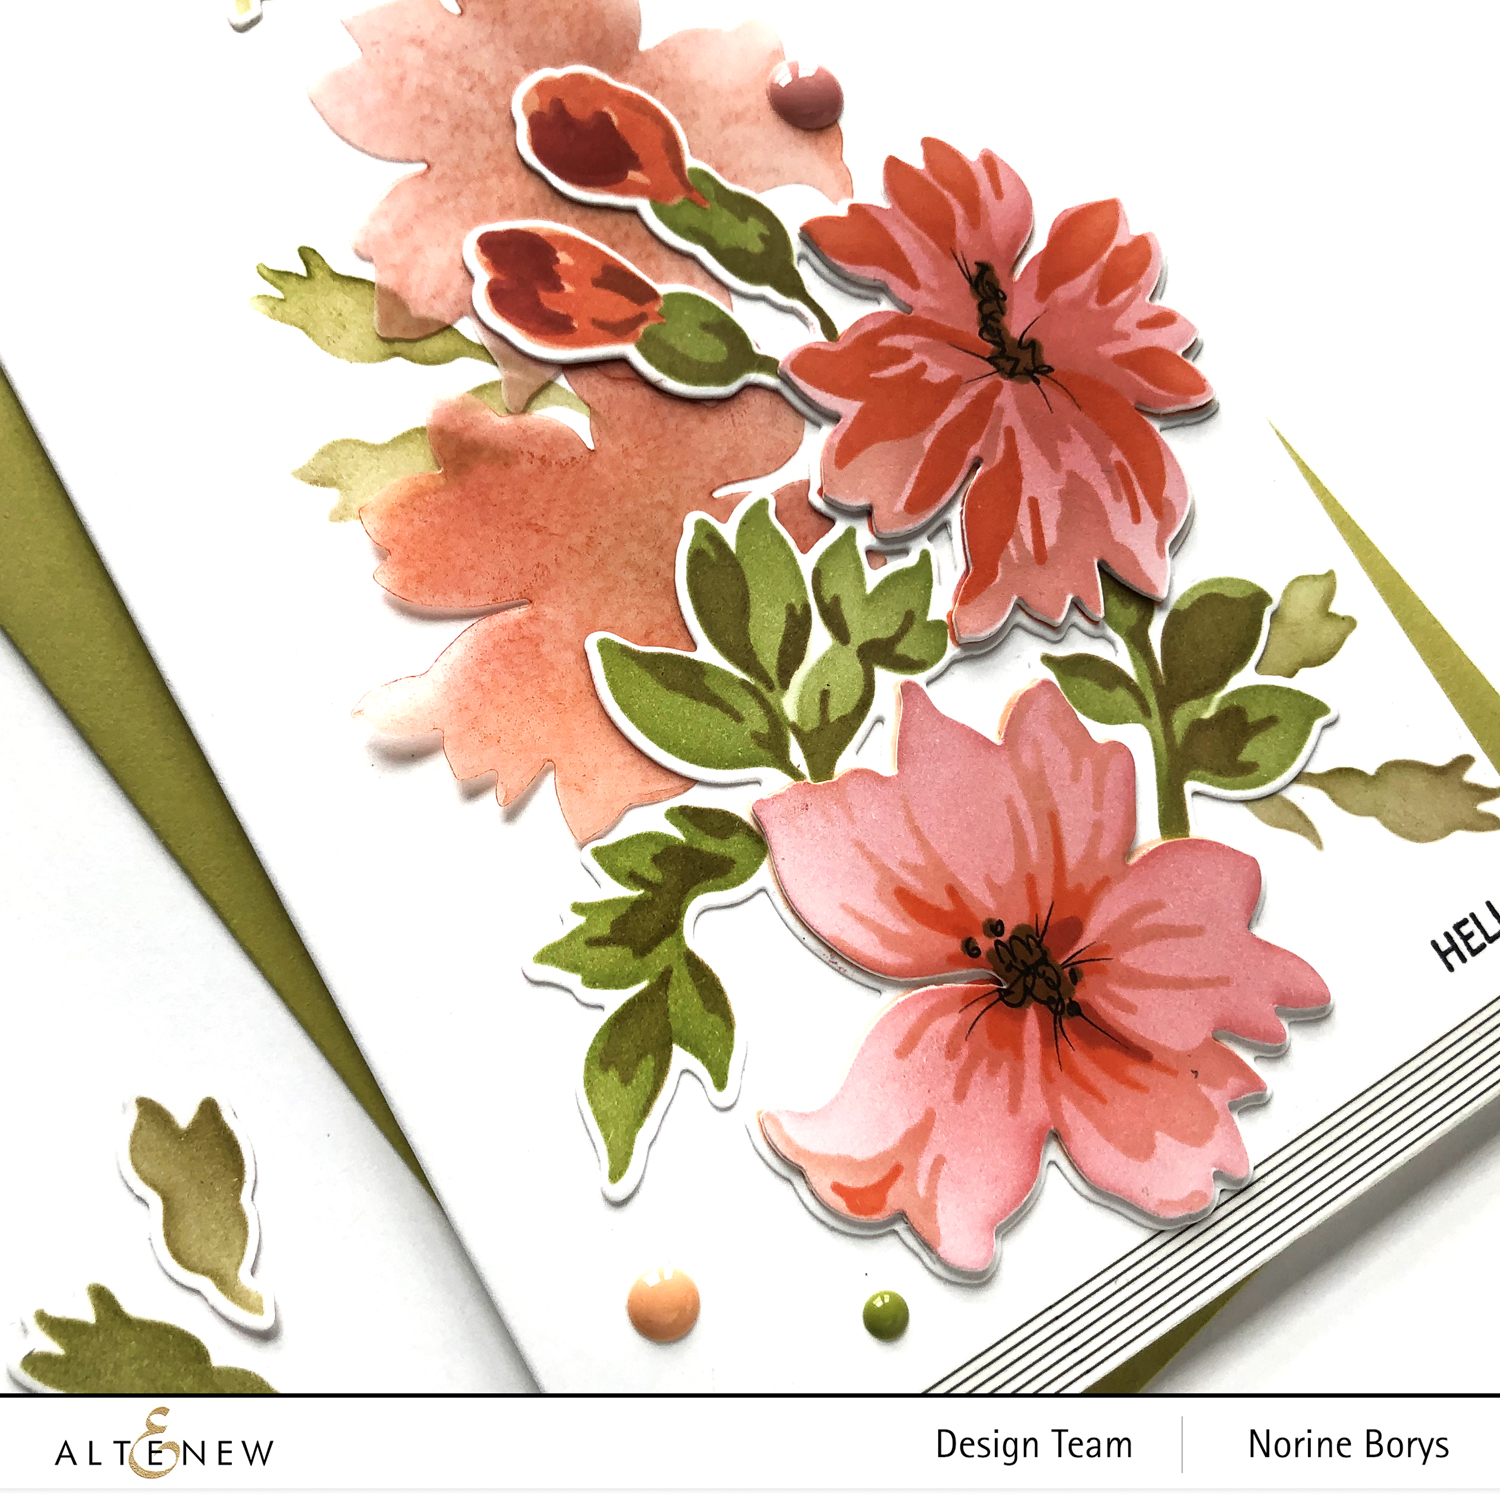
To explain that better, I die cut the large floral arrangement from heavy-weight white cardstock. I left the die cut shape in the outside portion and used the die cut lines to help me easily line up the stencils, then ink blended each of the layers to color the design.
The other reason for die cutting first, is, when you look at the stencils, it isn’t immediately clear what the whole design is, and it would be easy to accidentally position the design off the edges of an A2 sized card panel.
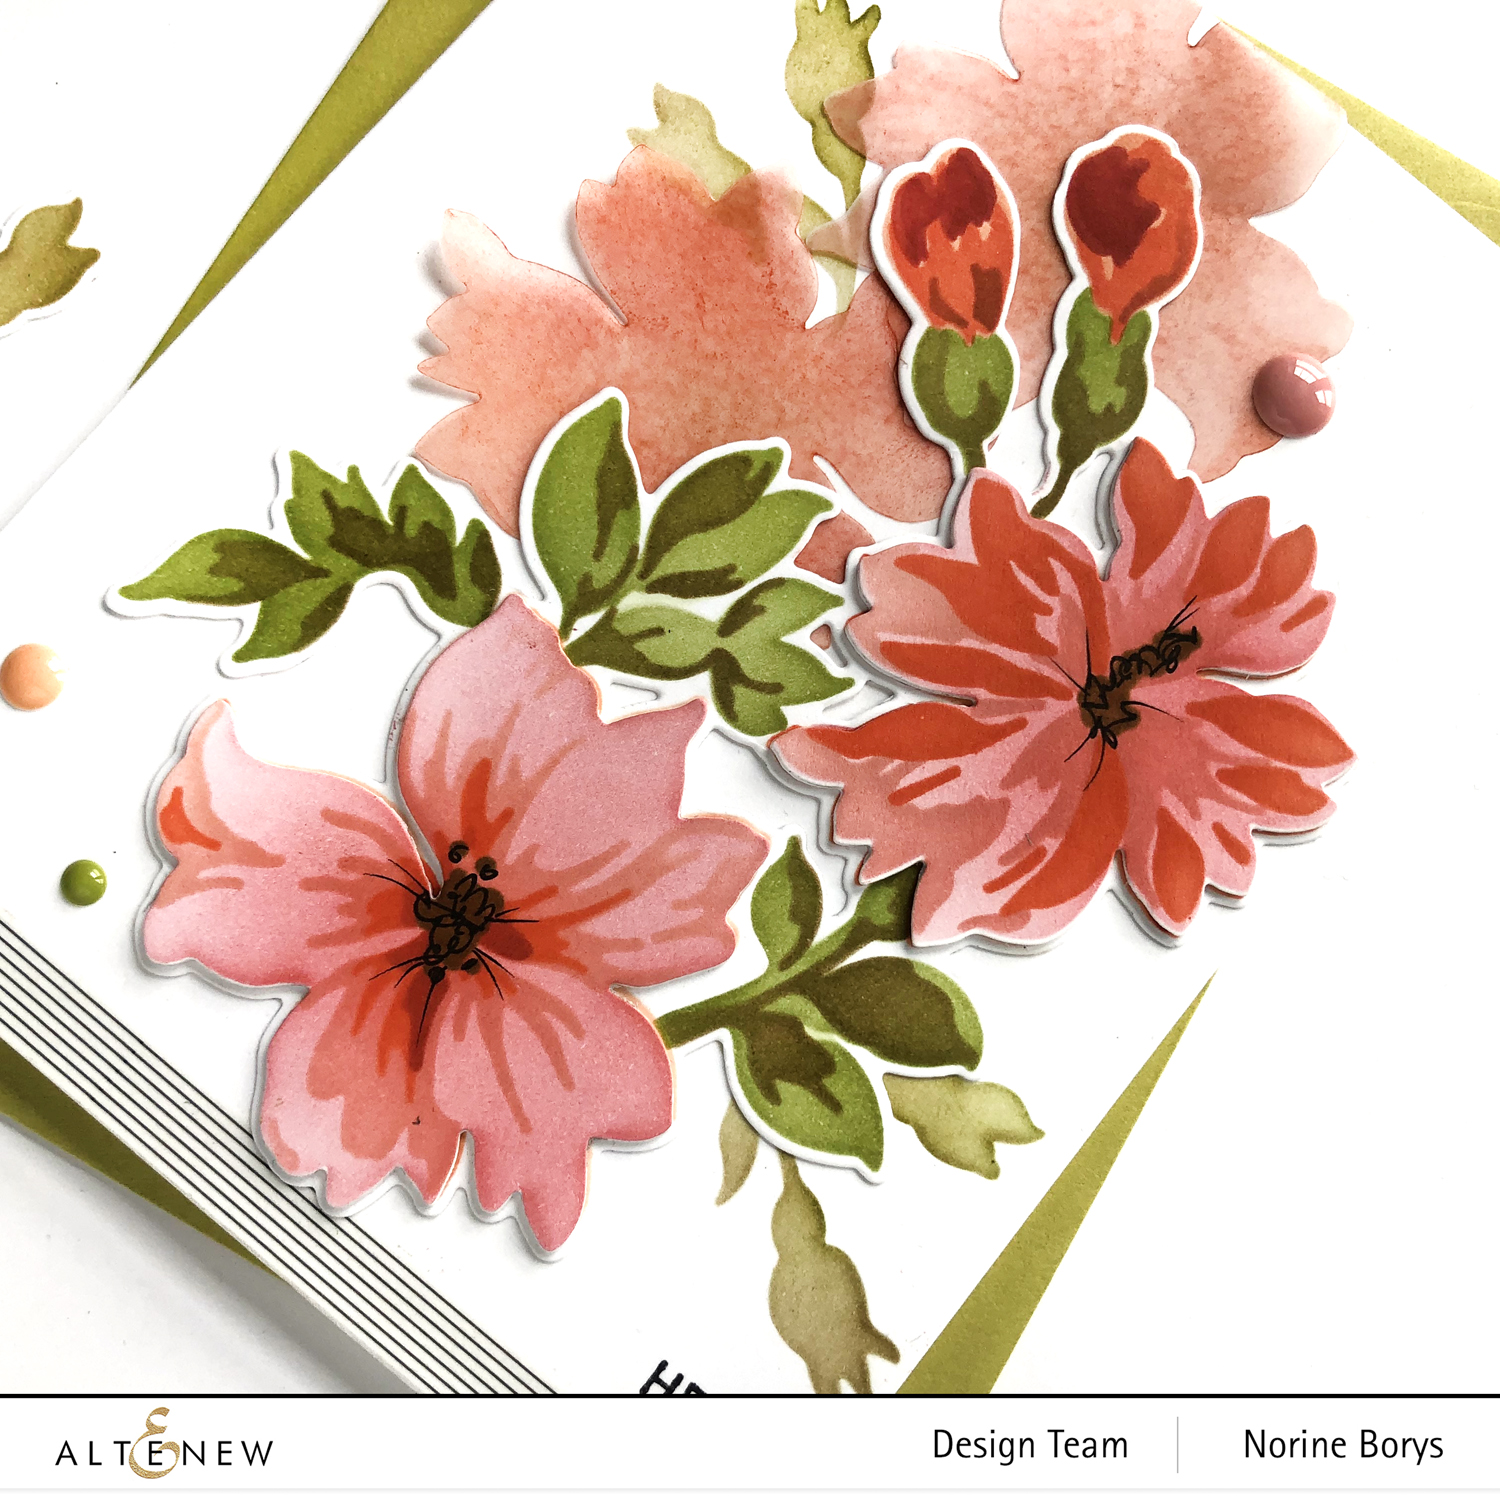
Next, I die cut a couple of the blooms from vellum paper and ink blended over the whole flower shape. I didn’t add the layers to the vellum flowers because I wanted them to recede into the background of the design .
I also die cut two more shapes of the flower blooms from white cardstock, and with the die cuts still in their negative outline, I ink blended their detail layers.
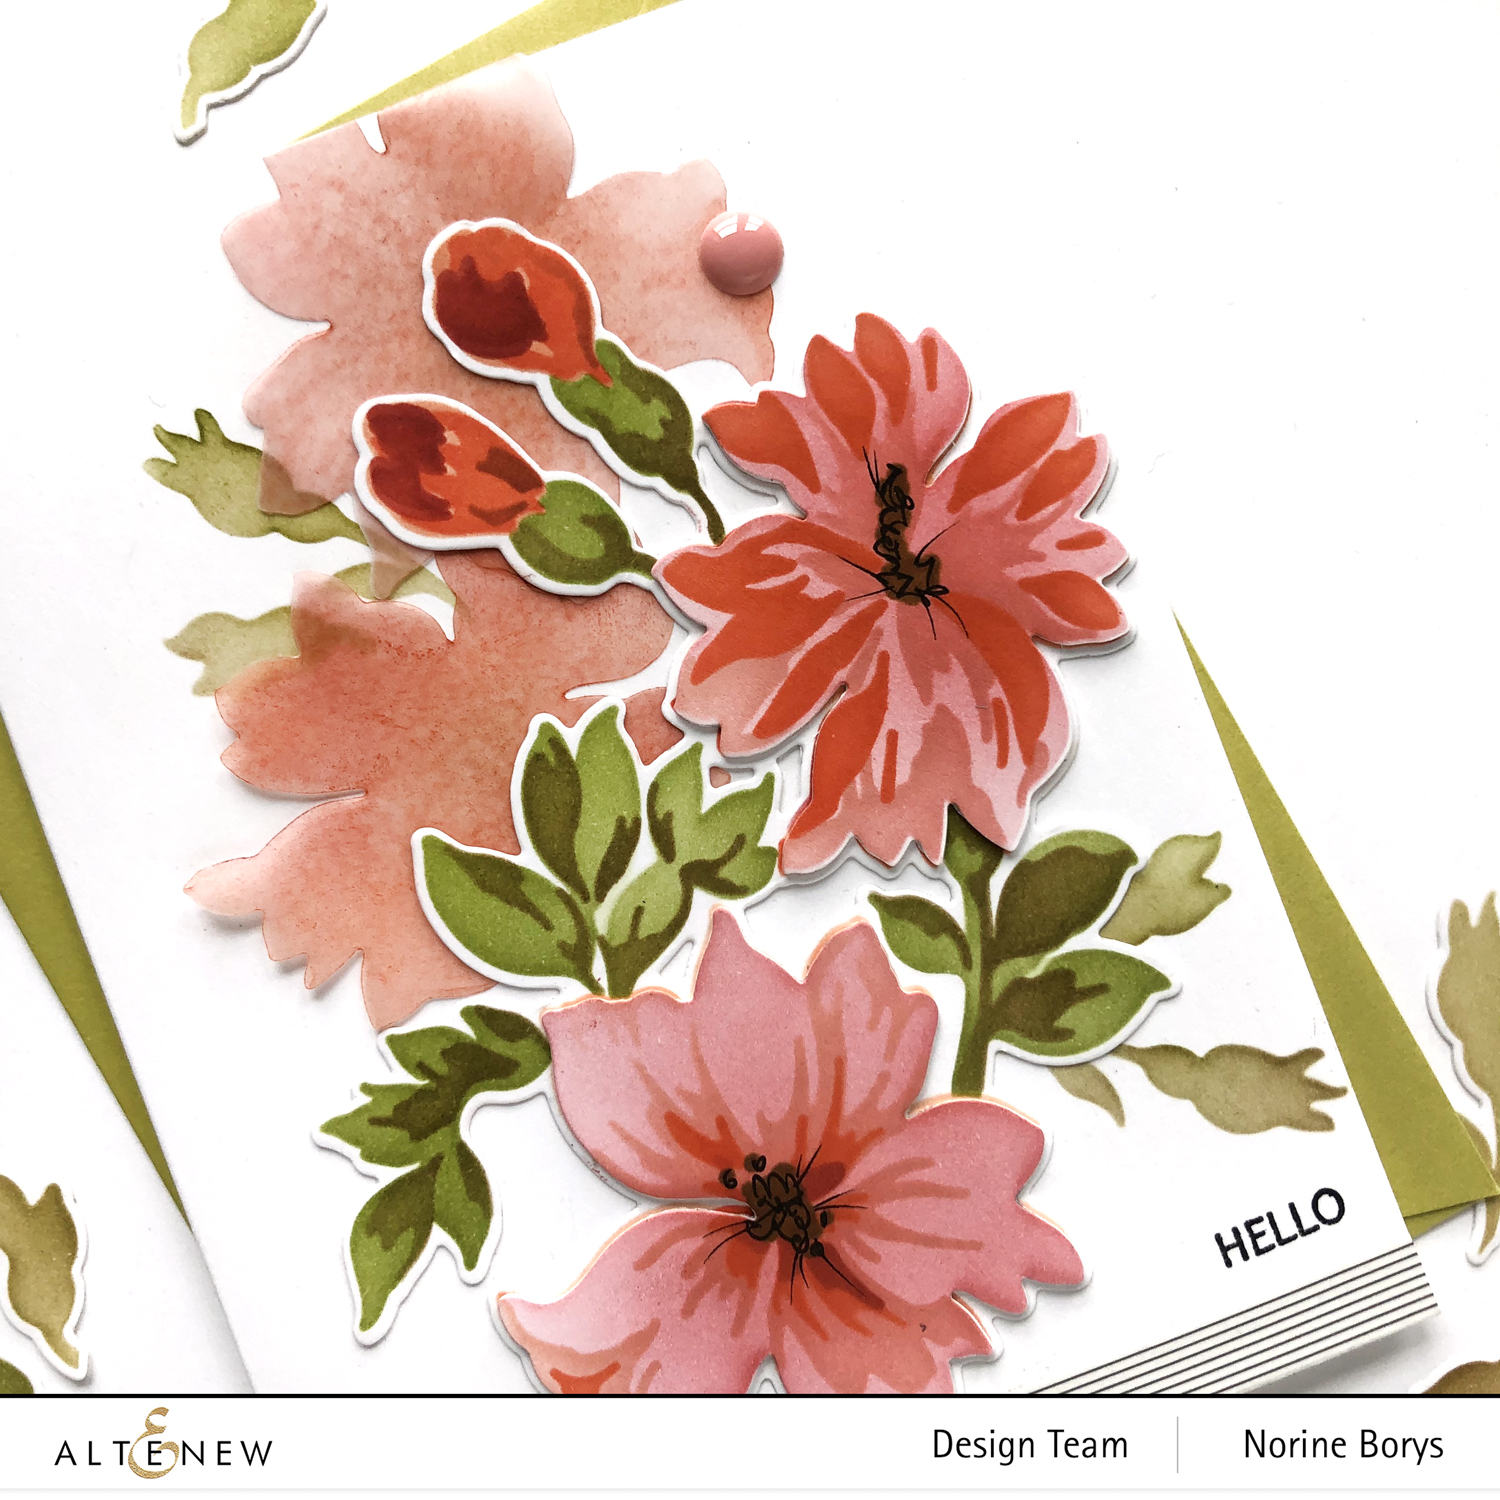
I die cut two more layers of plain cardstock of each of the blooms, then glued the layers together with the ink blended one on top. Then I adhered those two blooms over top of their corresponding shapes on the large die cut.
I temporarily positioned the vellum flowers and the whole arrangement on the card panel, then marked where I wanted to add some faint stenciled buds in the background. Once they were stenciled I adhered the vellum flowers and large arrangement over top.
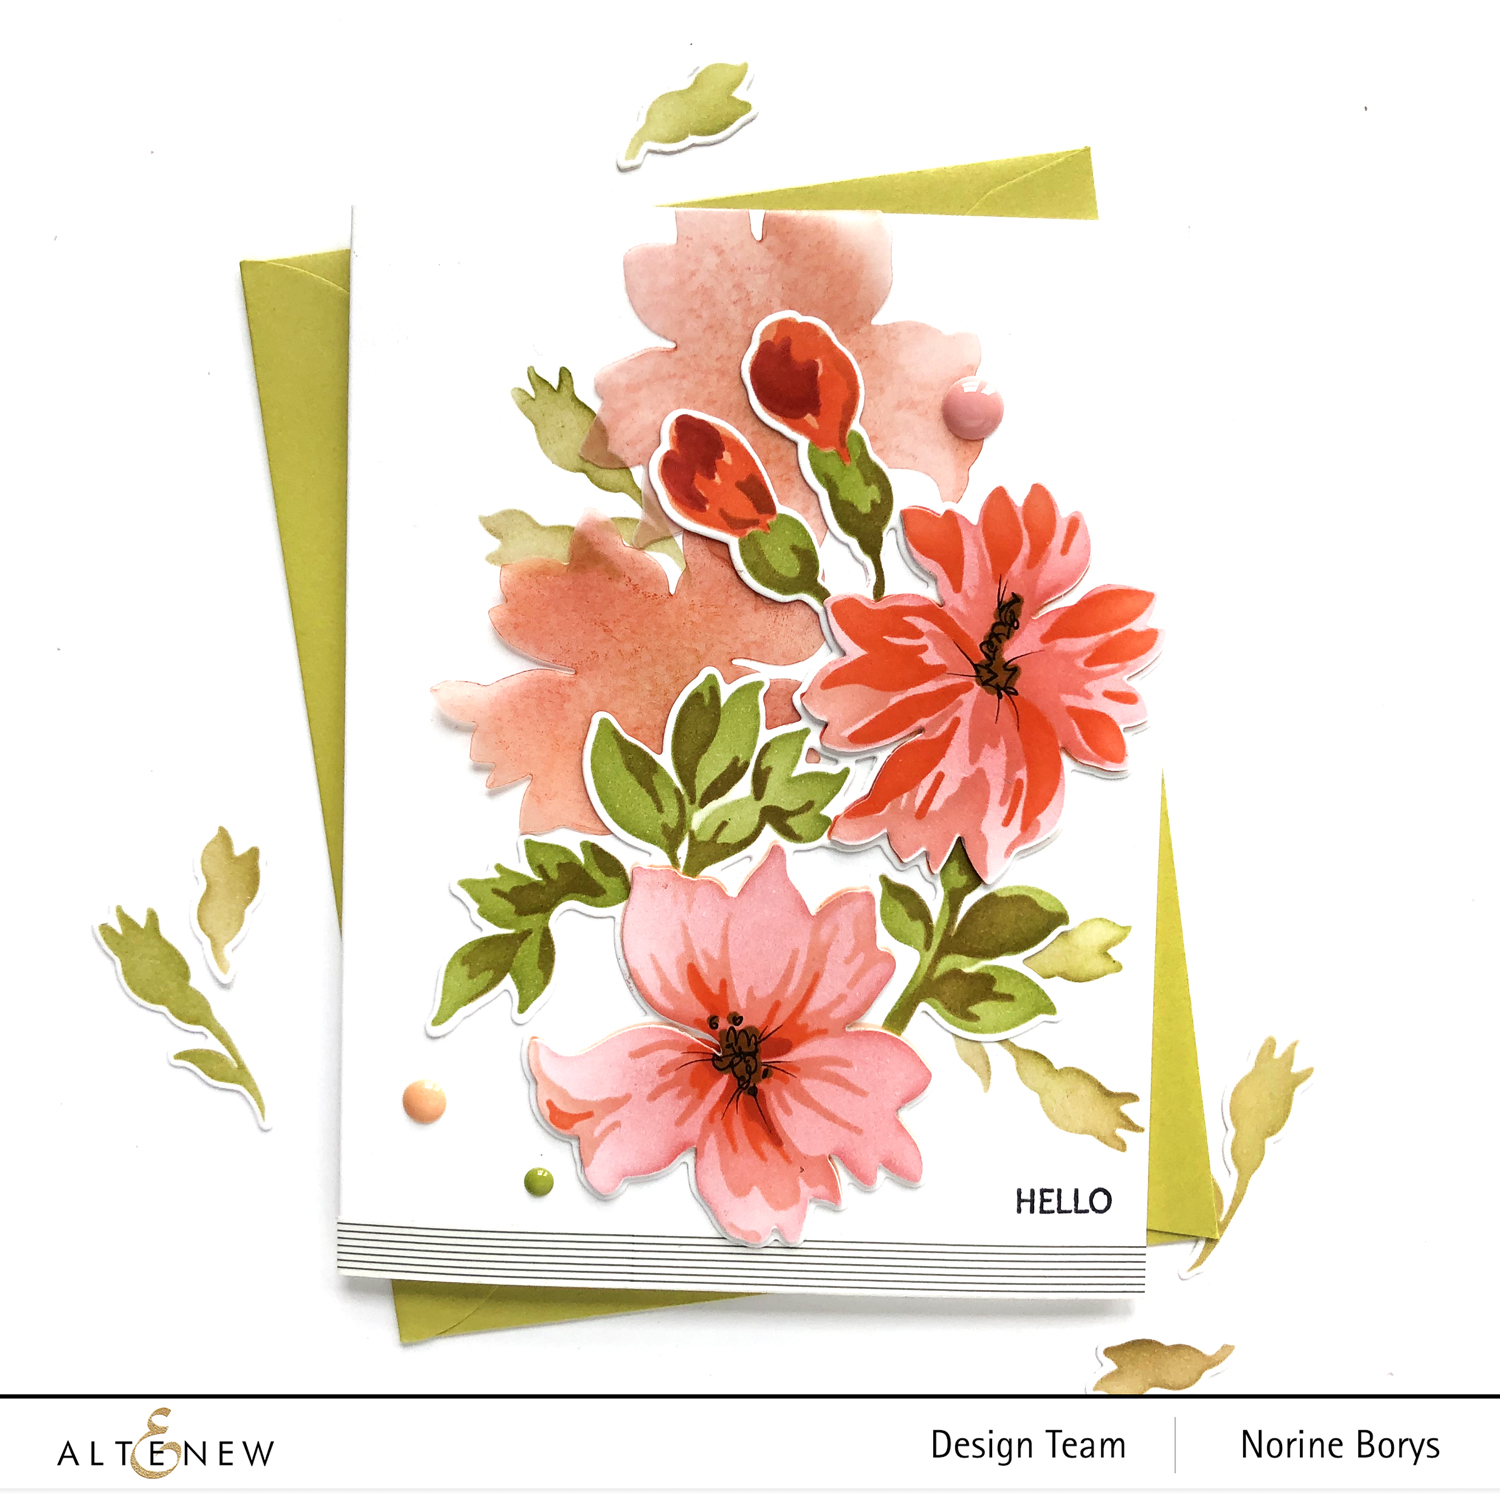
Not having left myself much room for a greeting, I opted to stamp a small “hello” from the Simply Spring stamp set featured above and trim the bottom of the card panel with some striped washi tape. Finally a few coordinating enamel dots finish off the card.
Erin Thompson’s blog is your next stop on the hop, but before you go, a couple more details…
Free Gifts
Here are THREE ways to get a FREEBIE to kickstart your creativity! Free gift will be added to cart automatically.
- Get a FREE brand new Exotic Garden Stamp & Die Release Inspiration Guide (worth $5.99) with every order of high-value Exotic Garden release bundles. Shop HERE! *Exclusions apply.
- Get a FREE brand new Creative Jump Start Class with every order from the new Storybook Fantasy release collection from 05/04/2021 through 05/10/2021. Shop HERE!
- Get a FREE brand new Exotic Garden Stamp & Die Release Mini Inspiration Guide with every order from 05/04/2021 through 05/06/2021. Shop HERE!

Giveaway Prizes
$300 in total prizes! To celebrate this release, Altenew is giving away a $50 gift certificate to 2 lucky winners and a $25 gift certificate to 8 winners! Please leave a comment on the Altenew Card Blog and/or each designer’s blog post on the blog hop list below by 05/10/2021 for a chance to win.
Altenew will draw 10 random winners from the comments left on each stop of this blog hop and announce the winners on the Altenew Winners Page on 05/12/2021.
Blog Hop Order:
Norine Borys – You are here.
Thank you so much for stopping here today and enjoy the rest of the hop!
SUPPLIES USED:
