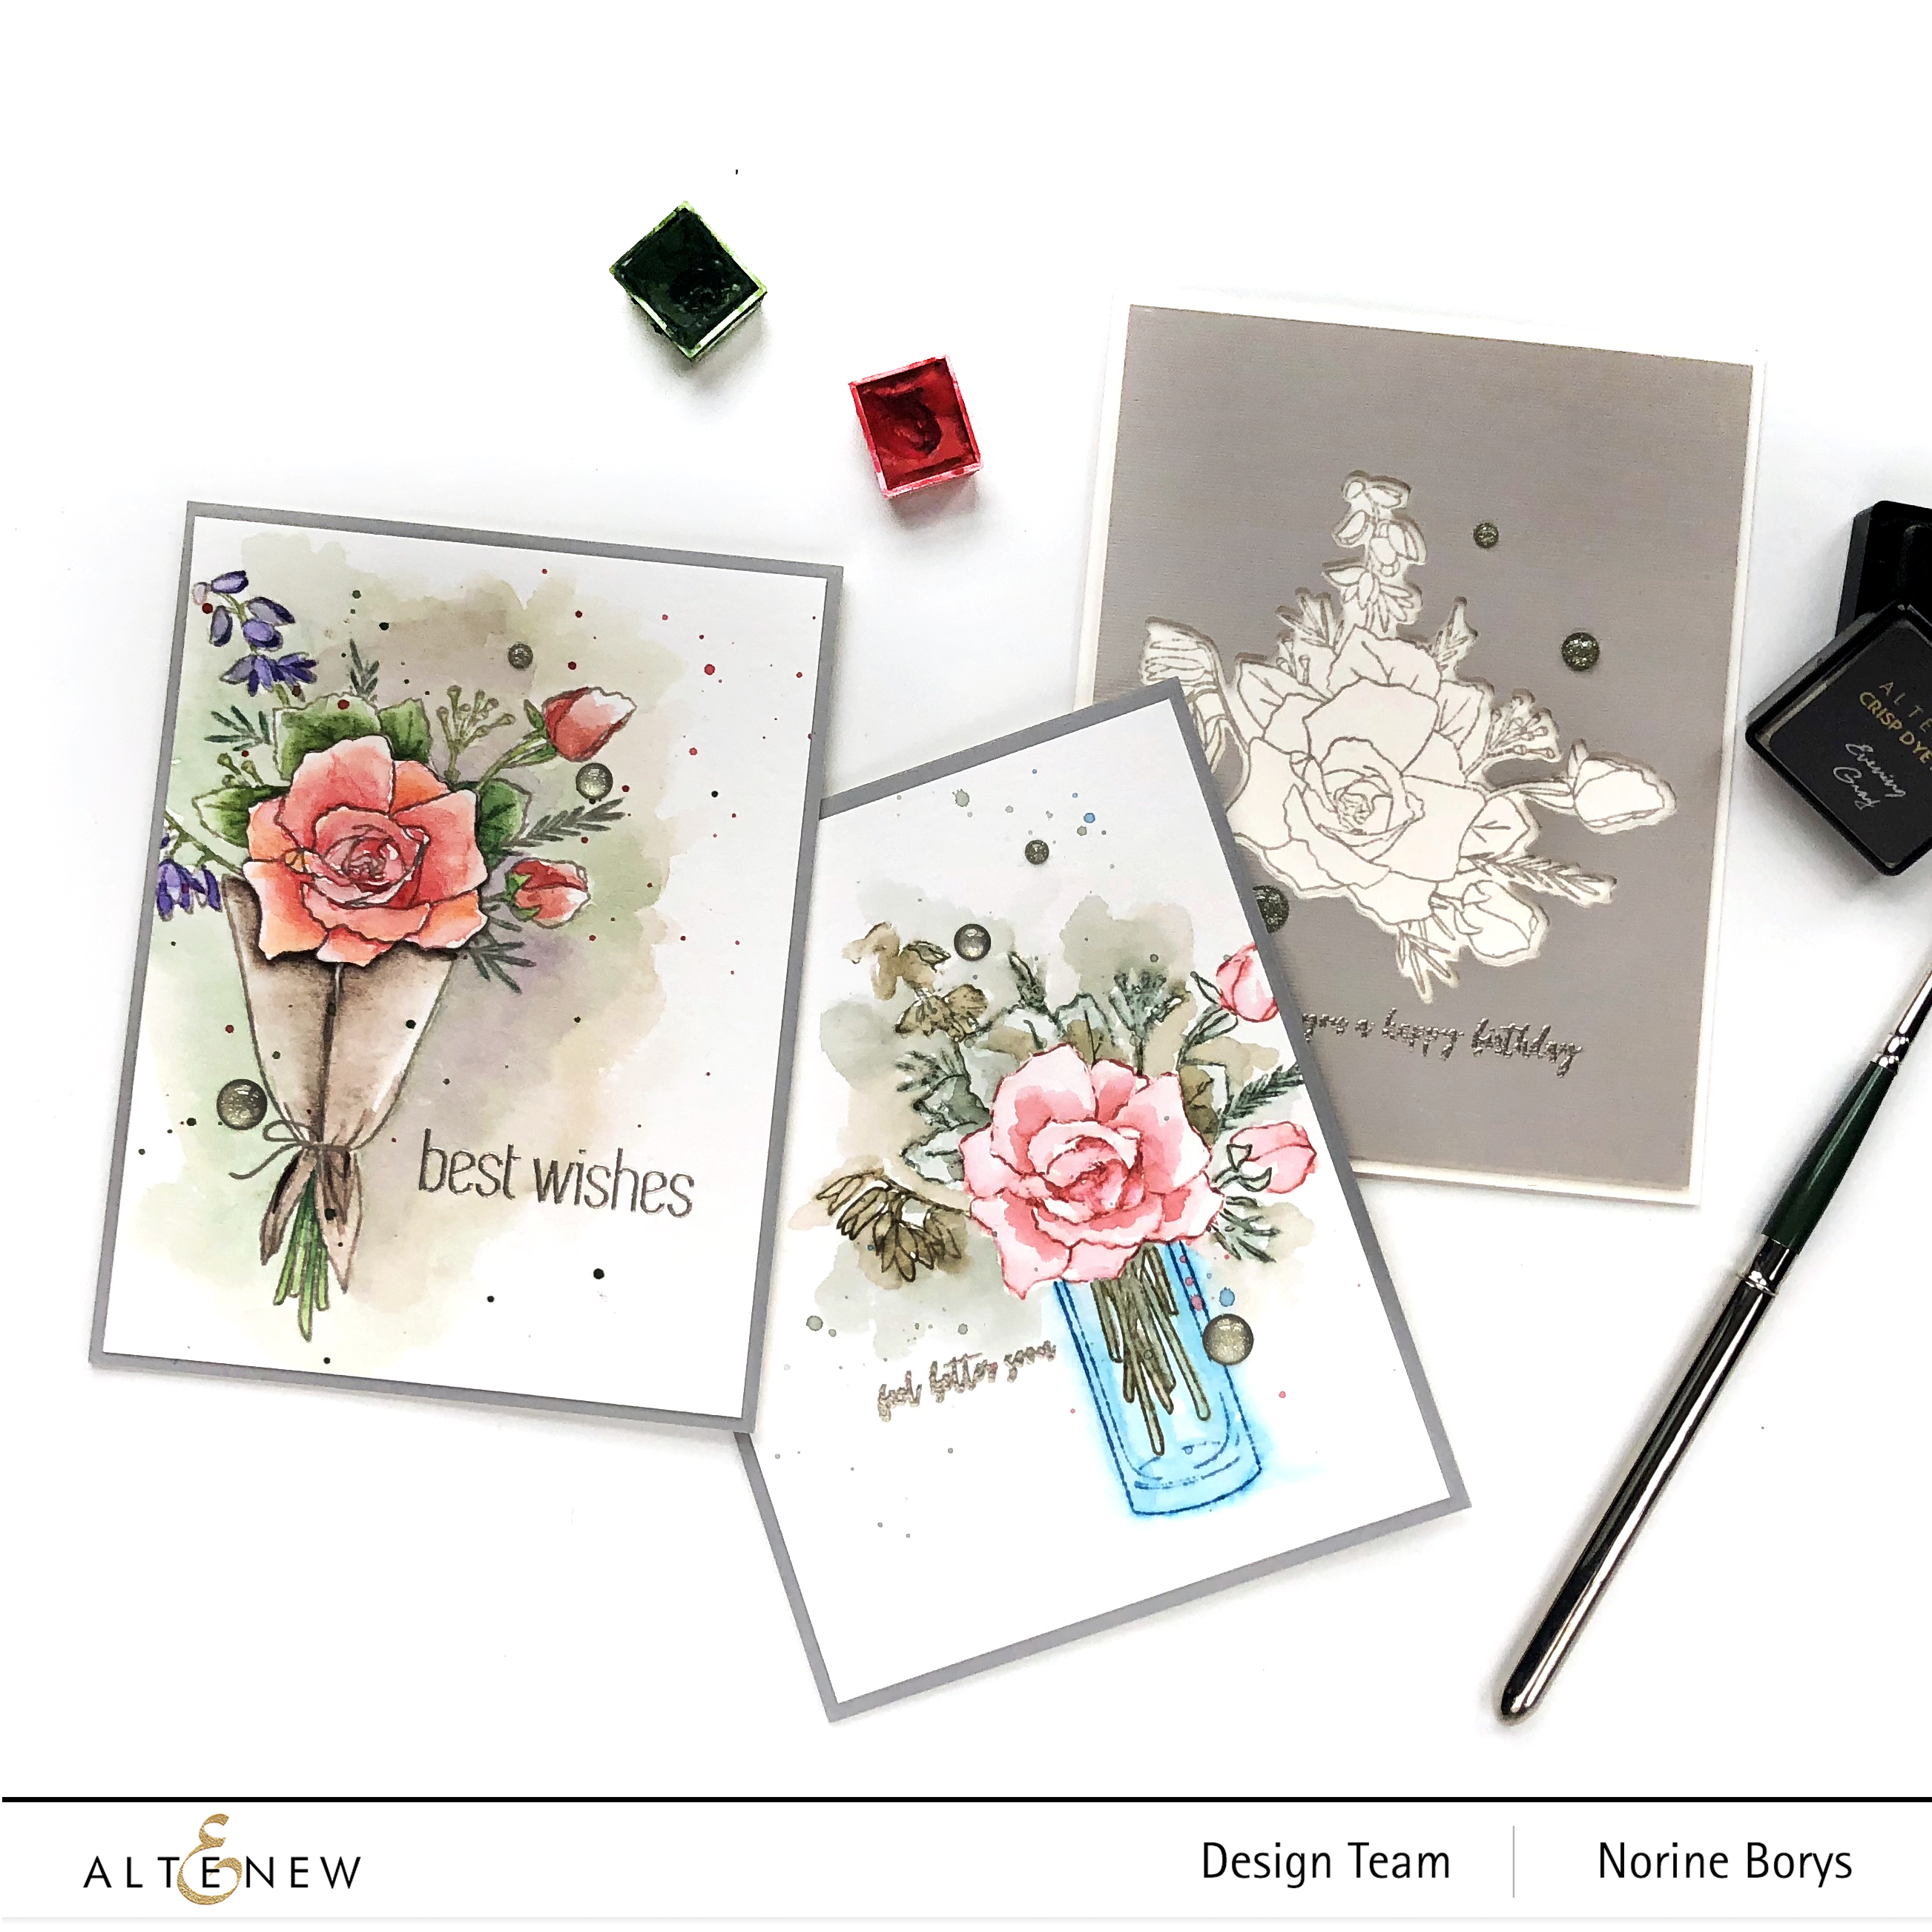
Hello all! Today I’m sharing three cards on the Altenew Card Blog and wanted to share them here as well!

For today’s post, I’m showcasing the Breezy Bouquet stamp and die set, and once again, I love the versatility of Altenew designs and sets!

For my first card, I stamped with Moon Rock ink onto watercolor paper, stamping the bouquet first, and using a mask cut to the bottom edge of the bouquet to stamp the paper wrapper.

I used Altenew watercolor paints to paint the image, adding a mix of the colors used in the image to create the shadows behind the bouquet. Once the paint was all dry, I splattered with more of the same colors.

I did a thing with this card panel that you might not notice unless I point it out. I painted the first card panel and was unhappy with the rose, which is kind of the focal point, so rather than paint the whole card over again, I stamped the bouquet again on another piece of watercolor paper, painted it (more to my liking) and then fussy cut it on the exact outline. I ran the side of a black brush tip marker along the cut edge so that the white paper edge doesn’t stand out or distract. Then I popped up the hand cut rose with some thin foam tape and it kind of reminds me of the paper tole trend from the 80’s!

I used a sentiment from the Dainty Swiss Dots background stamp set and heat embossed with platinum embossing powder. Then I cropped the card panel slightly smaller than an A2 sized card and matted it with some coordinating grey cardstock.

My second card also involves watercolor painting but is done a little differently. I wanted to stamp in the actual colors and simply paint over the lines with a clean wet brush to re-activate the inks but that can get a little tricky with a design that includes more than one color. I remember back in the day, coloring a whole red rubber stamp with markers, huffing on it and stamping, and getting a hit or miss result. I don’t know that you could do this technique today as effectively without a stamping tool such as the MISTI.

As above, I stamped the bouquet first. I positioned the stamp and watercolor paper in my MISTI and then colored the rose and buds with Ranger Barn Door water-based marker. I used a combination of Tombows and Ranger Distress markers and as soon as I stamped, I ran my brush over the stamped outlines with a wet brush to draw color from the edges into the shape.

Next, I colored different portions of the greenery with a couple of shades of greens, a dark blue-green and an warm olive shade, referring to the printed design included in the packaging to know what to color where. Because I was using a MISTI, I could color one set of leaves, stamp and paint them, before moving on to another set.

I used the bouquet mask again, and this time I stamped the vase and stems separately. I used Aqualicious ink to stamp the vase, and more of the same green markers on the stems as I’d used for the leaves in the bouquet, painting each time with a wet brush. I used a sentiment from the same Breezy Bouquet stamp set, once more heating with platinum embossing powder.

For my last card, there is no painting or coloring but does come together in a kind of backwards way! I began by using the coordinating die to die cut the design from the textured grey-brown cardstock, positioned where I knew I would want it to be. Then using that die cut cardstock as a shim in the MISTI, I could place the stamp exactly into the opening and know that it was going to be positioned perfectly. I used Evening Gray ink to stamp with and stamped onto Neenah Classic Crest Natural White (cream) cardstock.

The next step was to die cut another 3 layers of cardstock (next time I’d use fun foam and die cut ONCE) so that I could pop up the gray cardstock layer. Before adhering all the layers I stamped a sentiment from the same Breezy Bouquet stamp set and heat embossed with my favorite platinum embossing powder.

I trimmed all the die cut panels down to allow a generous 1/8th” edge to show, and adhered everything to the stamped front of the card base.

I found some sparkle gray enamel dots in my stash that matched the platinum embossing powder and added those. It’s a very simple but effective technique to make a quick and elegant card.
Thanks so much for stopping by and have a great day!