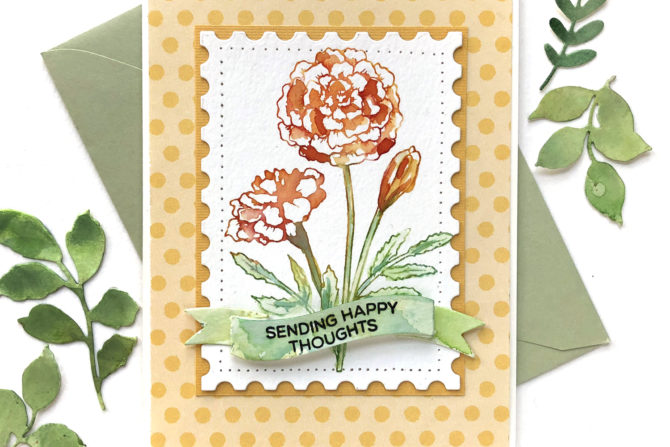
Hi, hello! I’m so glad to see you back here again! I have a card to share that showcases the Technique Tuesday June Greenhouse Society Club stamp and die, called Marigold.
This post contains affiliate links that are listed below. By clicking through to purchase products linked, you are helping to support this blog at no additional cost to you and that allows me to continue to provide you with creative inspiration and instructive help.
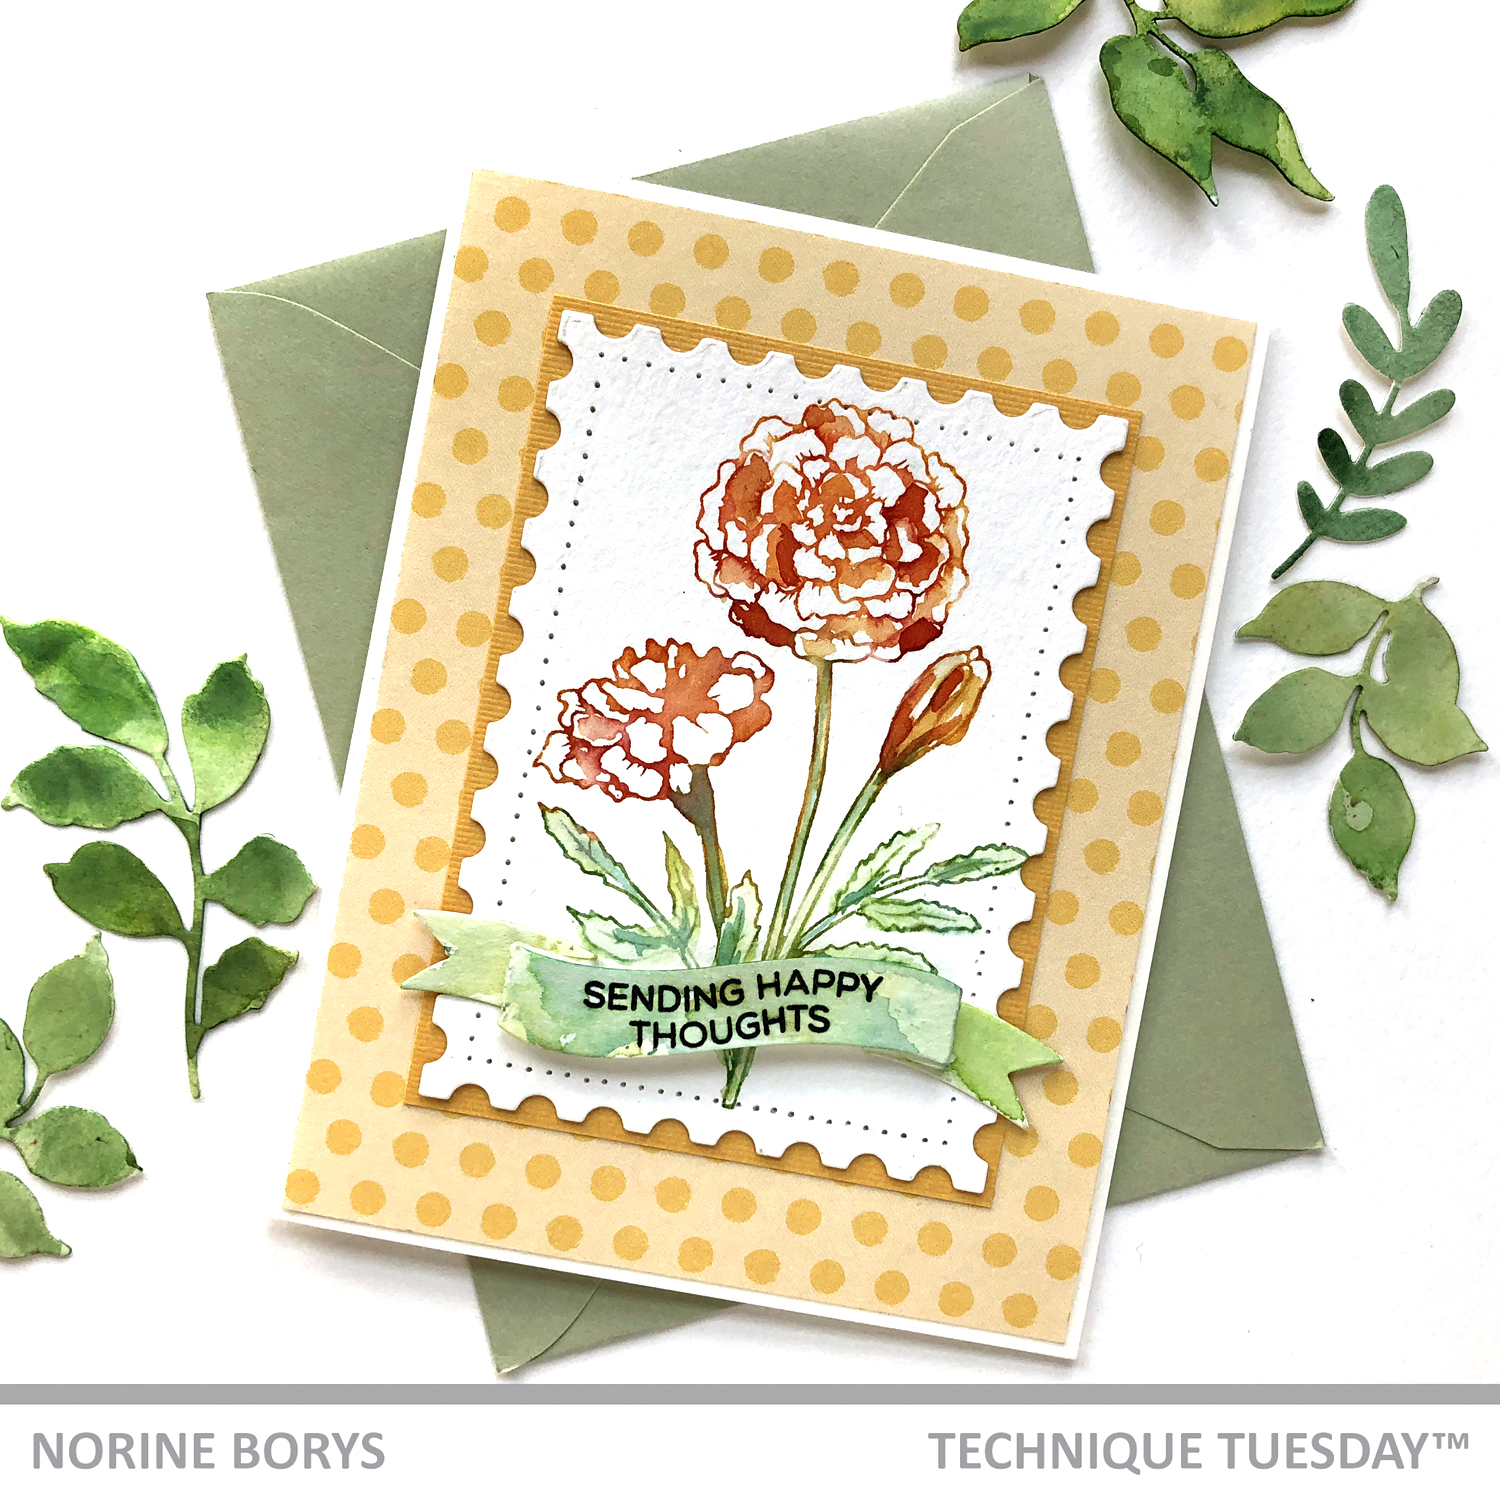
I used a technique for today’s card that I love but haven’t used for a long time, namely inking the stamp with (water reactive) Distress inks (easier done with the mini cubes), spritzing with a water mister bottle and stamping.
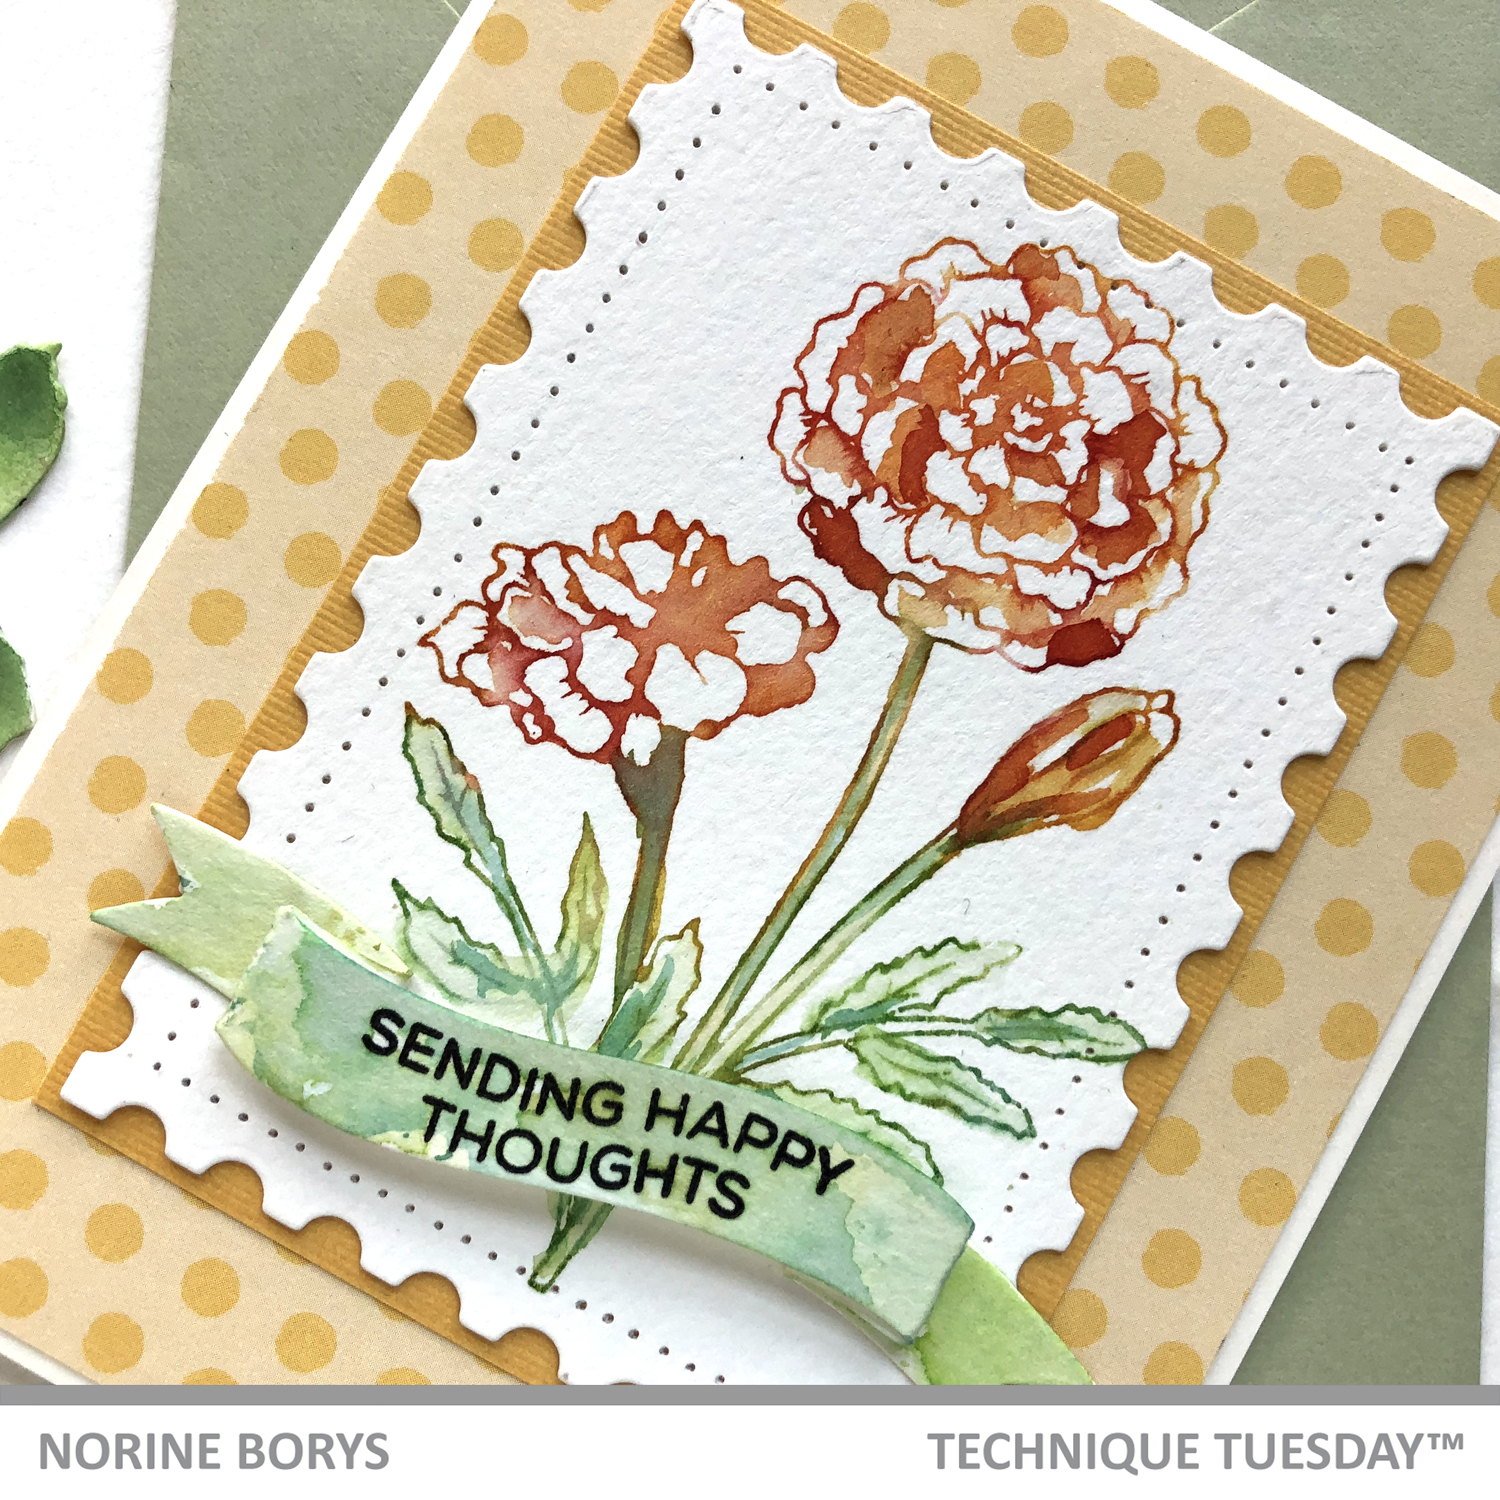
Because I can easily over-do the spritzing and end up with a mess, I spritzed lightly this time and then, where the color was thin or non-existent, to add more color to the image, I smooshed ink onto an acrylic palette and picked up the color with a wet paintbrush. That way, I could also introduce other shades here and there. To get an even more loose and watery effect, you could spritz the watercolor cardstock once or twice after stamping and before the ink dries.

In general, I inked the blooms with 3 different shades of distress inks, and the leaves and stems the same. I didn’t worry too much about overlap, where the orange from the bloom also inks the stems, just adding more green paint there.
I die cut the finished image using the Postage Stamp die and added the perimeter of dots all around the edge with a needle tool and a straightedge. I backed it with a piece of solid color cardstock to coordinate with the dot patterned paper.

The sentiment from the Marigold stamp set is manipulated to fit the curve of a banner die, and heat embossed before being painted with more of the same colors of ink as the leaves and stems.
If you’d like to check out the Greenhouse Society and other subscription club kits, please click here.
Thanks for stopping by and have a wonderful day!
SUPPLIES USED:


