Hey, hello! It’s time for another blog hop! Today is the October release of stamps, stencils and dies at Altenew, and we have some great projects to share with you! You should be arriving here from LauraJane’s blog, but if not, you can click back to the start of the hop at the Altenew Card Blog and that way you won’t miss anything! The more blogs you hit, and comments you leave, the better your chances of winning a giveaway!
Now, down to business.
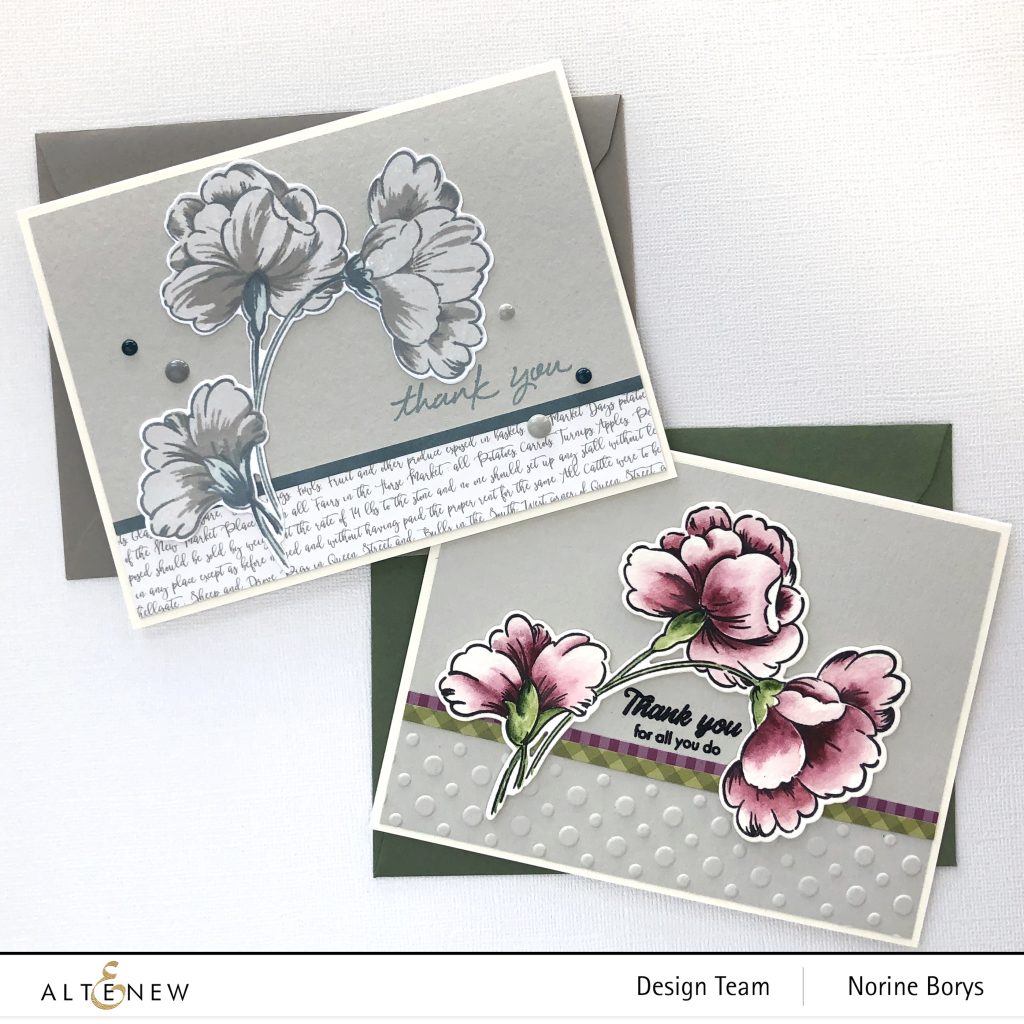
My first cards today are made with the beauuuuutiful Sweet Flowers stamp and die set. Once again, this is where Altenew shines – in their floral stamps that are both outline and layering stamps, allowing you to add color automatically and easily with the layer stamps, or color them yourself with any number of coloring medium options. I did a little of both for today’s cards.
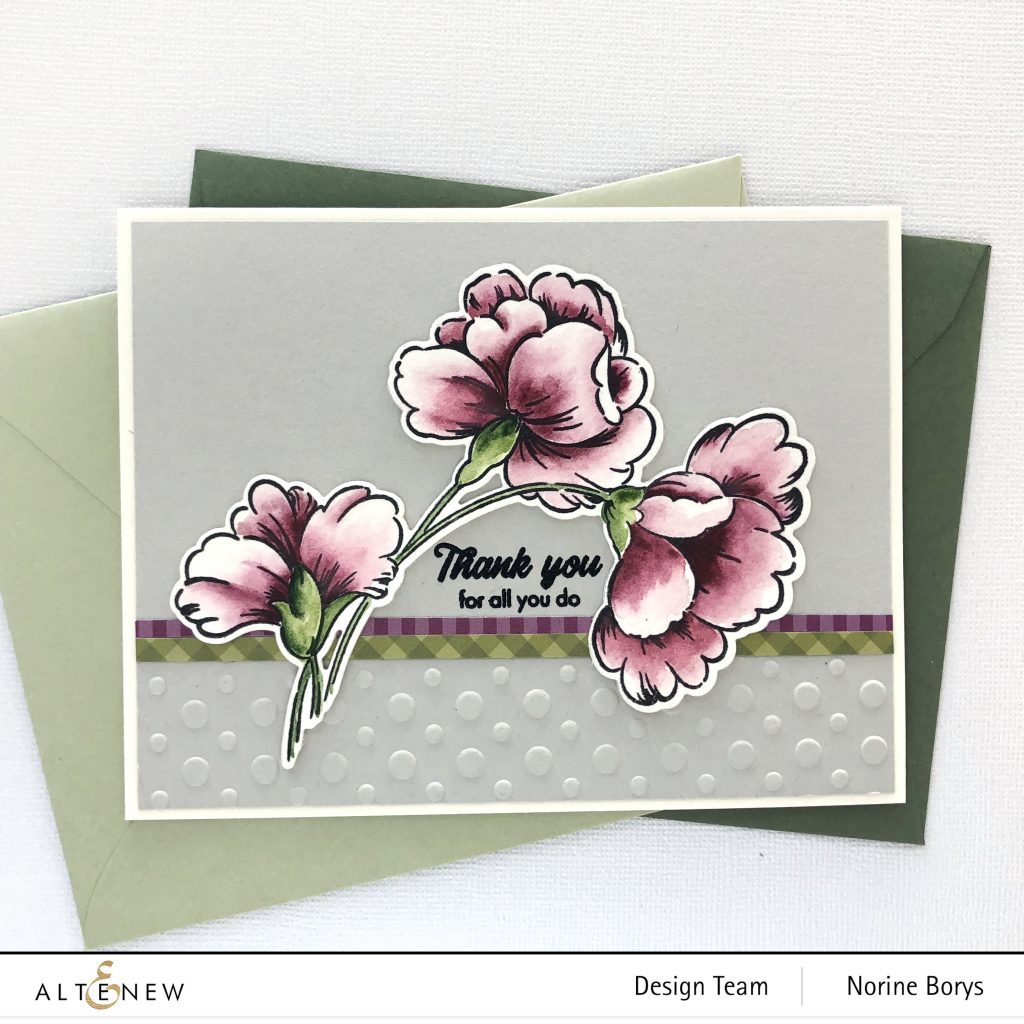
I stamped the outline image onto Canson XL watercolor paper with Obsidian Pigment ink and used the Altenew Artist Watercolor 36 pan set to paint the image.
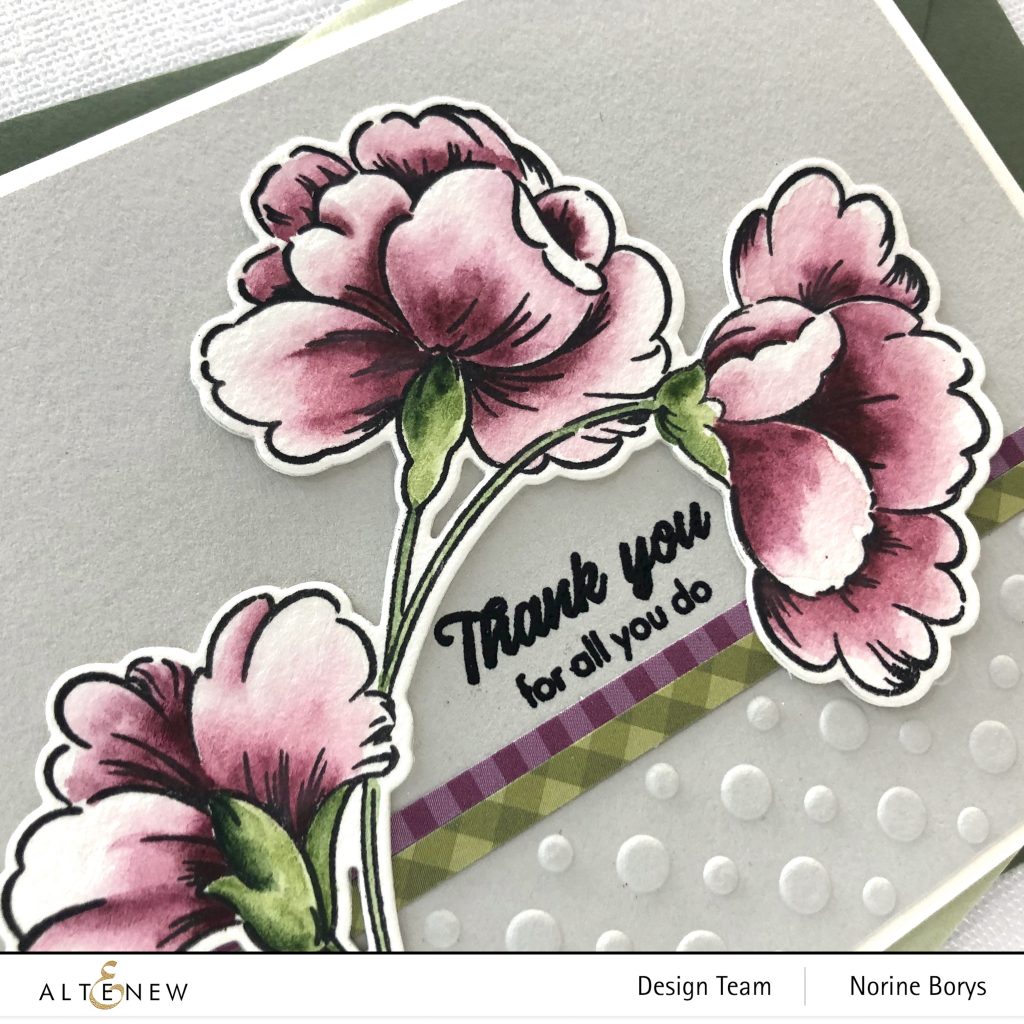
I wanted a very dramatic effect with extreme contrast between intense color at the centers fading to pale edges, so I added layers upon dried layers of at the base of the petals and lots of water to dilute the color outward to the edges.
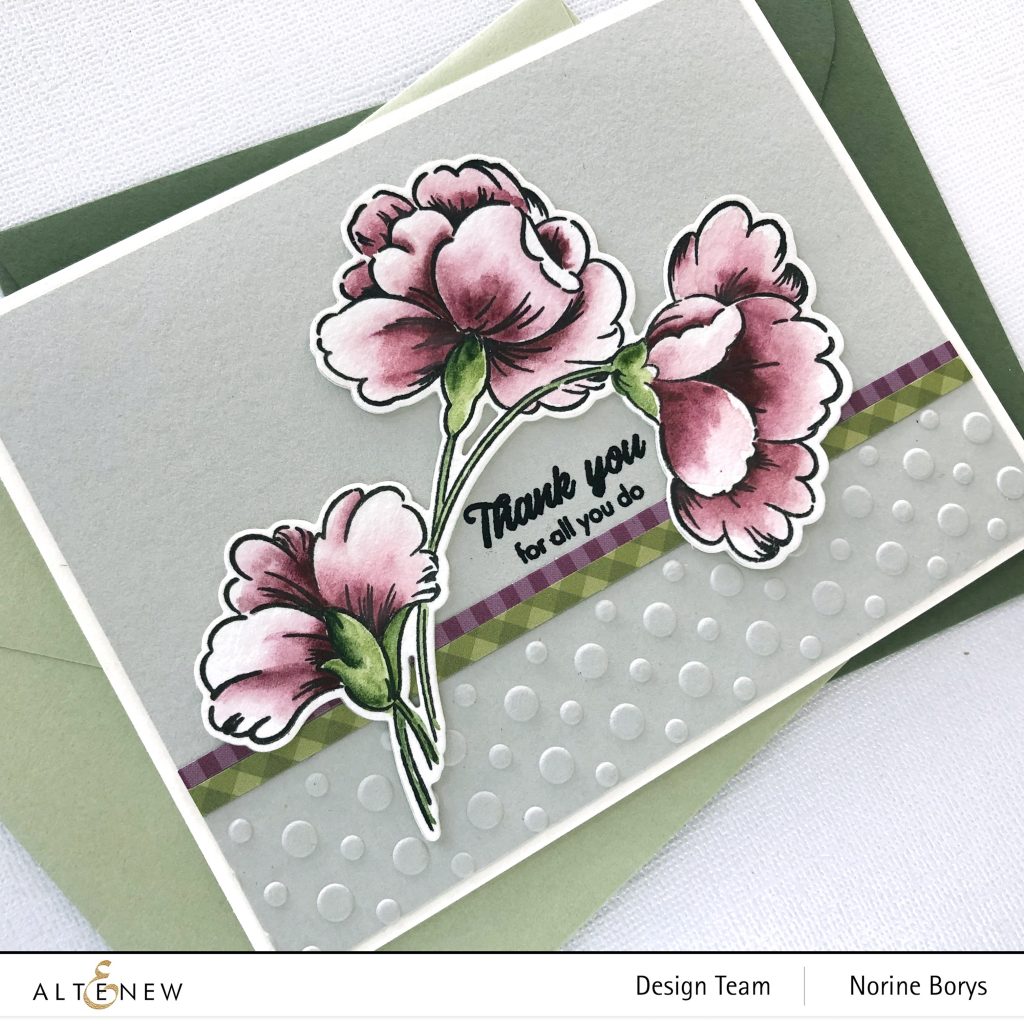
I die cut two more layers of heavy card stock to stack up behind the painted and die cut top layer. On a piece of plain gray card panel, I put the edge of the cardstock into an embossing folder and ran it through the die cutting machine. Where the smooth card stock transitions to the dot textured card stock, I added narrow strips of coordinating colored patterned papers, and stamped and heat embossed the sentiment from the Sweet Flowers stamp set. Finally, I adhered the flower die cut to the top.
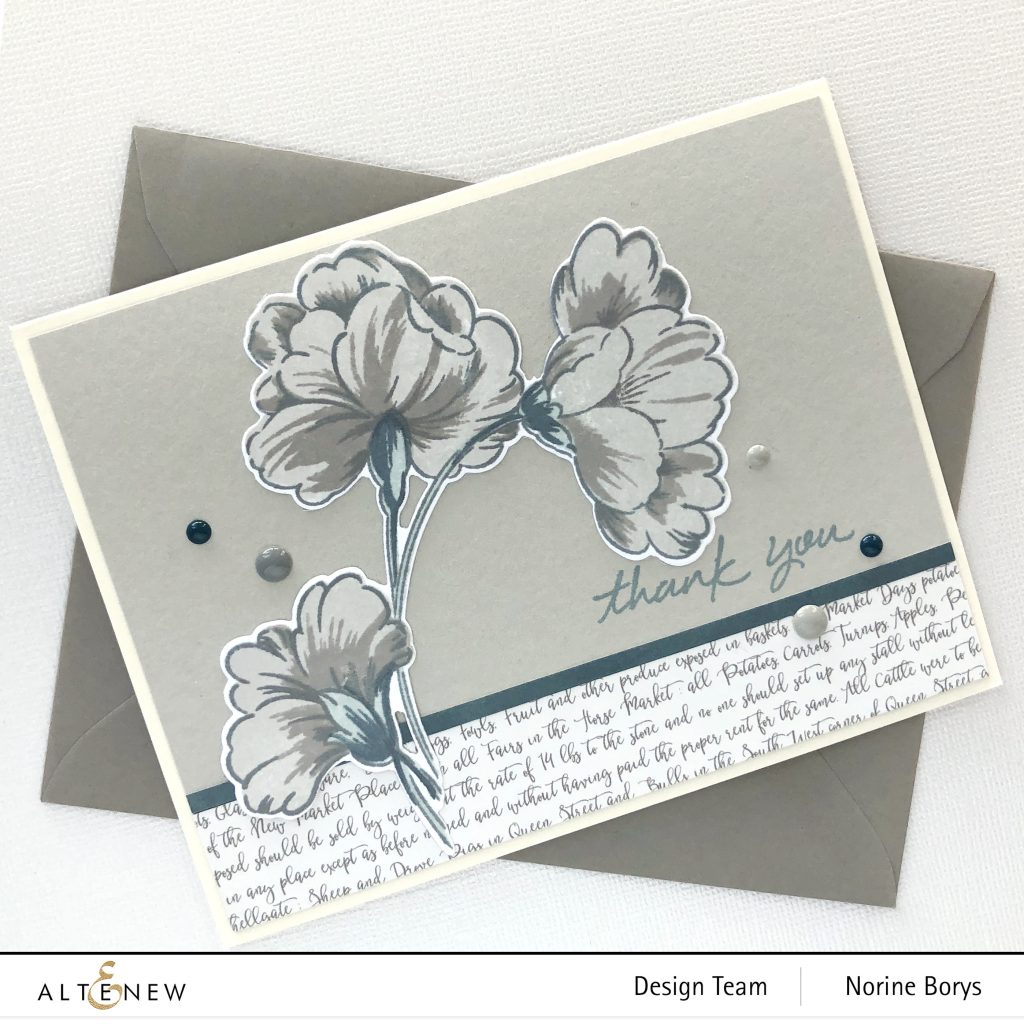
The companion card in this set is more muted and sedate, with the outline stamped image filled in with the layer stamps.
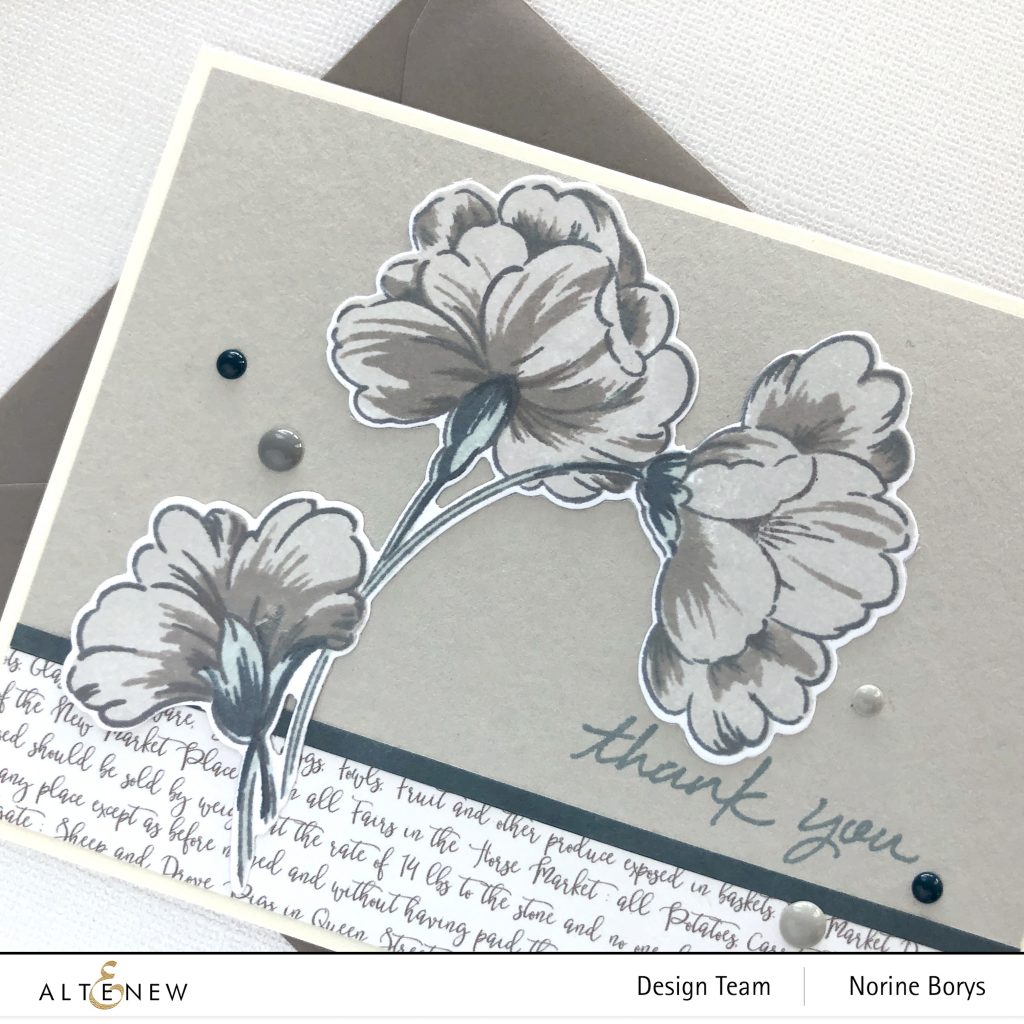
I stamped the outline image onto Neenah Solar White card stock with Nimbus ink and filled in the stem with Misty Morning, then filled in the two layers of the flowers with Limestone and Silver Stone inks.
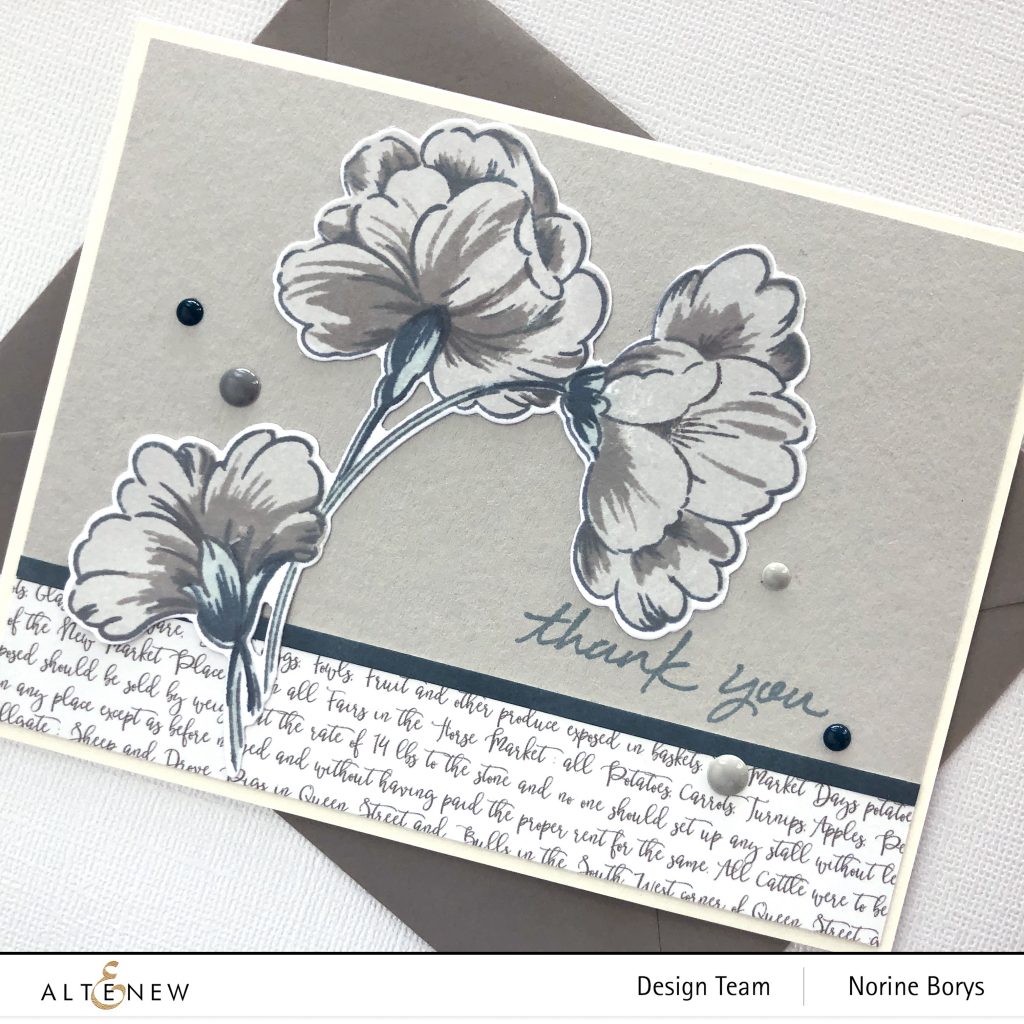
The sentiment for this card comes from the Thank You Builder stamp set, and is also stamped in Nimbus ink onto a soft gray card stock. To achieve the perfect color match for the accenting paper strip, I inked up some plain white card stock with Nimbus ink and used my paper trimmer to cut a narrow strip to run the length of the card. I paired the image and soft cardstock color with some text-printed-paper in my stash, then completed the card with a variety of coordinating enamel dots.
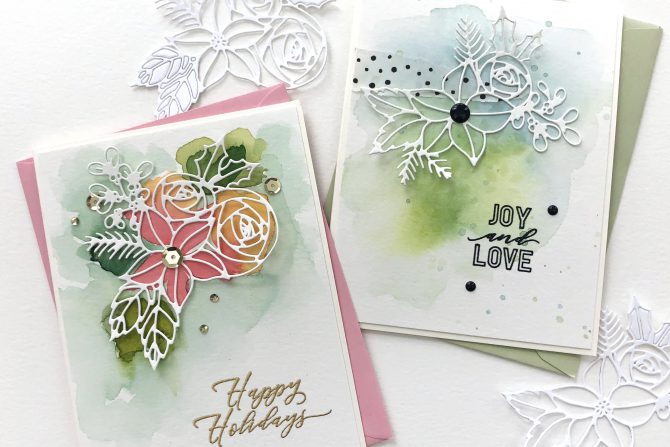
Next up are two cards made with the stand alone dies in the release, the Festive Clusters die set.
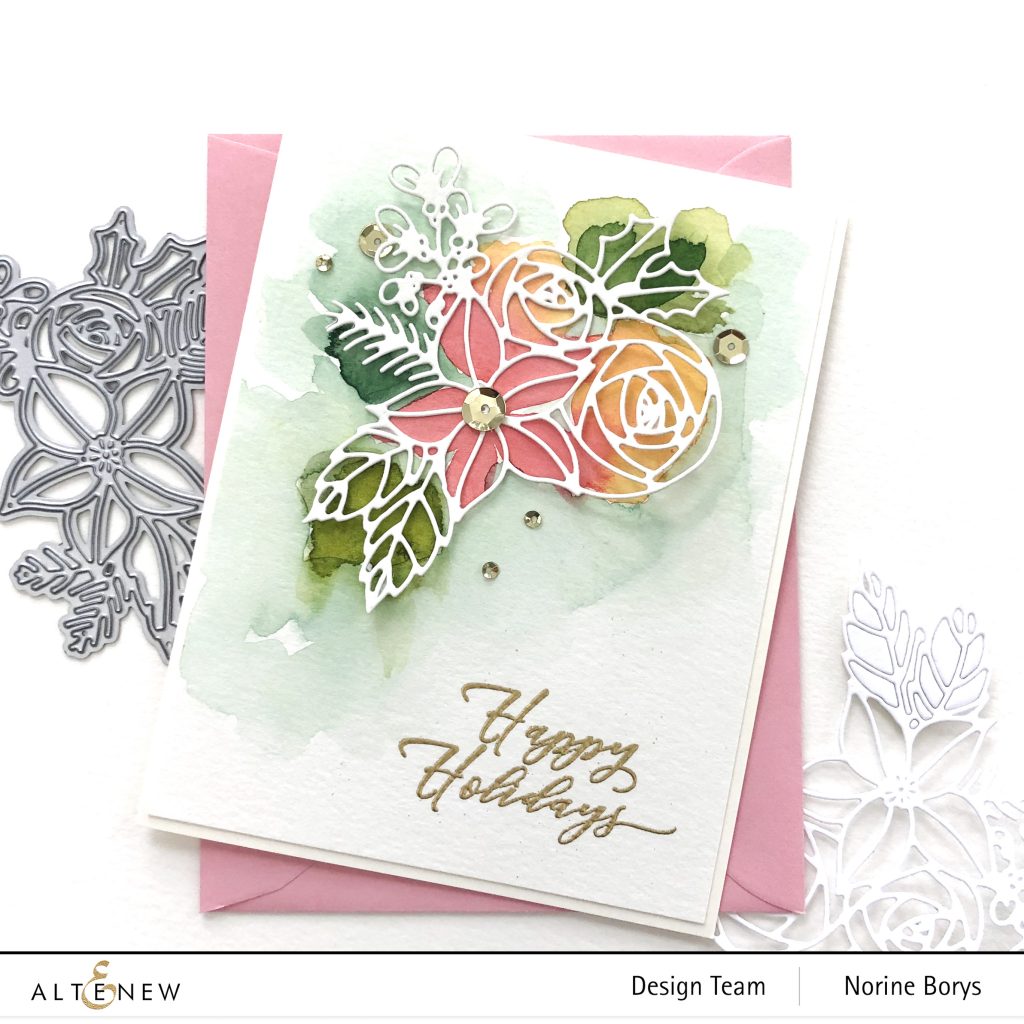
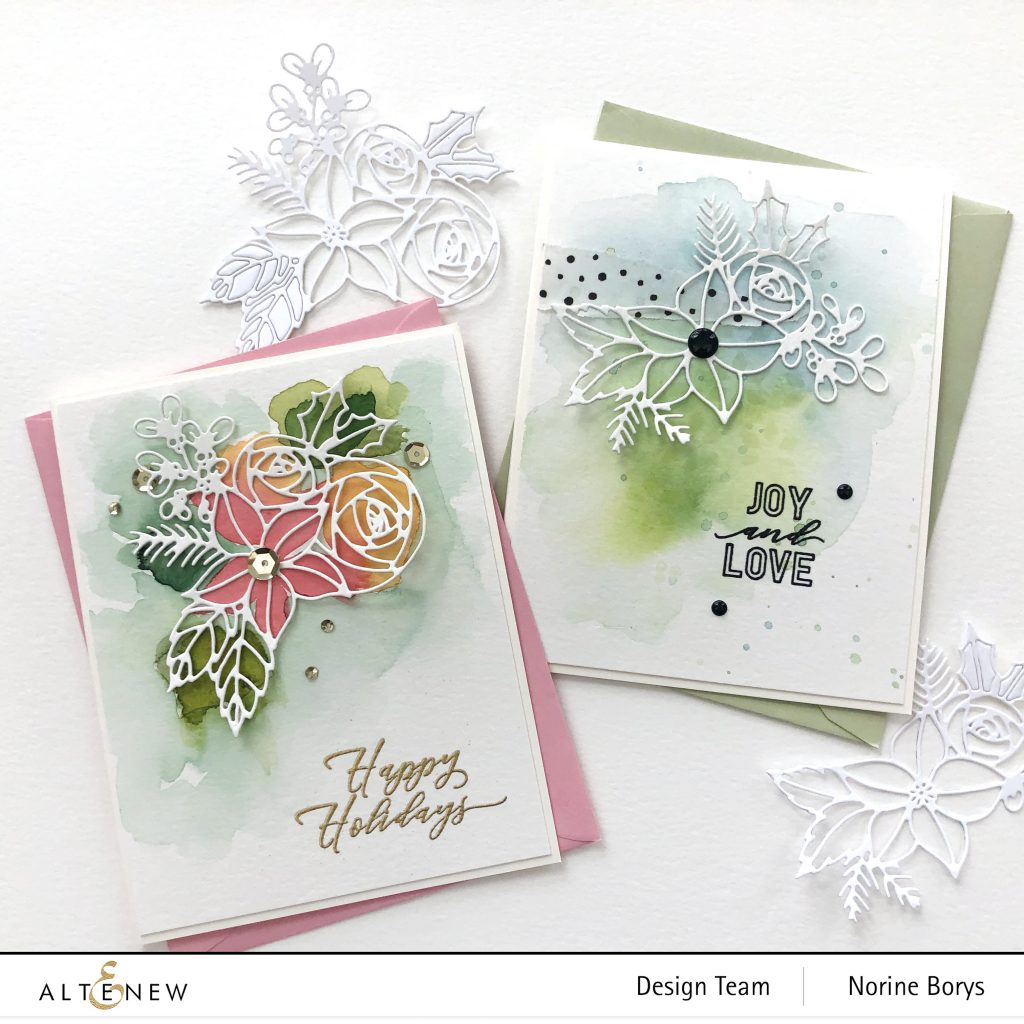
For the first card, I die cut the floral cluster from heavy white card stock and used the die cut to roughly suggest where I could paint a background on watercolor card stock.
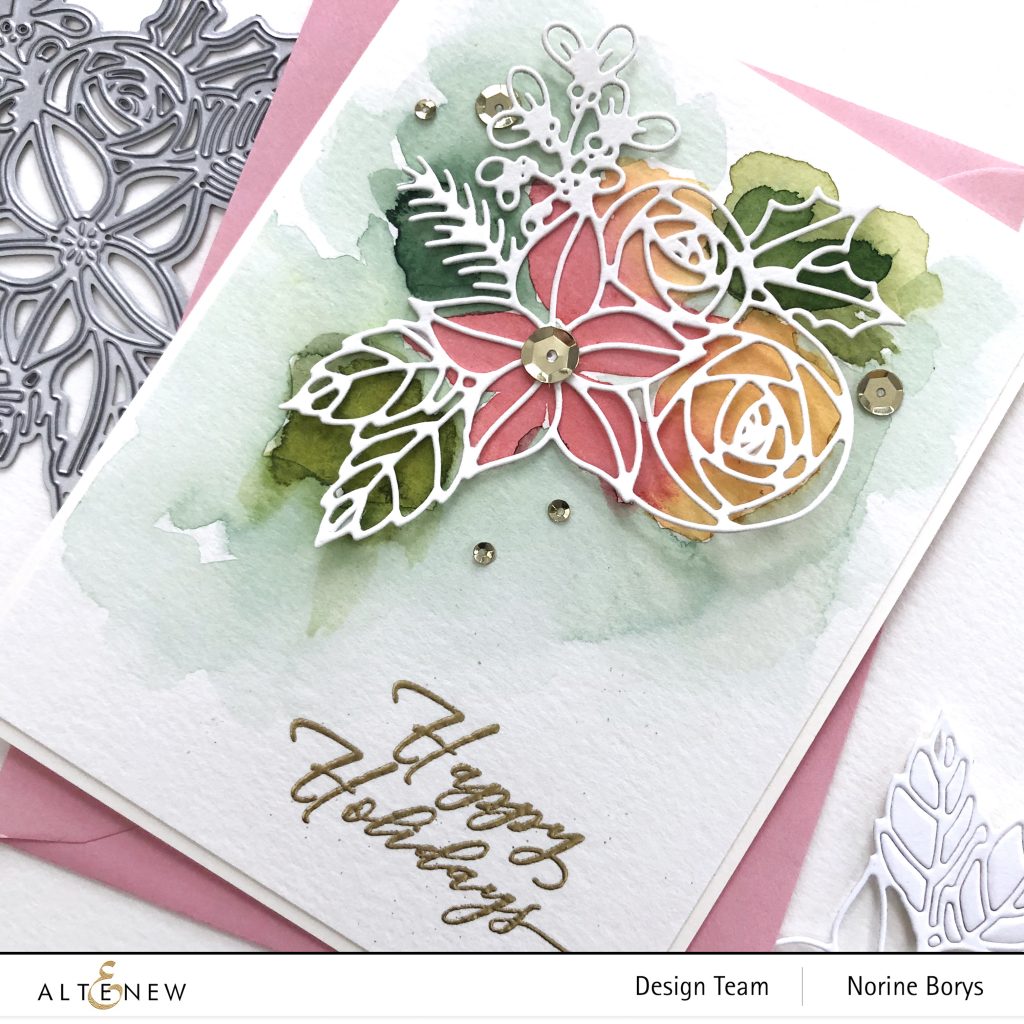
I didn’t worry about getting it exactly right with the background painted panel, and in the case of the pink and yellow flowers, let the colors run into each other. I added a more dilute layer of blues and green to get a very subtle background.
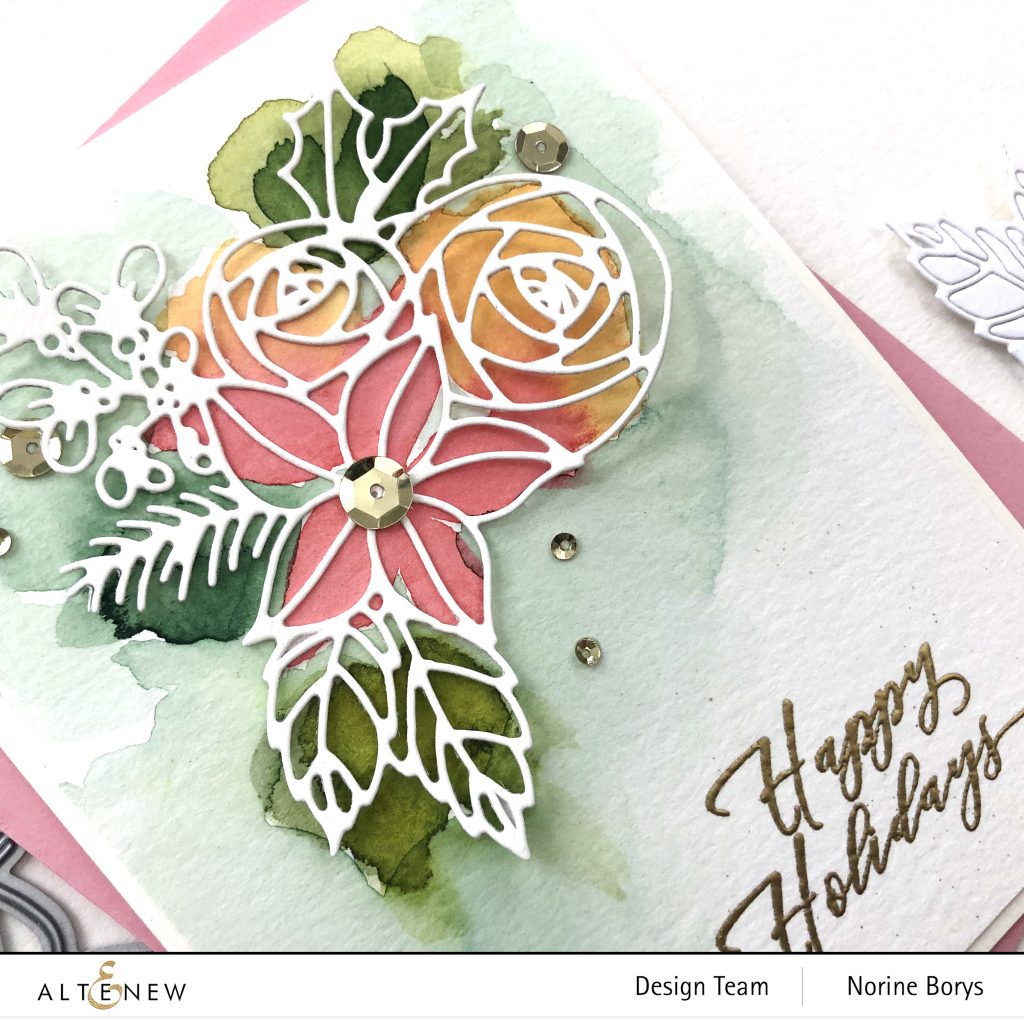
I stamped a sentiment from the Holiday Tag Sentiments Stamp set with embossing ink and heat set with gold embossing powder. Once the watercolor card panel was dry, I adhered the die cut to the card panel with dabs of liquid glue in strategic places, so that the die cut could lift and flex in a more interesting way. I finished the card with some Altenew Satin gold sequins.
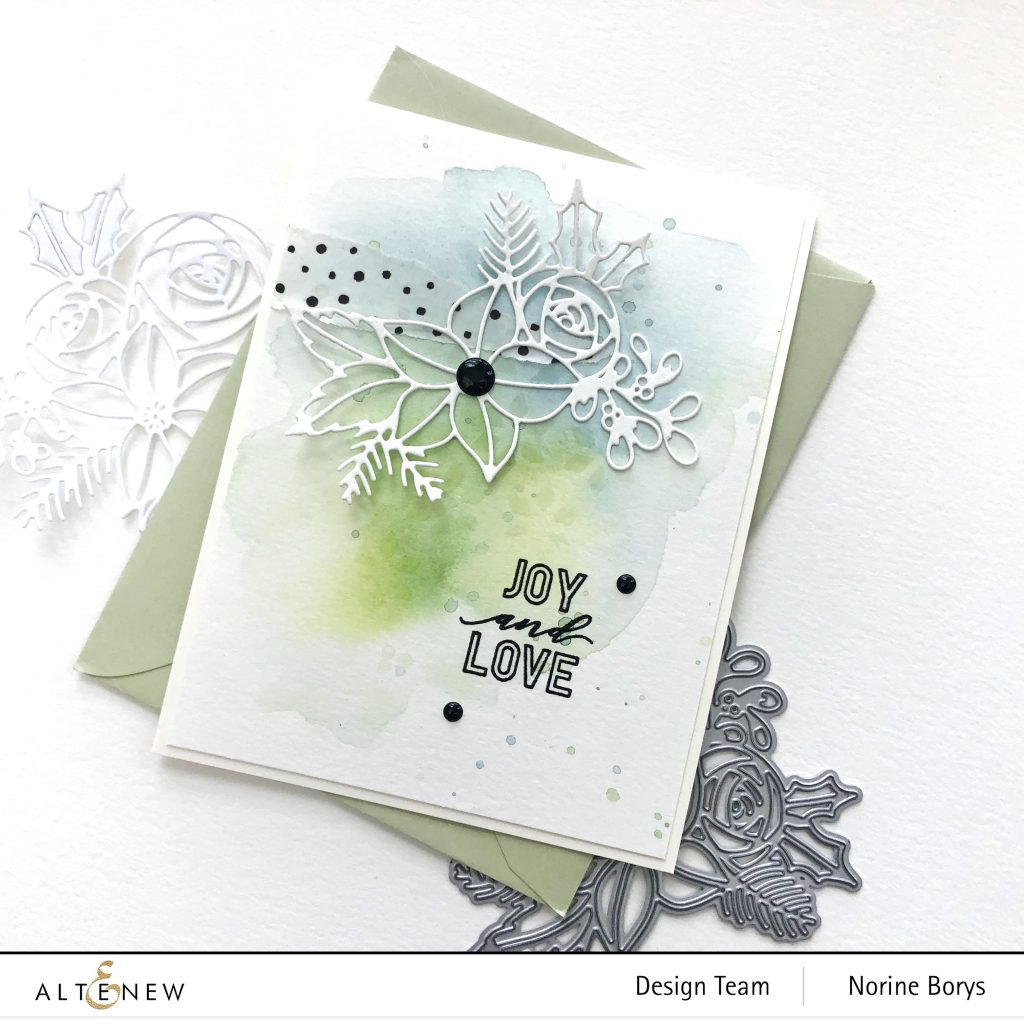
My second card with the Festive Clusters Dies, incorporates some washi tape to balance the black stamped and embossed sentiment (also from the Holiday Tag Sentiments set).
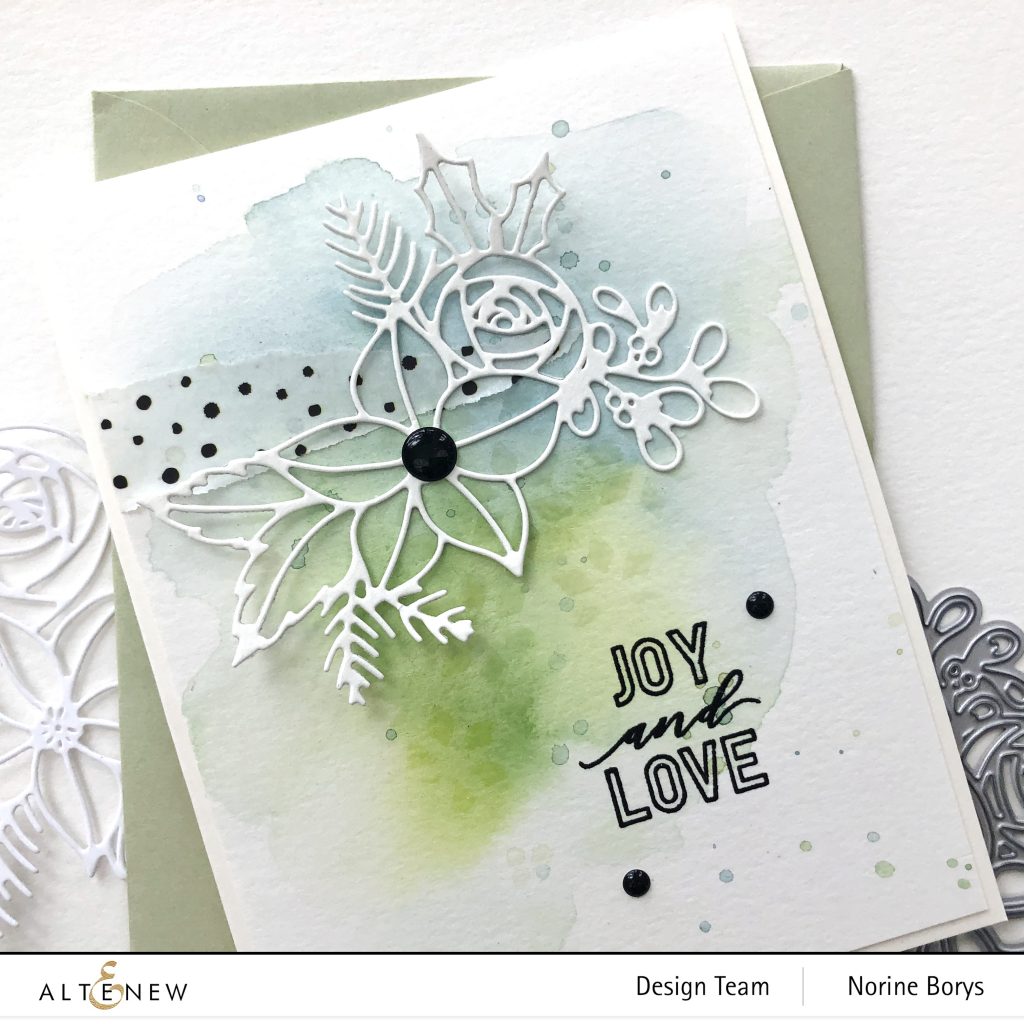
This time I painted the background very lightly with shades of blue and green (my favorite color combo) and added some paint splatters as well. If you scrutinize the photo above, you can see another very subtle effect – it was hard to photograph, but looks cool in real life. Behind the center flower and in the space between the die cut and the greeting I pressed embossing ink through the Diamond Snowflake stencil and heat set with clear embossing powder for a cool, glossy design that you can see and appreciate better from an angle.
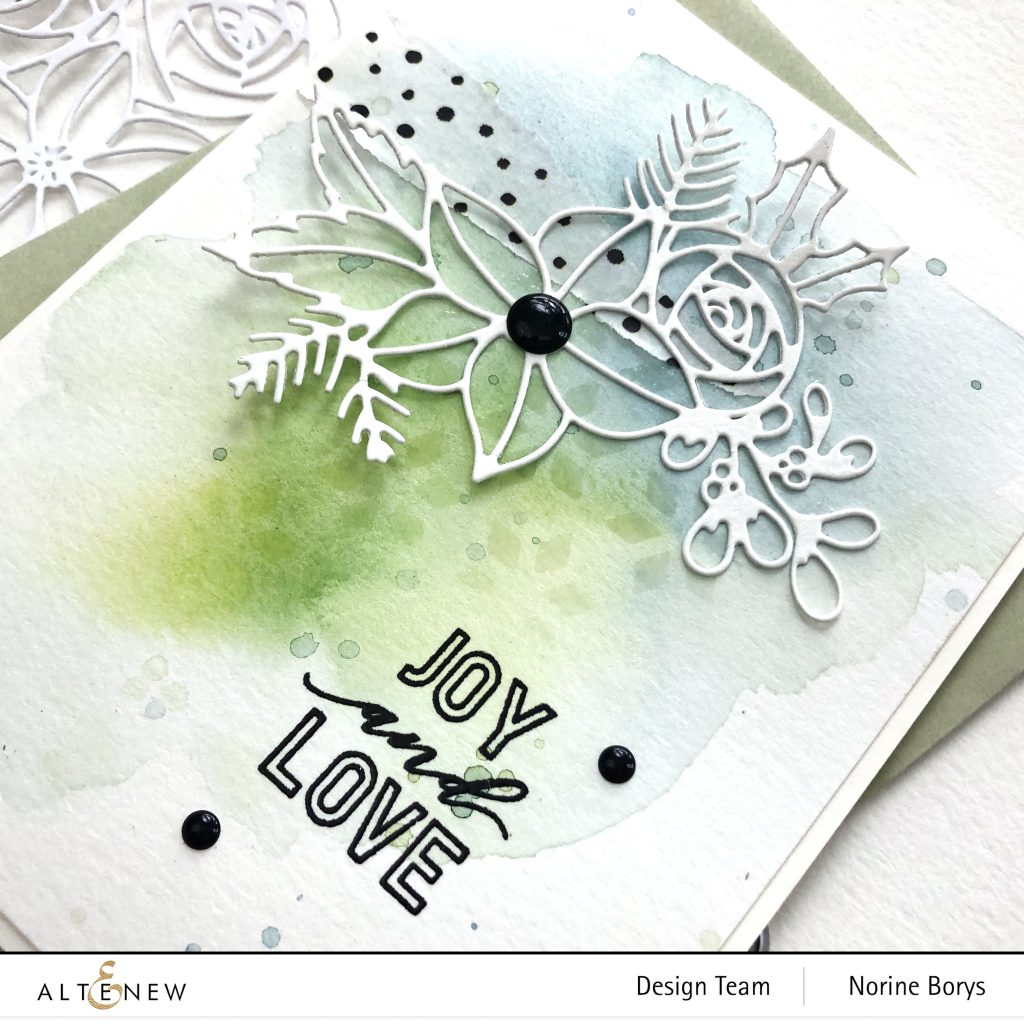
I adhered the die cut over top the painted, stenciled and heat embossed background with some glue dots at the center of the die cut and letting the edges lift slightly. A few black enamel dots complete this card.
Some special offers with this release include three ways to get a FREEBIE to kickstart your creativity!
- Get a FREE brand new Cozy Creatures Stamp & Die Release Inspiration Booklet (worth $5.99) with every order of high-value Cozy Creatures release bundles. Shop HERE! *Exclusions apply.
- Get a FREE brand new Online Cardmaking Class with every order from the new Cozy Creatures Stamp & Die Release collection from 10/05/2020 through 10/11/2020. Shop HERE!
- Get a FREE brand new Cozy Creatures Stamp & Die Release Mini Inspiration Booklet with every order from 10/05/2020 through 10/07/2020. Shop HERE!
Also prizes:
To celebrate this release, Altenew is giving away a $50 gift certificate to 3 lucky winners! Leave a comment on the Altenew Card Blog by 10/11/2020 for a chance to win.
They will also draw a winner to receive a $15 gift certificate from the comments left on each designer’s blog on the blog hop list below. All winners will be announced on the Altenew Winners Page on 10/14/2020.
Your next stop on the hop is Kelly’s blog. Below you will find the complete blog hop list for you to refer back to if you get lost along the way.
Norine Borys – You are here.

