Hello, hi! We’re back for Day 2 of The Greetery’s Spring Fever reveal and blog hop and the whole collection releases tomorrow morning! (I have two posts today so please scroll for the second one as well!) If you’ve arrived here from Kelly’s blog you’re right where you should be, and if not, you can click back to the beginning at Kay’s blog.
This post contains affiliate links that are listed below. By clicking through to purchase products linked, you are helping to support this blog at no additional cost to you and that allows me to continue to provide you with creative inspiration and instructive help.
Today we are featuring the following products on our cards and projects:
- Print Shop Floral Frame stamps, stencils, dies
- Empty Grave stamp + cut combo
- Nordic Circles + Nordic Slimline dies
- Crimped Circles + Crimped Slimline dies
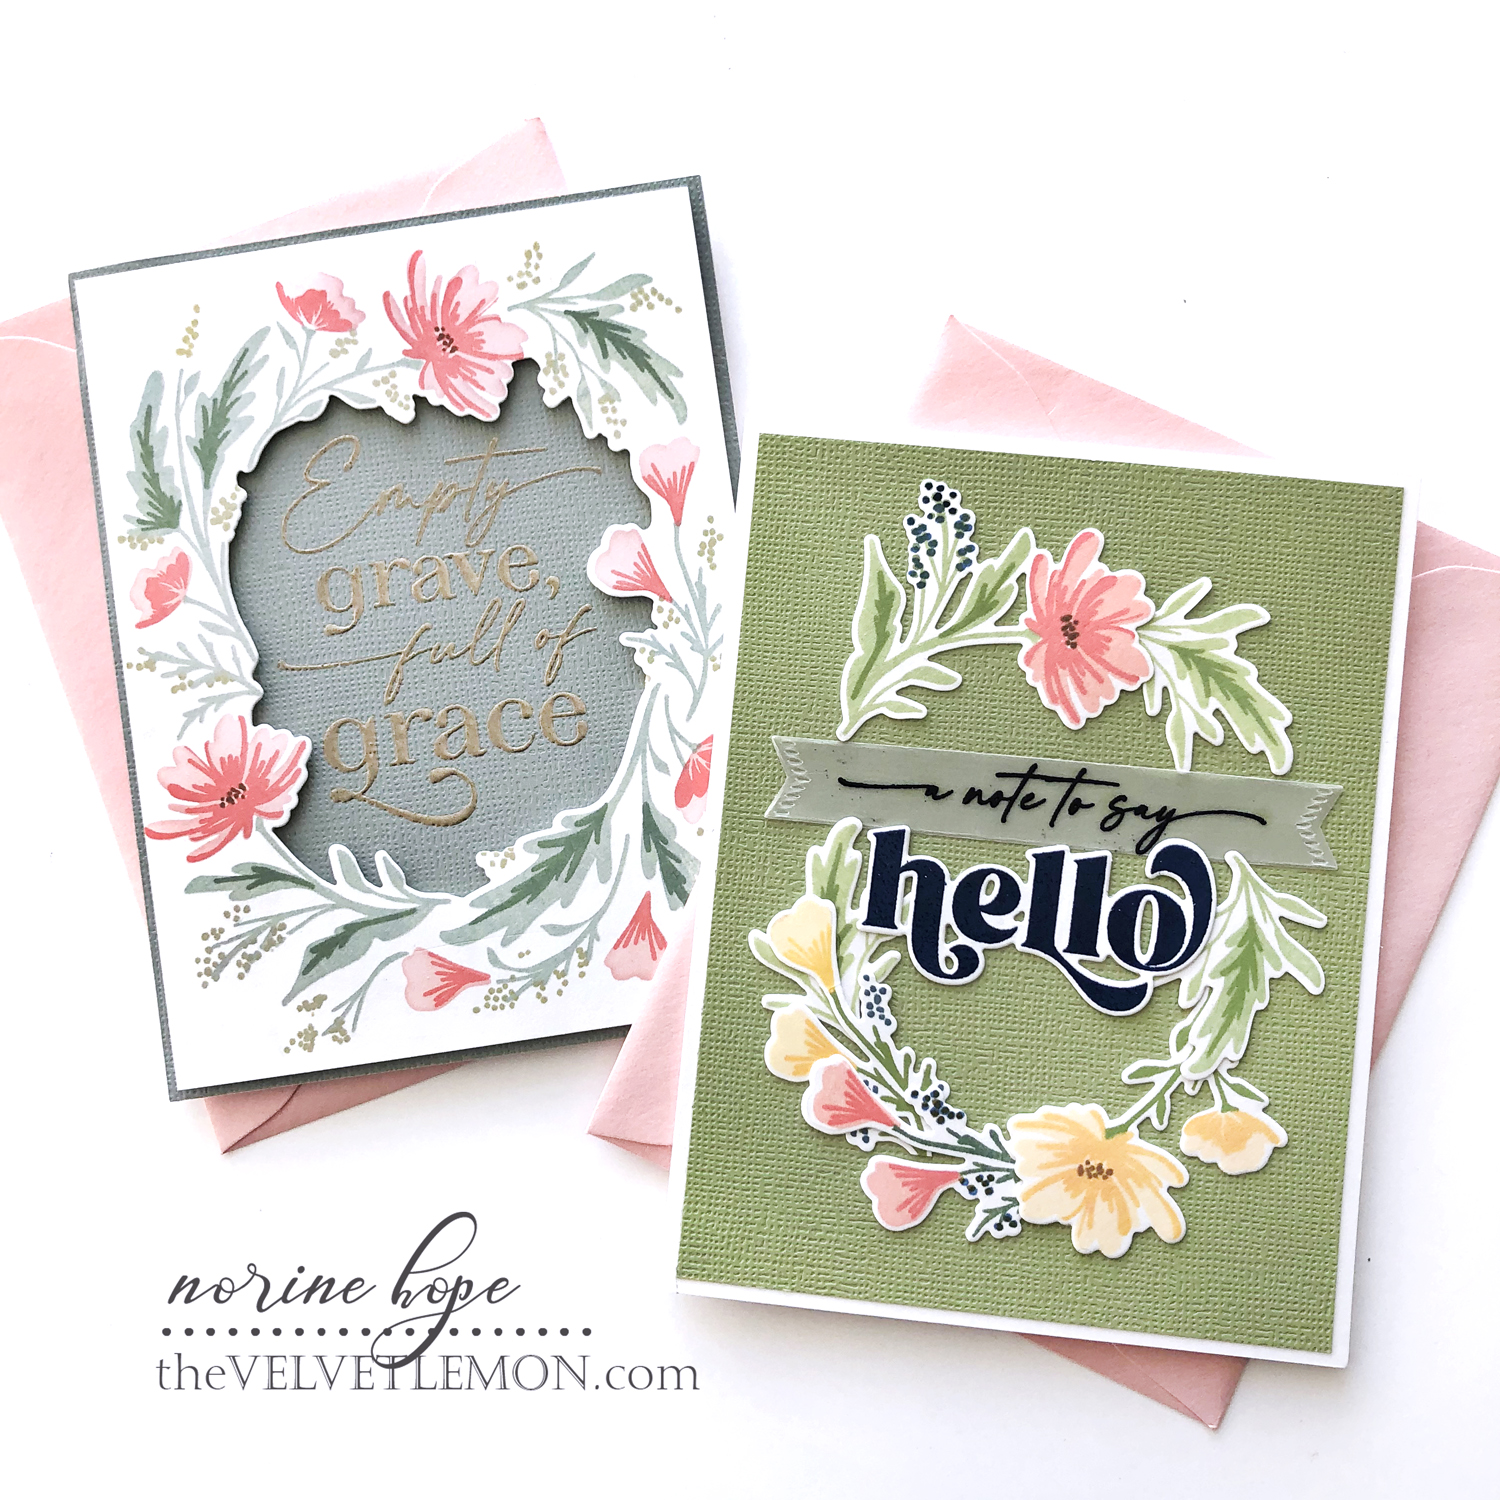
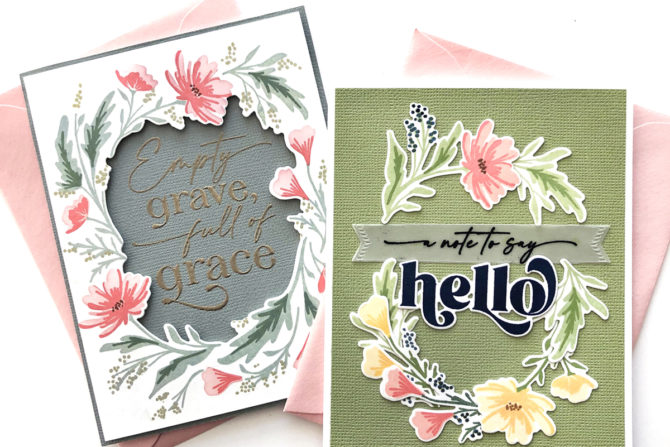
My first couple of cards feature the Print Shop: Floral Frame stamp, stencil and die set. As well, I used the Empty Grave stamp and die set for one card and an older set for the second card.
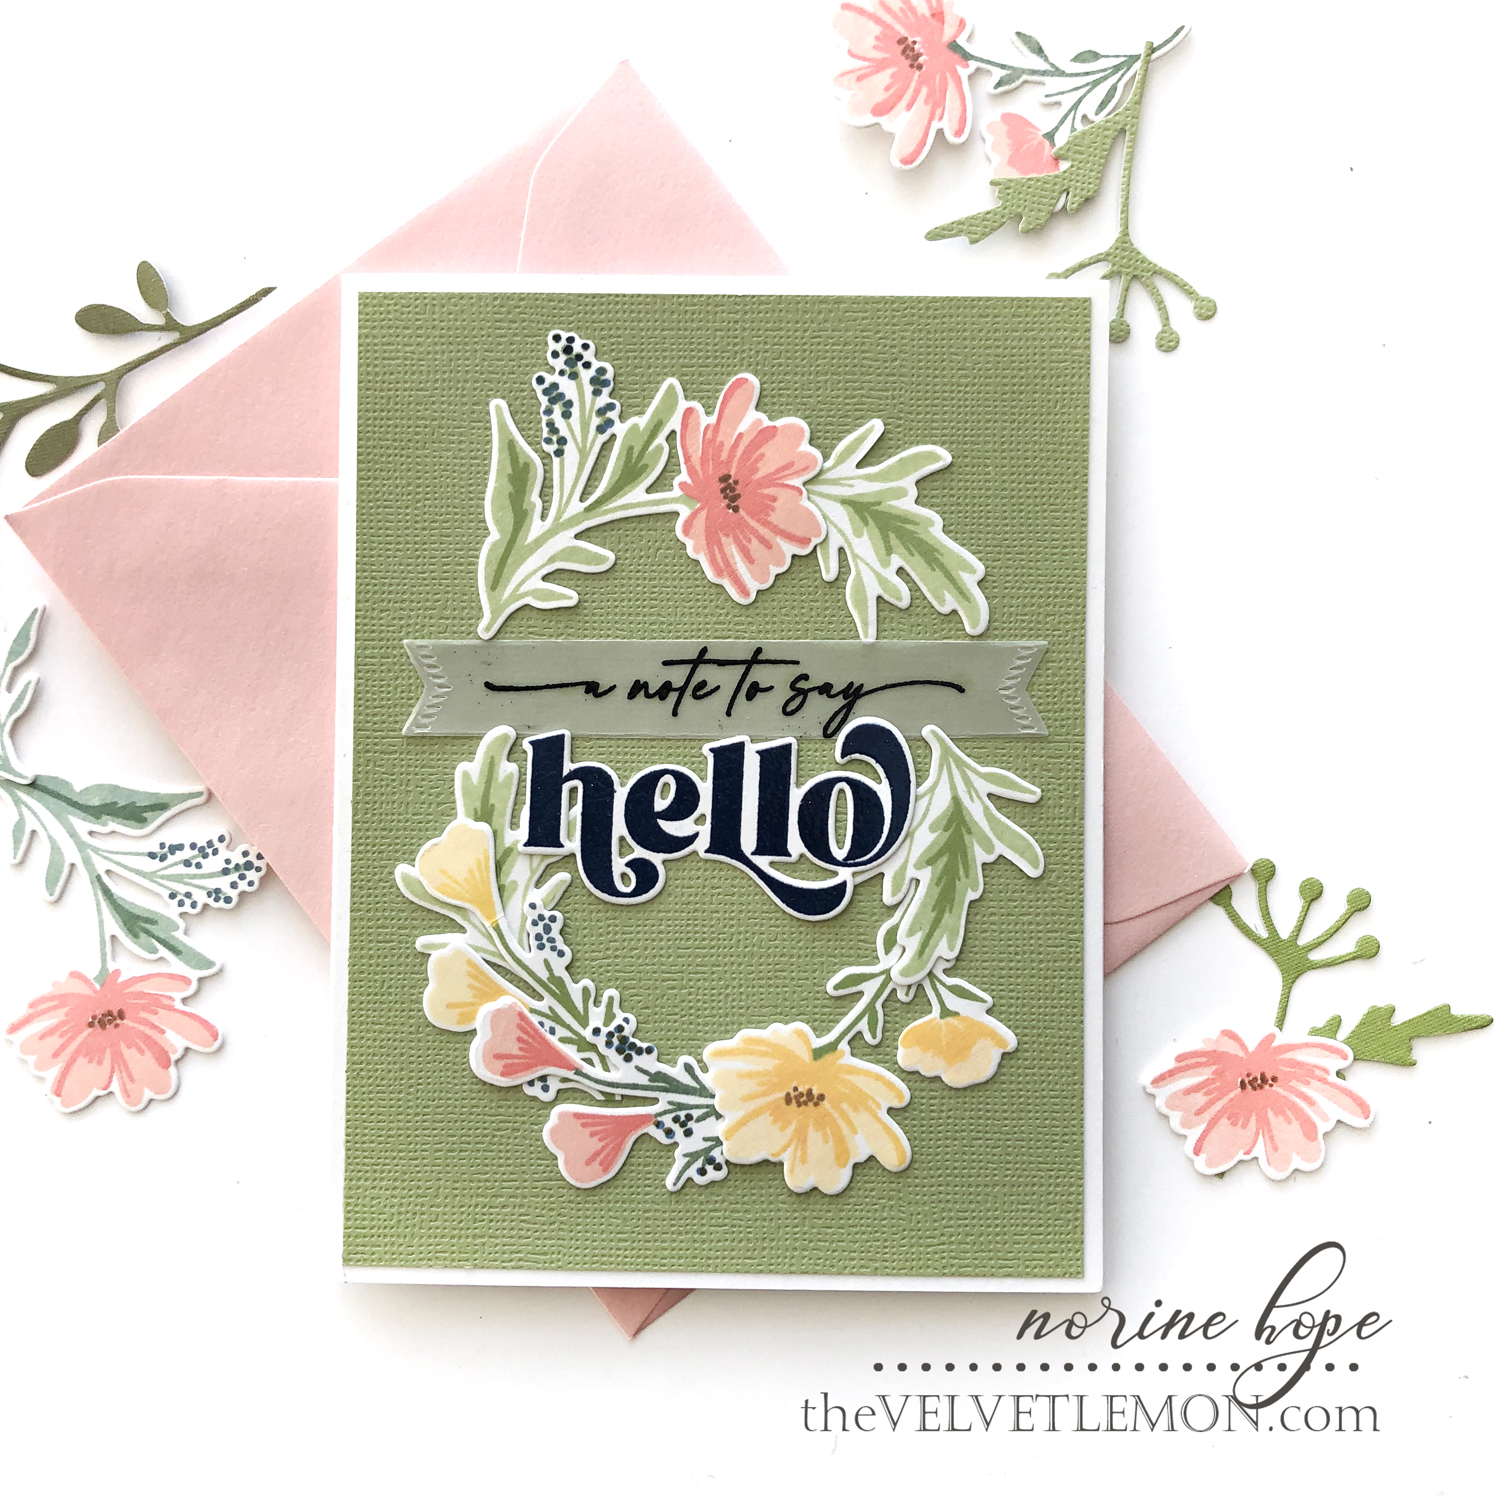
The lovely Floral Frame stamp and die set gives you the option of stamping and die cutting the individual pieces as I’ve done here.
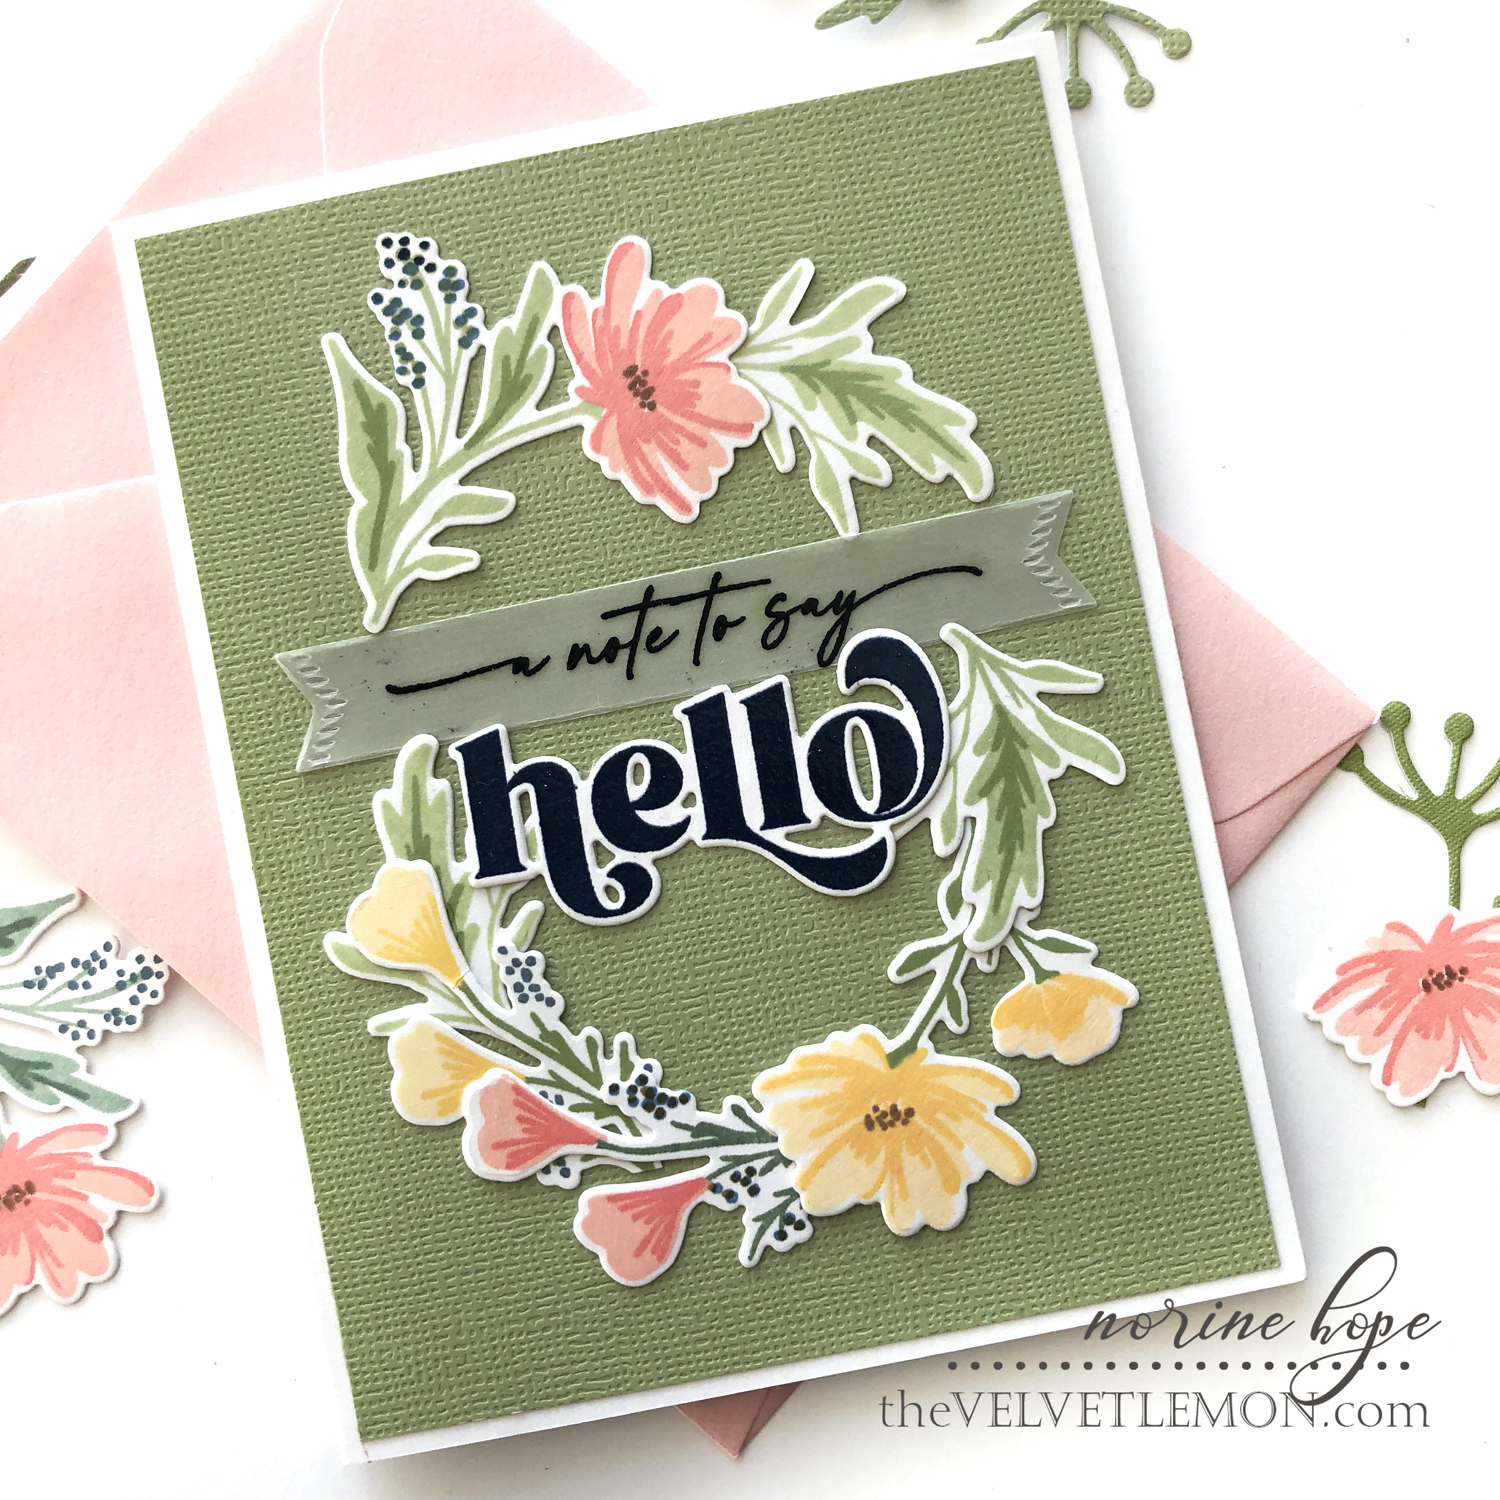
I know I’ve shared this trick here before, but in case you missed it, the best way to line up a stamped image to die cut even edges all around is to die cut first, then pop the die cut along with it’s surrounding cardstock, into the MISTI, remove the die cut and put the stamp into the die cut opening. Then you put the die cut back into the opening and stamp. It’s very almost fool proof! I even do it for some 2nd and 3rd layer stamps depending on their size and intricacy.
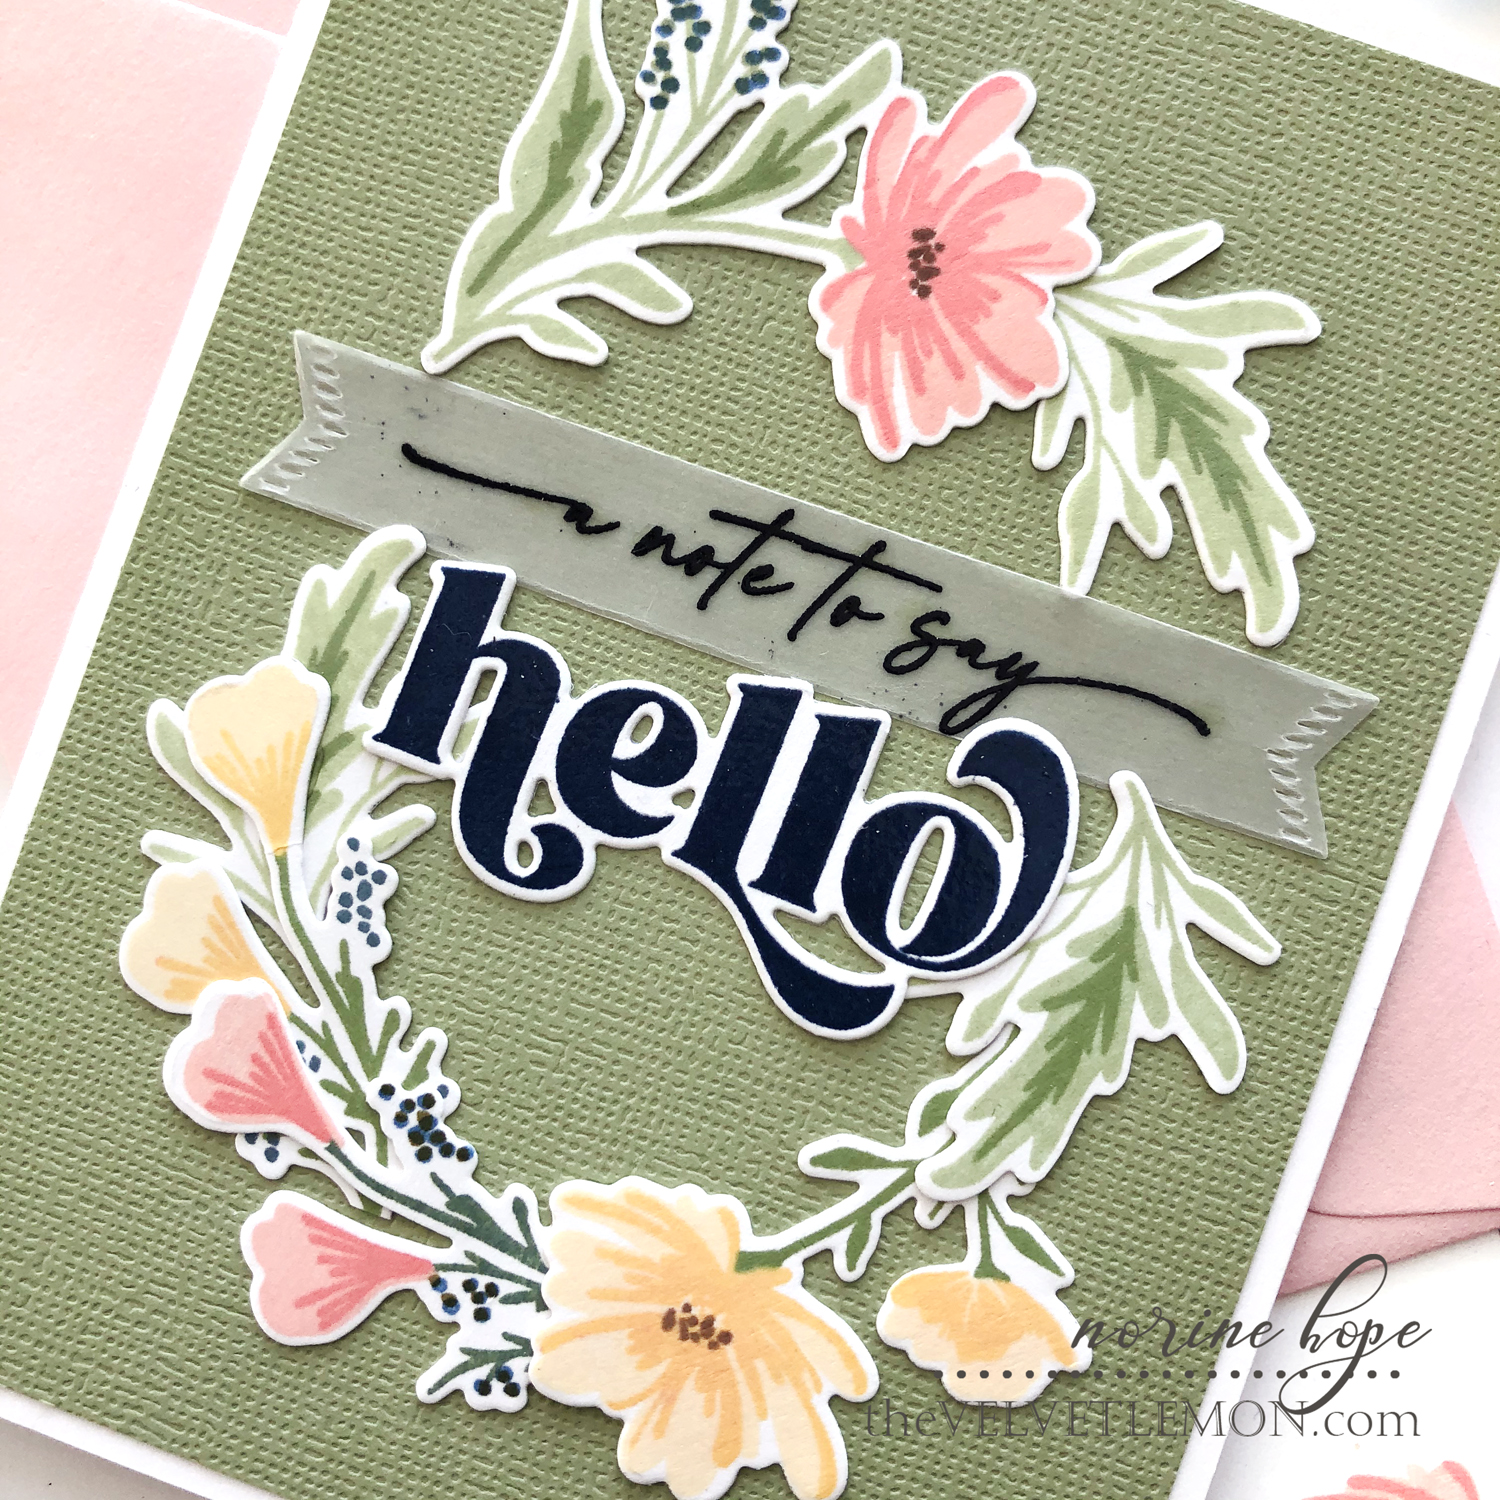
So, once I’d die cut and stamped several of each shape, varying ink colors, I created an arrangement on a background of solid green cardstock card panel, leaving room for the vellum stamped banner. I used the previously released Opposites Attract stamp and die set to create both the “hello” and the banner greeting.
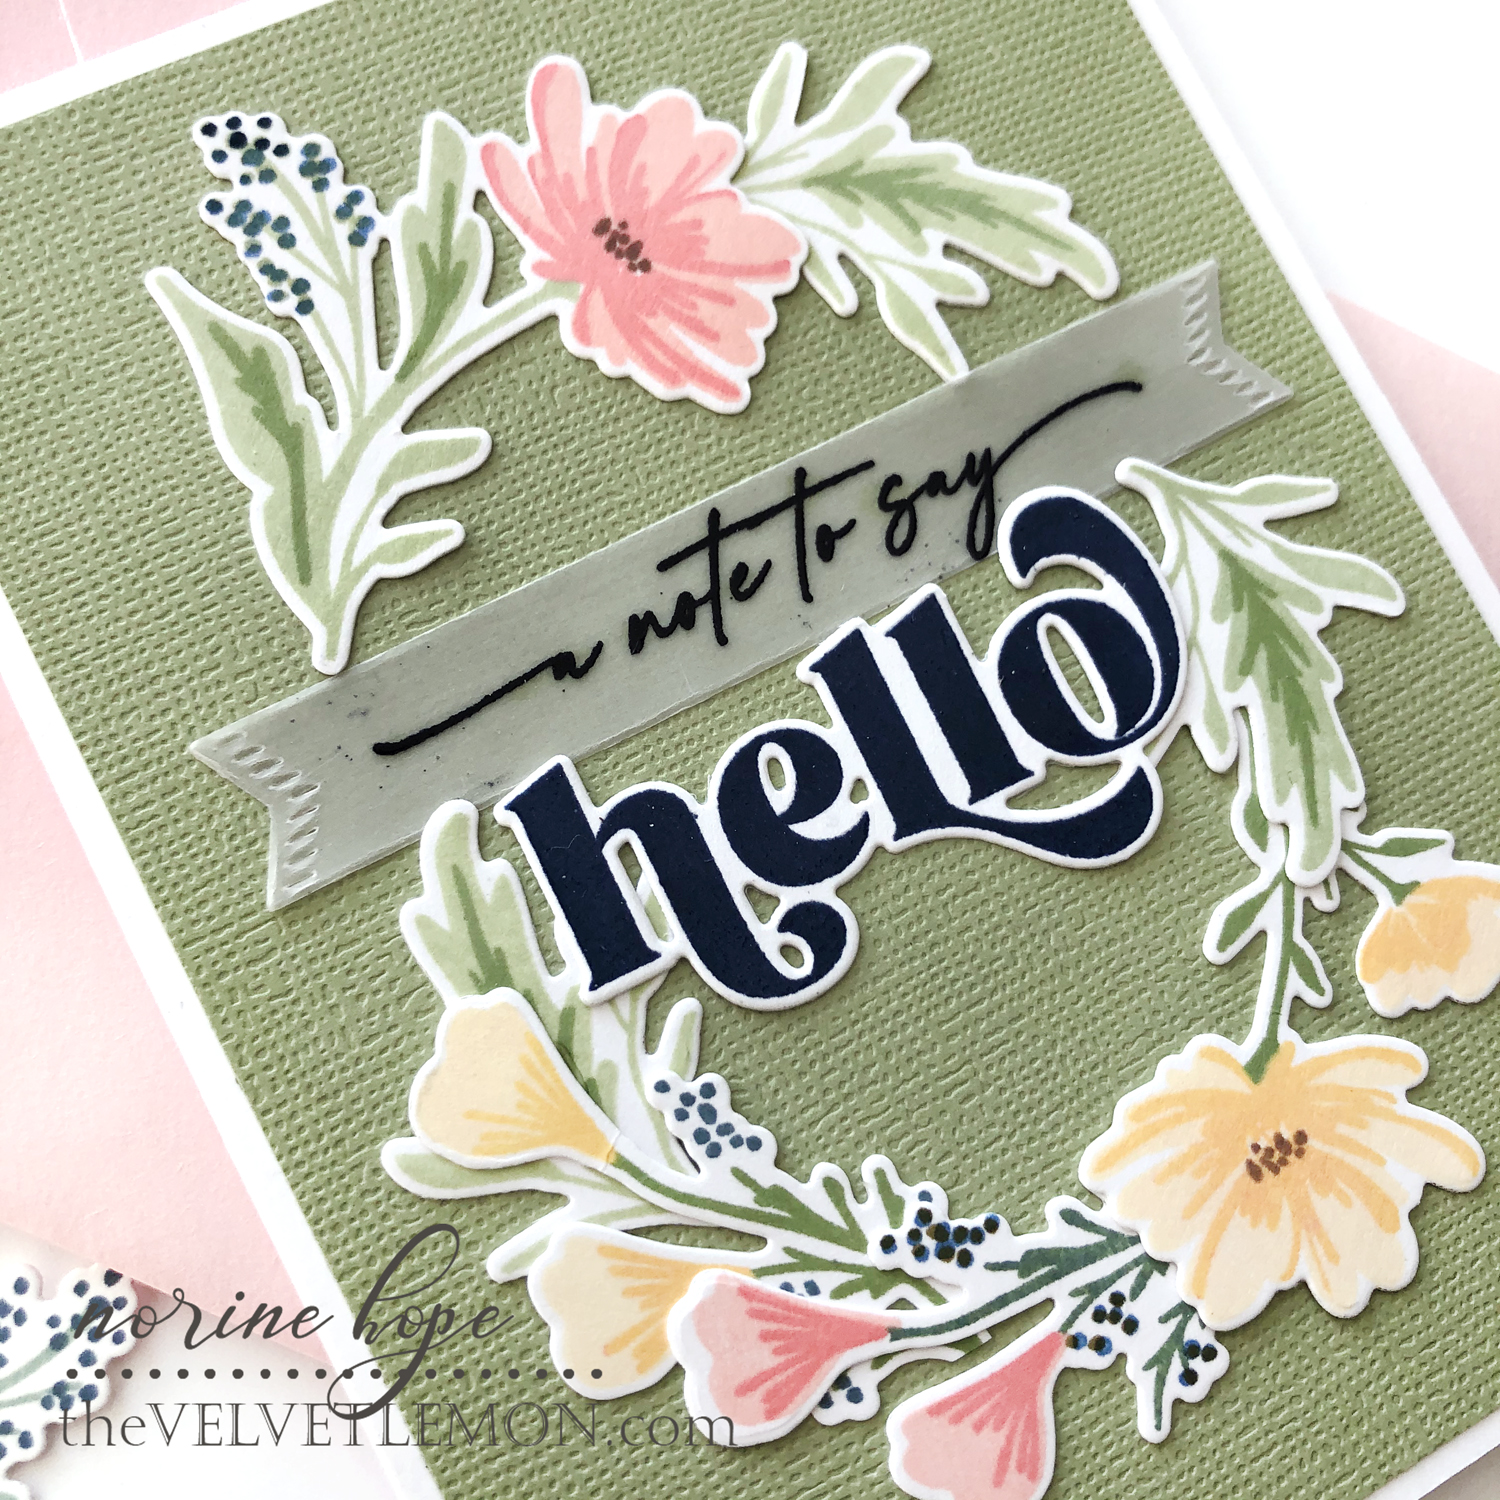
Once again, I die cut first and used my MISTI to line up the stamp. The MISTI makes a second trick possible. I stamped the word with navy blue ink, but wanted also to clear heat emboss it and the powder didn’t stick to the blue ink, so I cleaned off the stamp and inked it up a 2nd time with embossing ink. I would have like to do the same with the vellum banner but stamping and heat embossing on vellum is it’s own kind of tricky. It really prefers to be stamped with clear embossing ink, and heat set with colored powder, so in the absence of navy powder, I switched to black. The color discrepancy is more noticeable in real life, but totally looks ok!
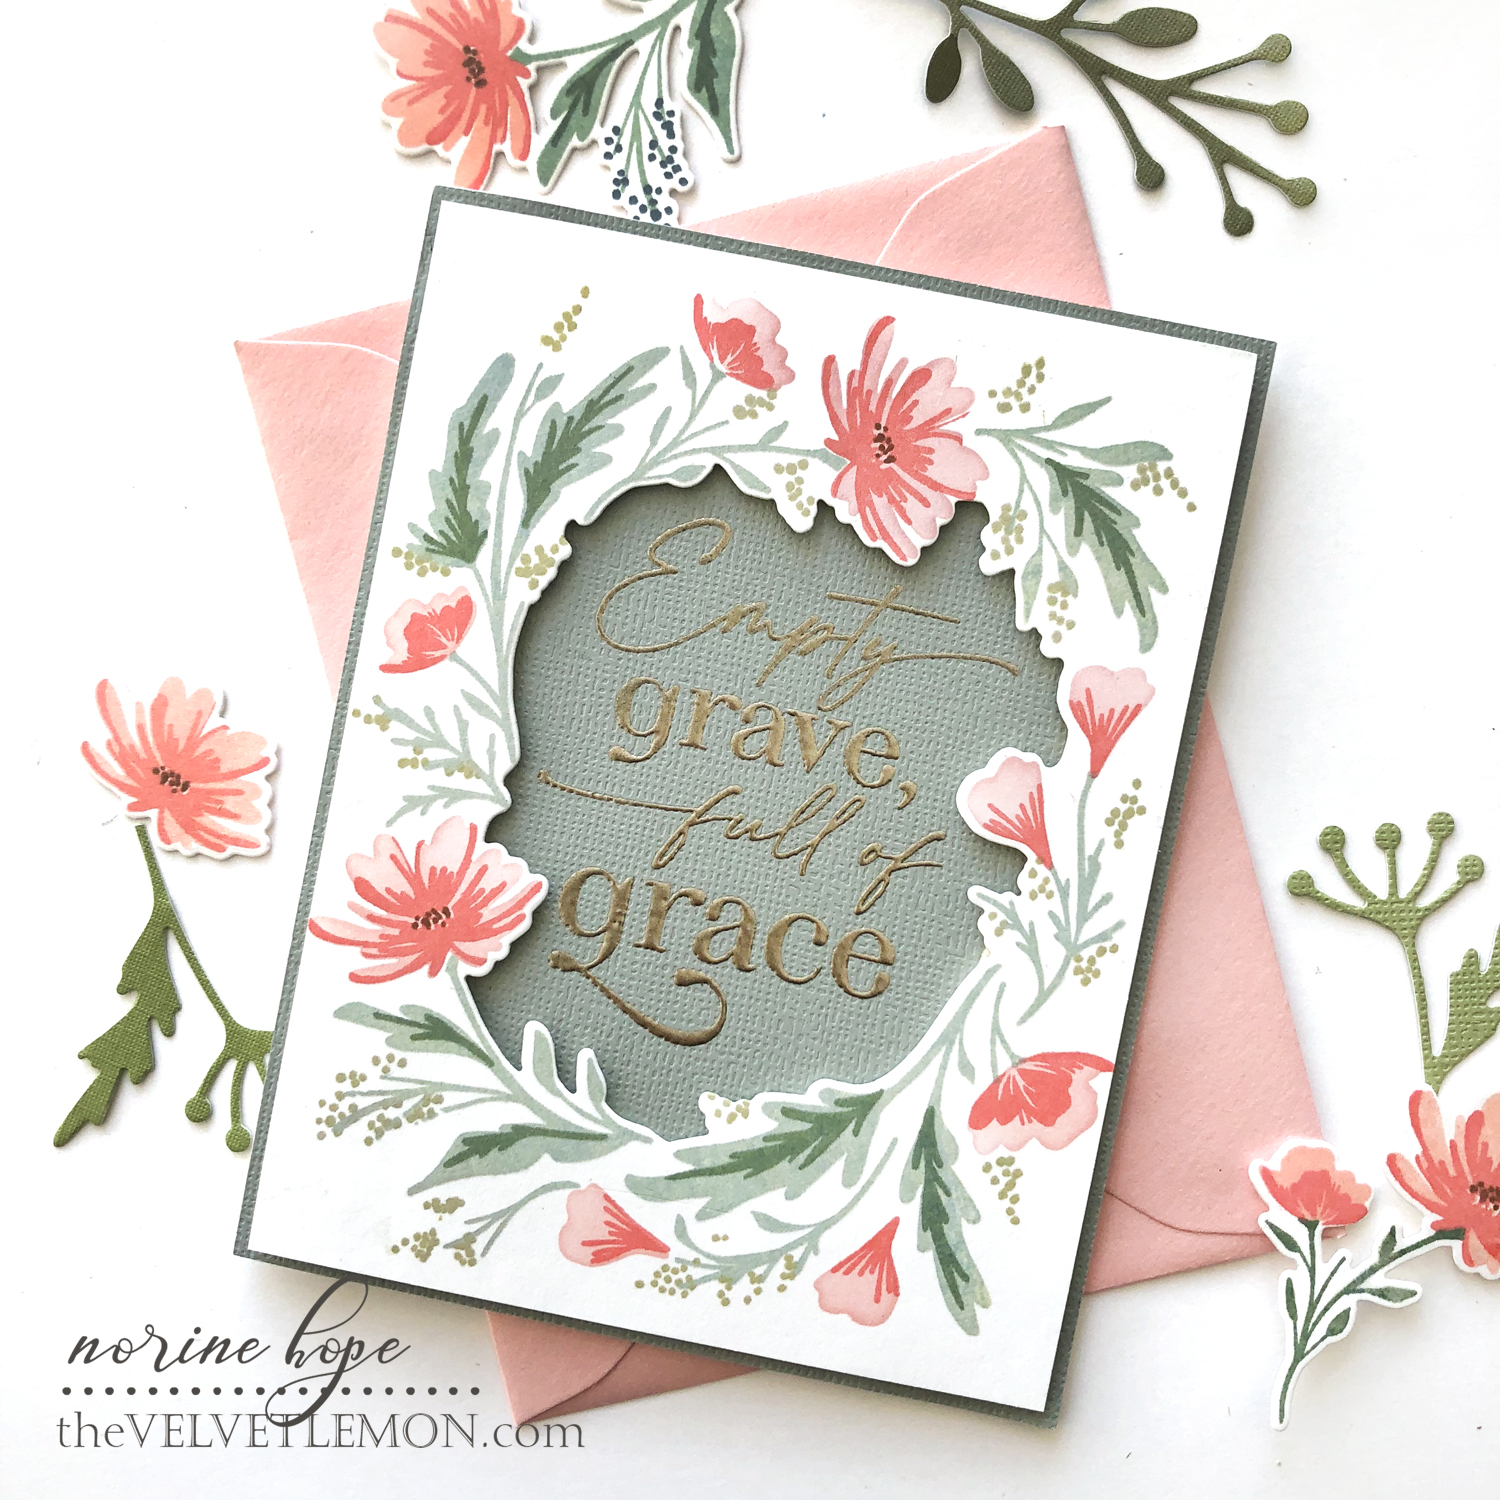
I used the same Floral Frame set for the second card, this time using the stencil first to ink up the first layers of the flowers. Once done, that helped me to position the leaf stamp layers and add the 2nd layers of detail.
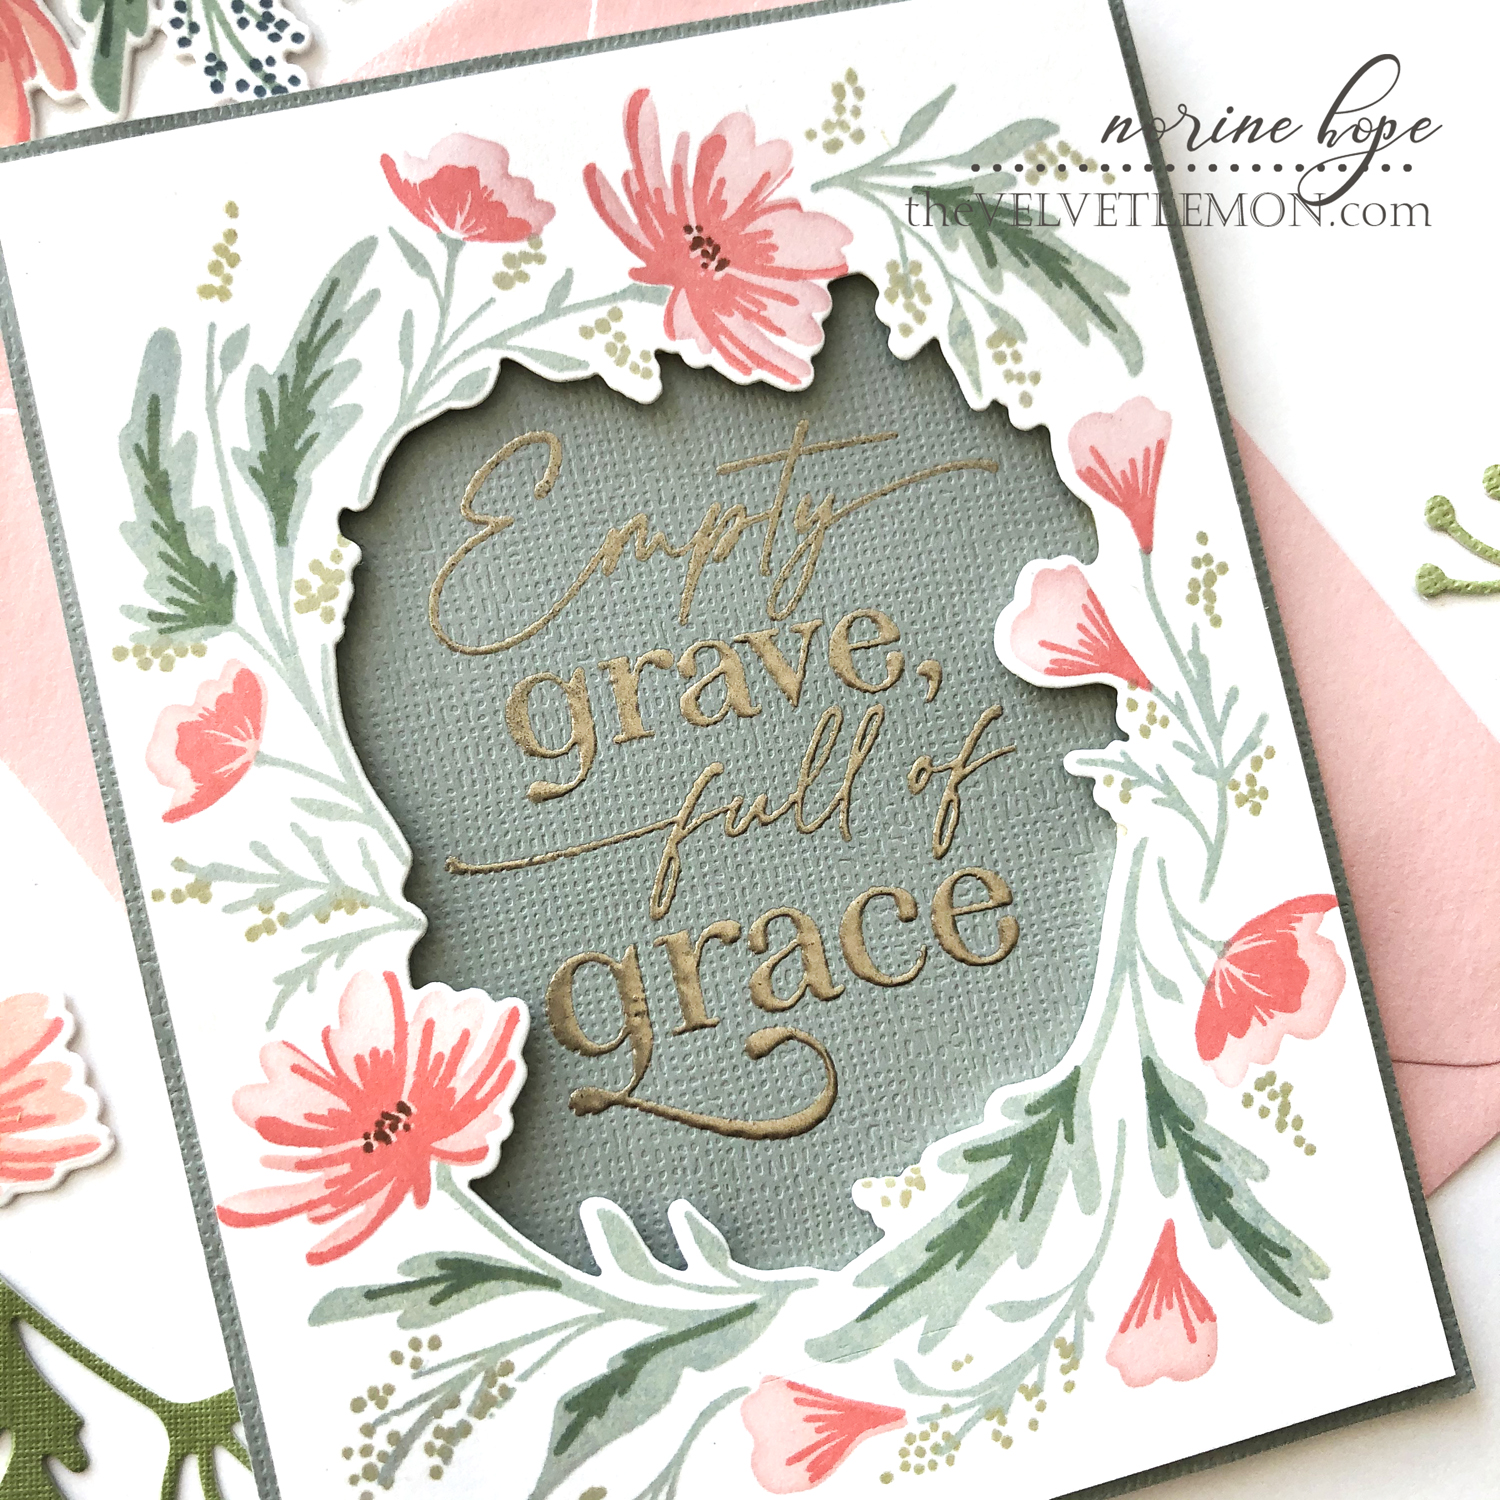
The stamping finished, I cut the frame dies apart (the ones that allow you to cut the inside and outside shapes together to give you a complete frame). Now how to line up the inside die perfectly? Well, the set comes with a template made of the stencil plastic that you can layer over the image and see through. It allows you to line up the die for perfect cutting.
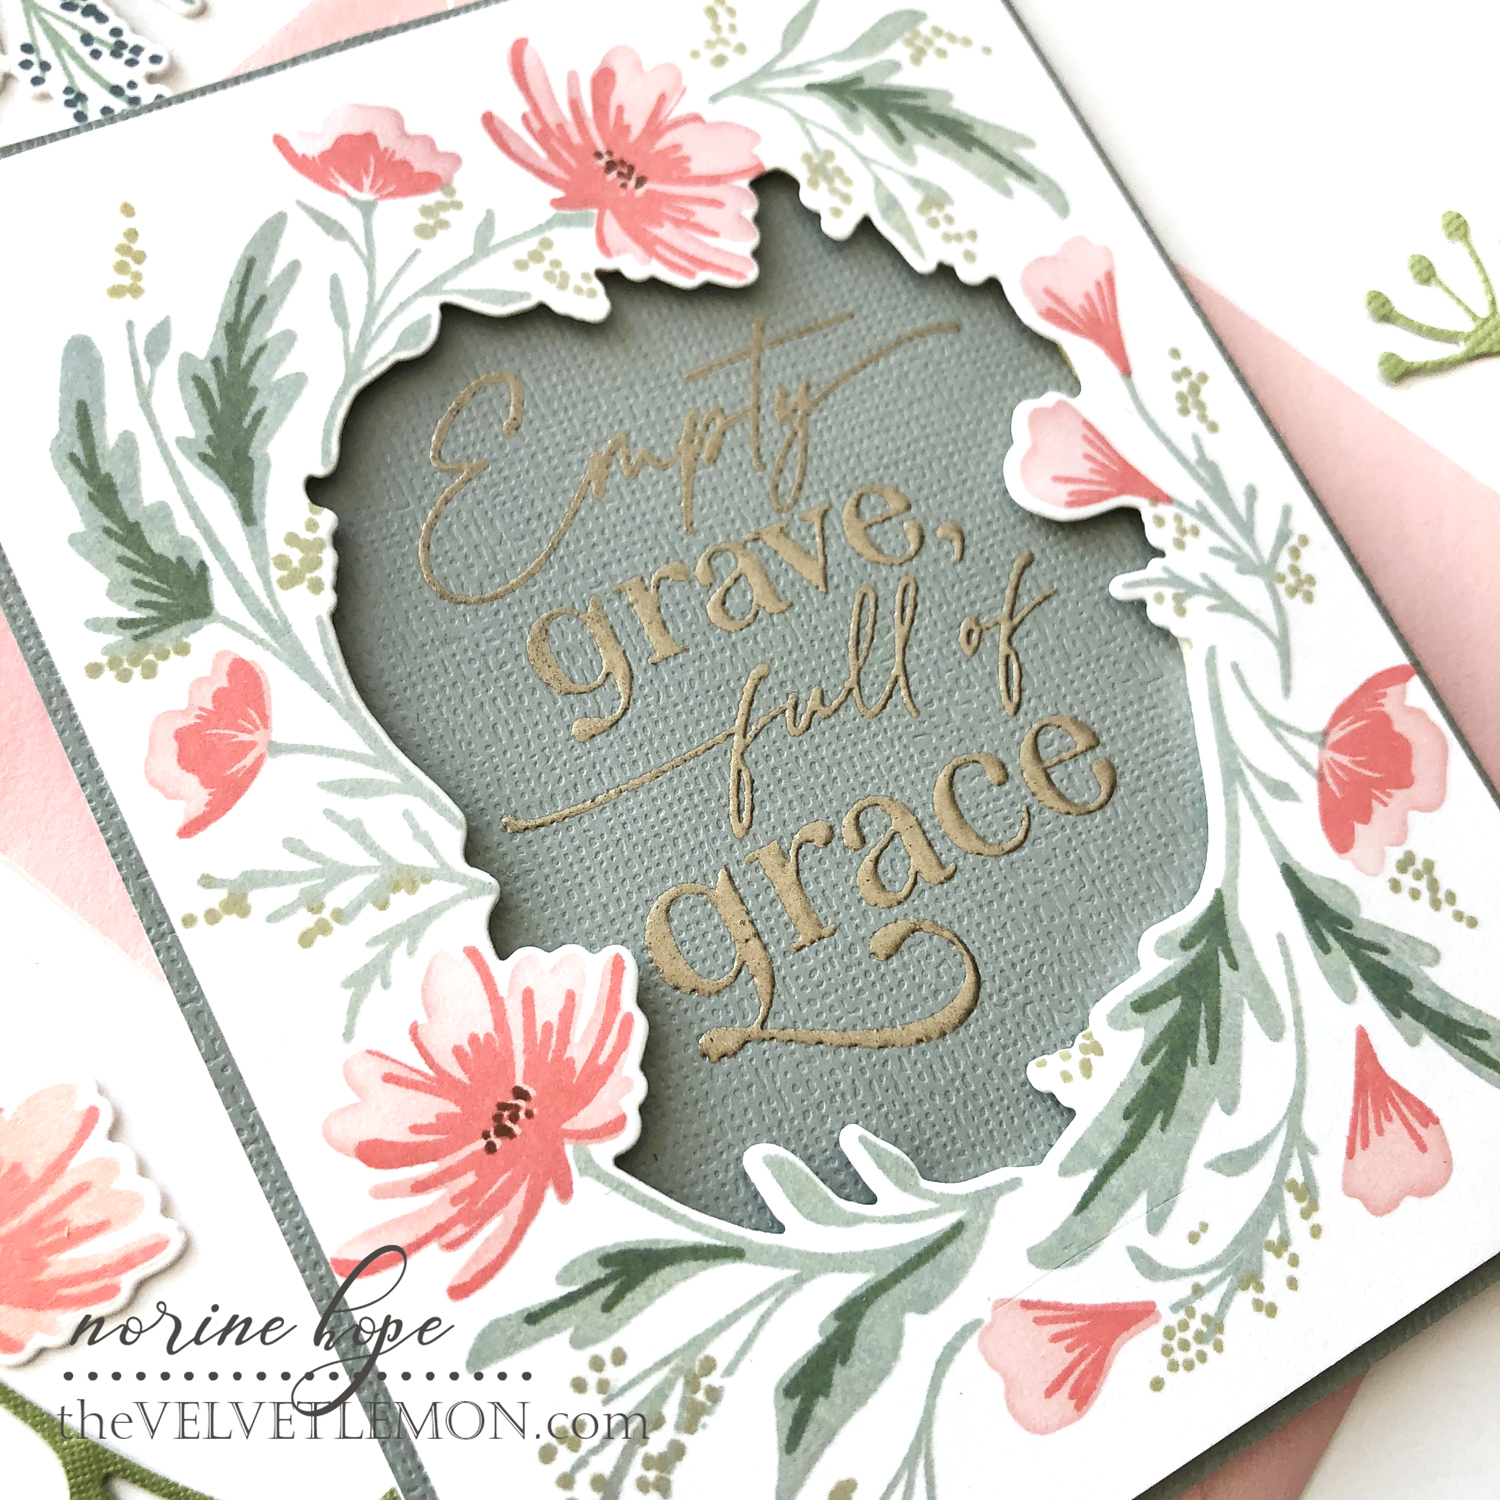
I covered the back of the stamped panel with dimensional foam tape to pop it up from the background panel on which I stamped the Empty Grave sentiment. Because stamping on paper this textured can sometimes produce a less than perfect stamped image, I stamped once, embossed with platinum embossing powder, went back to the MISTI and stamped and embossed a second time.
How did we ever used to make cards before the MISTI, I ask you??
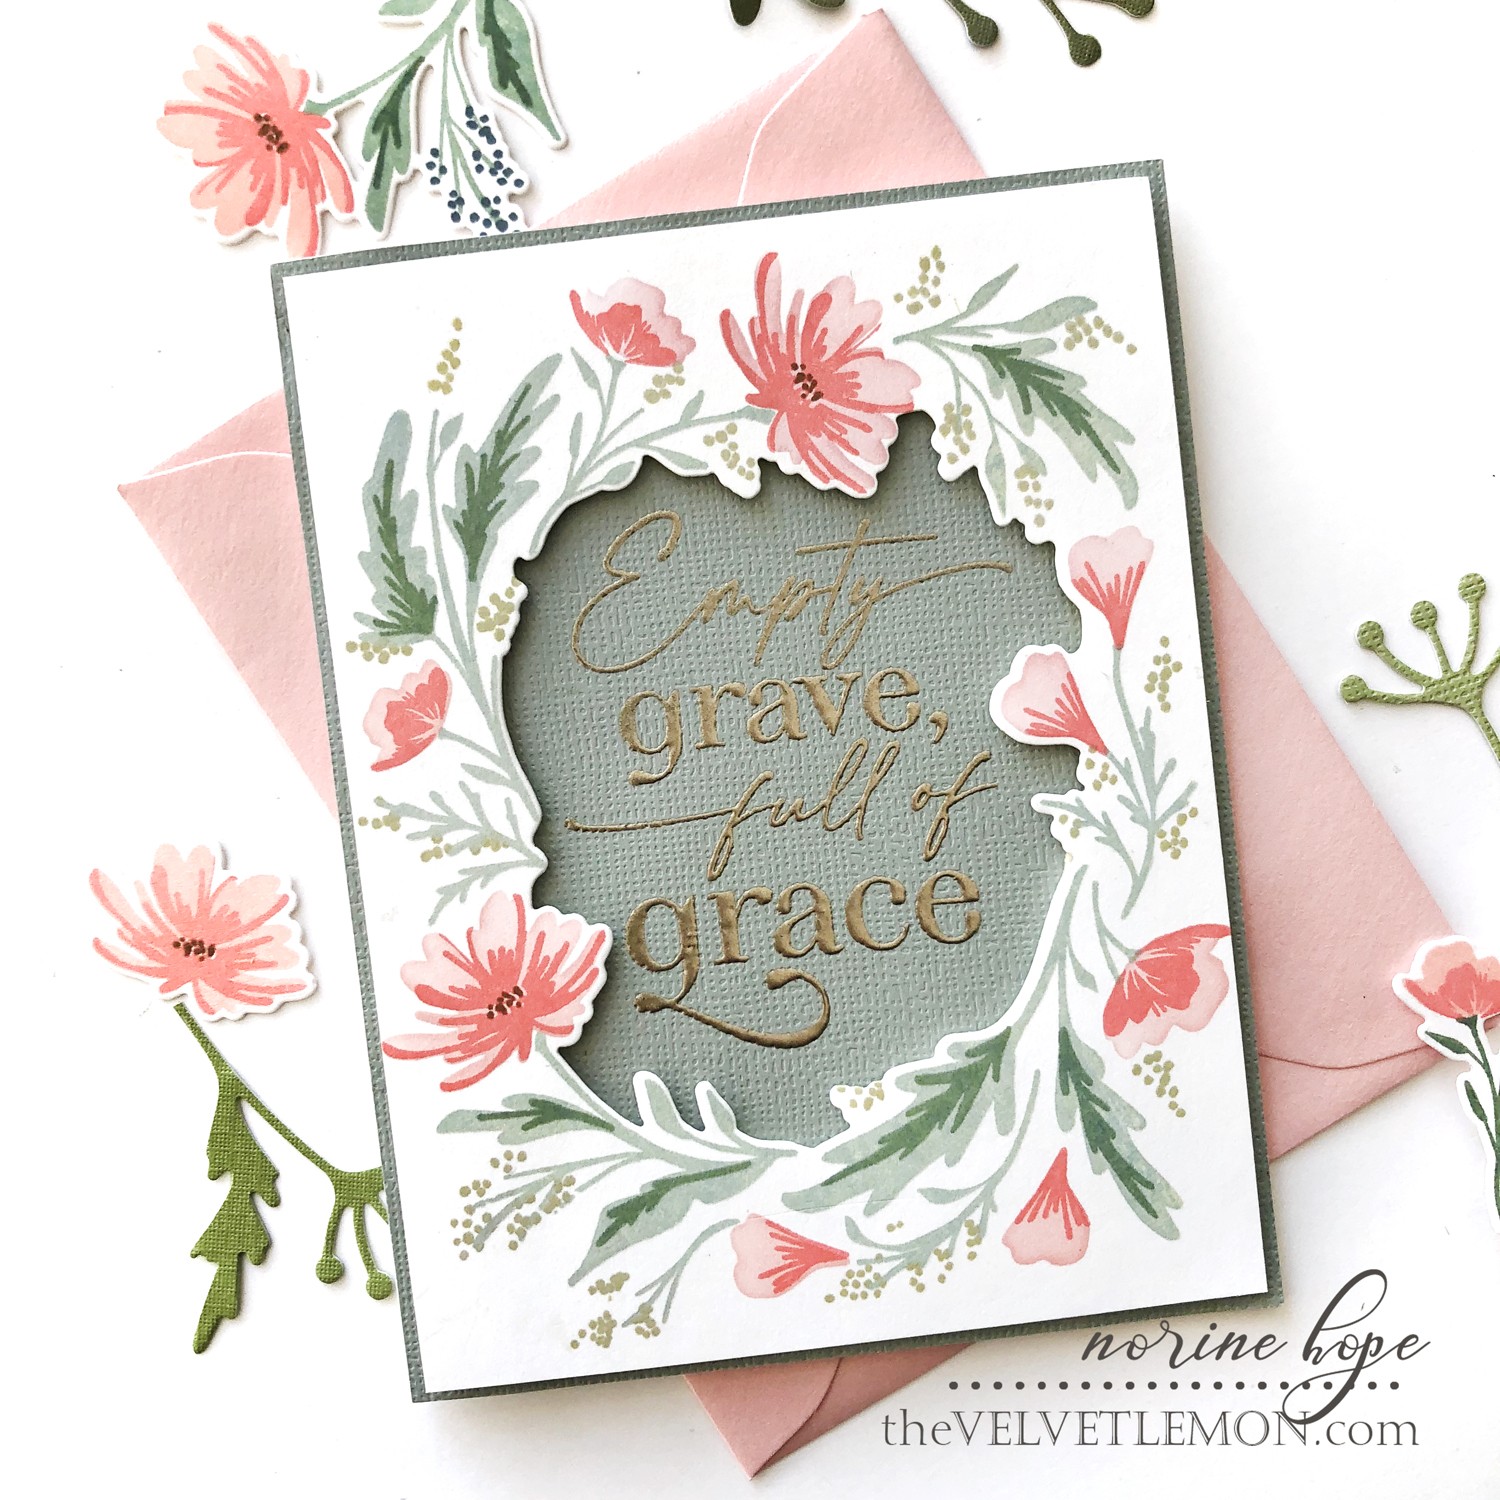
I trimmed the stamped panel slightly smaller than A2 size (before adding the foam tape) so that the same cardstock showing through the frame opening would also frame, or mat, the white cardstock.
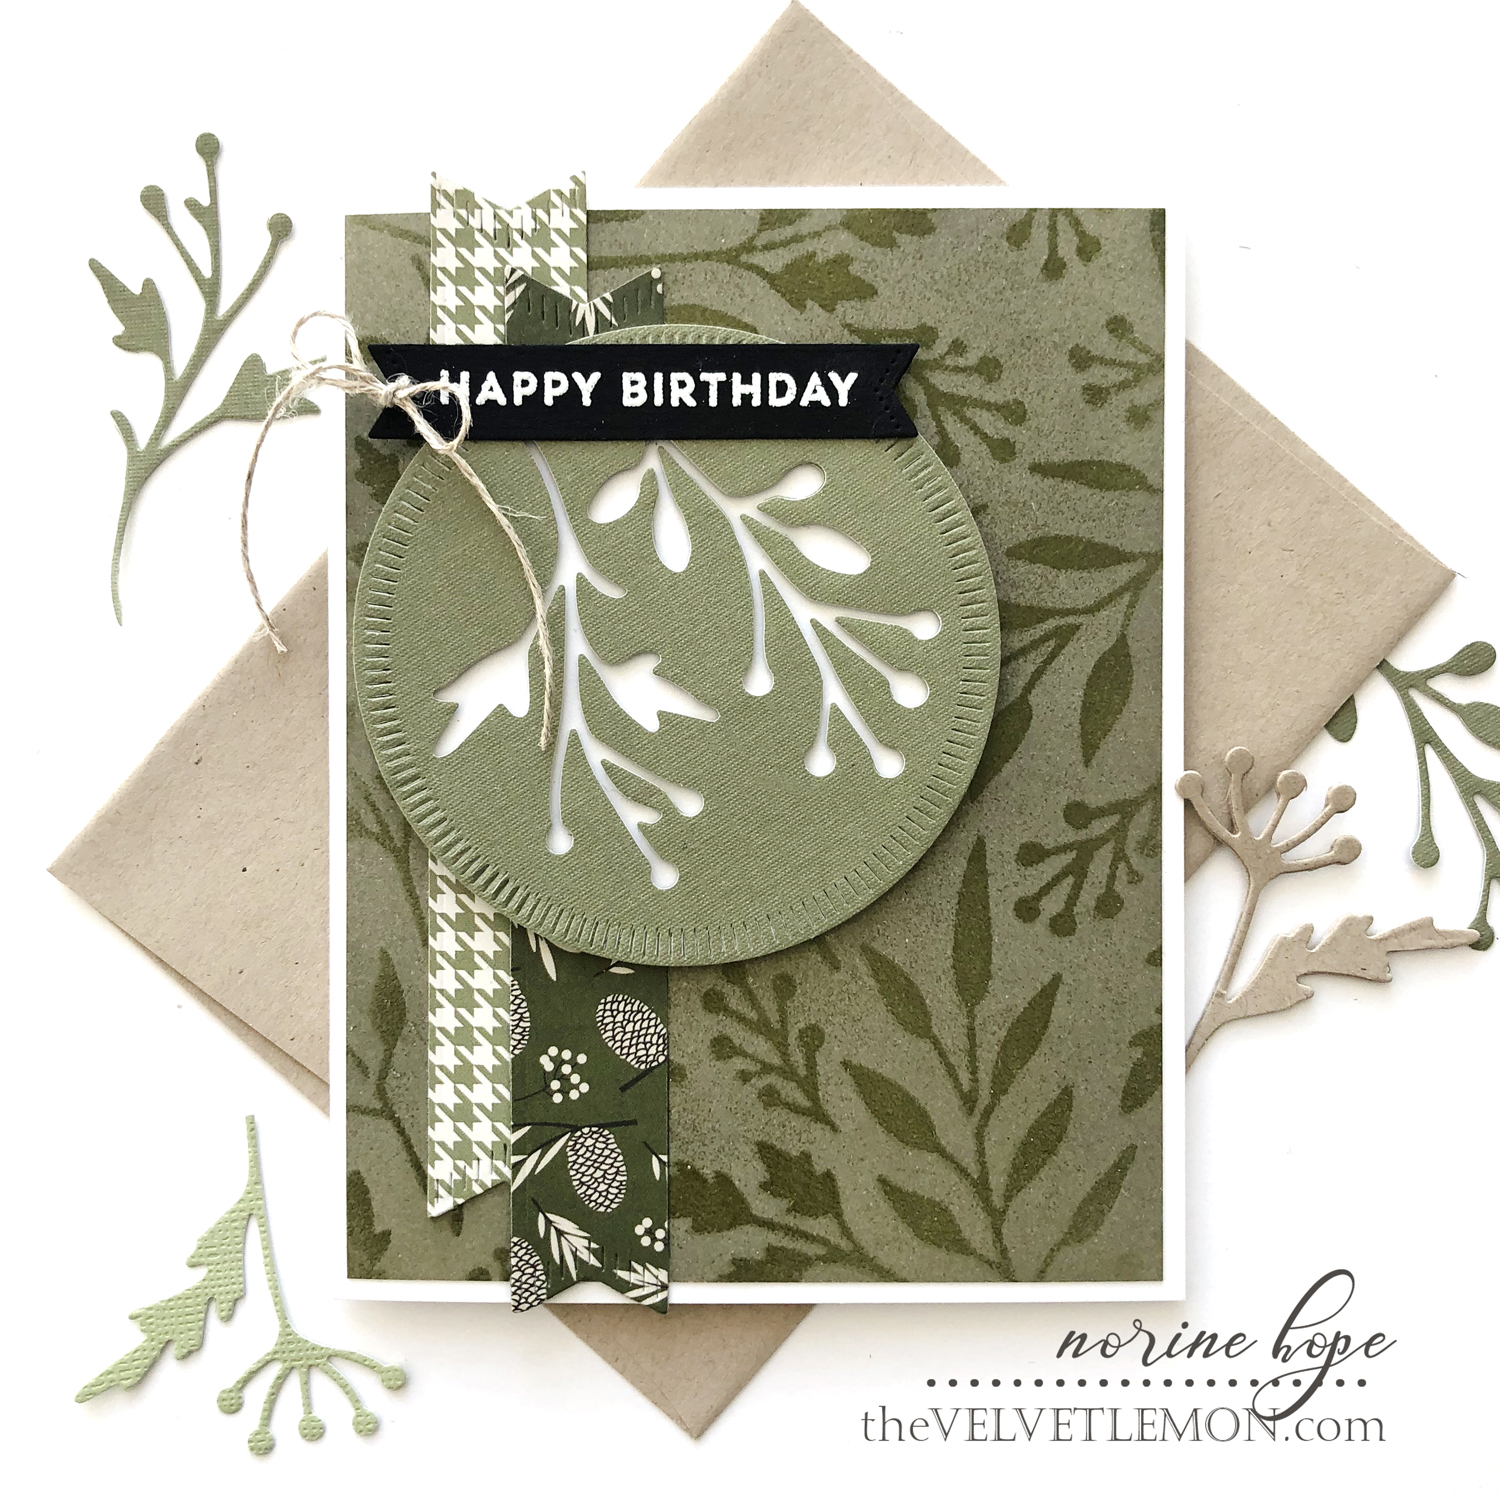
My final card is a more masculine design, using the Crimped Circles Die set, the leaf dies from the Wildflower Mix set revealed yesterday, and a banner die from the Crimped Slimline Rectangle die set. I also pulled out a stencil from a previously release set – called the Berry Branch stencil.
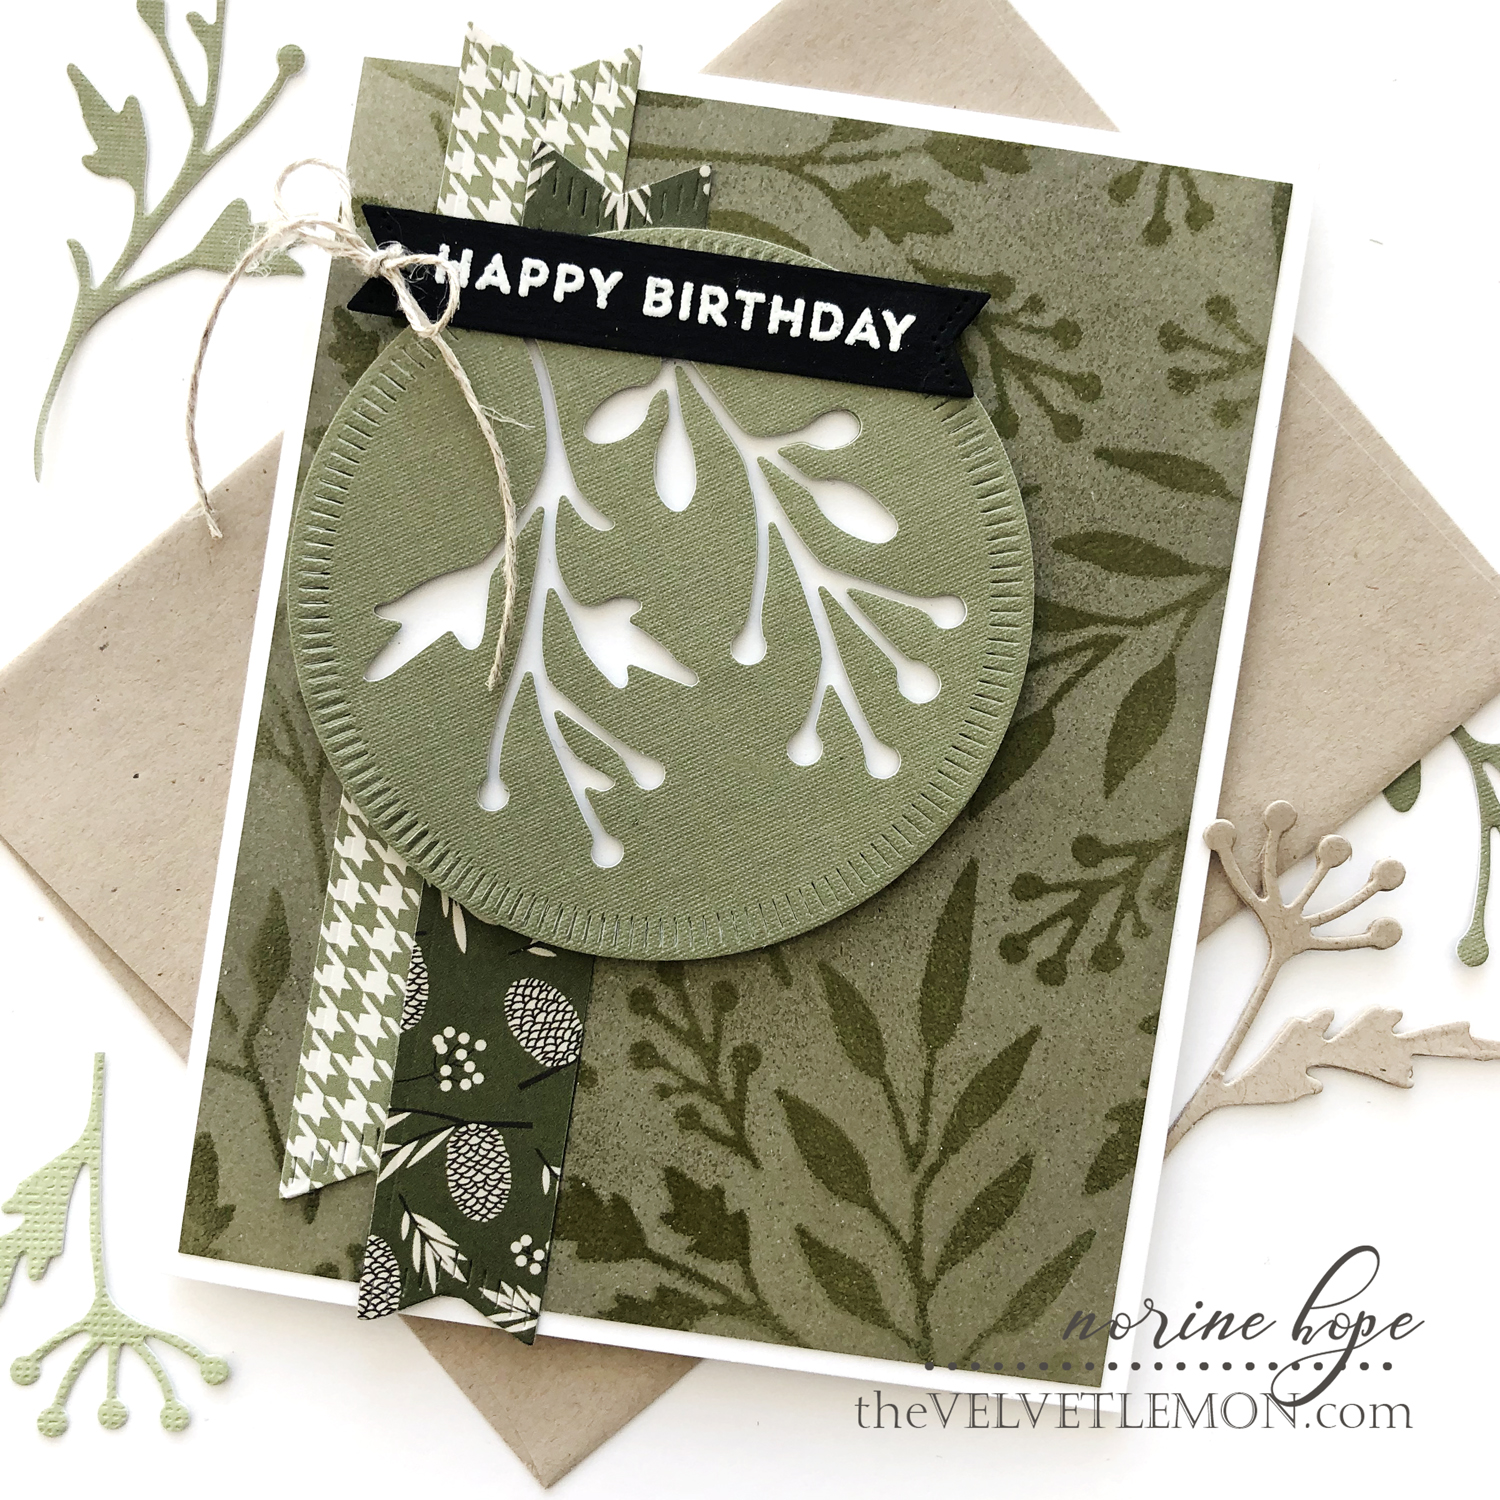
I used the stencil to ink up a white cardstock card panel with Altenew Moss ink. Then I pressed and embossing ink pad over the openings and heat embossed with clear powder. Then using the same Moss ink, I inked up the whole card panel for a tone-on-tone look.
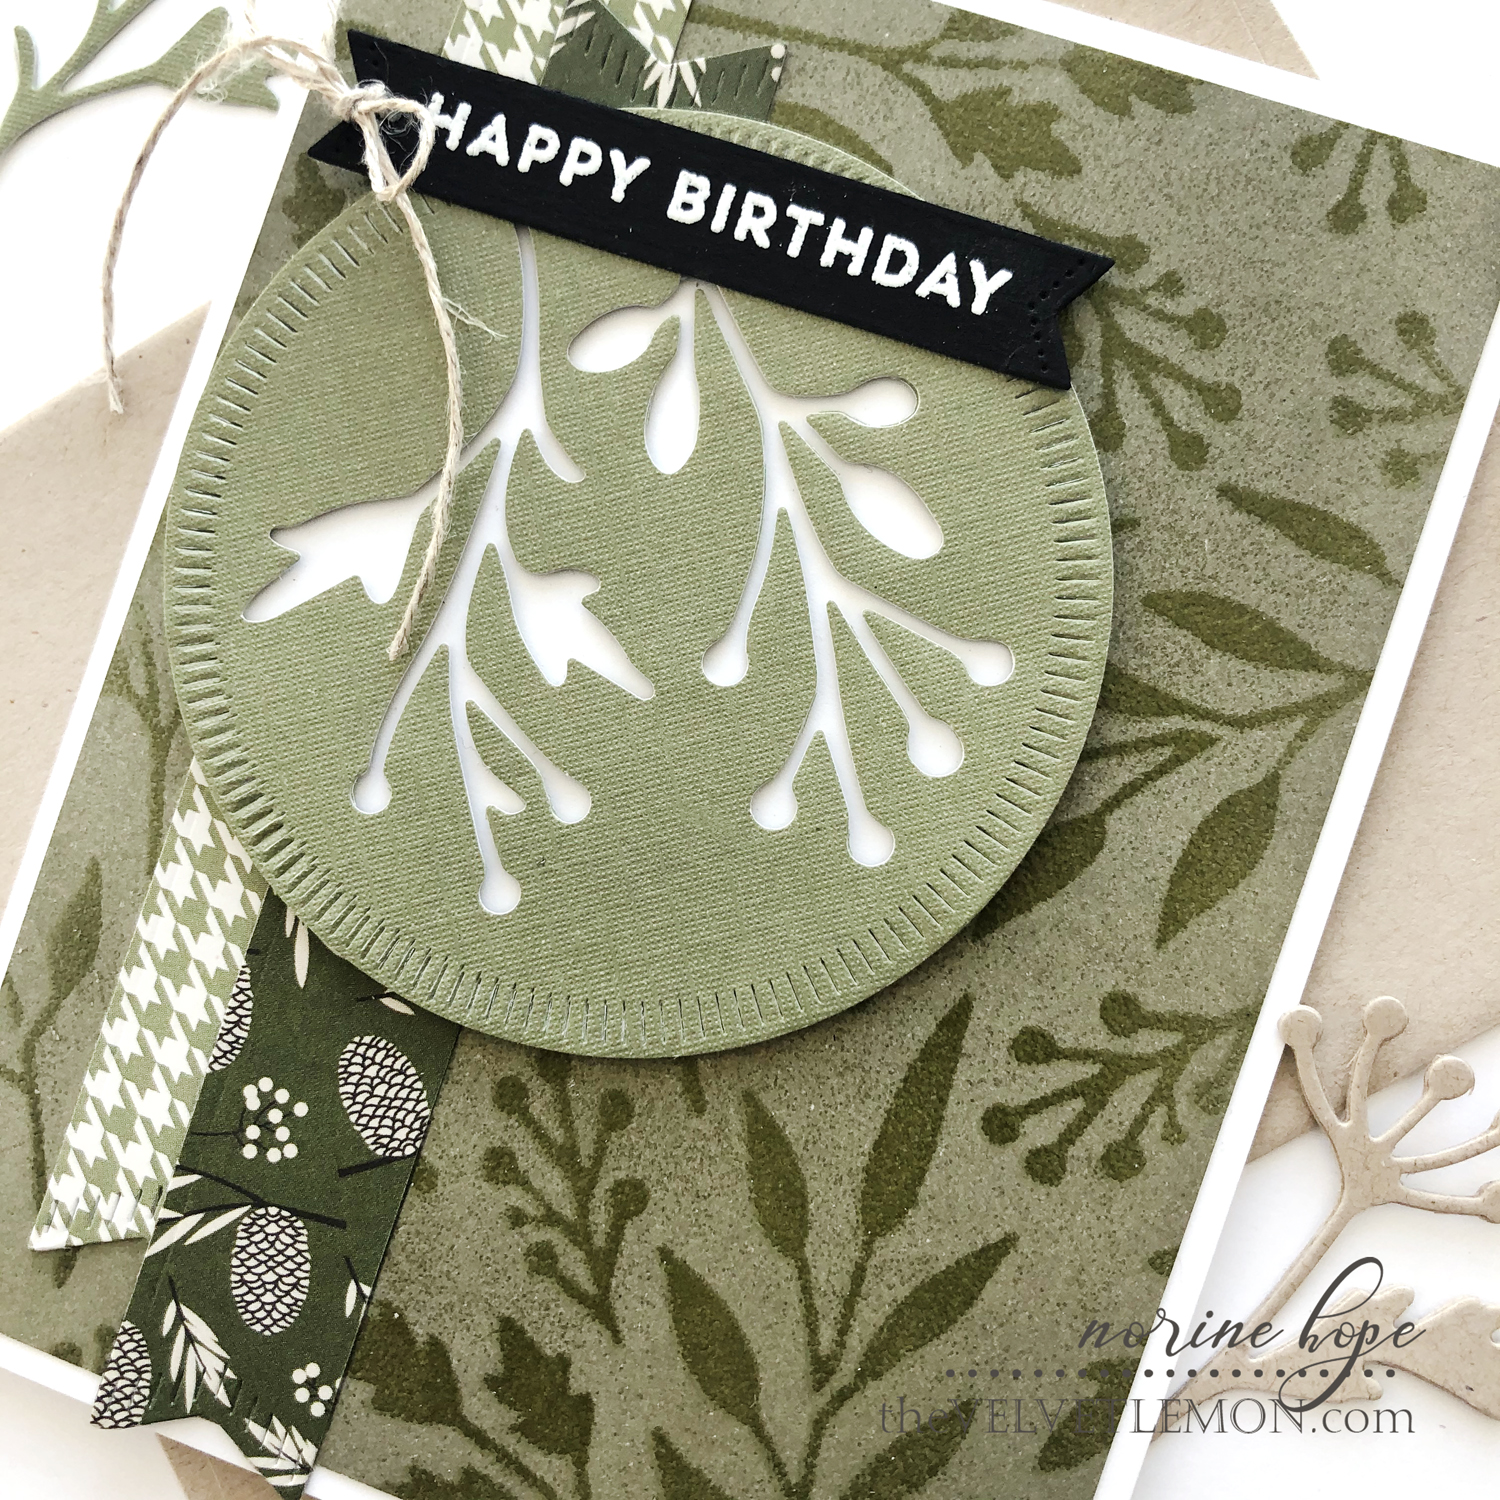
The next step was to die cut the circle cardstock with one of the crimped frames. Then I put it through the die cut machine a second time with two of the leaf dies from the Wildflower Mix set. I popped up the green cardstock die cut with foam tape (lots and lots of teeny pieces of foam tape!) and backed it with a piece of white cardstock also cut with the crimped circle die. I die cut the two banners from patterned paper in my stash that matched and layered them underneath the die cut circle.
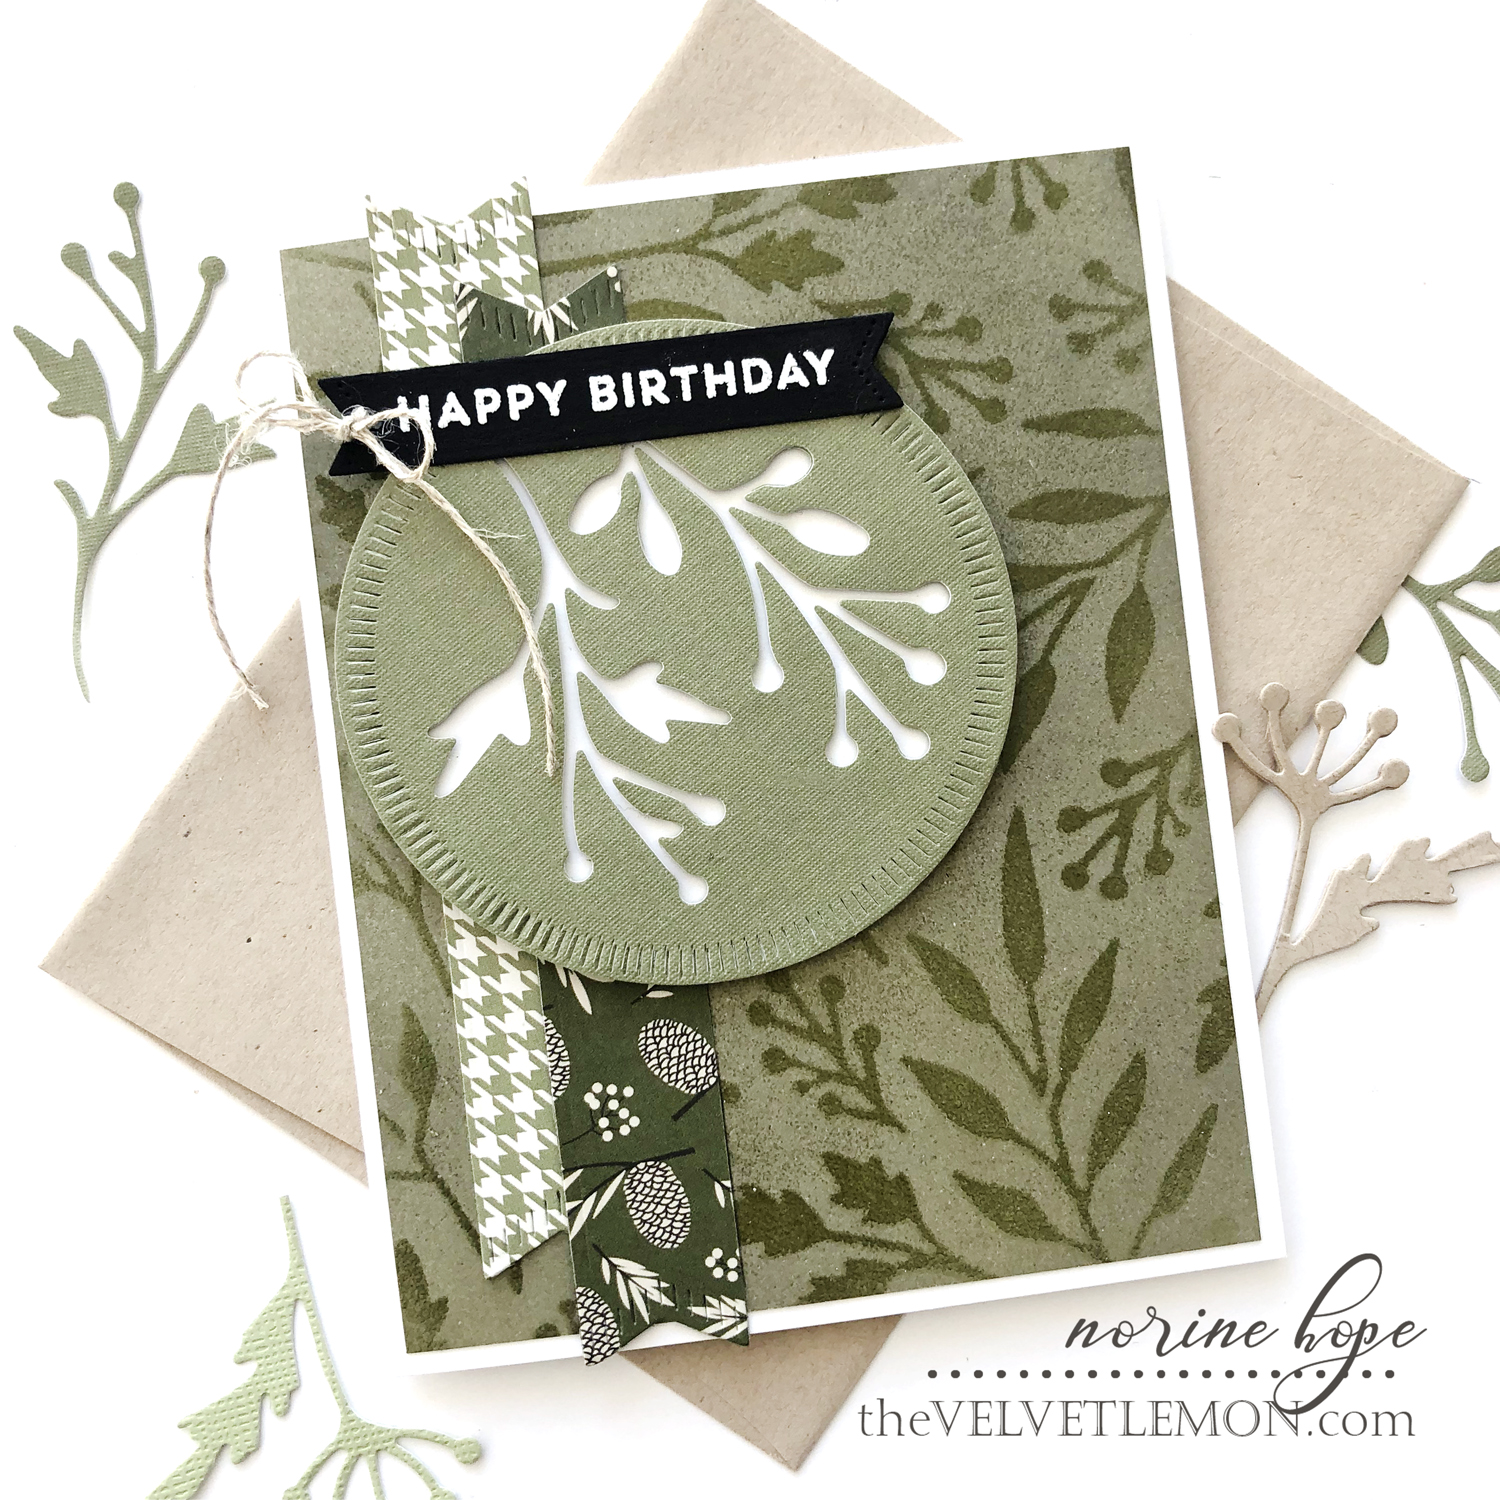
For the greeting, I used the Sentiment Suite Basics die to die cut the banner, and added a sentiment from the Sentiment Suite: Birthday set, heating with white embossing powder. I punched a tiny hole and added a bow of thin jute string to finish it off!
You have one more stop on the hop at Wanda’s blog. You’ll find a complete blog hop list below should you get lost. Remember to leave a comment on each of the stops for a chance to be drawn to win a $50 gift card for the Day 2 blog hop. Winners will be announced tomorrow, Wednesday morning, March 10, 10am EST, when the release goes live.
Thanks for stopping by and have a stellar day!
BLOG HOP LIST:
Norine Borys – You are here.
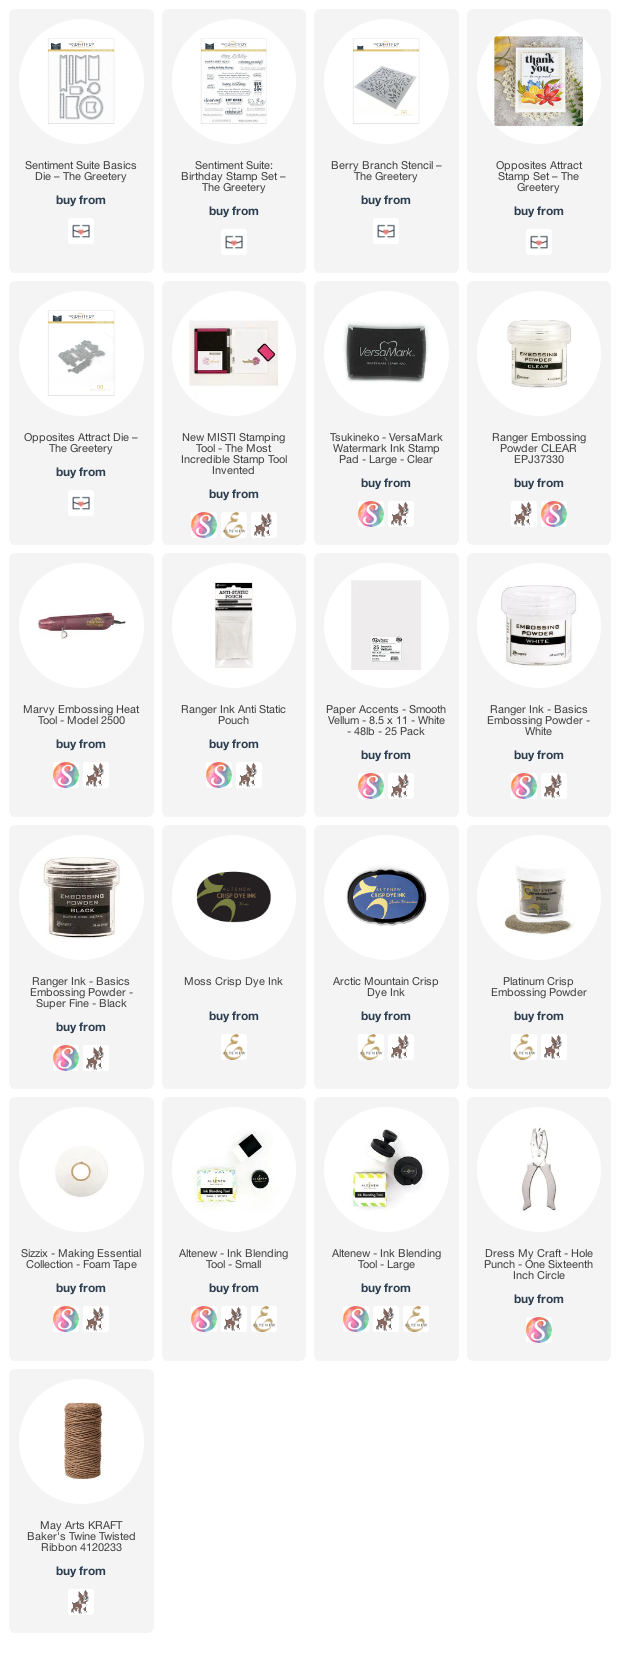
SUPPLIES USED:

