Hello, hi! I’m up on the Altenew blog today, sharing a couple of cards that were quick and easy to make. I used the Flower Vine stamp and die bundle, (although only the stamps were used to make today’s cards). You’ve seen me create this card design before, and I repeated it here as a time saving measure and because it just works so well for this stamp set.

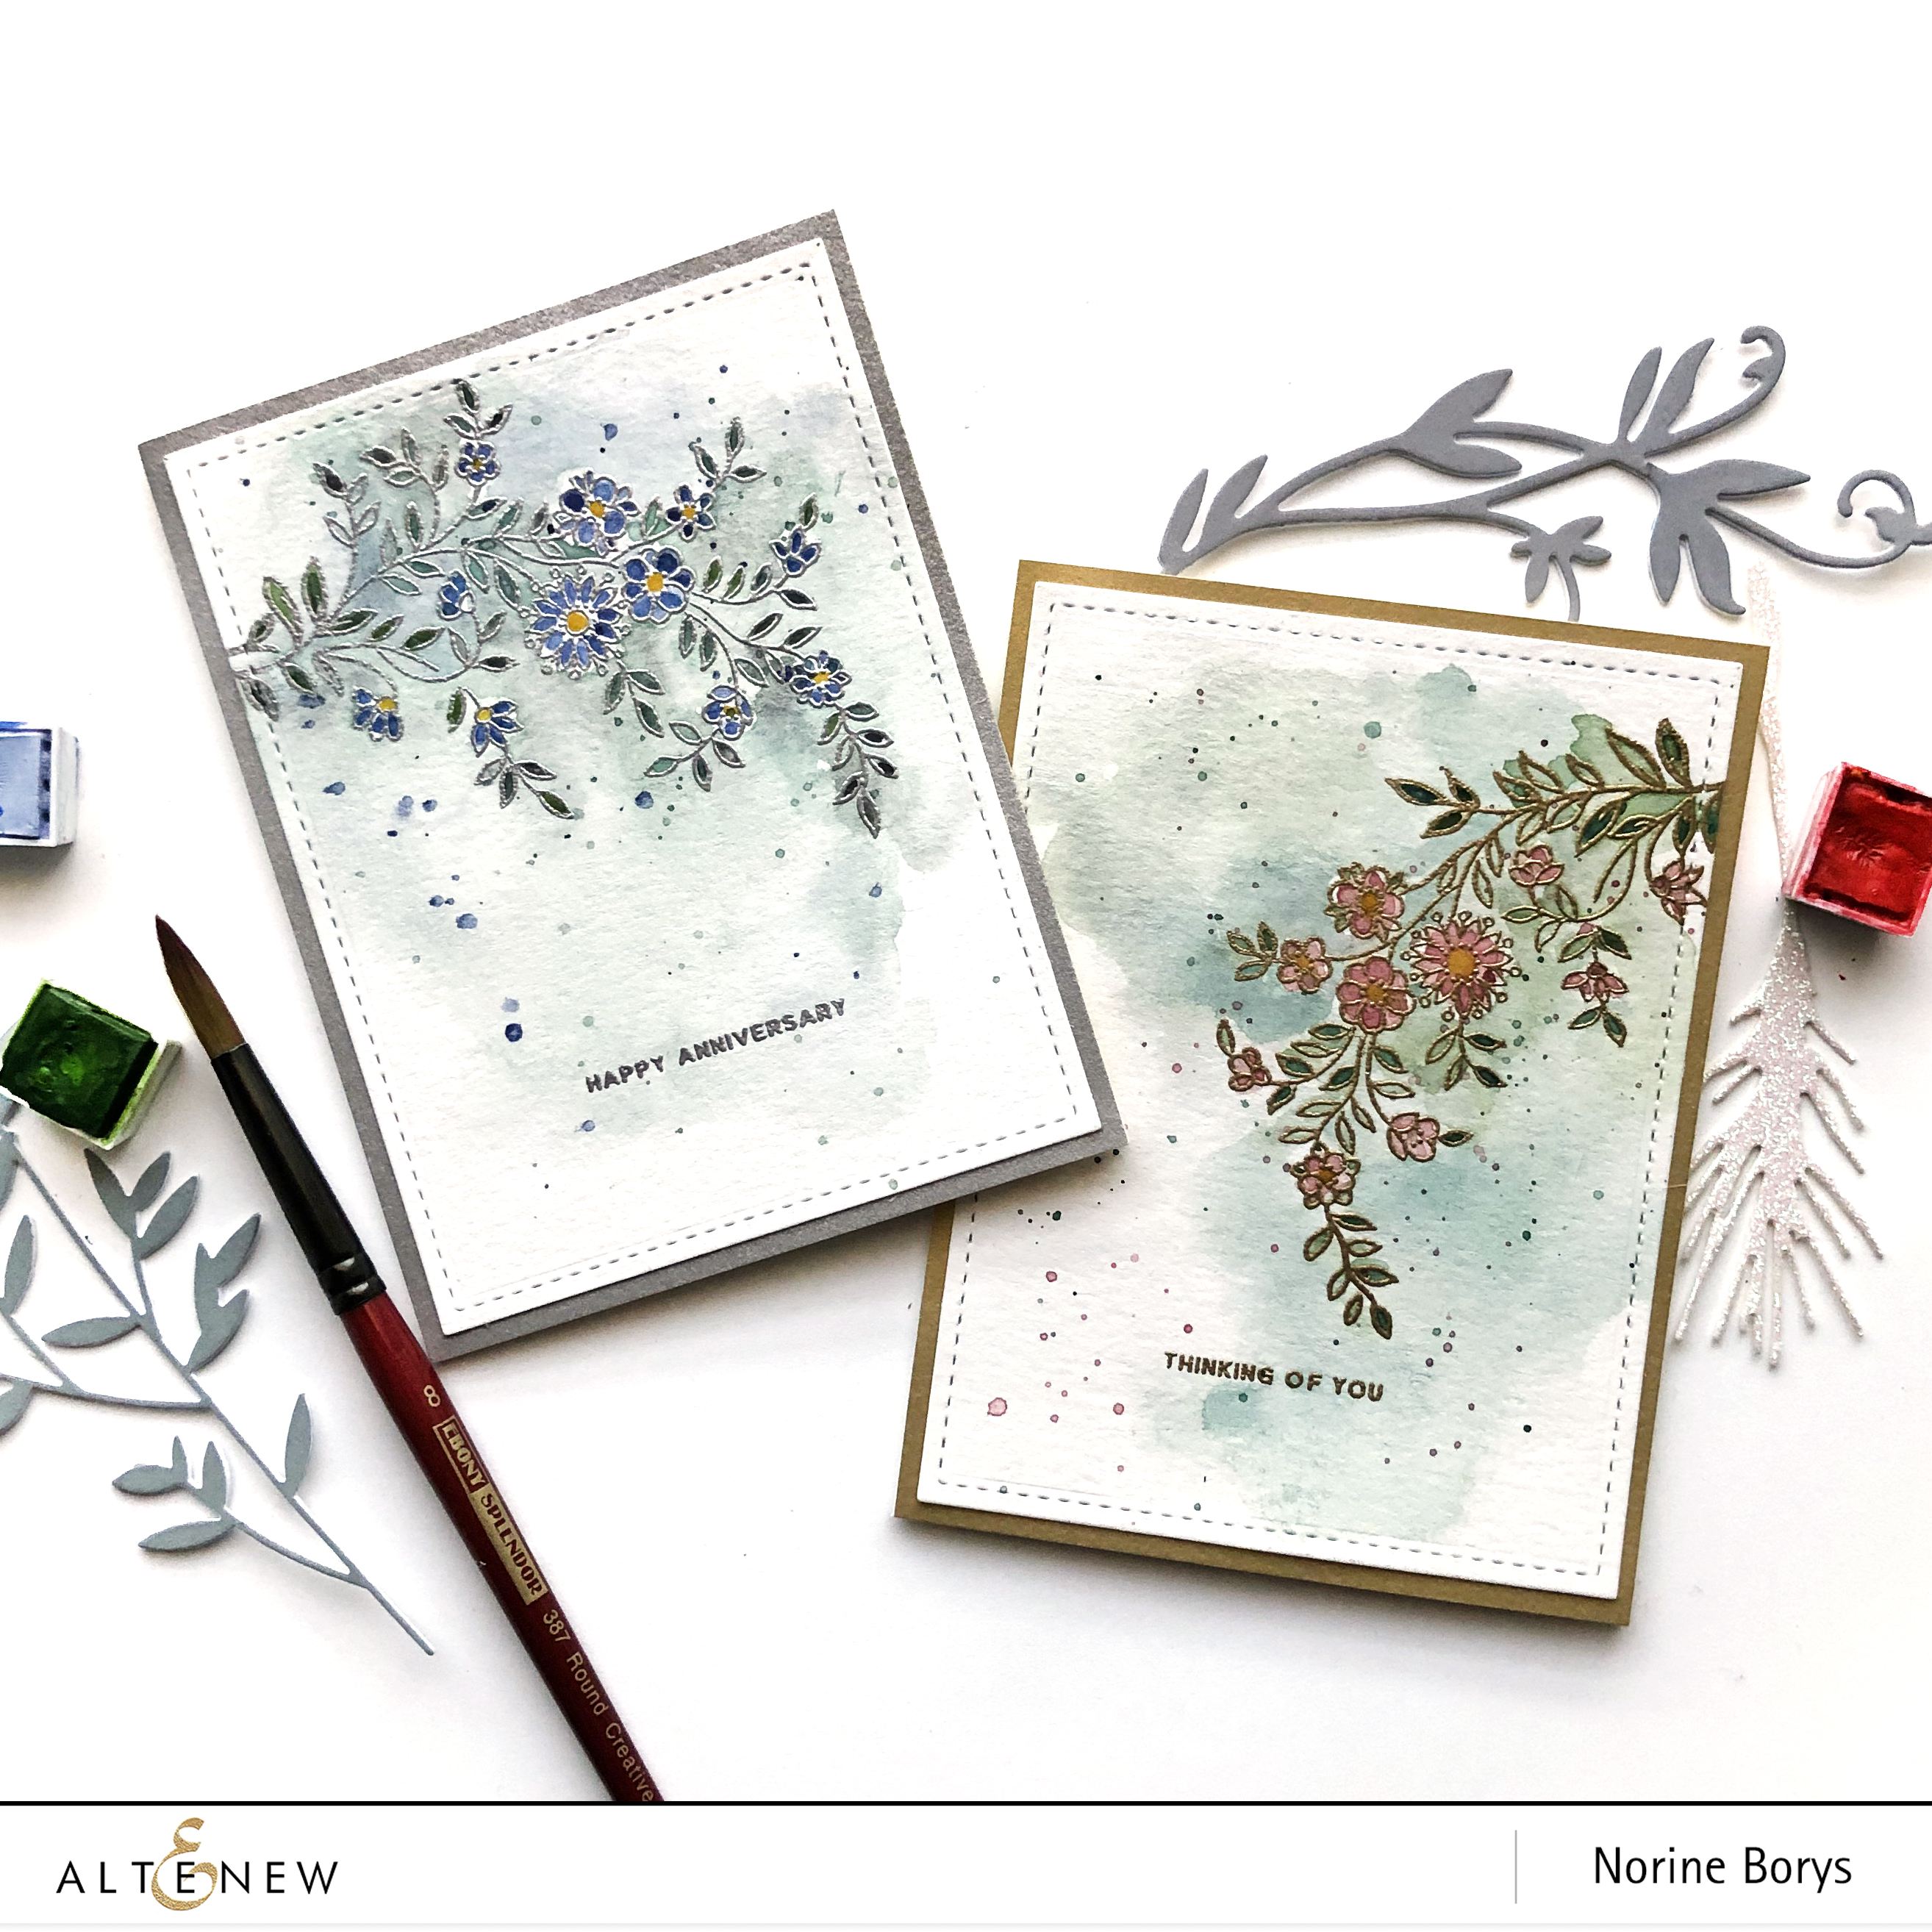
The Flower Vine stamp set comes with two different, yet matching, floral sprigs, one coming from the left and the other from the right. I stamped each one onto an A2 sized piece of watercolor paper with embossing ink, and embossed one with silver embossing powder and the other with gold embossing powder before painting with the Altenew Watercolor Paint Pans.

I elected to keep the designs very simple with very basic color schemes for the painting and nothing beyond the paint and stamping for embellishment. For the silver embossed card, I used shades of blues, blue/greens and grey (very dilute Jet Black) and painted in the flowers and the leaves and then, using a fairly wet brush, dragged the same colors out of the images and onto the background where it could be diluted with more water for a very indistinct, faded look.

I did the same for the gold embossed card, where I painted with red for the little flowers and with warmer shades of greens and blues for the leaves and background. After the first painting was dry, I went back a 2nd time and added more intense color to some of the petals and leaves for added definition and interest.

The Flower Vine stamp set has many lovely and versatile sentiments, and each is in the same small, plain font as you see on my cards here. I love how understated and classy they look when added to a simple design like these cards.

Once the stamped images and the backgrounds were painted and dry, I tapped a very wet, paint-loaded brush to create those speckles I love so much! I used the same paint colors I had previously used on the cards to keep a unified look.


Once the card panels were dry and trimmed down, I added each one to a mat of matching shimmer paper and adhered that to a card base. Again, I left off any embellishment, to let the images and painting shine!
Because I was repeating a design I’ve done before, the total time it took to create each card was less than half an hour. (FAST for me!) And much of that was time devoted to letting the paint dry! If you’re down to the wire and needing a quick card, you should give this design a try! Have a wonderful day and thanks for stopping by!