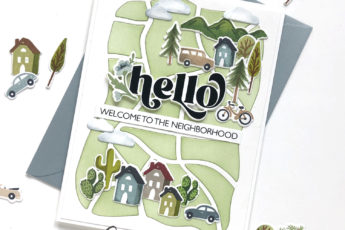
Hello, hi! I have three cards to share today that I’ve been SO excited about since creating them a few weeks back! One of the new releases from Spellbinders is called Paint Your World and it has so many fantastic designs and sets that….well, good luck trying to not buy it all!!
This post contains affiliate links that are listed below. By clicking through to purchase products linked, you are helping to support this blog at no additional cost to you which allows me to continue to provide you with creative inspiration and instructive help.
The common component in the 6 separate sets (you can purchase the bundle, on sale, here) is the paint brushes. Paintbrushes with butterflies, paintbrushes with tulips or daisies, paintbrushes with paint! SO good!
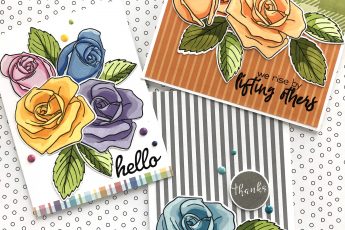
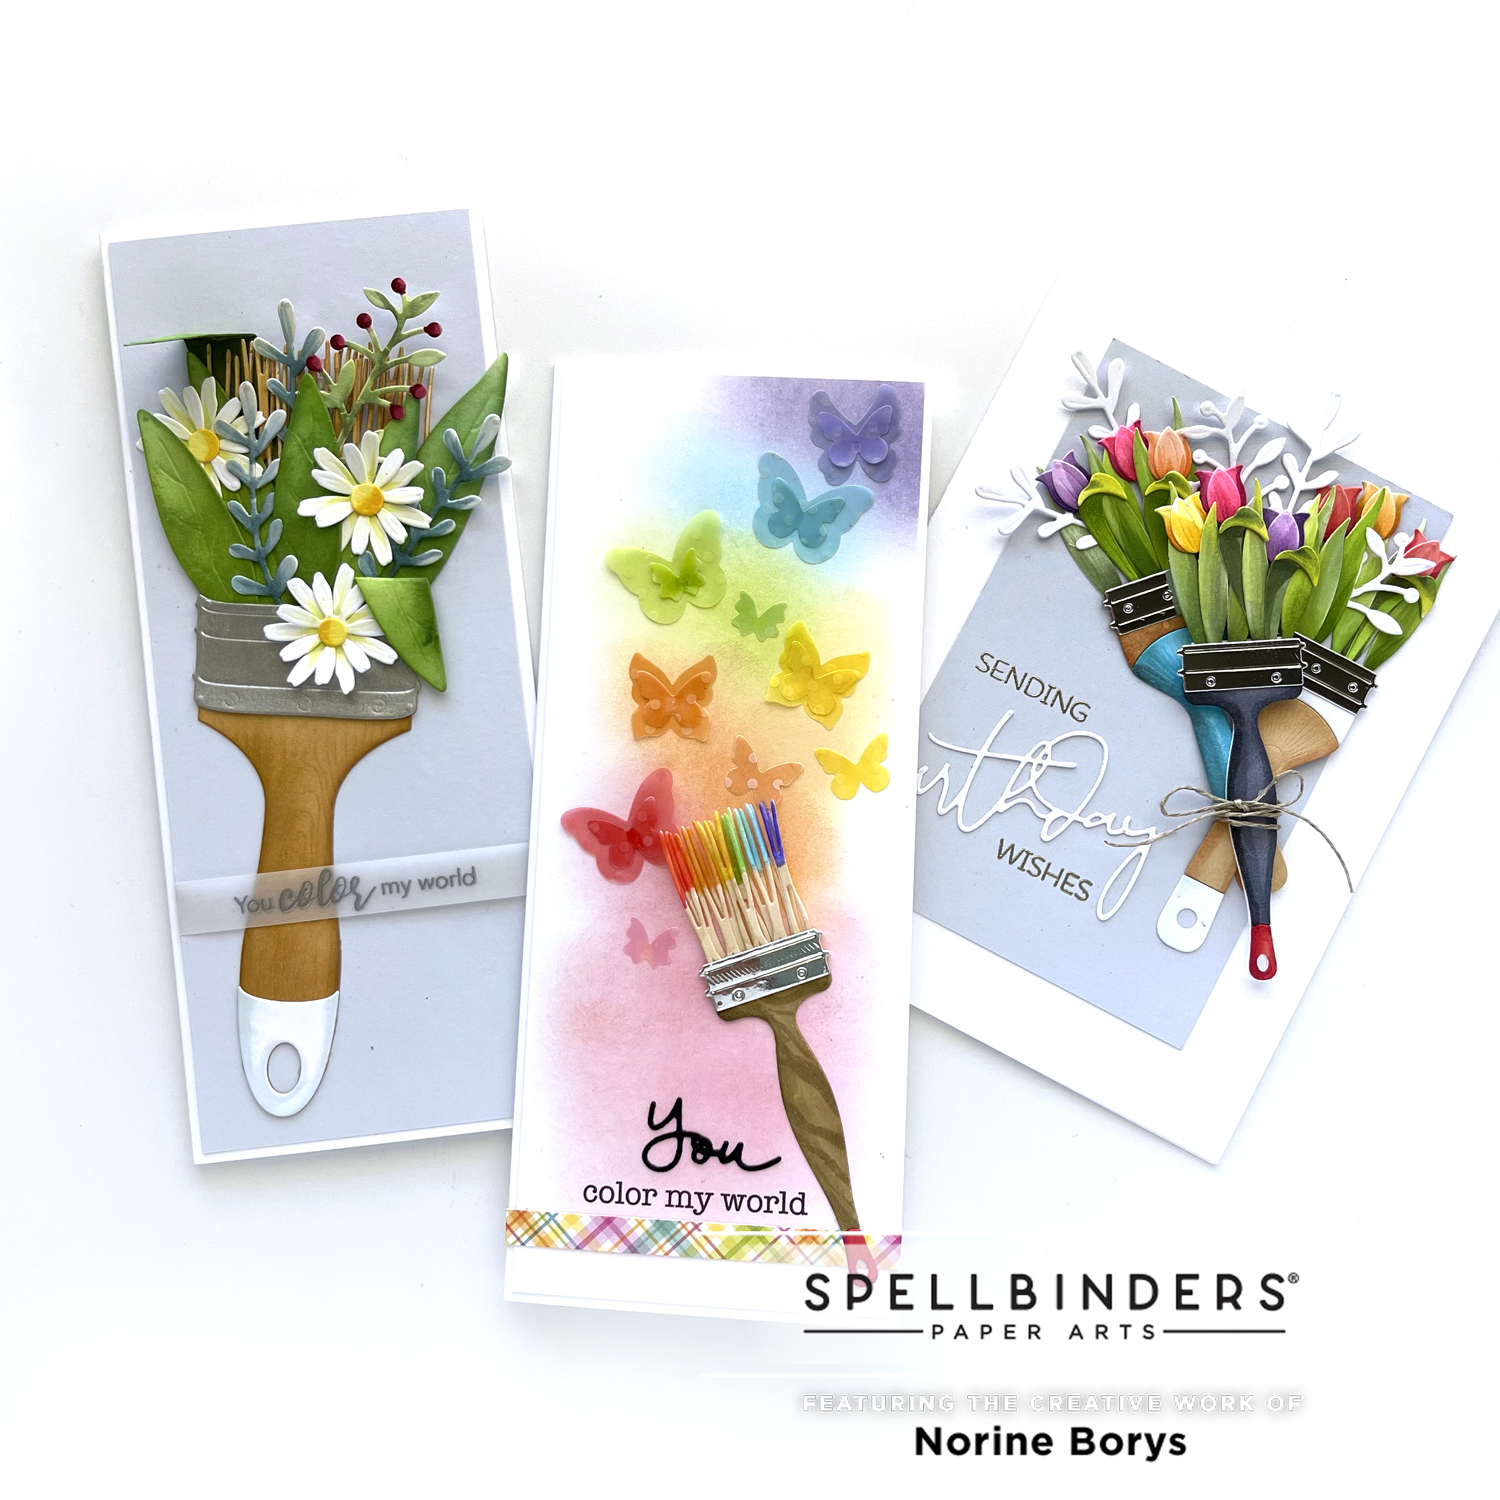
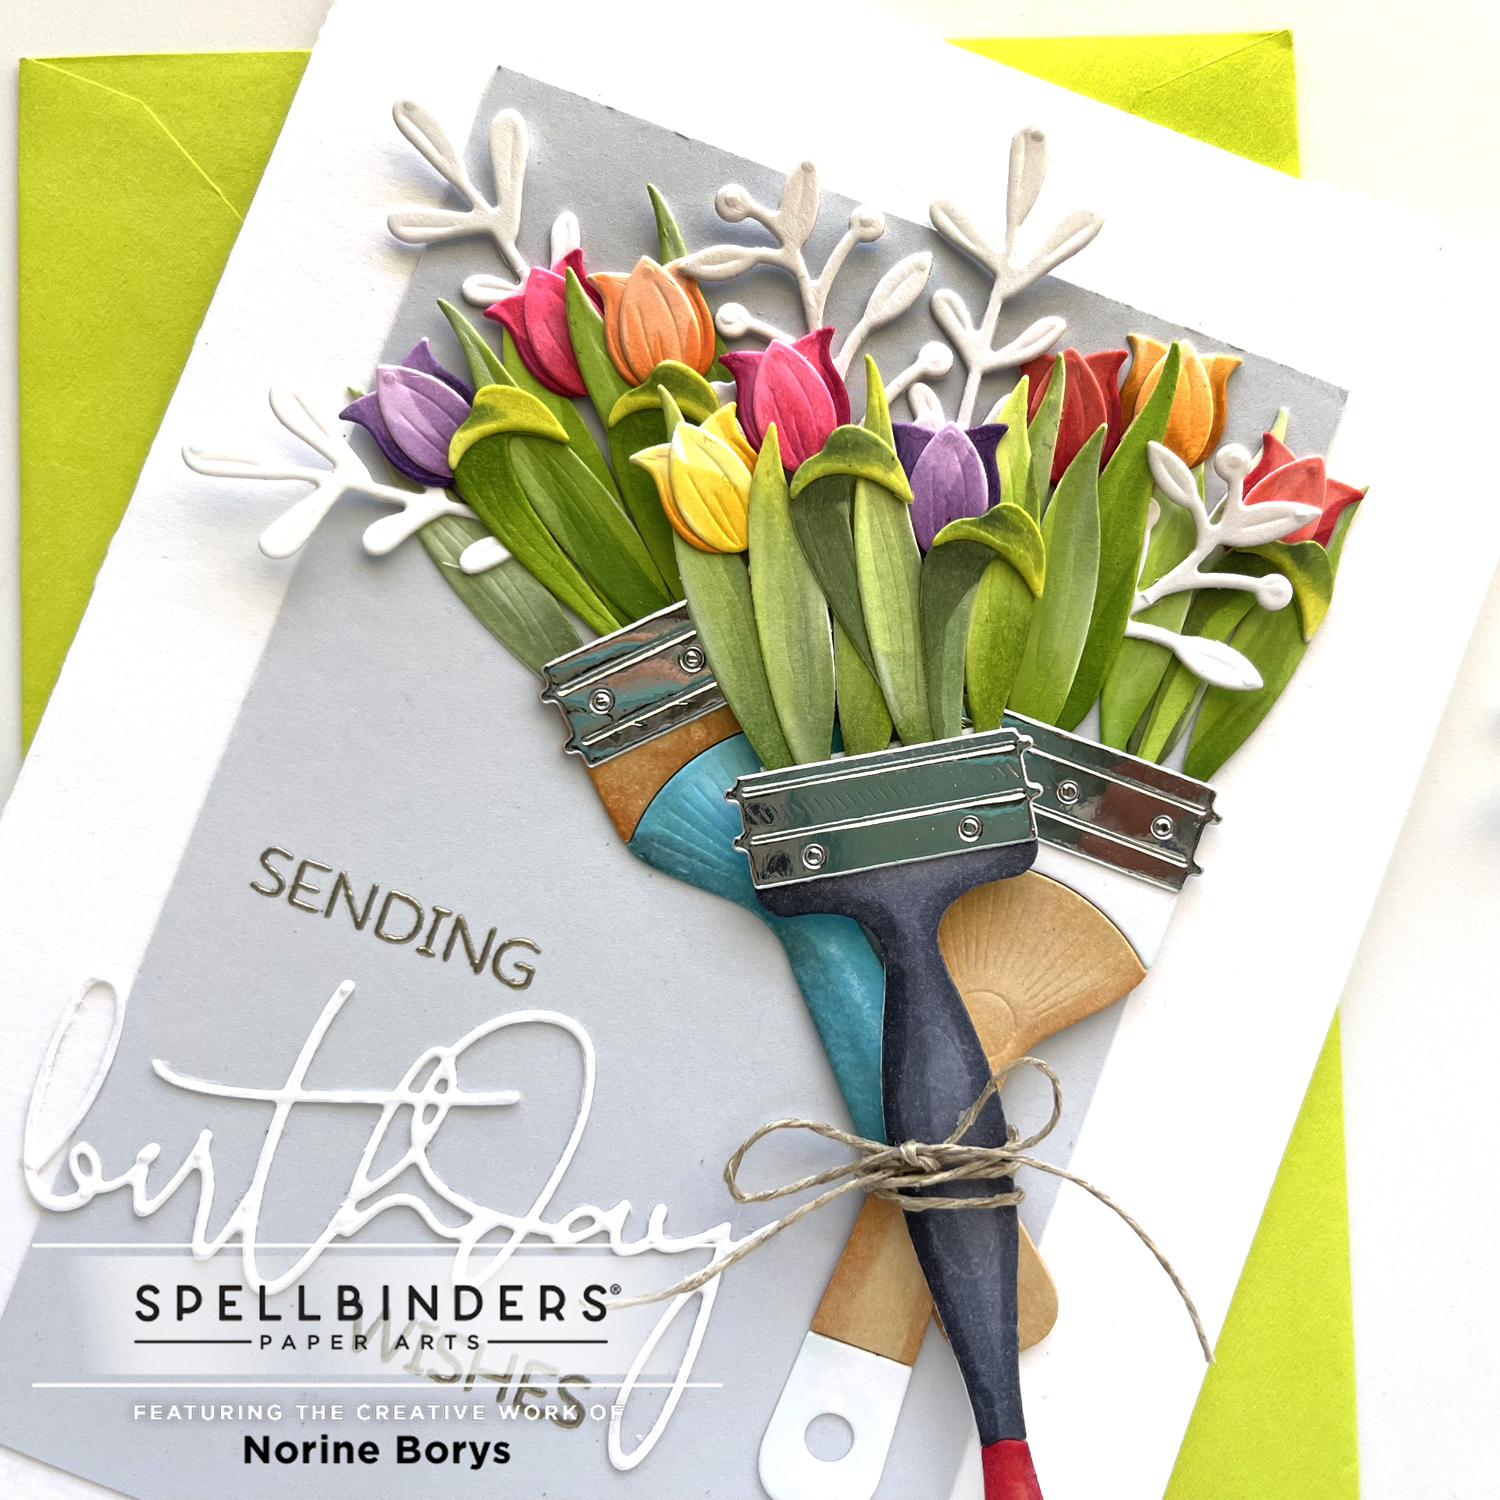
My first card is made mainly using the Artful Tulips die set, along with the Butterflies Burst and Painted Blooms sets. I made the card 5″x 7″ so as not to crowd the three vibrant and busy paint brushes.
I began with die cutting all of the shapes for today’s cards from Neenah white cardstock. I left all of the shapes in their die cut openings for easier handling, and colored everything with Copic markers.
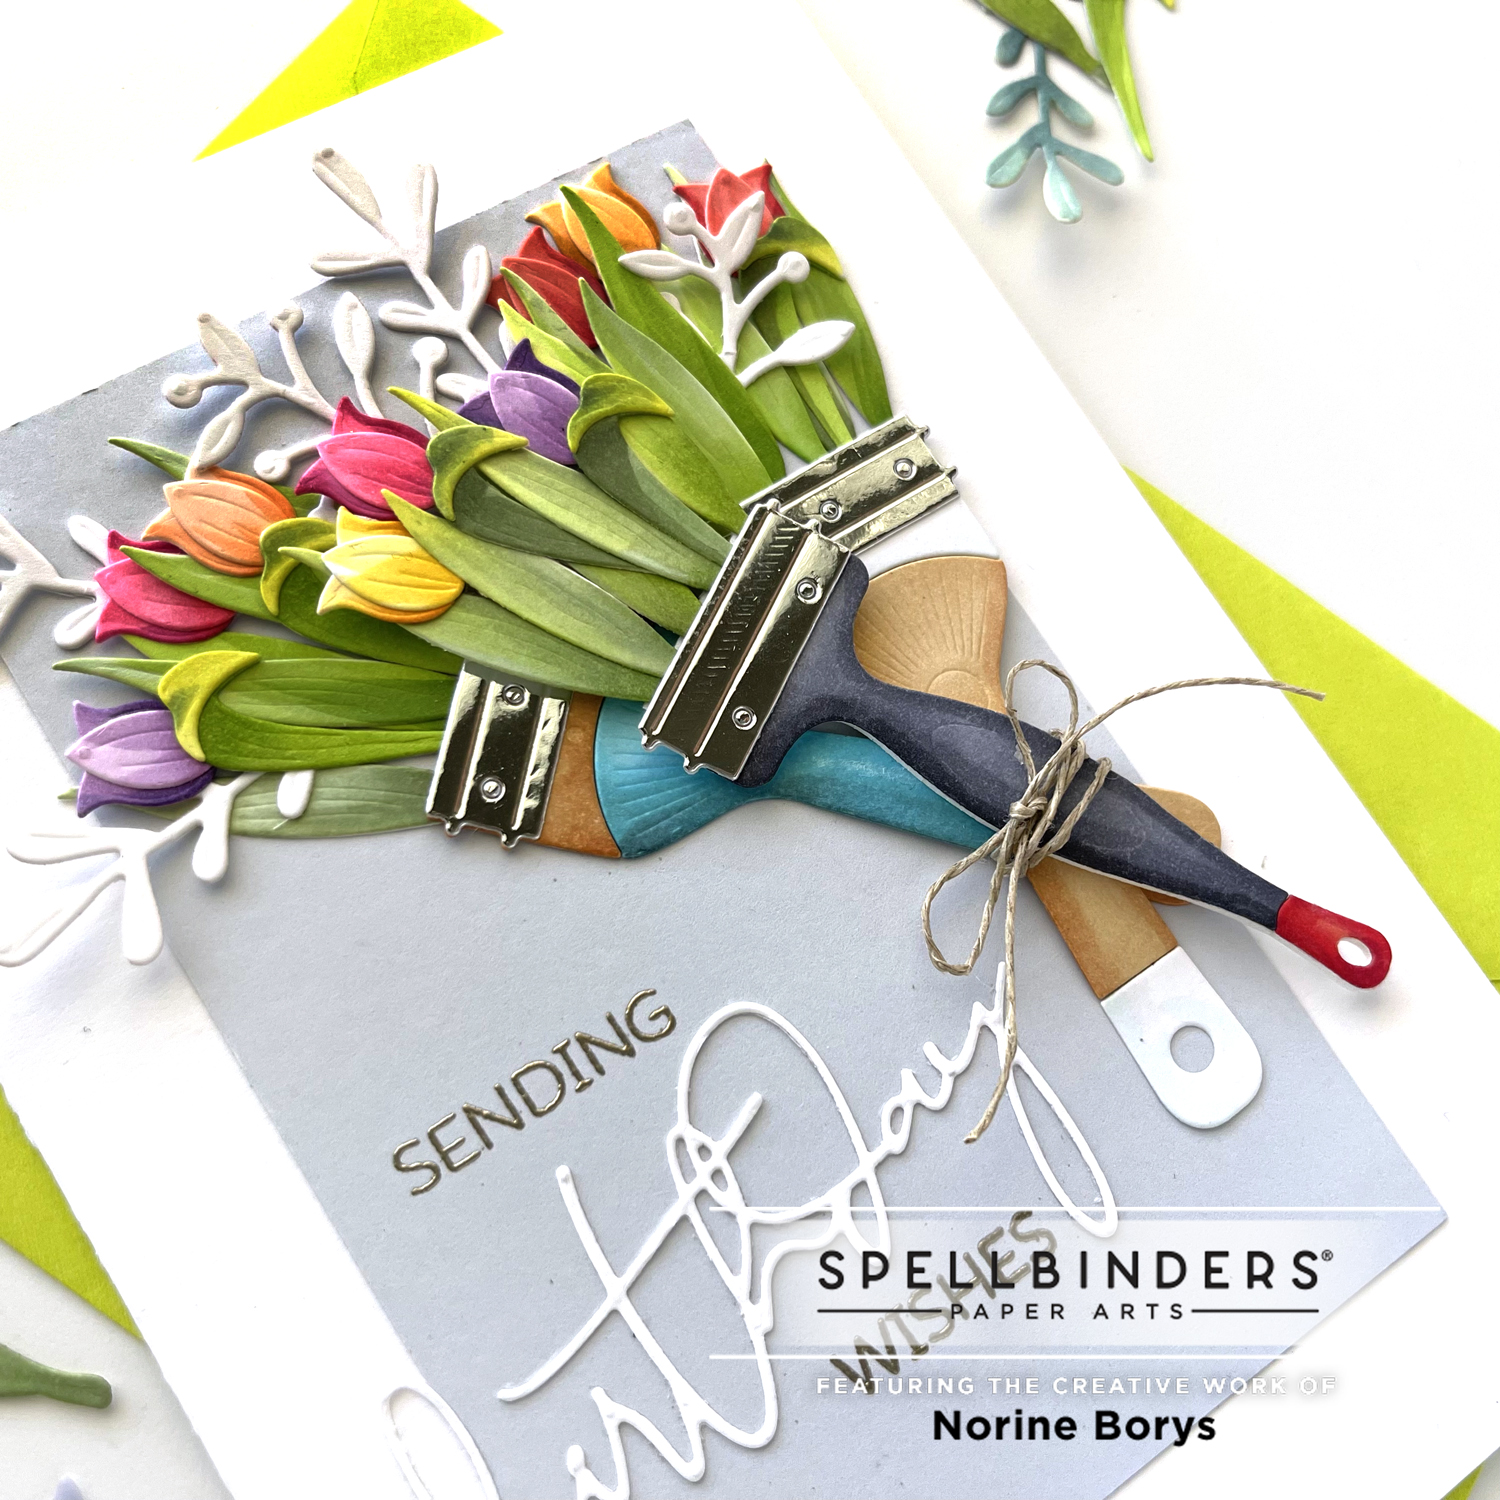
The two brushes in the background are from the Artful Tulips set and the top brush is from the Butterflies Burst die set. The white leafy stems are from the Painted Blooms set.
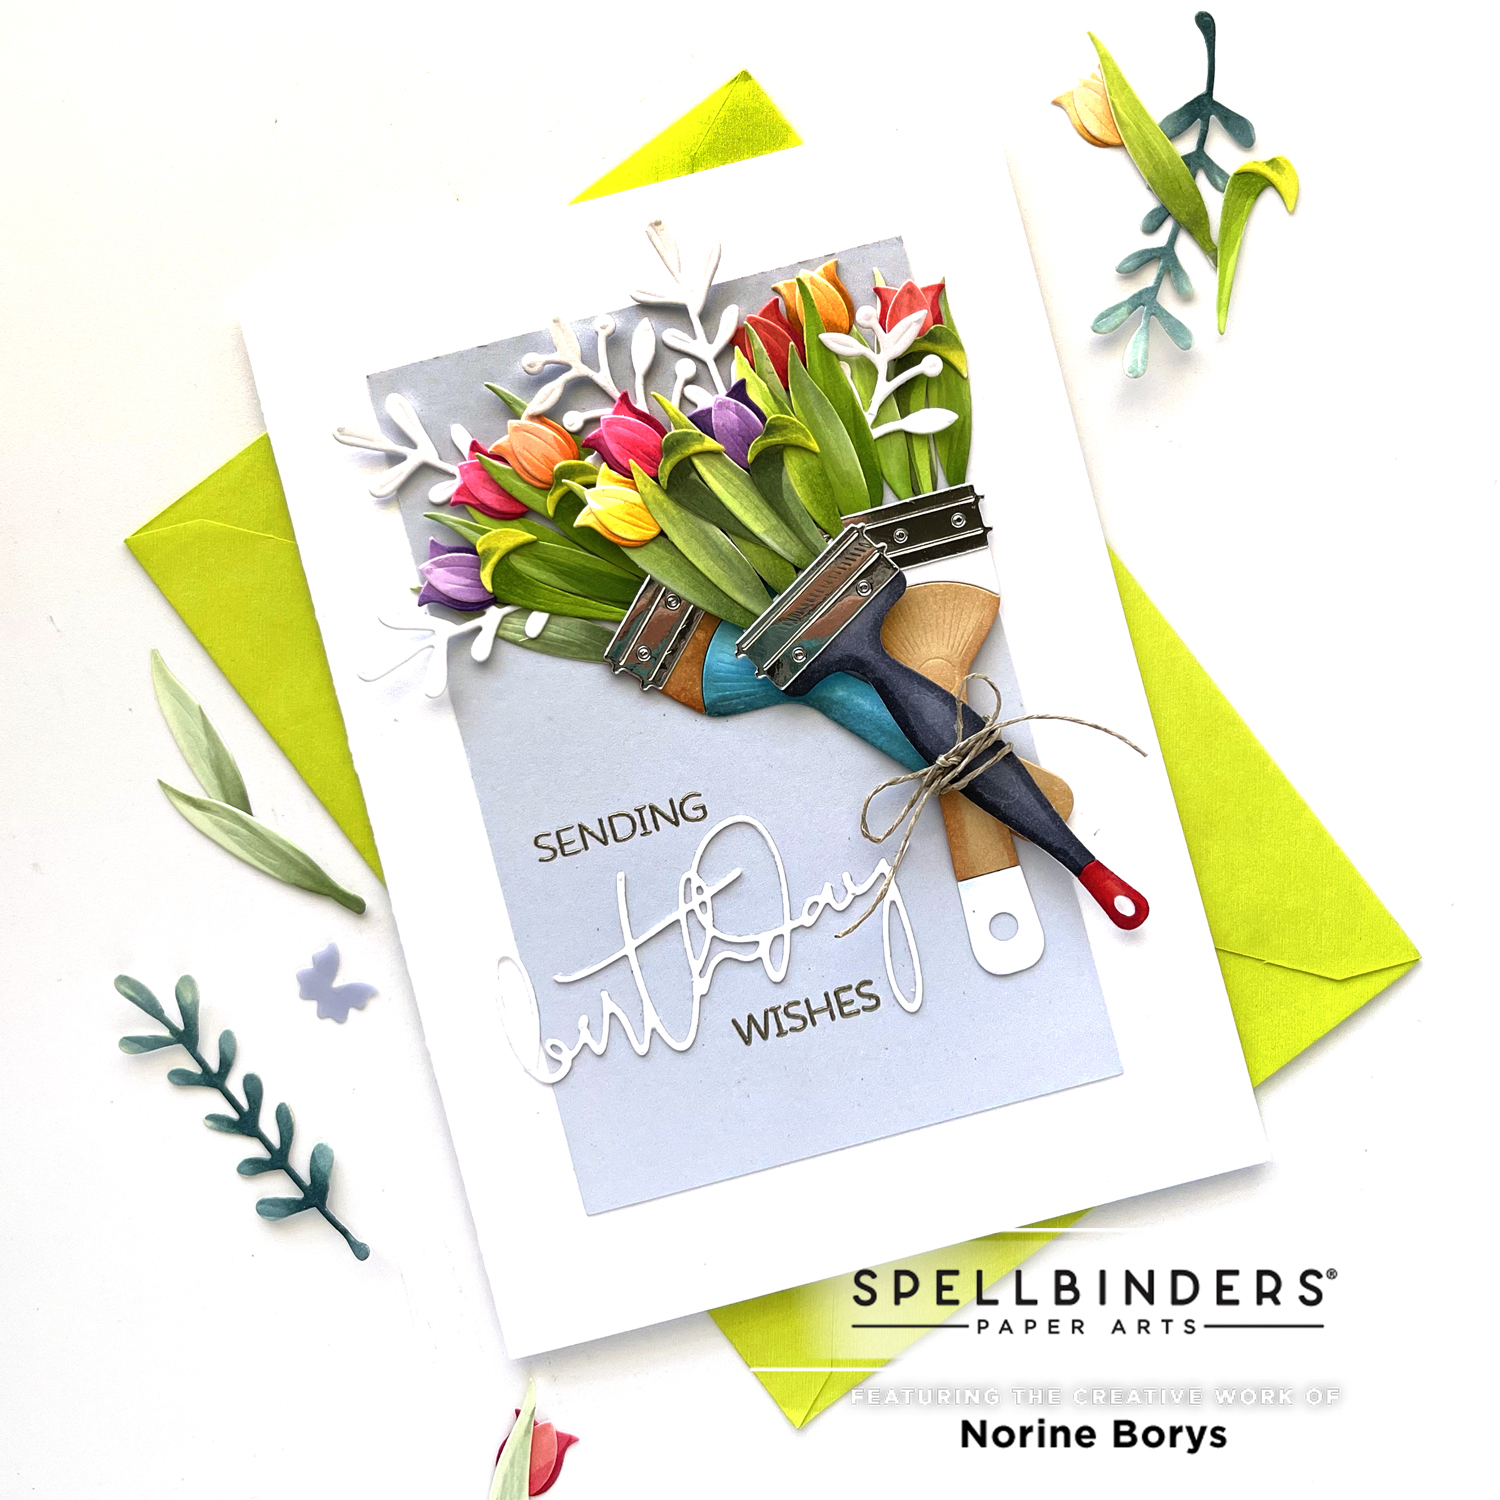
The brush ferrels are die cut from silver gloss cardstock, and the greeting is a combination of the die cut word from Yana’s Layered Script Sentiments and some stamped greetings from a random stamp set.
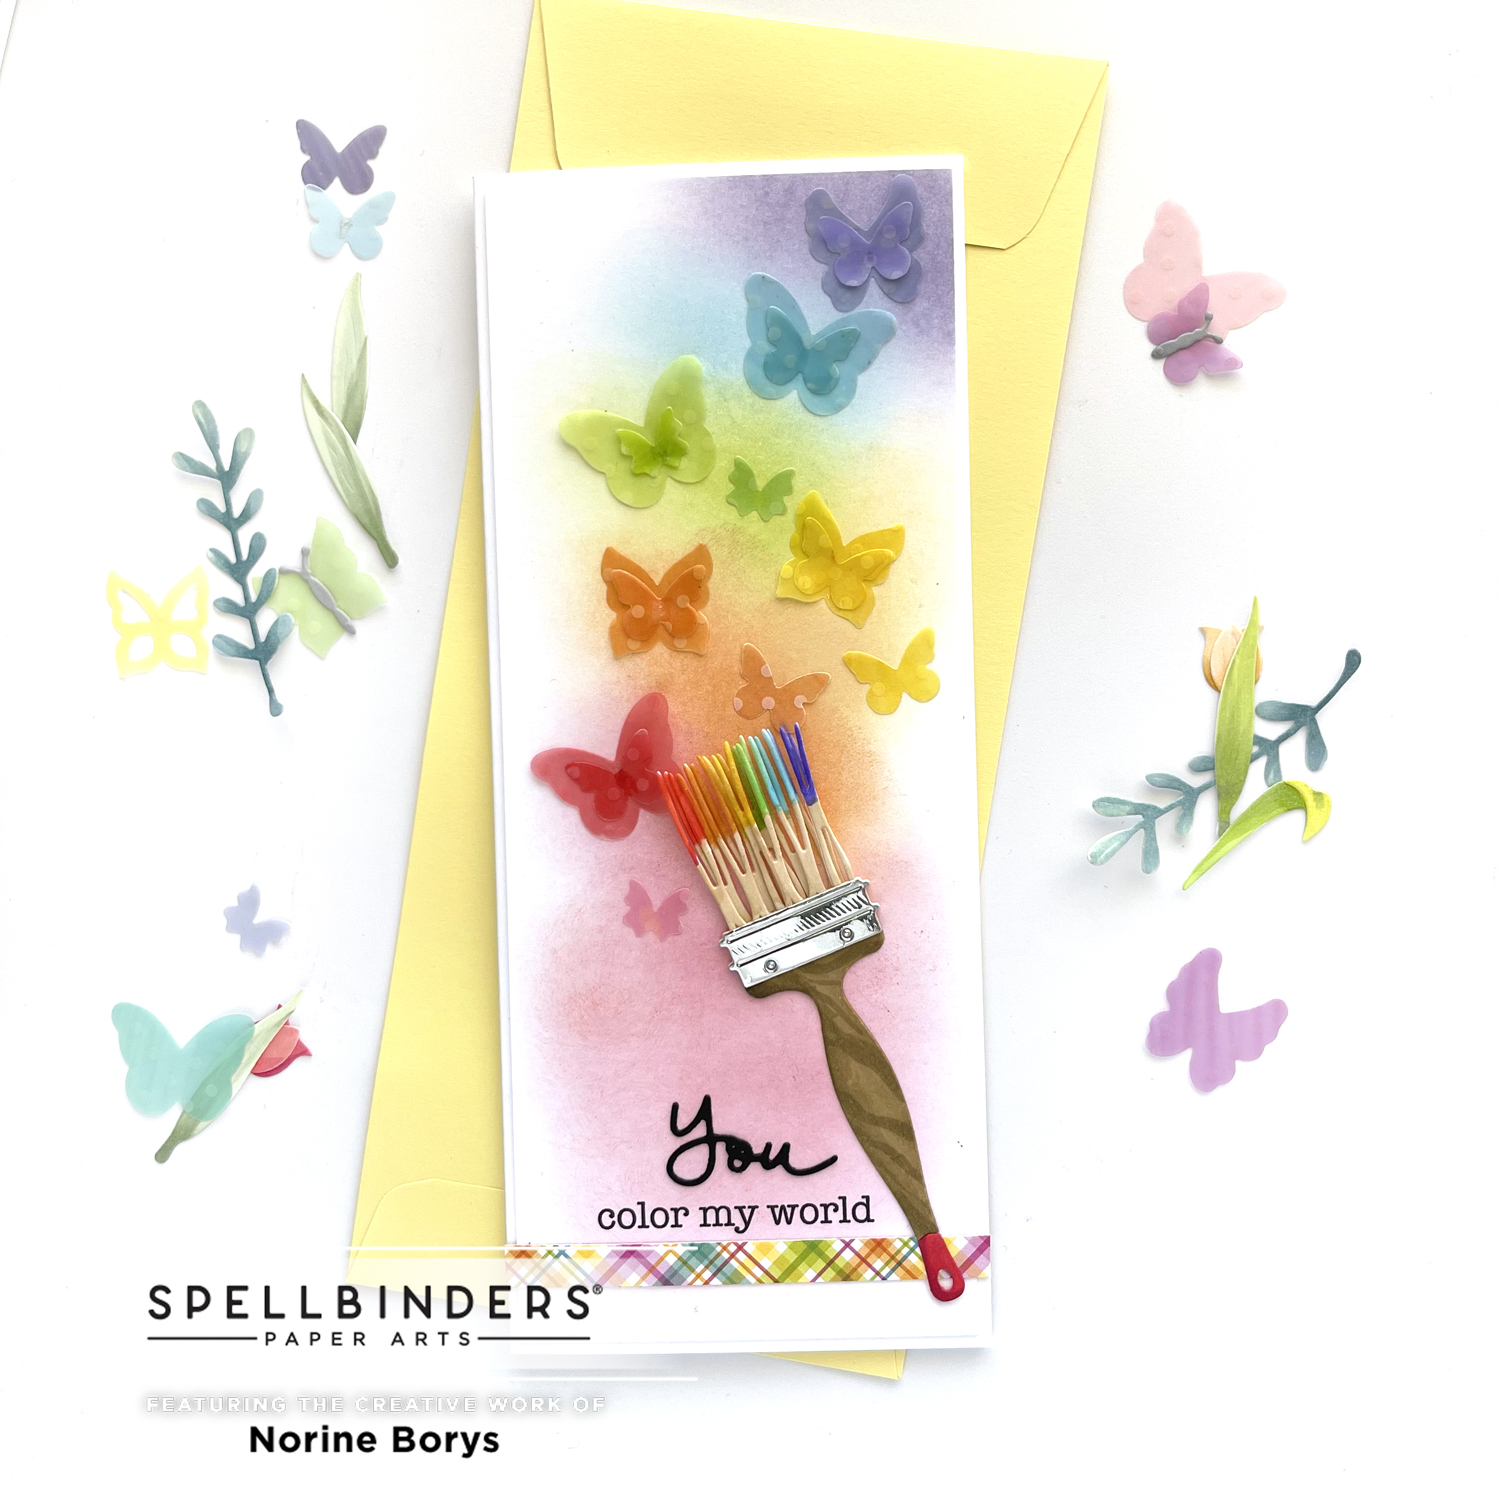
Next up is a slimline card made using the Butterflies Burst die set. I wanted the butterflies to by airy and ephemeral so I chose to cut them from plain polka-dotted vellum paper. Before cutting though, I colored the backside of the paper with Copic markers to give the vellum a colored tint.
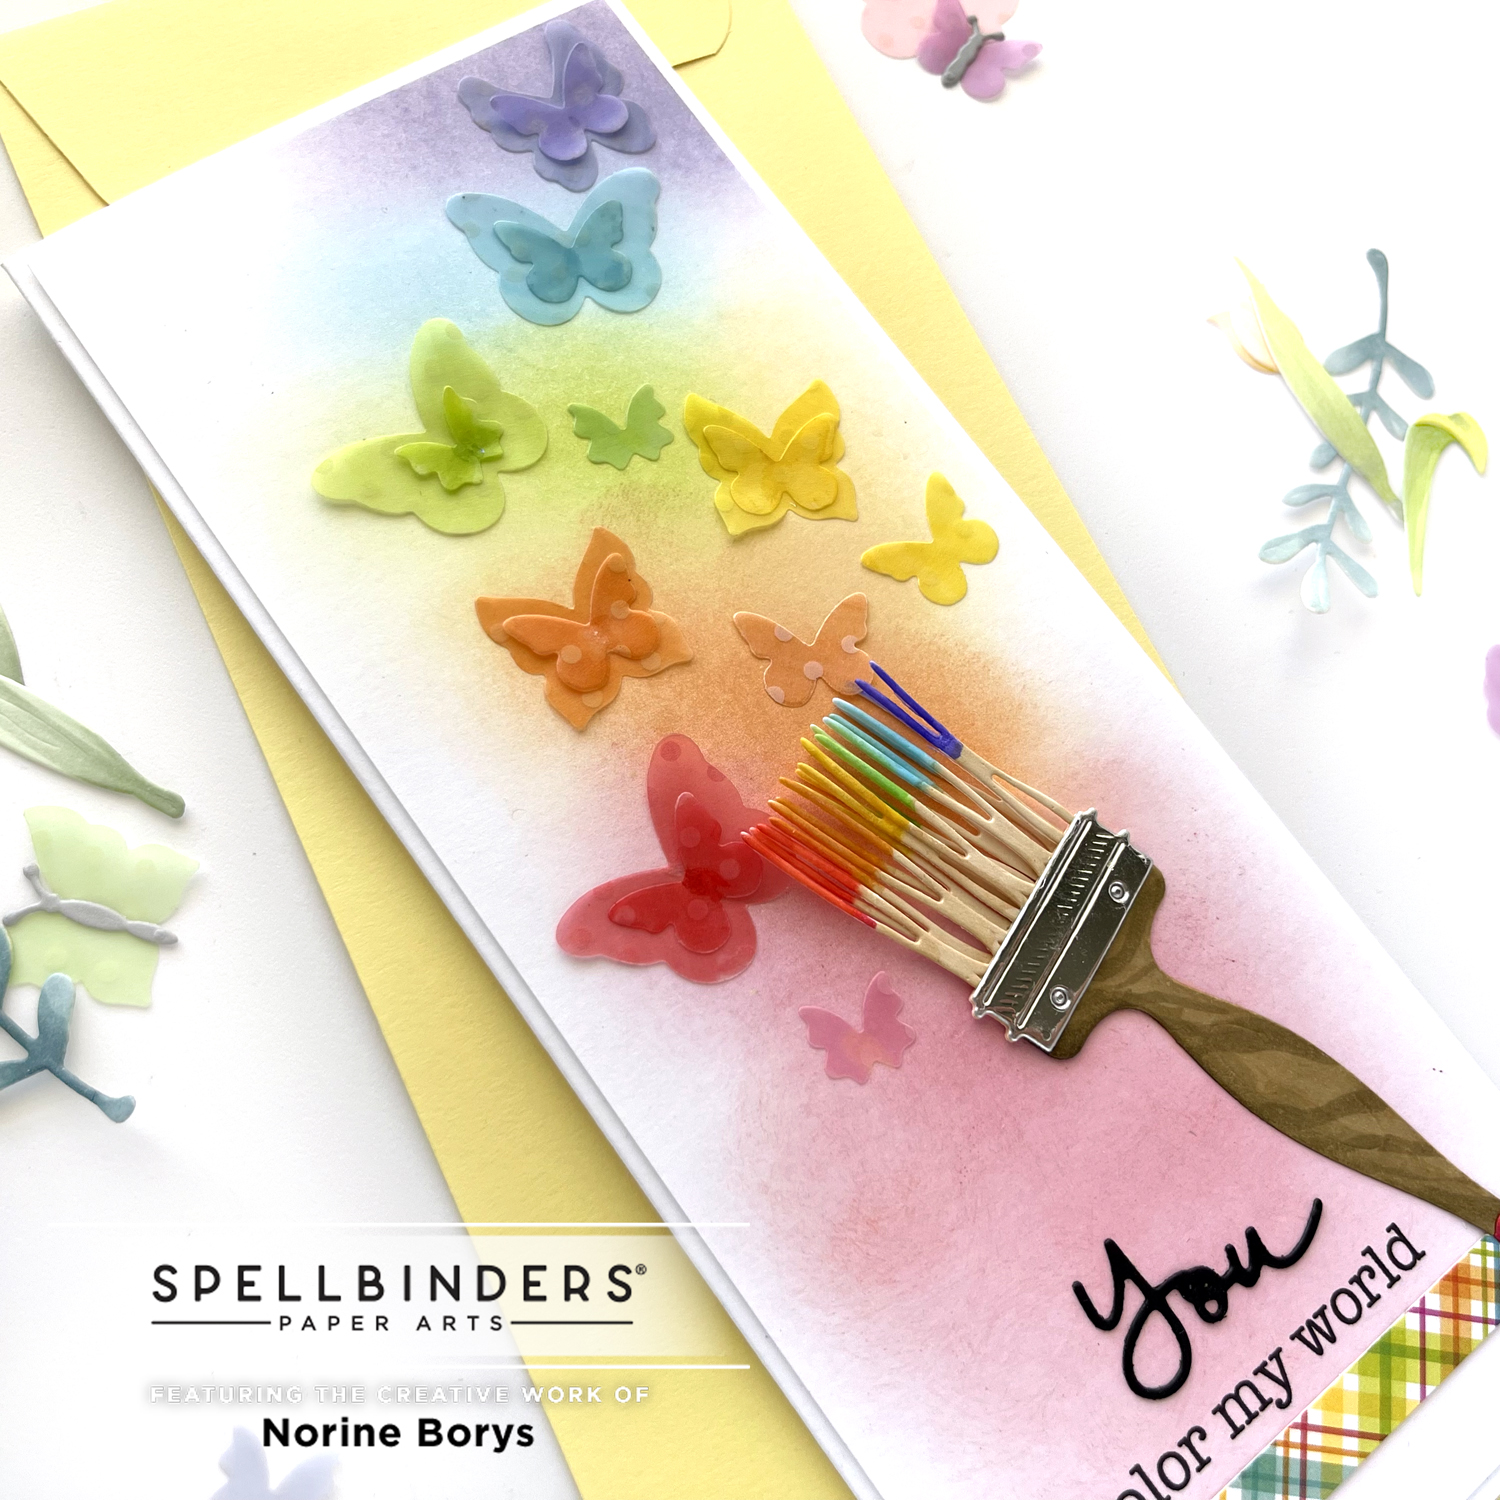
To create a repeating rainbow theme, I colored the butterflies and positioned them on an ink blended background, all in rainbow order. I colored the brush bristles light tan on the bottom and all the colors of the rainbow at the tips.
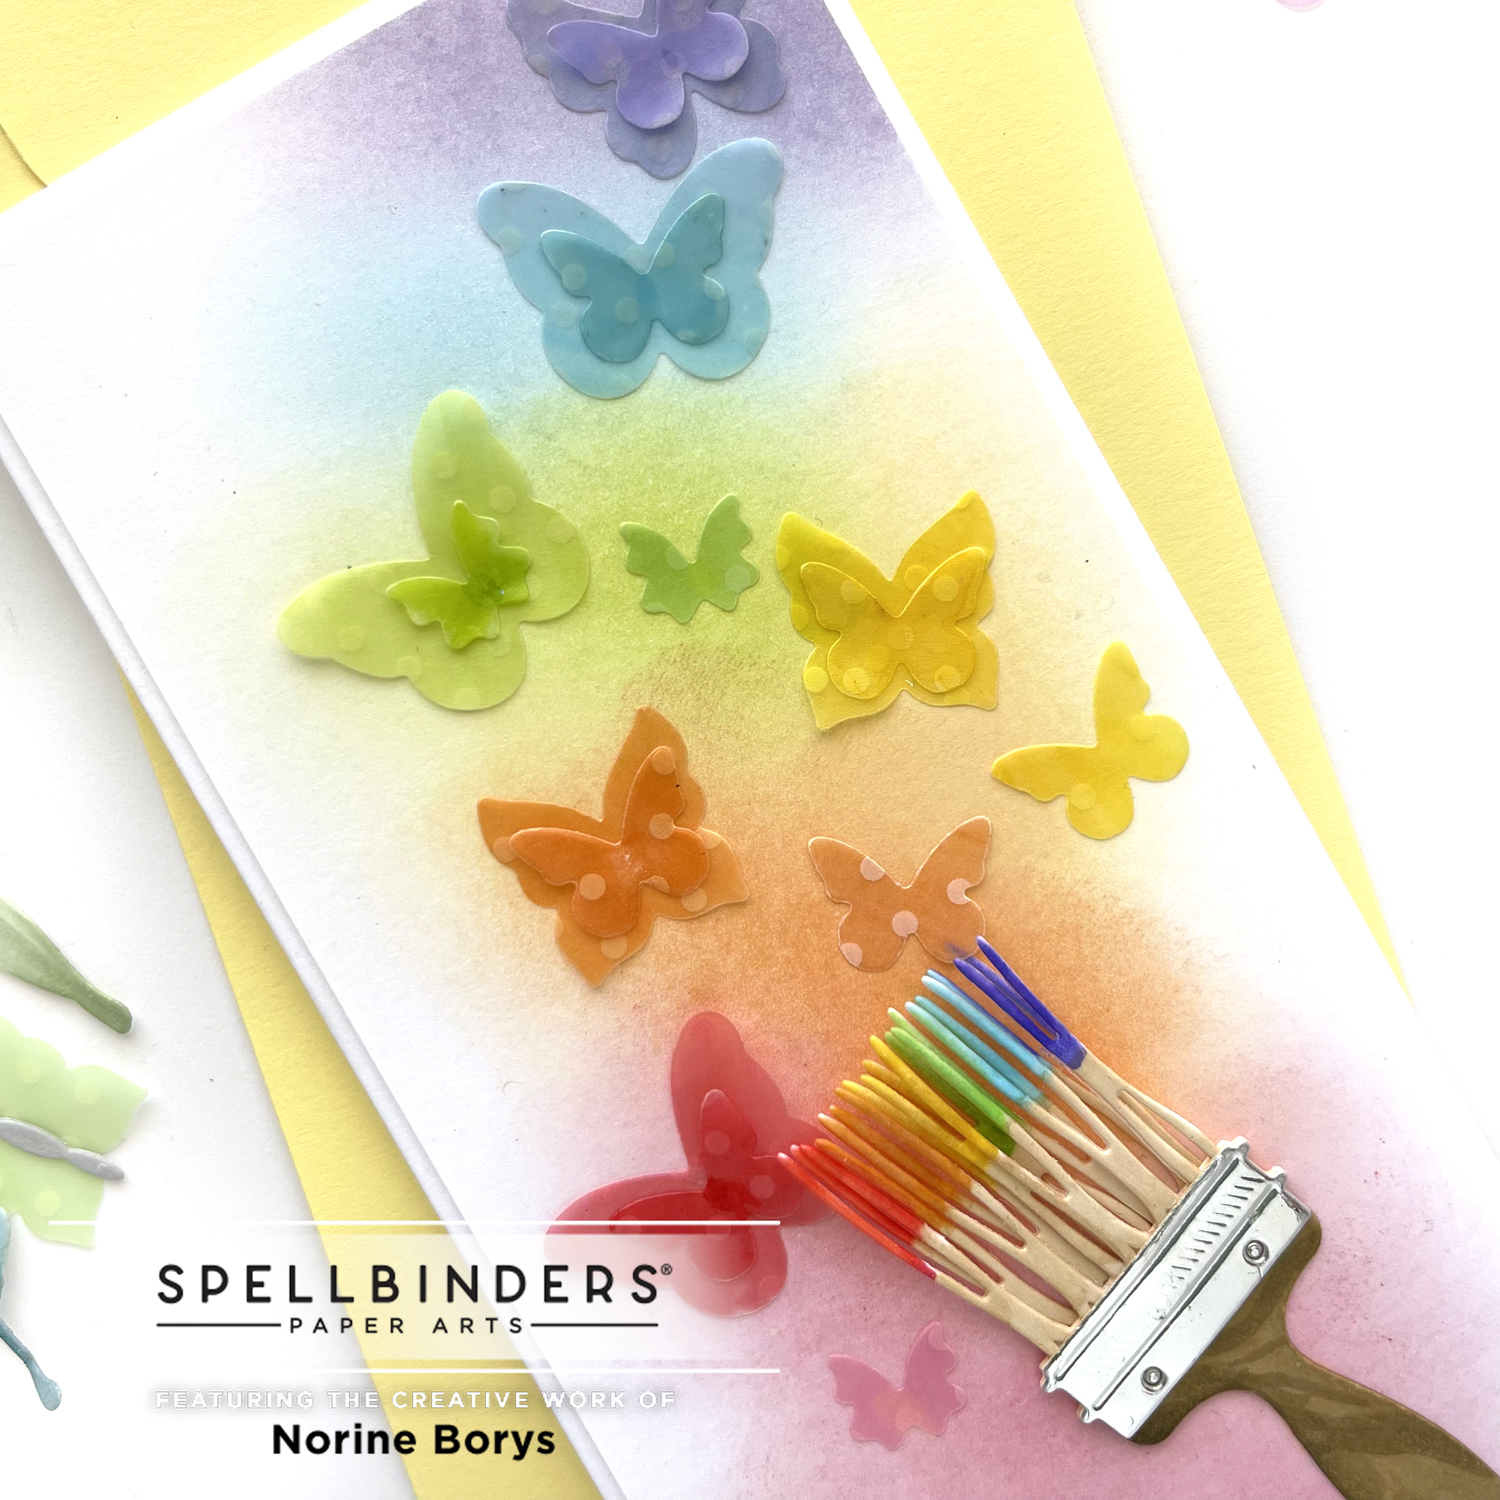
Then I clear heat-embossed over the colored brush tips to give them a glossy, paint-like appearance. The brush handle was colored with a darker shade of brown to give it the look of wood.

I die cut the “you” word from the Small Die of the Month from Dec 2019, a set similar to the Simply Perfect Mix & Match Sentiments. The matching sentiments part of this collection was unavailable at the time I made this card so I substituted by printing the sentiment on my computer.
My Very Crude Method of Computer-Printing Sentiments On Cards:
- Open Microsoft Word for Mac on my desktop and type in the words I want to say.
- Cycle through way too many fonts to pick the one I like best for the type of card and the sentiment I want to convey.
- Use the tools in the program to move the sentiment near to the bottom and center of the page, then I print it on a sheet of regular printer paper.
- Make any necessary changes to font size or style.
- Position the card panel behind the printed paper, lining up the printed greeting where you want it on the card panel, up against a window or lighted screen and draw corner marks on the printer paper to show where the card panel is to be positioned.
- Lay the card panel on the front of the printer paper, inside the corner marks.
- De-tack several pieces of Scotch Tape by laying on skin or fabric once, then tape the card panel to the printer paper along the top edge only.
- Run the printer paper with card panel attached through the printer again and your sentiment should print exactly where you want it. This works best with 80lb cardstock – any heavier can be a problem for some printers.
Finally, I added a narrow strip of matching patterned paper along the bottom to anchor the color scheme.
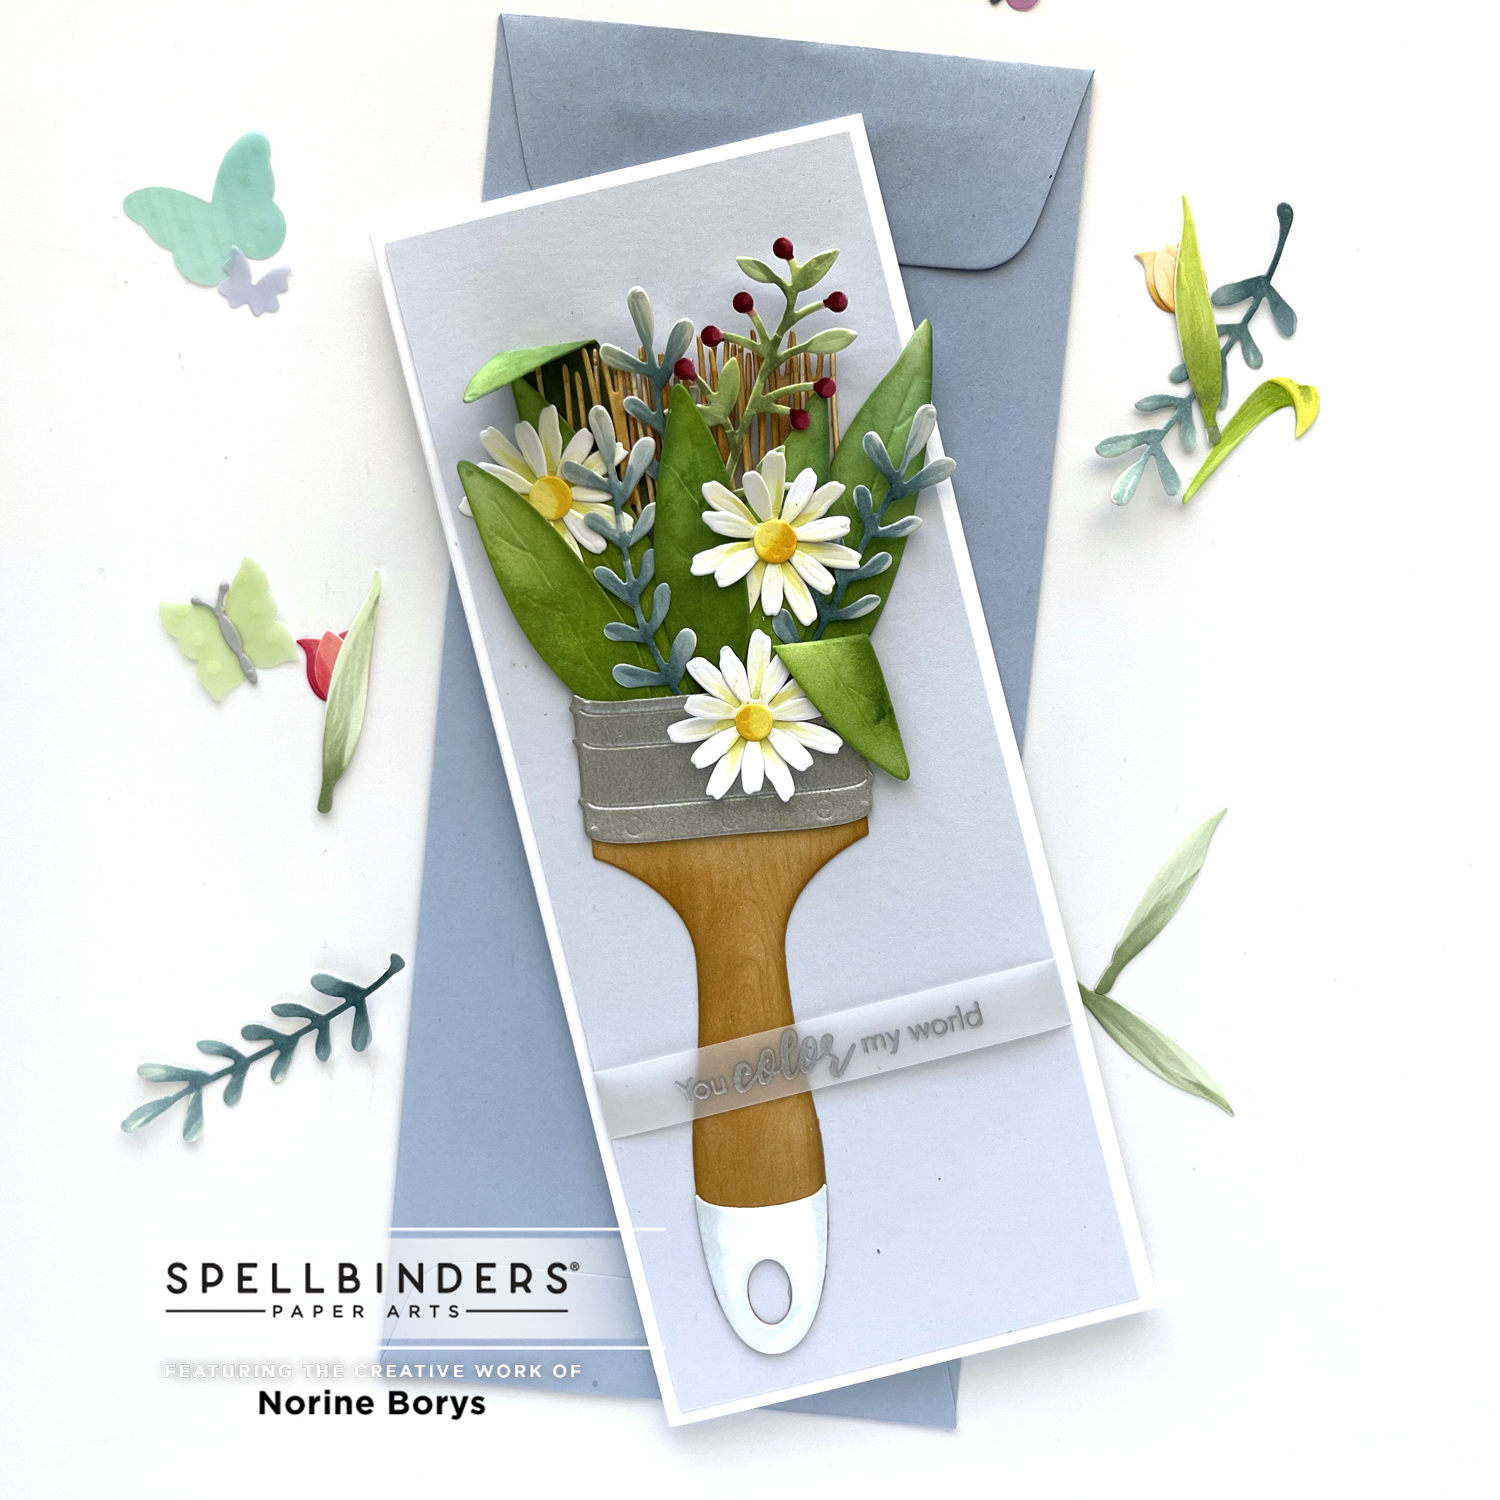
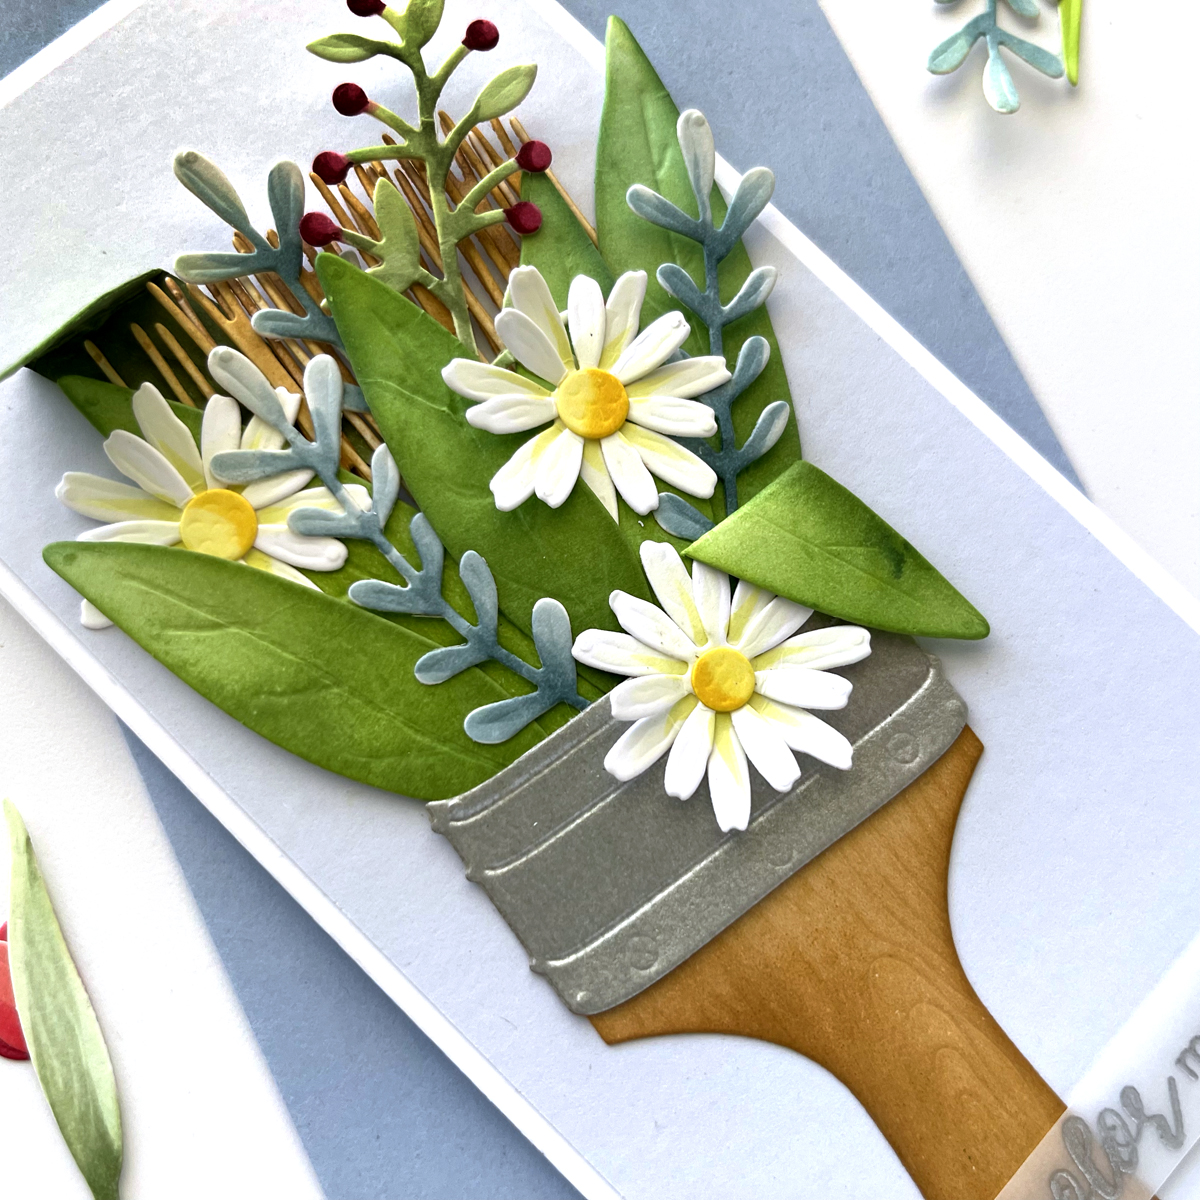
My last card is another slimline, made using the Painted Blooms dies and once again, I die cut all the pieces from white cardstock and colored them with Copic markers, with the exception of the wooden brush handle which I ink blended in order to emphasize the wood-grain texture from the die cut.
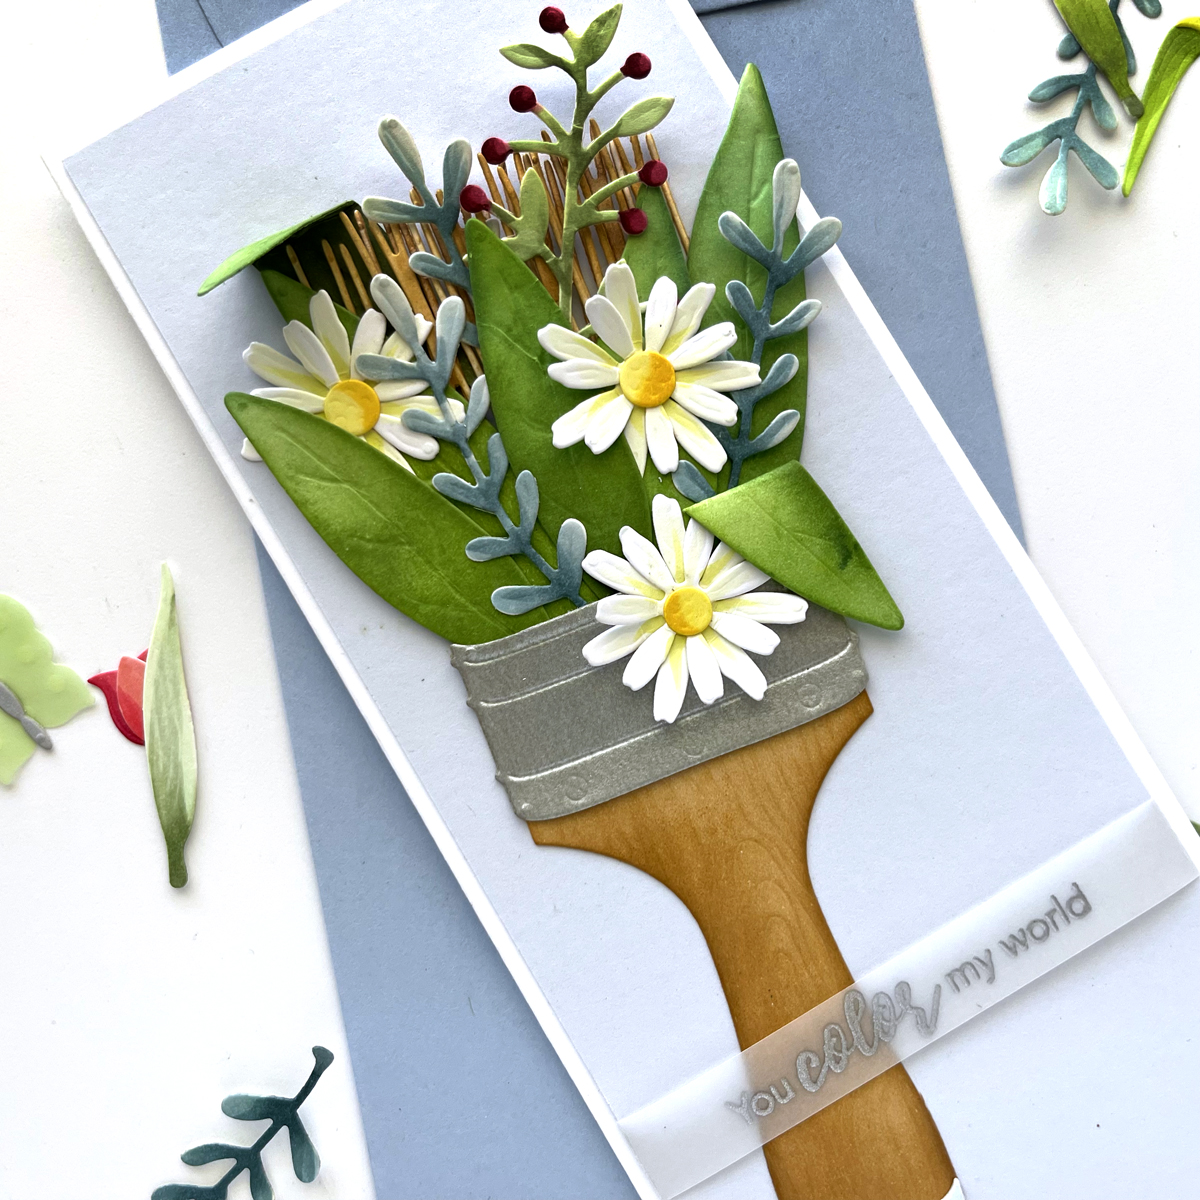
This time I die cut the brush ferrel from a silver glimmer cardstock for a more subdued look. I tucked in several leaves over top of the brush bristles, folding a couple over on themselves as long, narrow leaves are inclined to do.
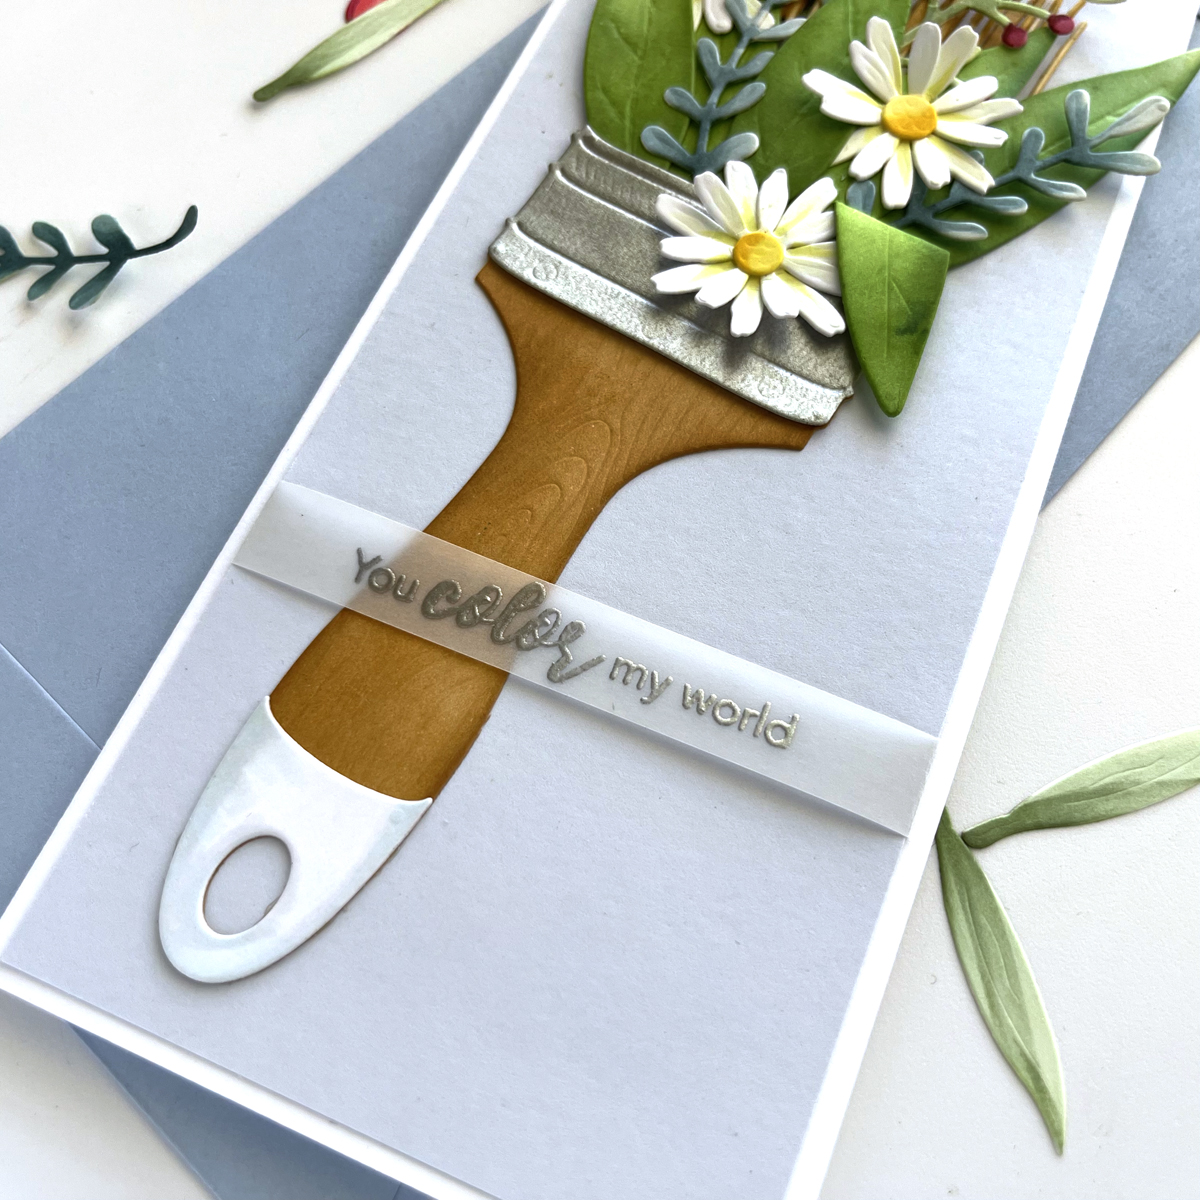
I stamped a sentiment on vellum paper and heat set with silver embossing powder to match the silver cardstock.
I am so in love with this paintbrush themed collection and can’t wait to use them again and again! Maybe it’s the spring I feel in the air, but these cards just brighten my day, and I hope they do yours too!
I will tell you that most of the individual sets in this collection are sold out and waiting for more stock, but the Paint Your World Bundle is still available, on sale at more than 30% off!
SUPPLIES USED: