Hey there crafty friends! I have something a little different for you today! There’s not a craft I don’t love, so for a change, I like to pull out the old glue gun every once in a while and remove more of my fingerprints. I mean, make pretty stuff!
Recently Spellbinders sent me a few Steel Rule Dies to play with. They are previously released and are marked down significantly – seriously, you can’t afford NOT to check them out! I had a few of my own already and combined several flower dies to create a couple of cute headbands for my granddaughter, as well as a crib mobile that will adorn the room of a baby girl coming in January!

Steel rule dies are different from more commonly used wafer thin dies which work best for cutting paper. With steel rule dies, you can cleanly and easily cut felt, leather, cork, thin metal, chipboard, thick fabrics, LAYERS of fabrics (hear that quilters!?) and even acrylic and balsa wood!
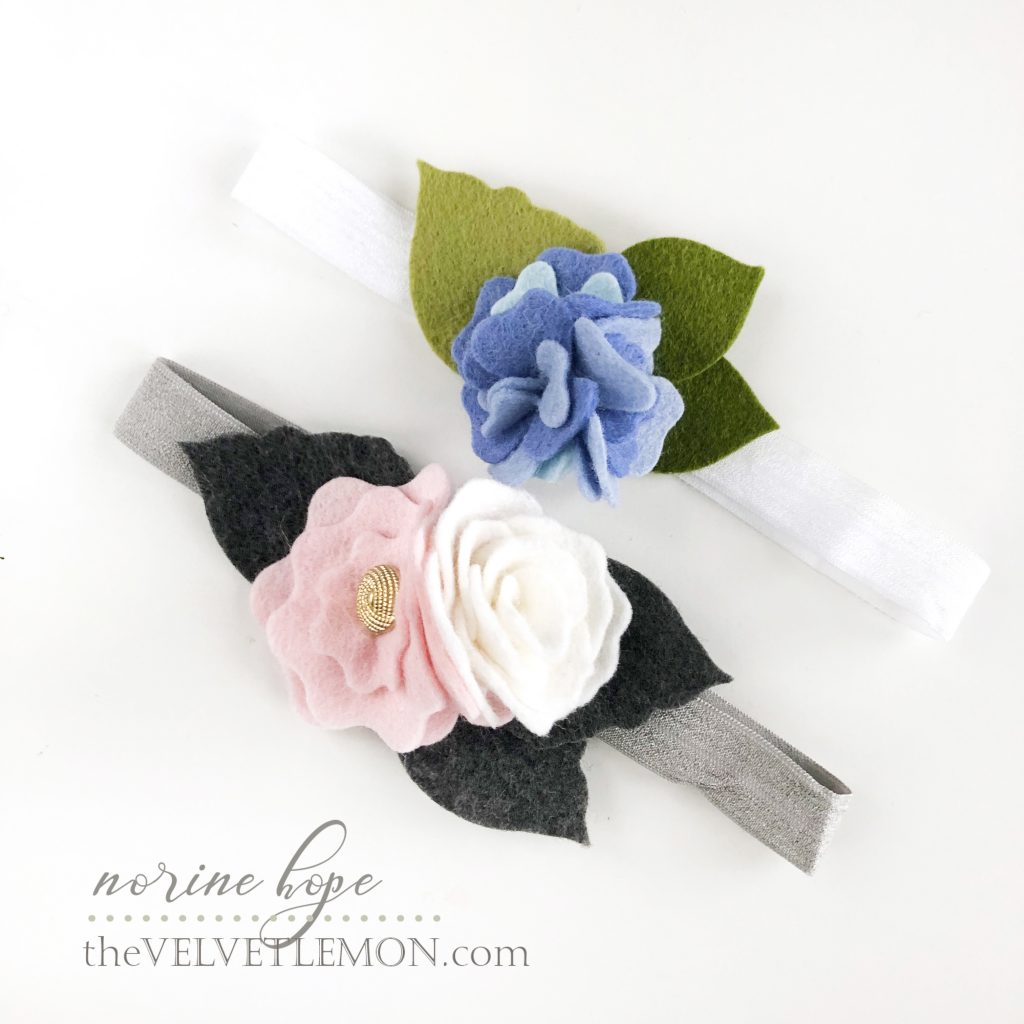
I used a variety of colored felts, and set up an assembly line, die cutting all the shapes and then assembling them later. (I apologize for the image quality – my lighting was meh and that made editing tricky. What looks like charcoal black leaves are a much lighter grey.)
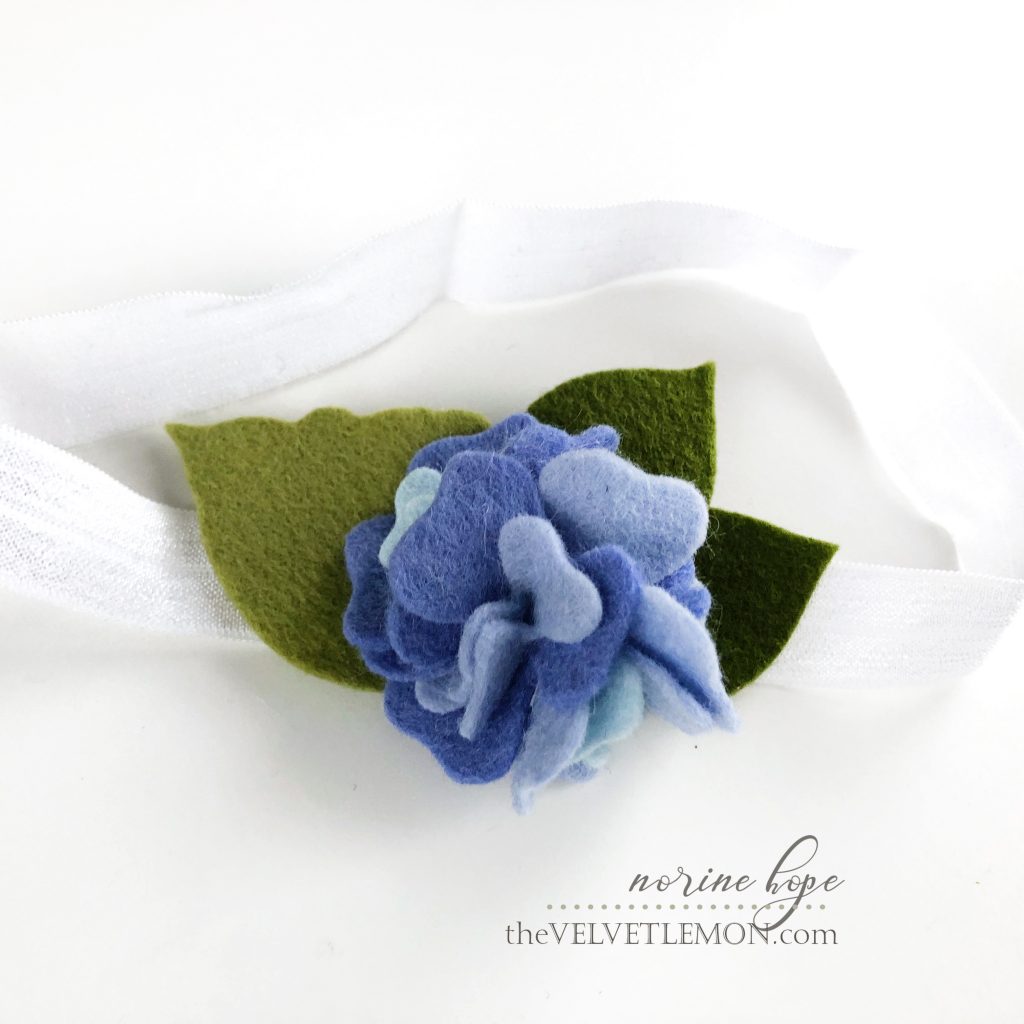
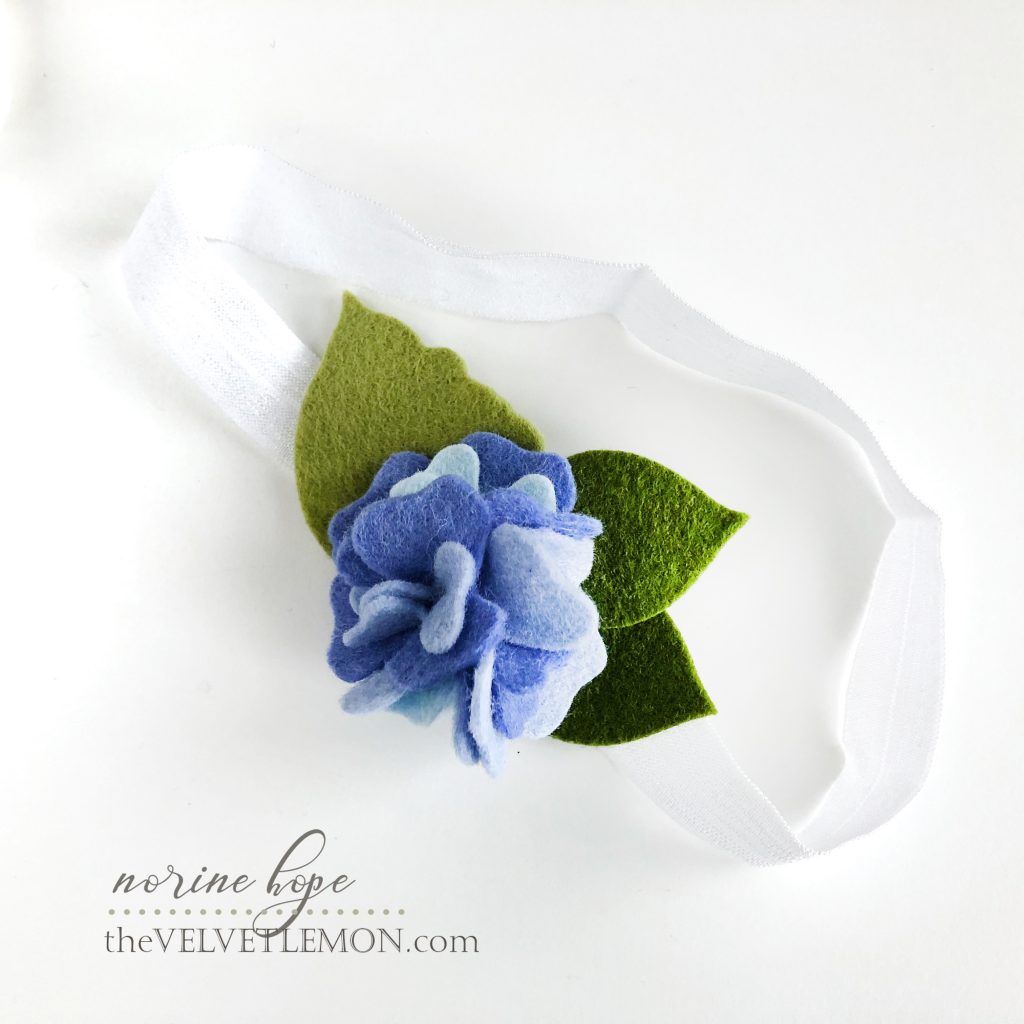
For the hydrangea head band, I cut an assortment of the smallest petals with the Hydrangea Florets die, (unavailable, but similar to this die) from two shades of lavender felt, and an aqua colored felt. I also die cut the larger leaf in olive green felt using the leaf from that same steel rule die, but the double leaves (forest green) are half of the largest layer in the Sweet and Succulent die.
Next up is a white, pink and grey combo headband.
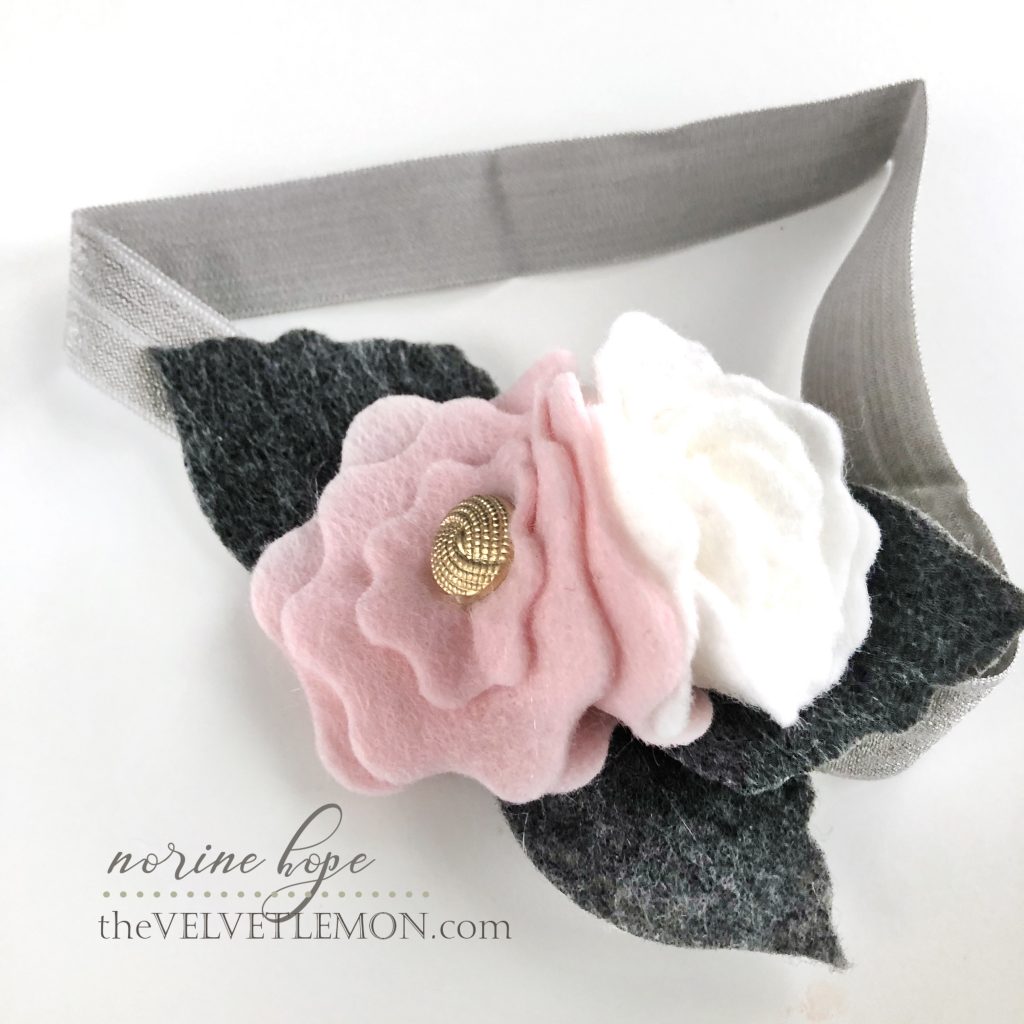
For the pink flower, I used three layers from a wonky edged circle die, stitched them together with a “scrunching” stitch on the back to help them fold together more naturally, and then added a gold button to the center.
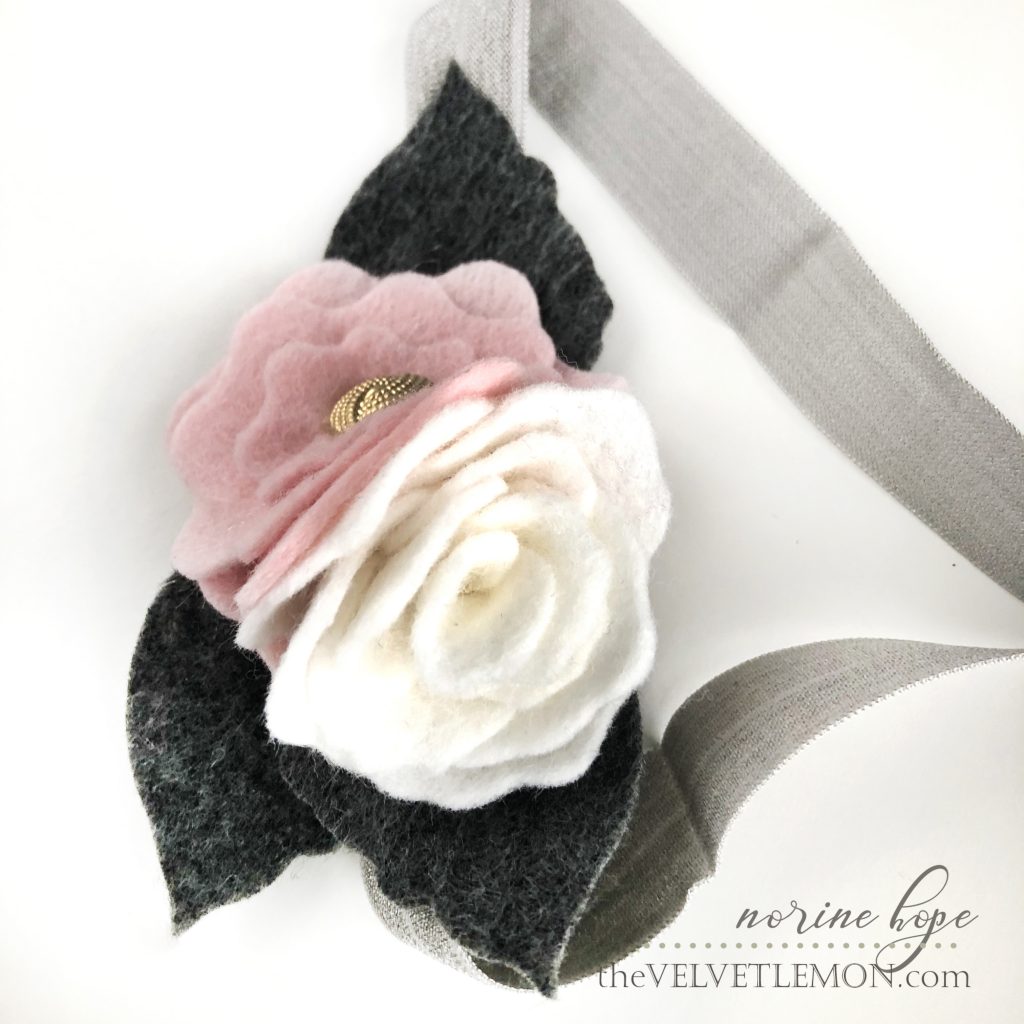
The white rose is created by die cutting all three layers of the Positively Peony die set, (similar to the Anemone Die) and hot gluing them petal by petal from the center out. Generally, each rose took 3-4 of each the small, medium and large petals.

Sissy wasn’t too sure about this thing snugged around her head until I showed her her own image in the mirror and how pretty it looked, and then she loved it!
Next up, is a baby’s crib mobile. Although, I’d sleep underneath this myself, it’s that pretty!
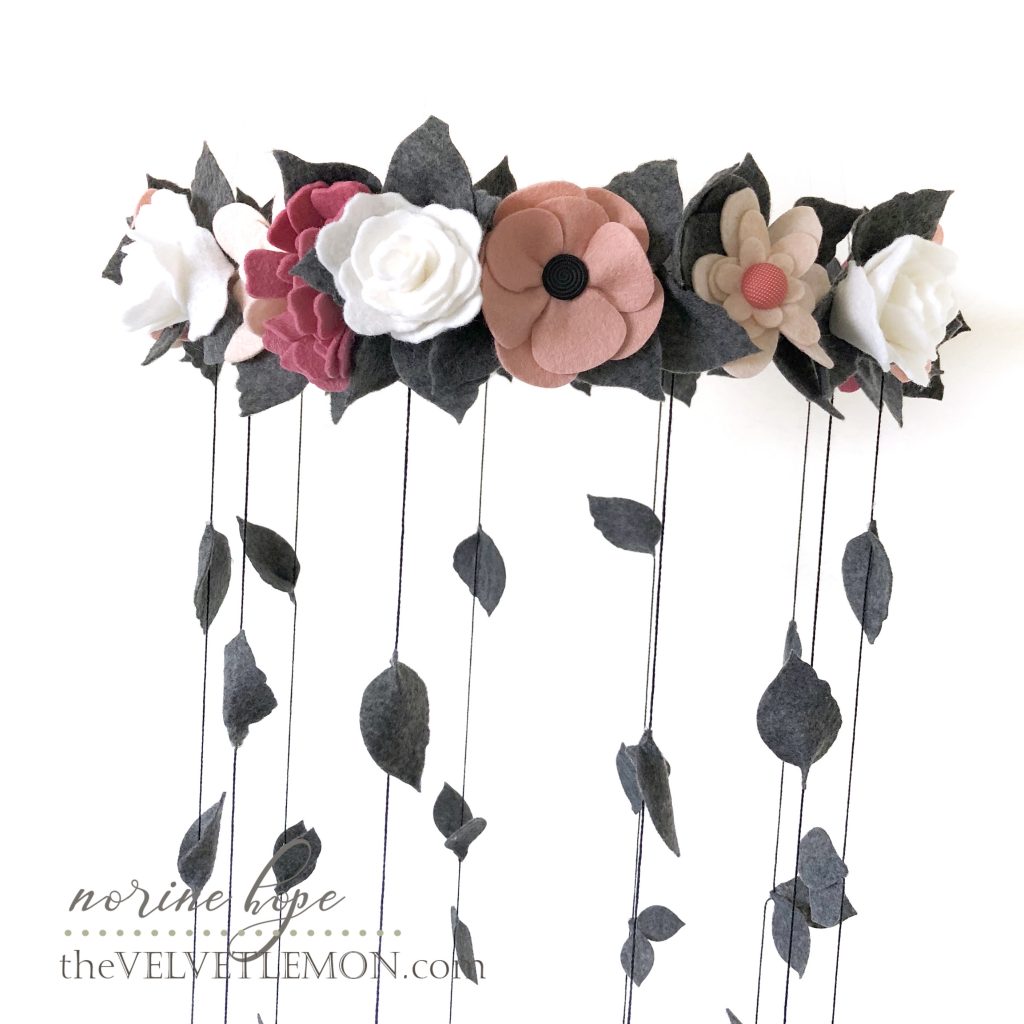
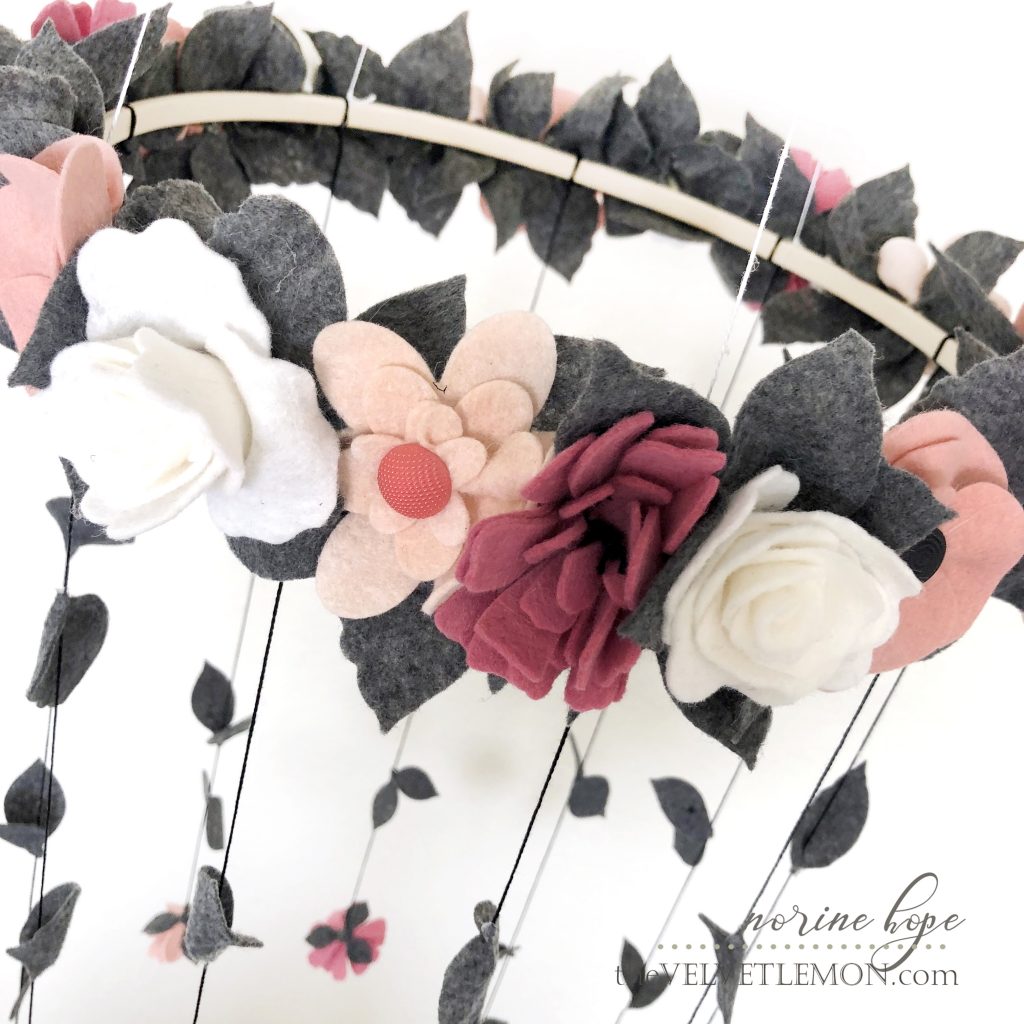
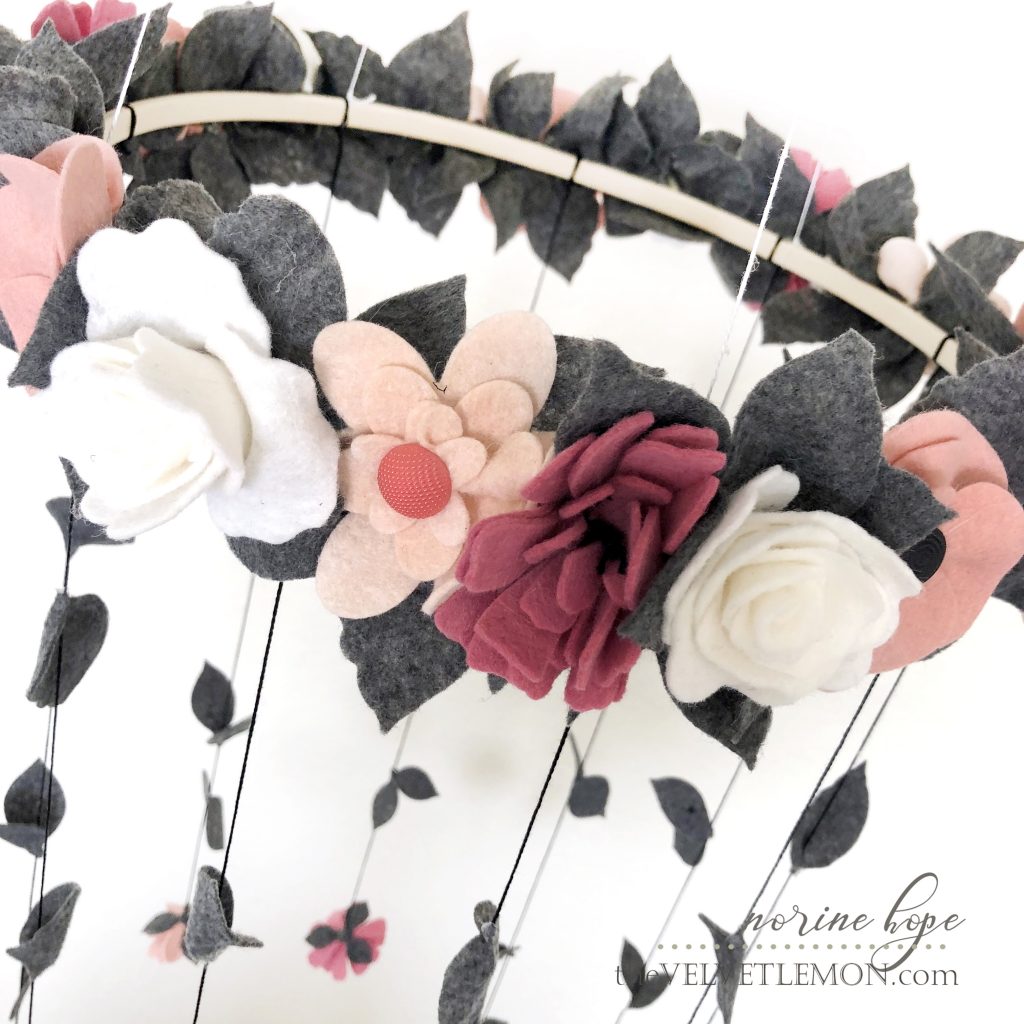
I used the inside ring of a wooden 12″ embroidery hoop, and after cutting many grey leaves and pink flower layers, I hot glued them all around the outside of the ring.
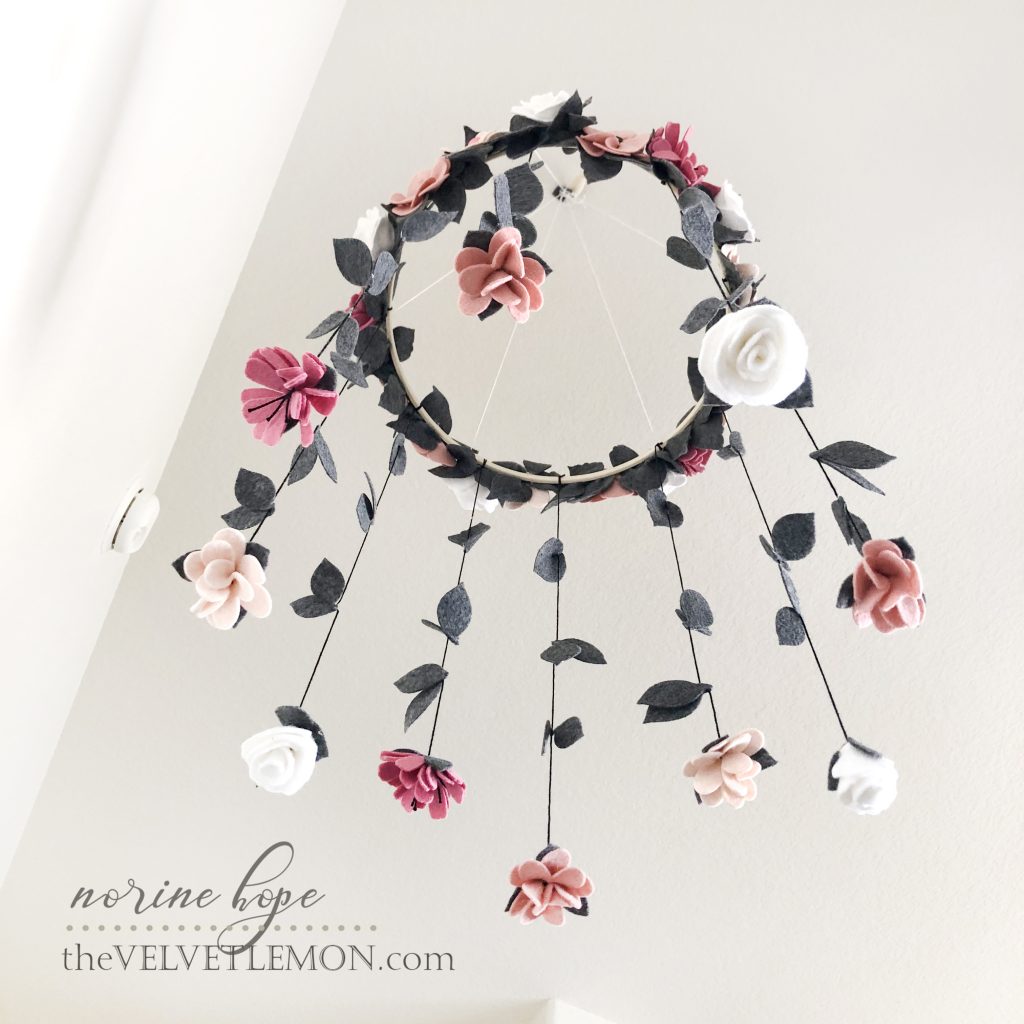
Wait, lets back up. The first step was to tie 5 strings of white #5 embroidery thread from the wood hoop to a hook at the top. I cut each strand about 4 feet long because I don’t know how tall the ceilings are in the room where it will go, and I wanted them to be able to adjust it taller or shorter as they like.
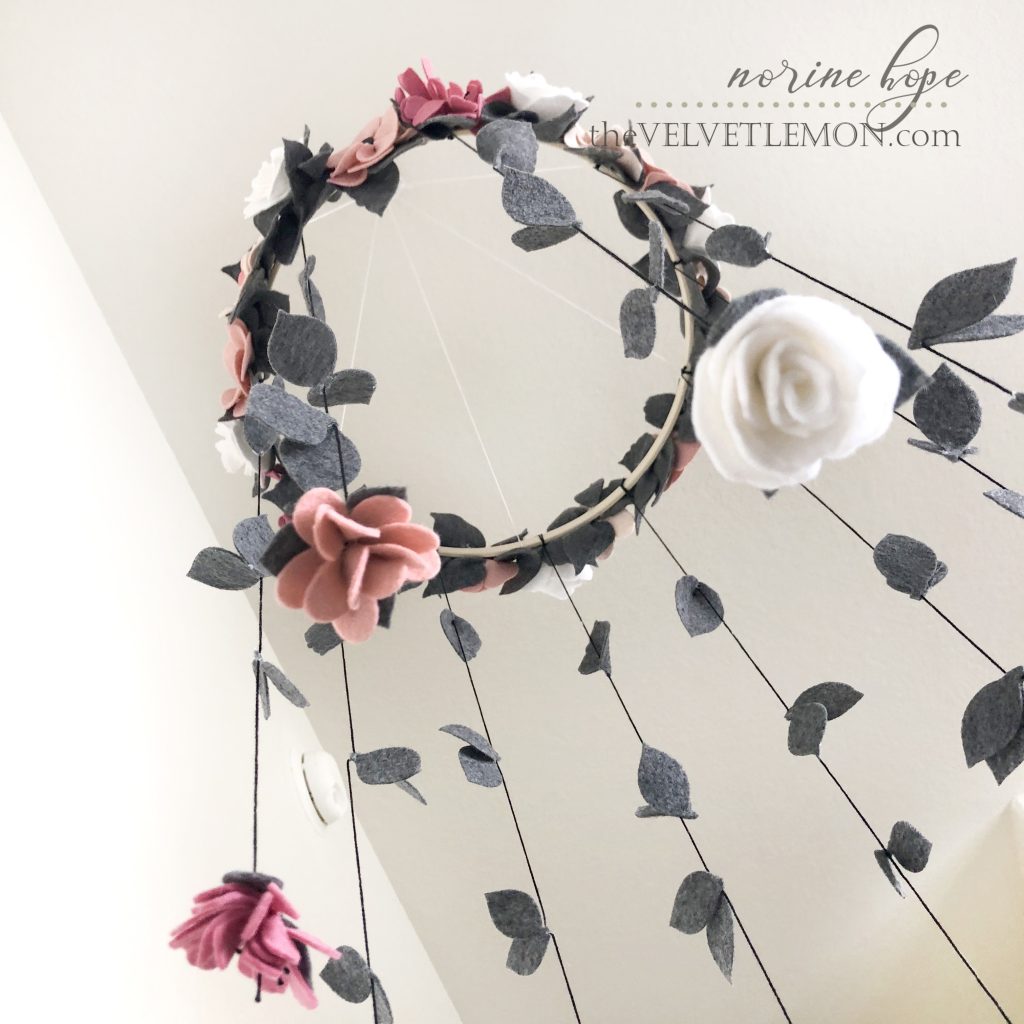
Then I tied 12 strands of black #5 embroidery thread from the wooden hoop, having run the strand through the center of 12 smaller bud versions of the flowers used on top. I varied the lengths of the strands hanging down, but kept them within 18-21″. I used the Sweet and Succulent die to cut all three layers of petals, and used the smallest set on the bottom of each of the hanging buds. The medium and large layers I cut in half and folded them in half and hot glued them to the thread strands hanging down. I also used a few of the largest layer of the Sweet and Succulent die cuts in the “crown” of the mobile.
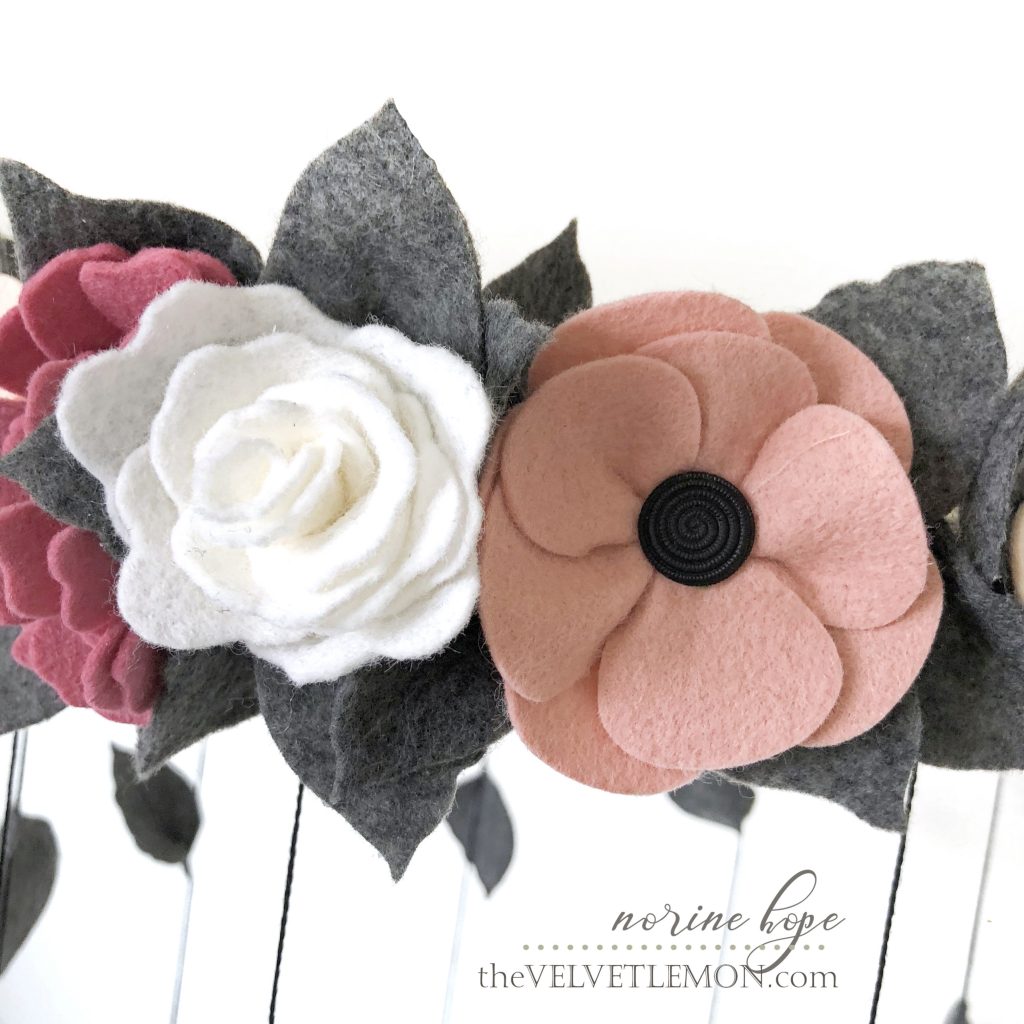
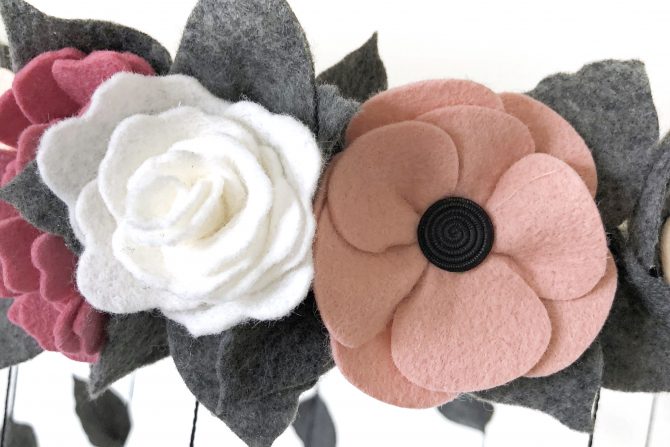
On the crown I used mostly all leaves die cut from grey felt with the Hydrangea Florets die and the Oopsy Daisy die. The large leafed peach flower above is created with the Flower Child die, combining two layers of the same die cut, but stitching a circle in the center of the top layer to be able to cinch the petals in more naturally.
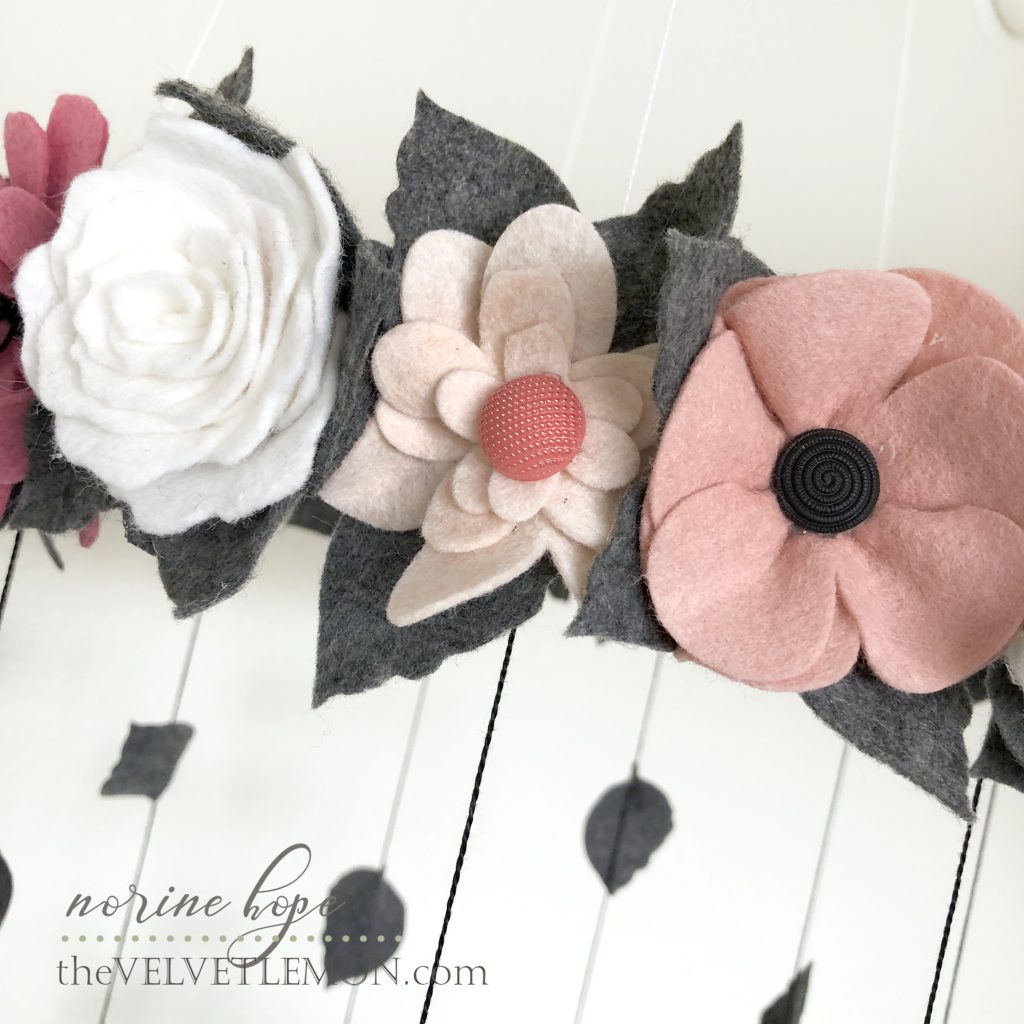
The pale peach layered flower, center, above is all three layers of the Darling Daisies die. I layered them up then used a needle and thread to fasten them all together, snugging the thread tightly enough to pull the petals in close before gluing on a pink button center and attaching it to the ring.
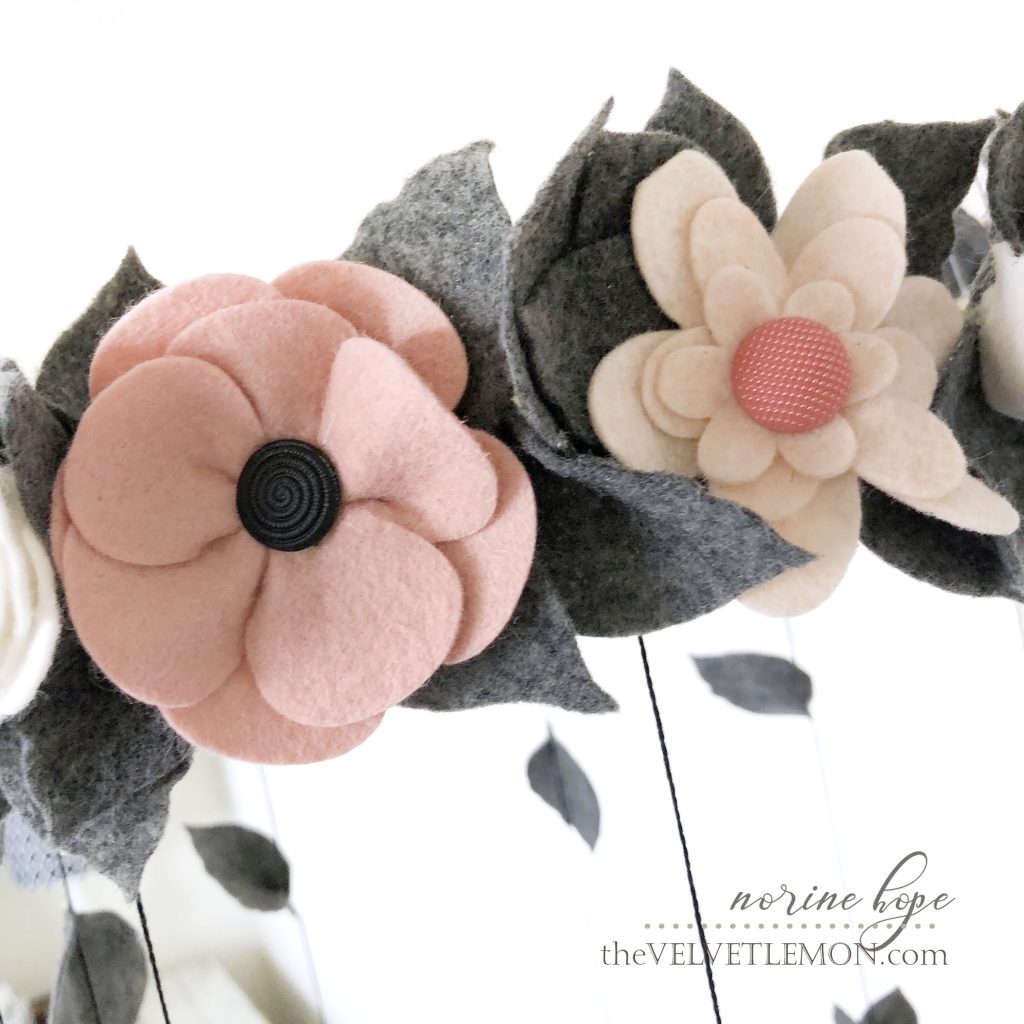
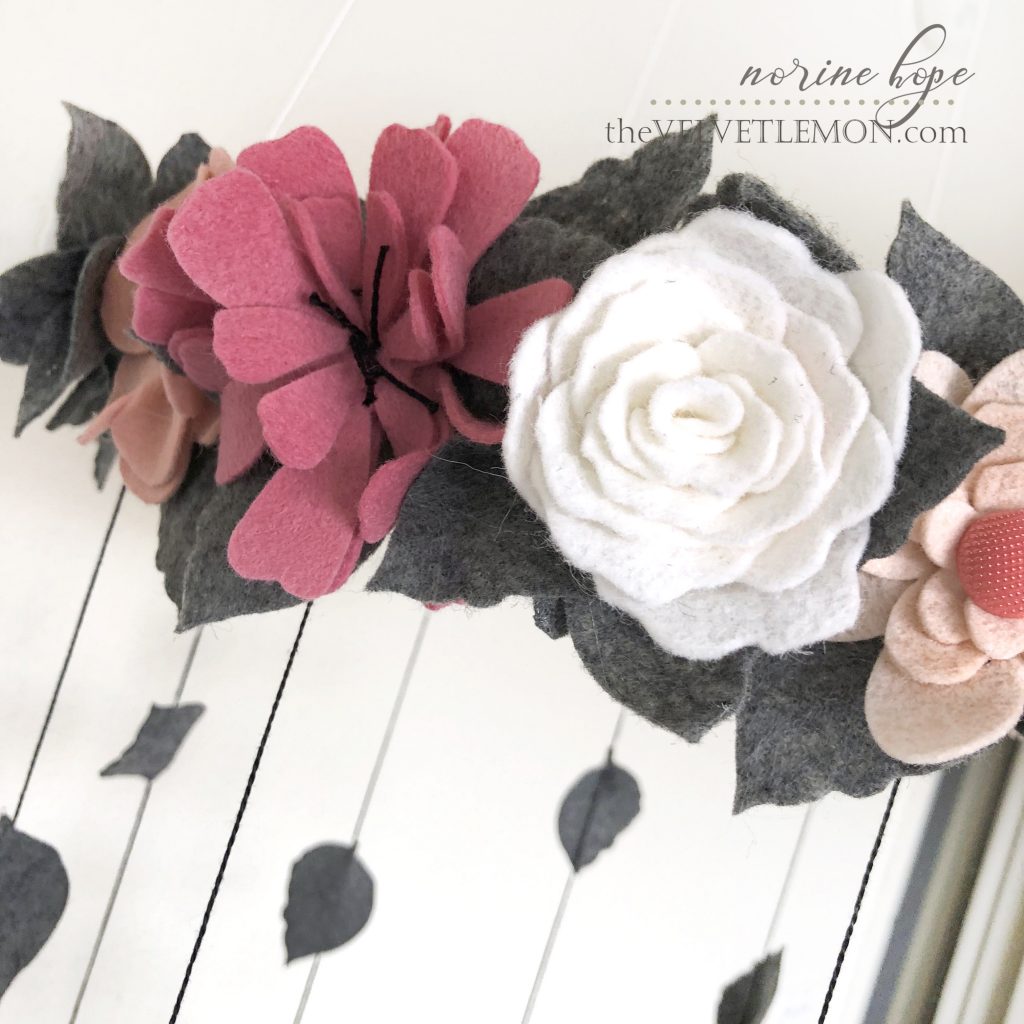
The dark pink flower is created using the two layers of the petals on the Oopsy Daisy die. I stitched these layers together as well, and ran my black thread from back to front, snipping the loops to create “stamens”. This flower is also tuck-stitched from the back to pull the petals in together. As mentioned above, the white roses are created using the 3 layers from the Positively Peony die.
Thanks for stopping by to visit and I hope your day is swell!!

