Hello, hi! I’m back today because I have a post up on the Altenew Card Blog today and I wanted to share that – and the cards I made – here today as well! I’m just going to post a few photos with some brief outlines of how I made each one, but please click on over to the Altenew Card Blog to see more photos and read more detailed instructions.

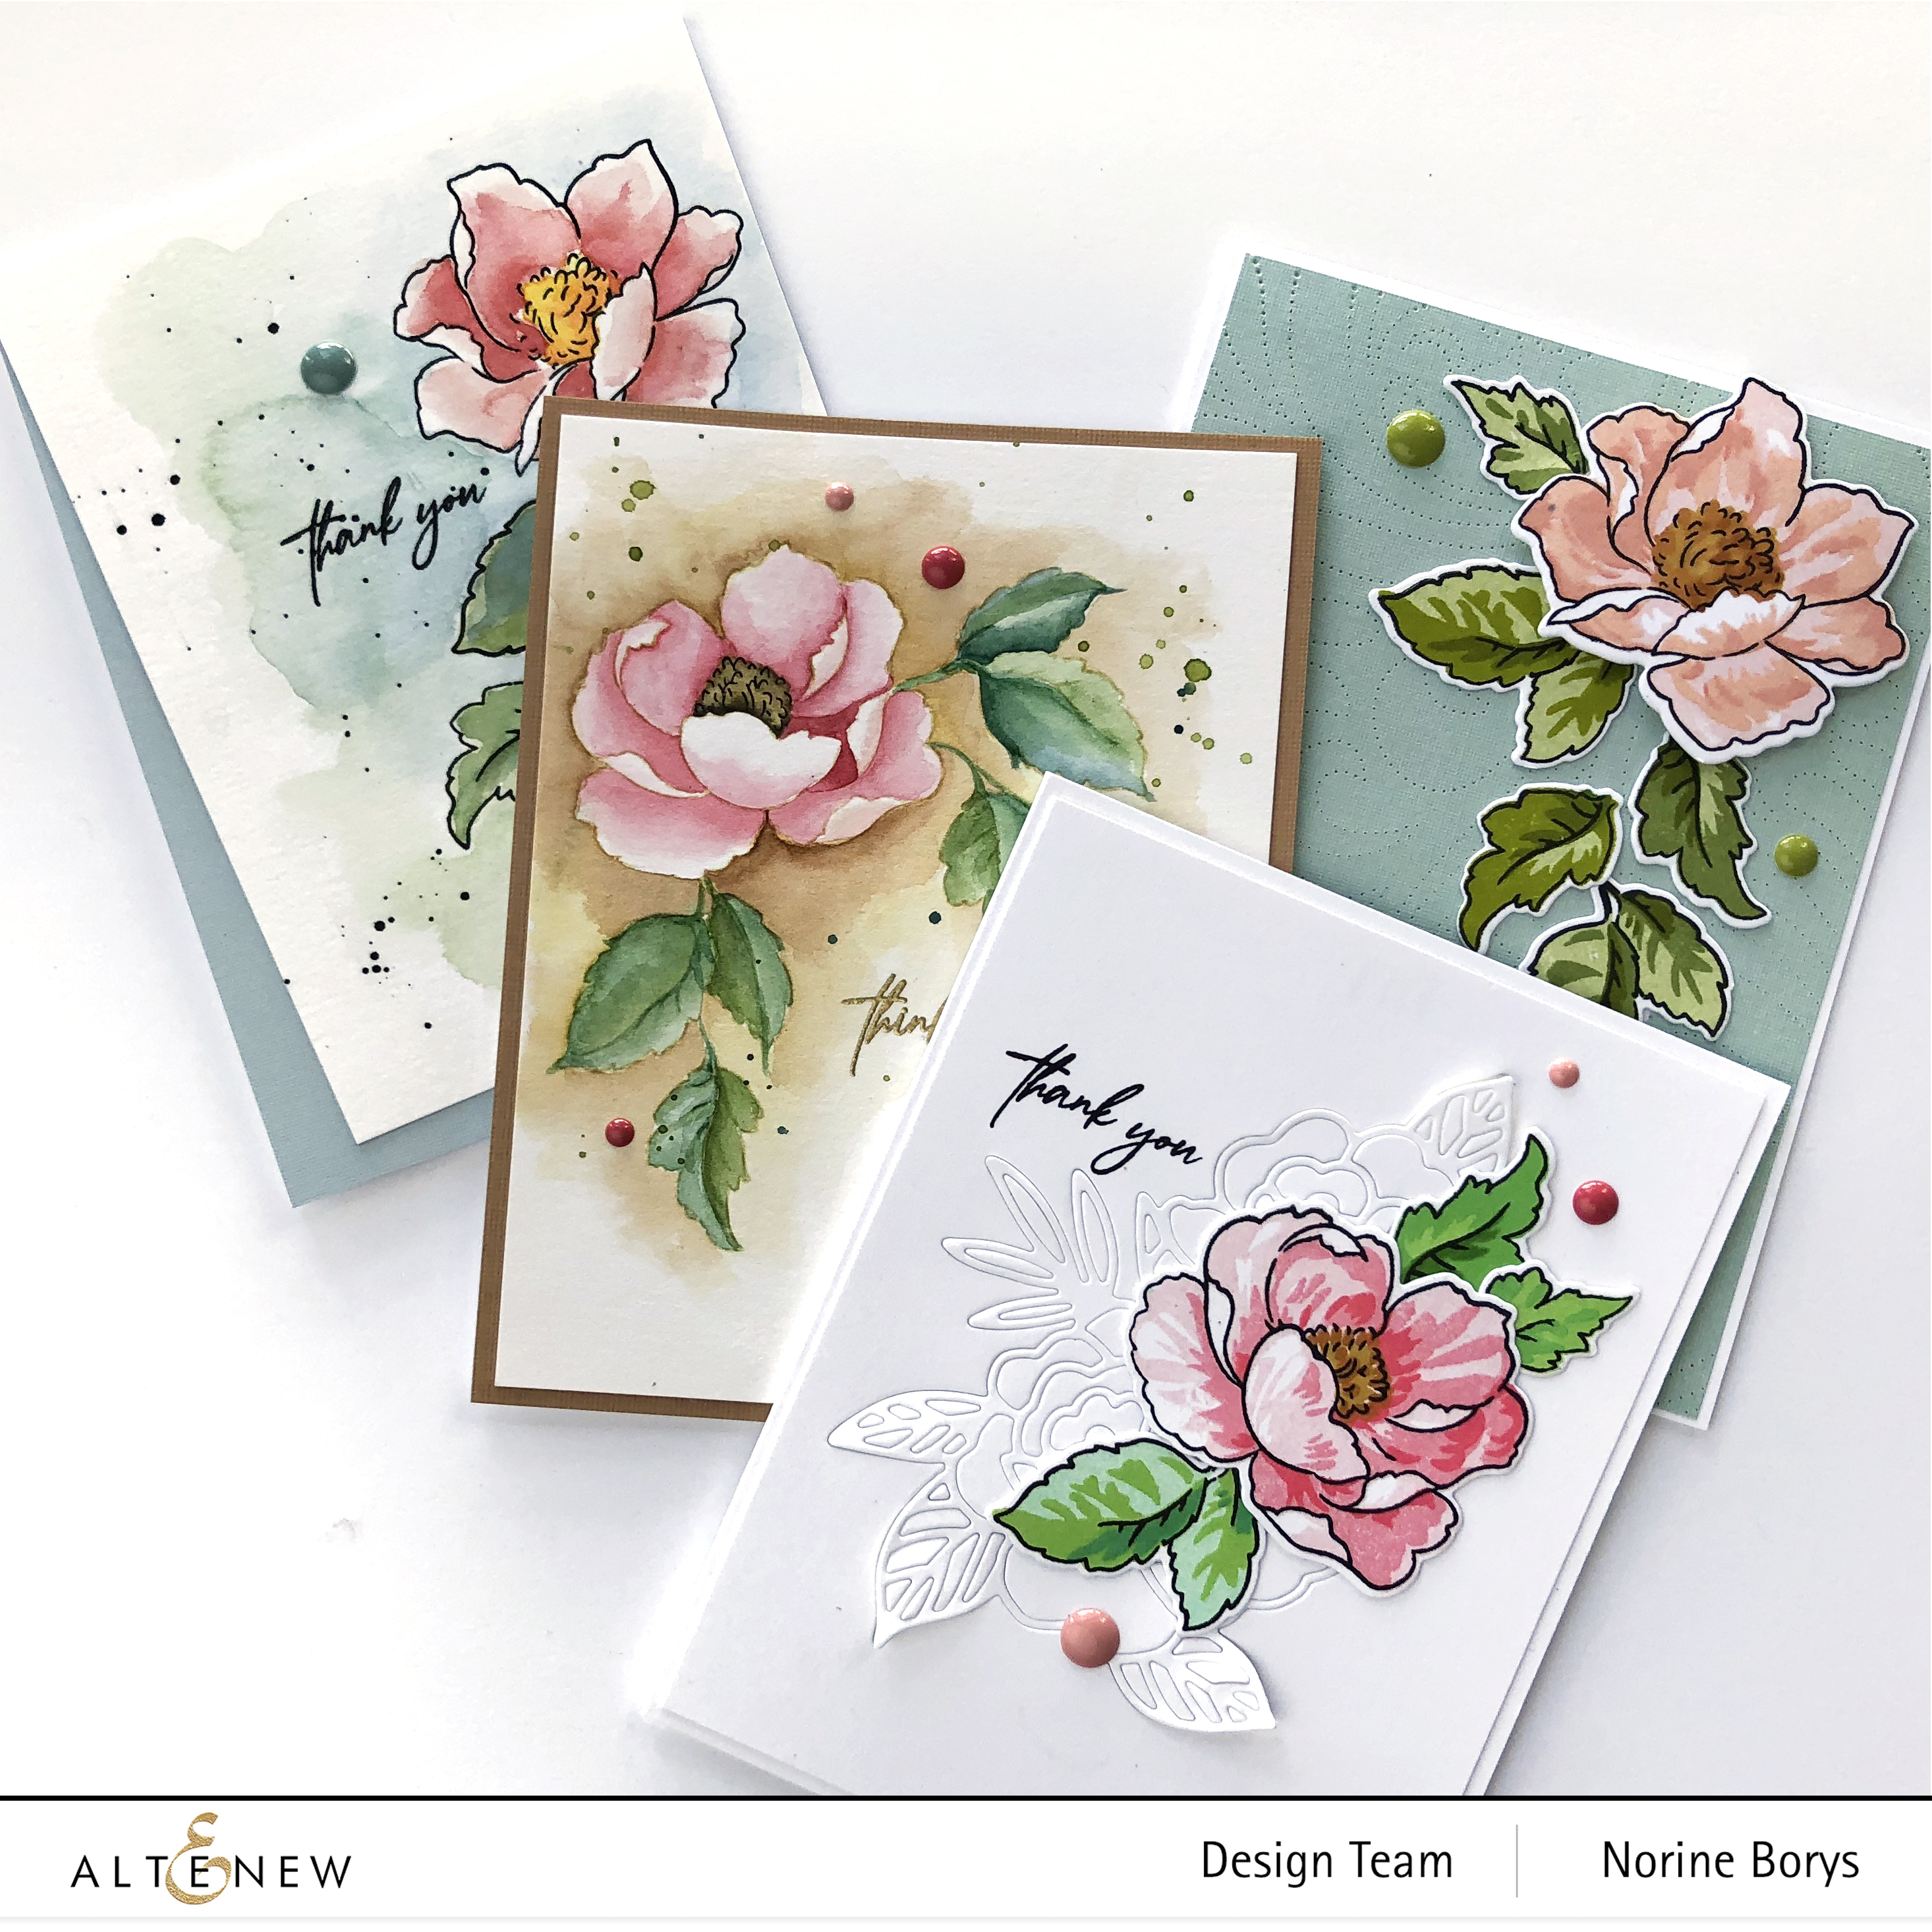
I made 4 cards that have in common, a newly released stamp set called Nature Blossoms. This is my favorite style of stamp set from Altenew, with outline images that work alone, AND layered images for easy stamp-coloring. Two of my cards today use only the outline stamps and the other two use the layering stamps.

The first card is stamped with Obsidian Pigment ink onto the smooth Altenew Watercolor paper, and is painted with the Altenew Watercolor 36 Pan set. Also, I used the sentiment stamps from the recently released Fragile Foliage stamp set for each of my cards today.

I stamped the outline images, added stems with a fine tipped marker, painted in the shapes as well as a background, added some paint speckles and the sentiment then cropped the card panel to a wonky angle before adhering it to a matching blue cardstock mat.

For the next card, I also stamped on smooth watercolor paper from Altenew, but this time I stamped with a light ink color of Distress ink so that I could attempt the “no-line” coloring effect.

As I did for the first card, I added stems to the leaves to make the floral arrangement more natural looking. I stamped the sentiment with embossing ink and heat set with gold embossing powder.

The next card is stamped first with the outline images onto Neenah Solar White 110 lb cardstock with Obsidian Pigment ink, then filled in with the layering images. For colors used, please refer to my post at the Altenew Blog.

I die cut each of the images with the coordinating dies and arranged the leaves to cascade, popping up the bloom with foam tape behind. I adhered all of the stamped pieces to a card panel debossed using the Dotted Swirls Debossing Die and stamped the sentiment onto this card panel as well.

Finally, I stamped more of the blooms and leaves in the Nature Blossoms stamp set with different shades of ink, and die cut them as well. To create the background, I die cut one of the stand alone dies in the Spring Roses Die set, but didn’t remove the die cut, taping it on the backside to keep it in place, and popping up a few of the leaves with dimensional foam tape.

I layered the stamped and die cut pieces over top of the die cut background and added the sentiment and some enamel dots.
Several of the enamel dots used on each of my projects today are from the new Serenity Enamel Dots release and I have the colors listed over here.
Thanks so much for stopping by and have a wonderful day!