Hi there, hello! I’m up on the Altenew Card Blog today with a cool “masculine-ish” card that takes a stand-alone die up a notch!

Just a couple of days ago, Altenew released a bundle of beautiful new dies (you can see them here) and today I’m using the Hanging Garden Die set.

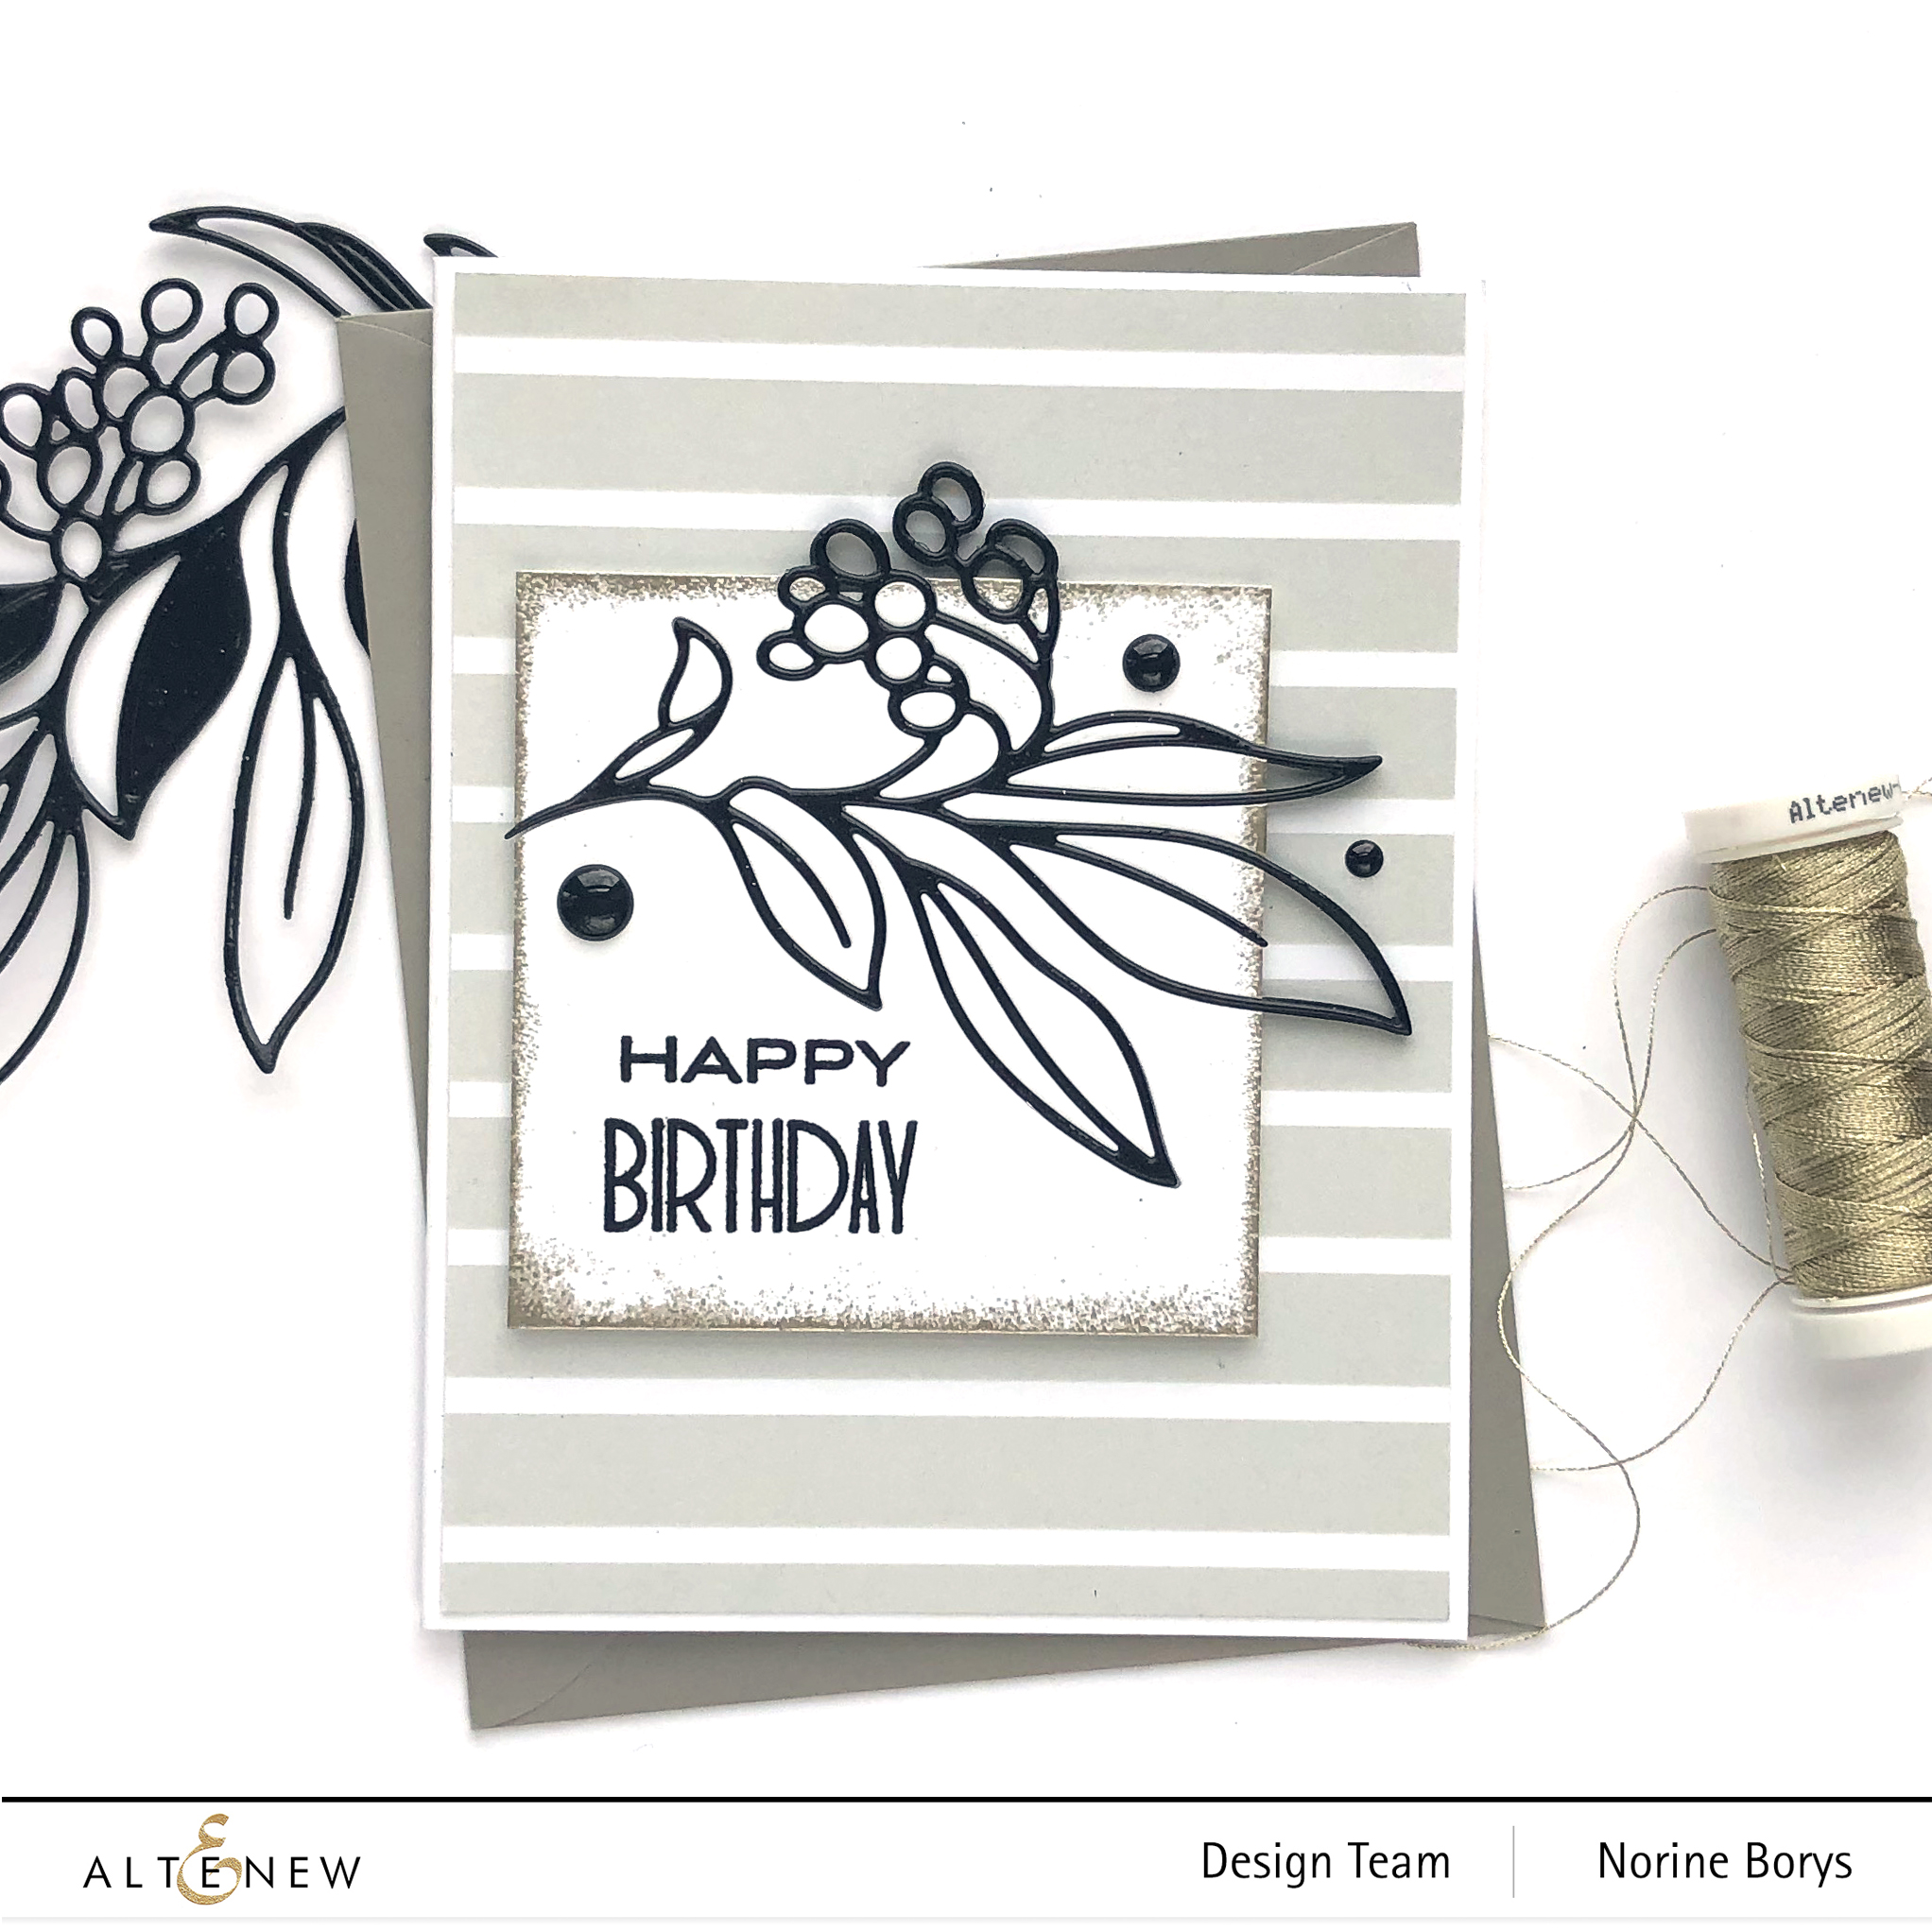
I wanted to create a card where the die cut was inlaid in the background cardstock, but a bit of it extended beyond the cardstock. I started by die cutting the smaller of the two dies in this set, from heavy black cardstock. My original plan was to die cut from black glossy cardstock but I’ve used up all that I had and well, stores are still….y’know. I didn’t let that stop me though! After I die cut the leafy sprig, I separated it from the negative parts of the die cut and pressed the top surface with an embossing ink pad then heat set with clear embossing powder. Et voila!

I cut a piece of heavy white cardstock about 3″ square and rubbed the edges of the cardstock with more embossing ink, this time heat setting with Platinum embossing powder. Then I used the black cardstock die cut to approximately position where I wanted the die to cut and taped it down. I ran the white cardstock through the die cutting machine and covered the back with some Glad Press ‘N’ Seal to keep all the pieces in place.

With the Press ‘n’ Seal on the back, I could remove the positive portion of the die cut from the front, then replace it with the black, glossy die cut. I kept the Press ‘n’ Seal in place while I stamped a greeting from the Birthday Builder stamp set with Obsidian Black ink and heat set with clear embossing powder.

I covered the front of the die cut panel with more Press ‘n’ Seal to allow me to remove the back sheet without disrupting the position of the die cut pieces before they could be glued. Then I covered the back completely with foam tape. To keep intact and straight, the tips of the die cut that extend past the square edges, I die cut three more layers of black cardstock, but die cut only the sections I needed in order to use my cardstock more economically. I layered them up and adhered them all together. Doing that will support those parts of the die cut in the envelope or even in the mail.

Finally, I cut a piece of patterned paper from the Sweet Moments Paper pad, cropping slightly smaller than A2 size and adhered it to a white card base. I peeled off the release paper from the foam tape, added tiny dots of liquid adhesive to the die cut extensions and glued that to the patterned paper card panel. Three graduated sizes of black enamel dots finish this card off just right!
Thank you so much for stopping by today! If anything about my instructions confuses you, click on over to the Altenew Card Blog and see if I’ve done any better over there! (Chances are, not, wink!) Have a wonderful day!