Hello, hi! I’m excited to be joining Altenew today for a blog hop to showcase the release of new stencils, washi tapes and die cut tapes! You have probably arrived here from the blog of Sveta Fotinia, but if you’ve happened here by chance, you can click back to the beginning at the Altenew Card Blog and that way you won’t miss a thing!
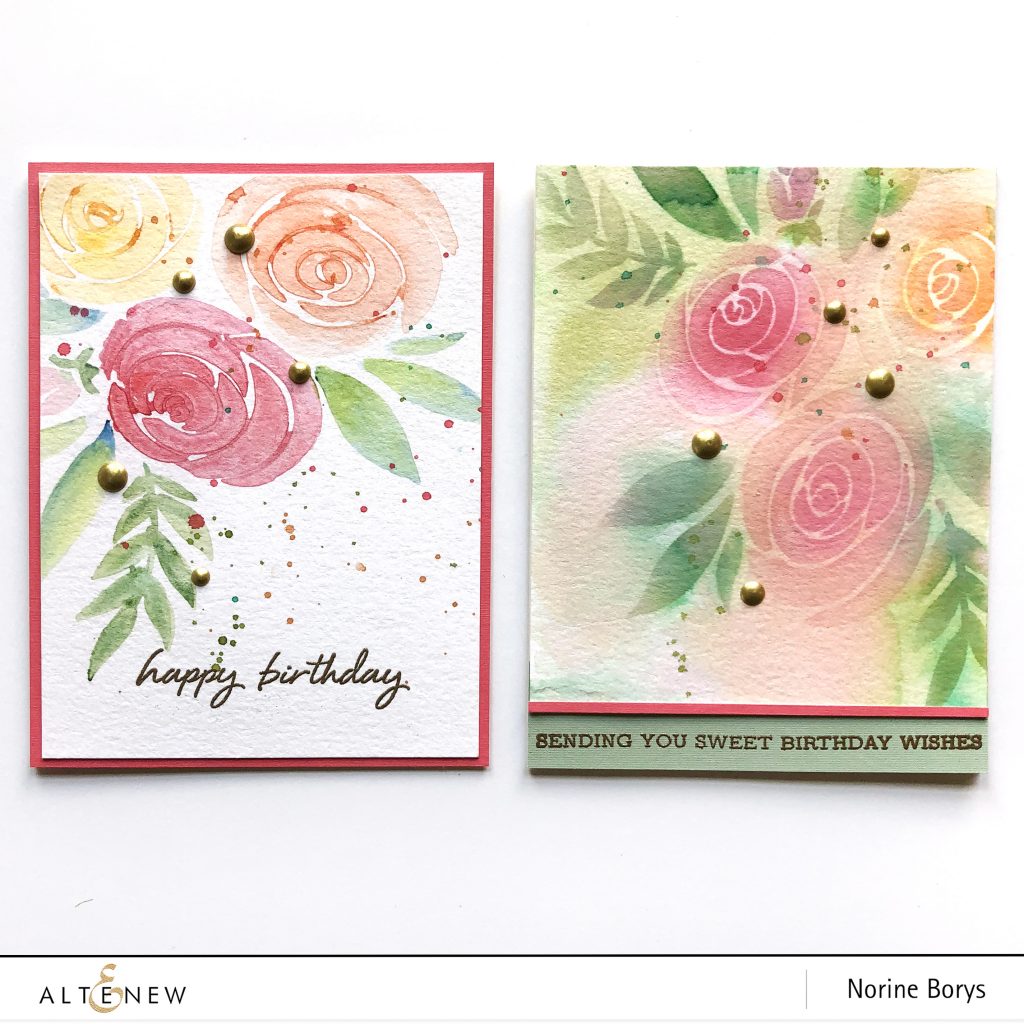
I am working with a couple of different stencils for this blog hop; the Rose Bouquet Stencil and the Leaves and Berries Stencil.
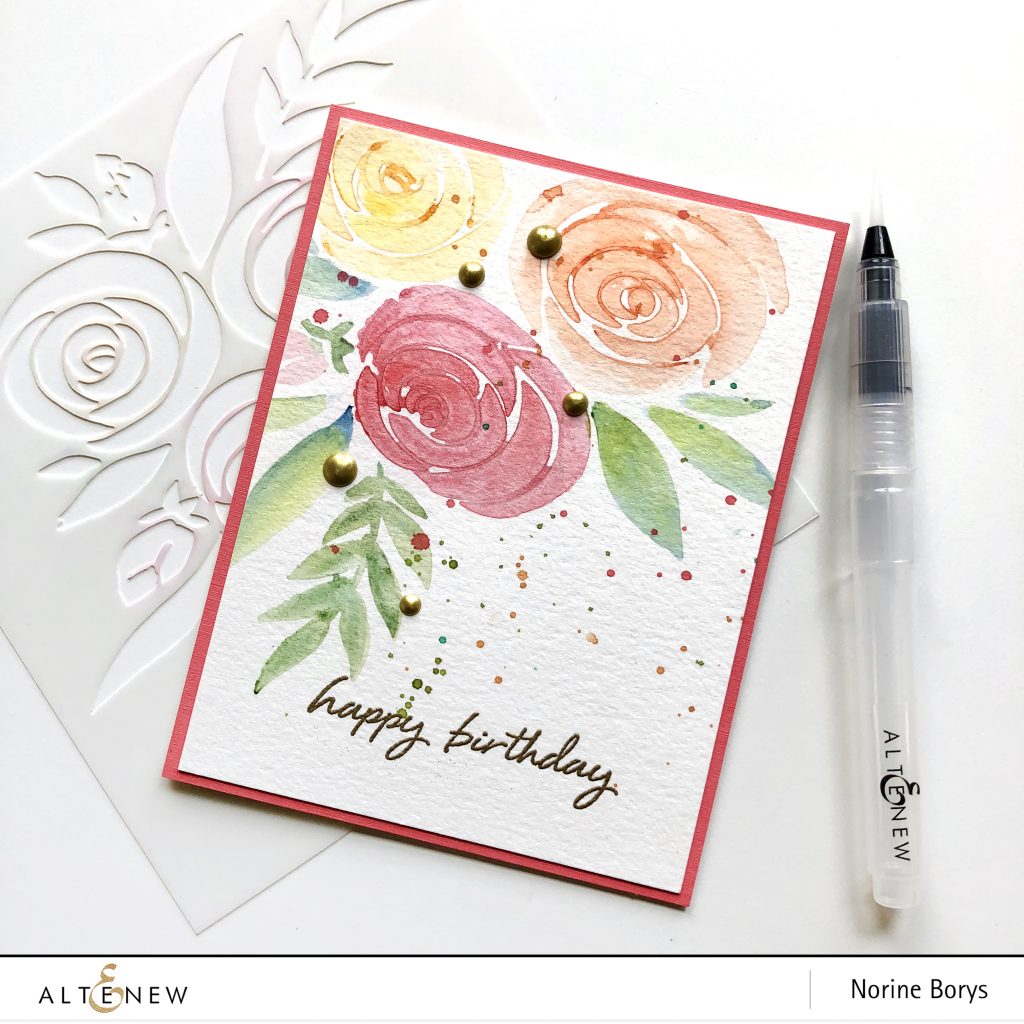
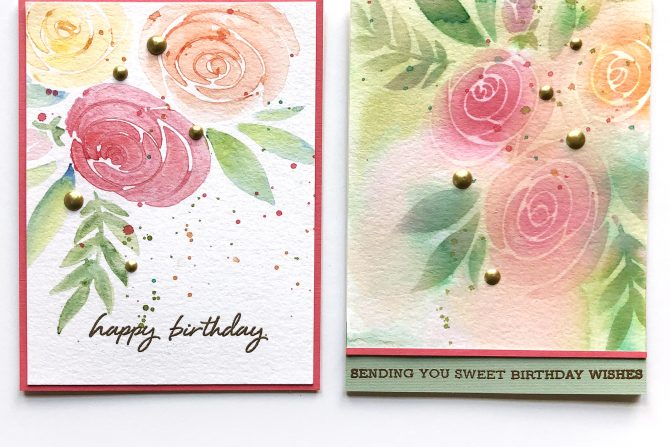
I made two cards with the Rose Bouquet Stencil, using the same color scheme but different techniques. For the first card, I taped the stencil to watercolor paper and actually painted over the stencil with watercolor paint. I’ve been hearing amazing things about a new (to me?) spray adhesive called Pixie Spray For Stencils, that I intend to try, but for today’s card, I knew enough to expect seepage underneath the stencil inspire of my best efforts, so I decided to just embrace that messiness.
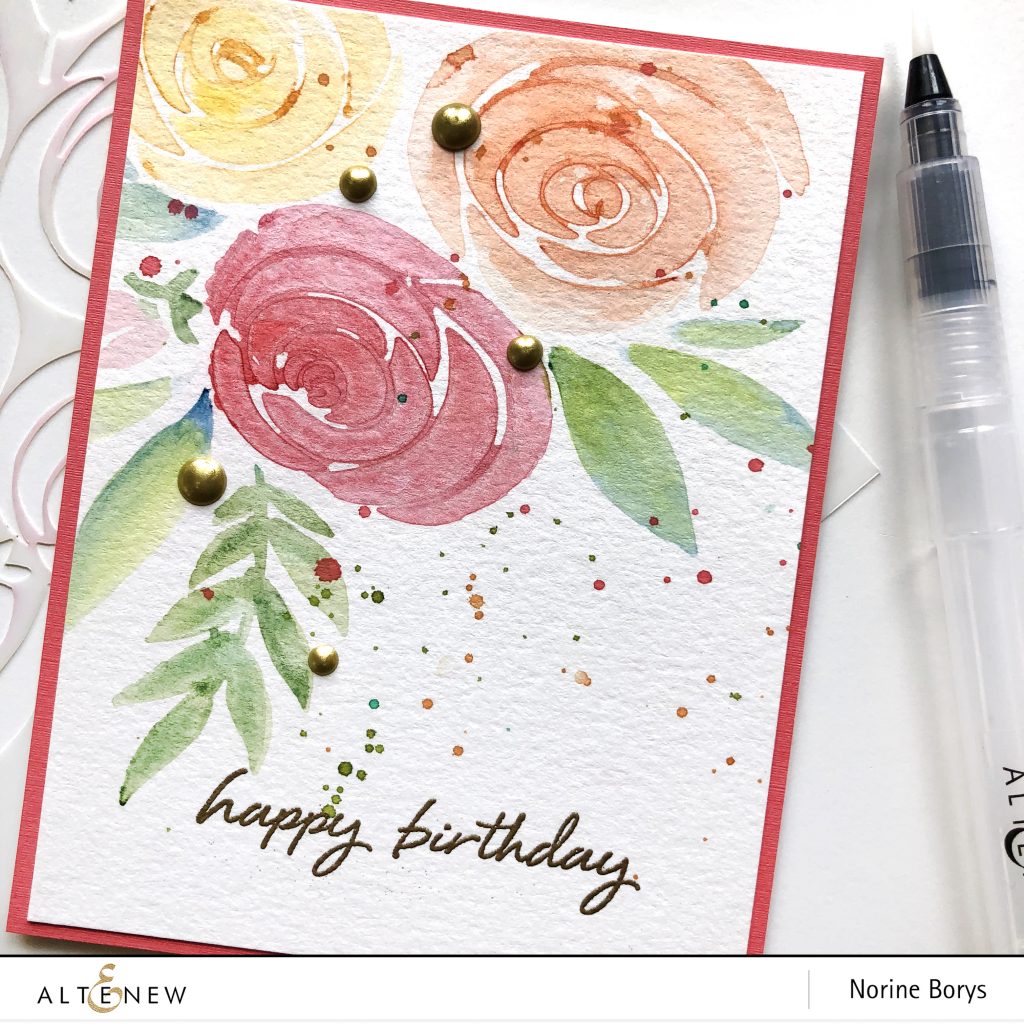
I did use a somewhat “drier” brush compared to how I often load up the brush with lots of water to allow the colors to blend. I also used lighter colors in general, (less pigment, more water) and just added deeper color tones in the centers of the flowers and lighter towards the edges. For the leaves, I painted with one shade of green, then touched the wet paint with additional shades of green/blue/yellow, to let them blend in a more interesting way. I splattered the finished card panel with more of the same paint colors, stamped a sentiment from the Birthday Builder stamp set and heat embossed with gold embossing powder.
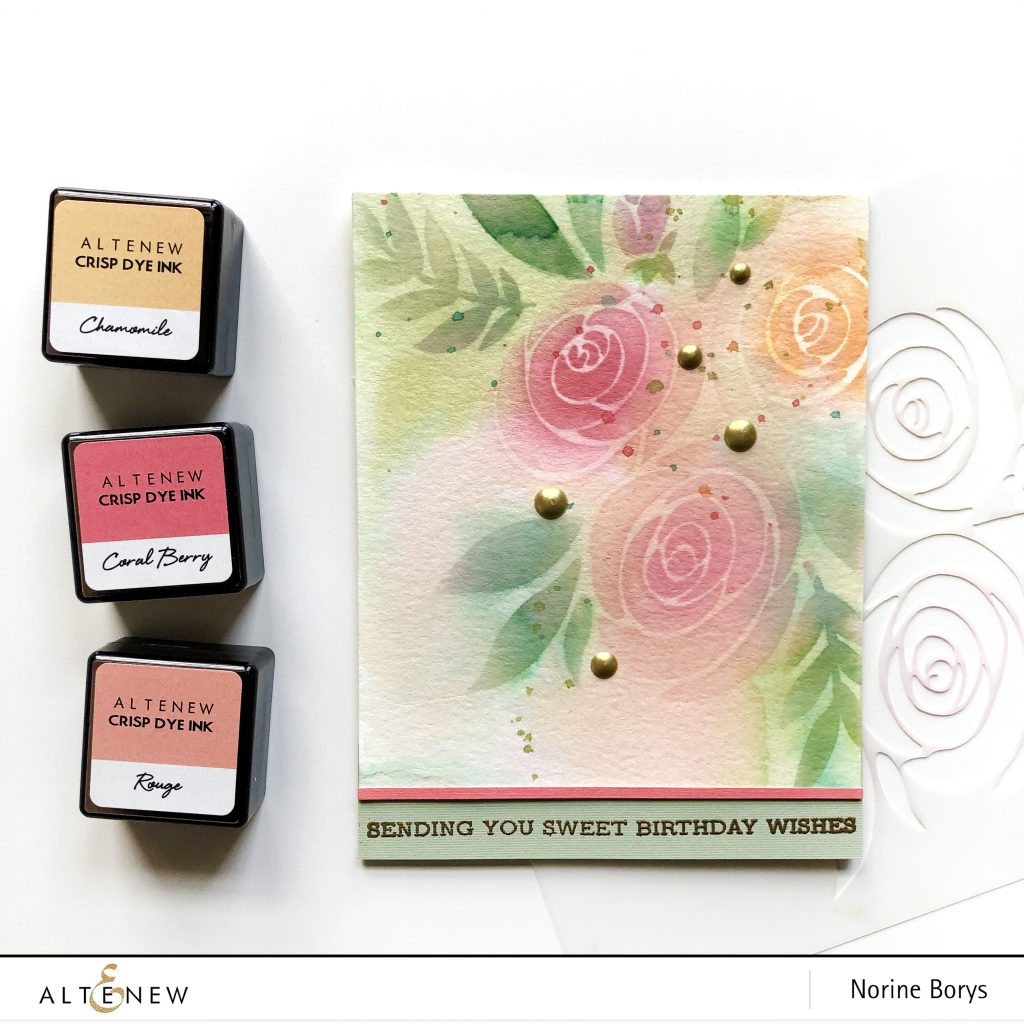
For the second card made with the Rose Bouquet Stencil, I blended Chamomile, Coral Berry and Rouge ink colors overtop the flower sections and Olive, Moss and Evergreen on the leaves of the stencil. I blended the inks onto watercolor paper, then quickly spritzed the card panel to allow some of the inks to wick and spread.
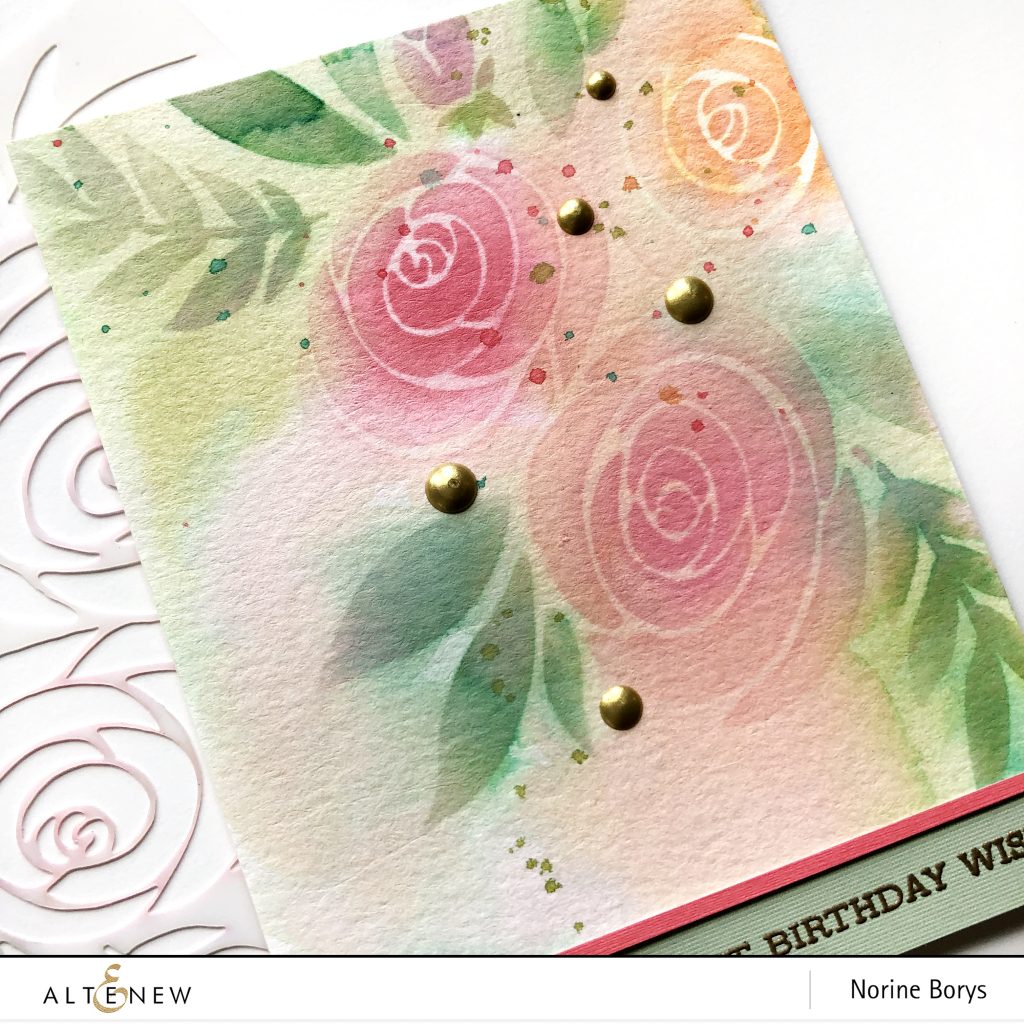
Where the color didn’t spread as much I smeared some of the same inks onto a palette and picked up the pigment with a large wet paint brush, then added the paint color to fill in backgrounds and even overtop some of the leaves and blooms. This card has paint splatters added as well, a sentiment from the Sentiment Strips Stamp Set, heat embossed with gold embossing powder, a narrow strip of contrasting cardstock and some gold Nuvo drops to complete the card.
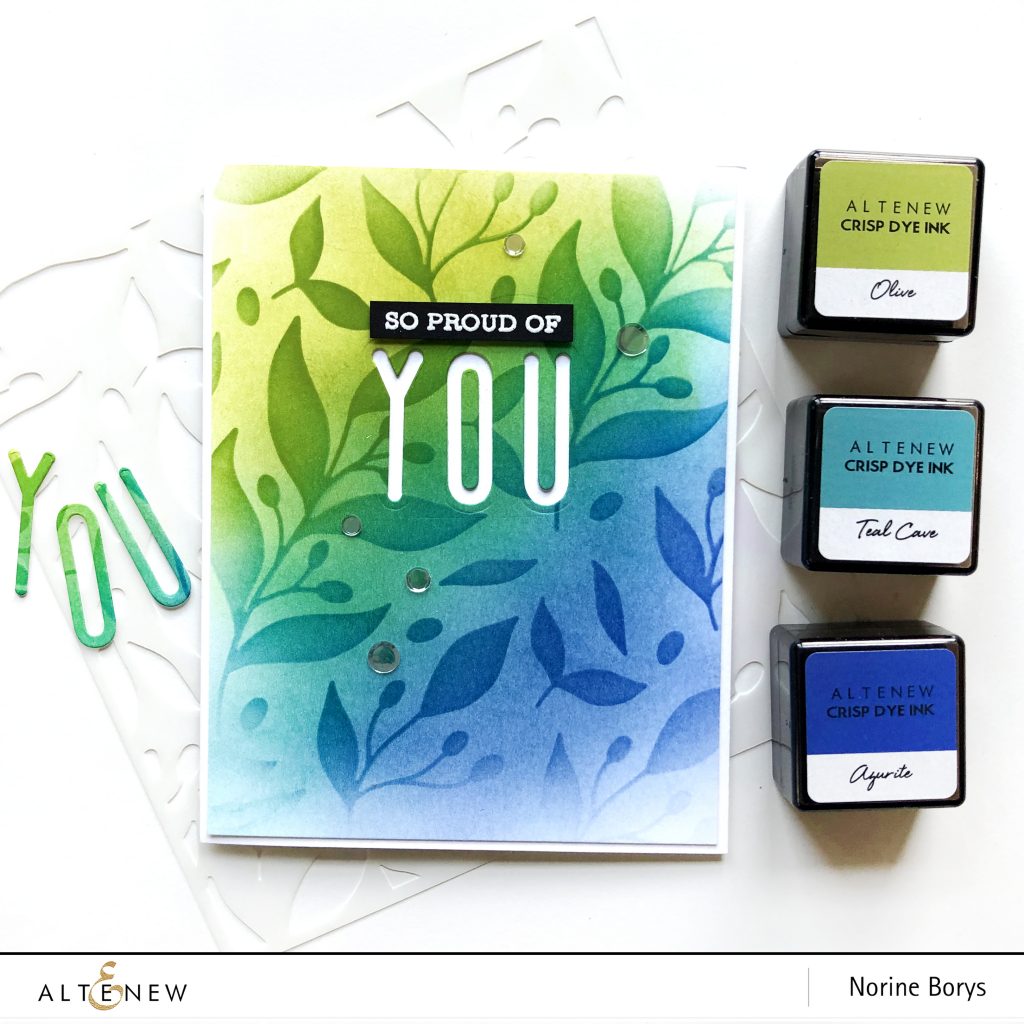
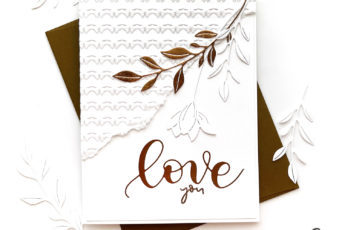
Card number three is made with the Leaves & Berries Stencil – one I’ll be reaching for often for it’s versatility. I feel like it will work well for both botanical themed cards as well as masculine cards (always a bit of a challenge).
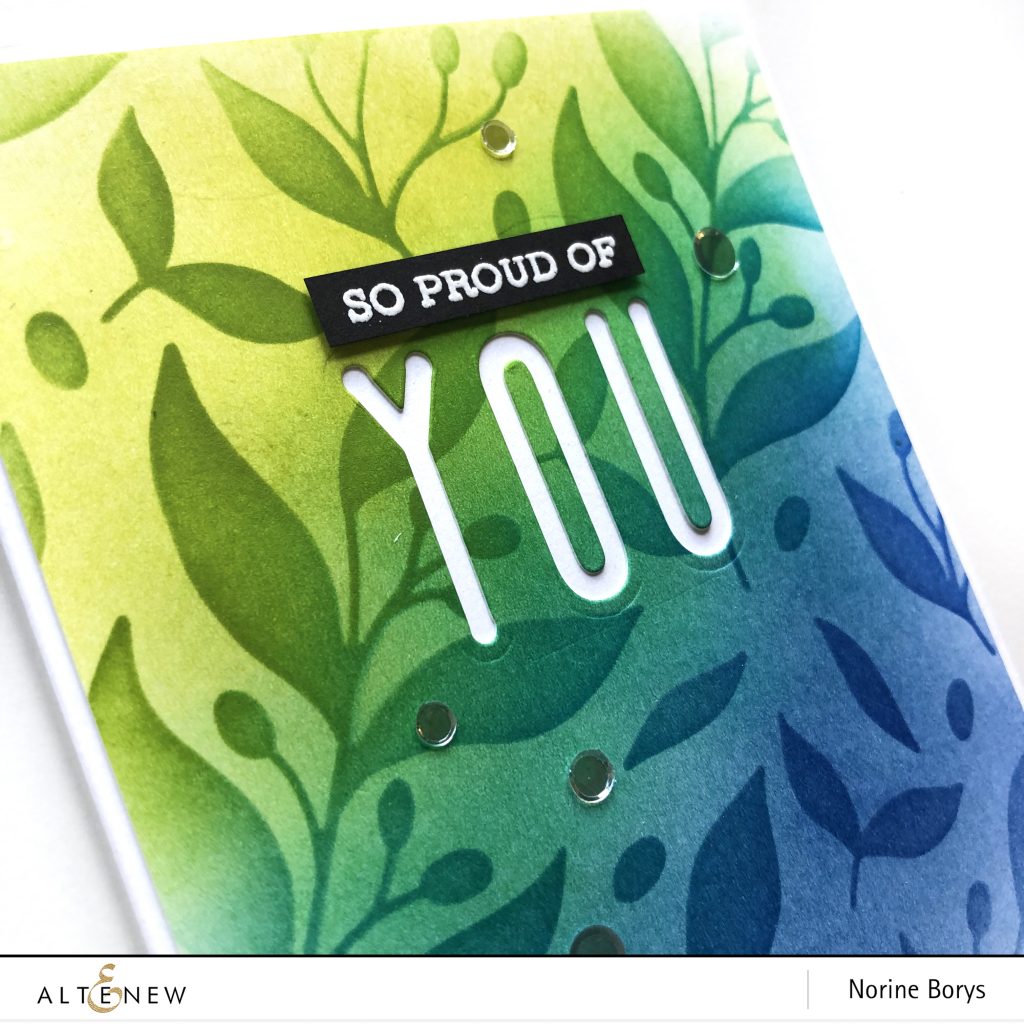
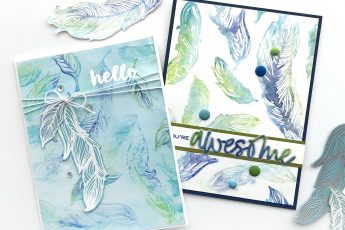
I did the ink blending in two stages for this card, inking up the card panel in three overlapping sections of color – Olive, Tidal Blue and Azurite. Then I taped the stencil overtop the card panel and re-inked each section of color with more of the same color to get a darker but still tone-on-tone design from the stencil.

I used the recently released Tall Alpha Die set to die cut the word YOU, taking care not to lose the center of the O. I adhered the die cut card panel overtop a white cardstock card base, adhering the O center in place as well. I stamped the sentiment from the Sentiment Strips Stamp set onto black card stock and heat embossed with white embossing powder. I added some simple clear, flat sequins to complete this card. A very simple, but effective technique!
Your next stop on the hop is the blog of Nathalie DeSousa. Below you will find the complete blog hop list in case of encountering a broken link.
To celebrate this release, Altenew is giving away a $30 gift certificate to 6 lucky winners! Please leave a comment on the Altenew Card Blog and/or Altenew Scrapbook Blog by 10/8/2019 for a chance to win.
We’ll also draw a winner to receive a $15 gift certificate from the comments left on each designer’s blog on the blog hop list below. All winners will be announced on the Altenew blogs on 10/12/2019.
Your complete blog hop map is here:
Thanks for stopping by today and enjoy the rest of the hop!

