Hello, hi! I have a post up on the Altenew Card Blog today and wanted to share it with you here as well. I got to use the recently released (just yesterday actually) Hill Blossoms Layering Stencil set to create these three cards.
This post contains affiliate links that are listed below. By clicking through to purchase products linked, you are helping to support this blog at no additional cost to you and that allows me to continue to provide you with creative inspiration and instructive help.
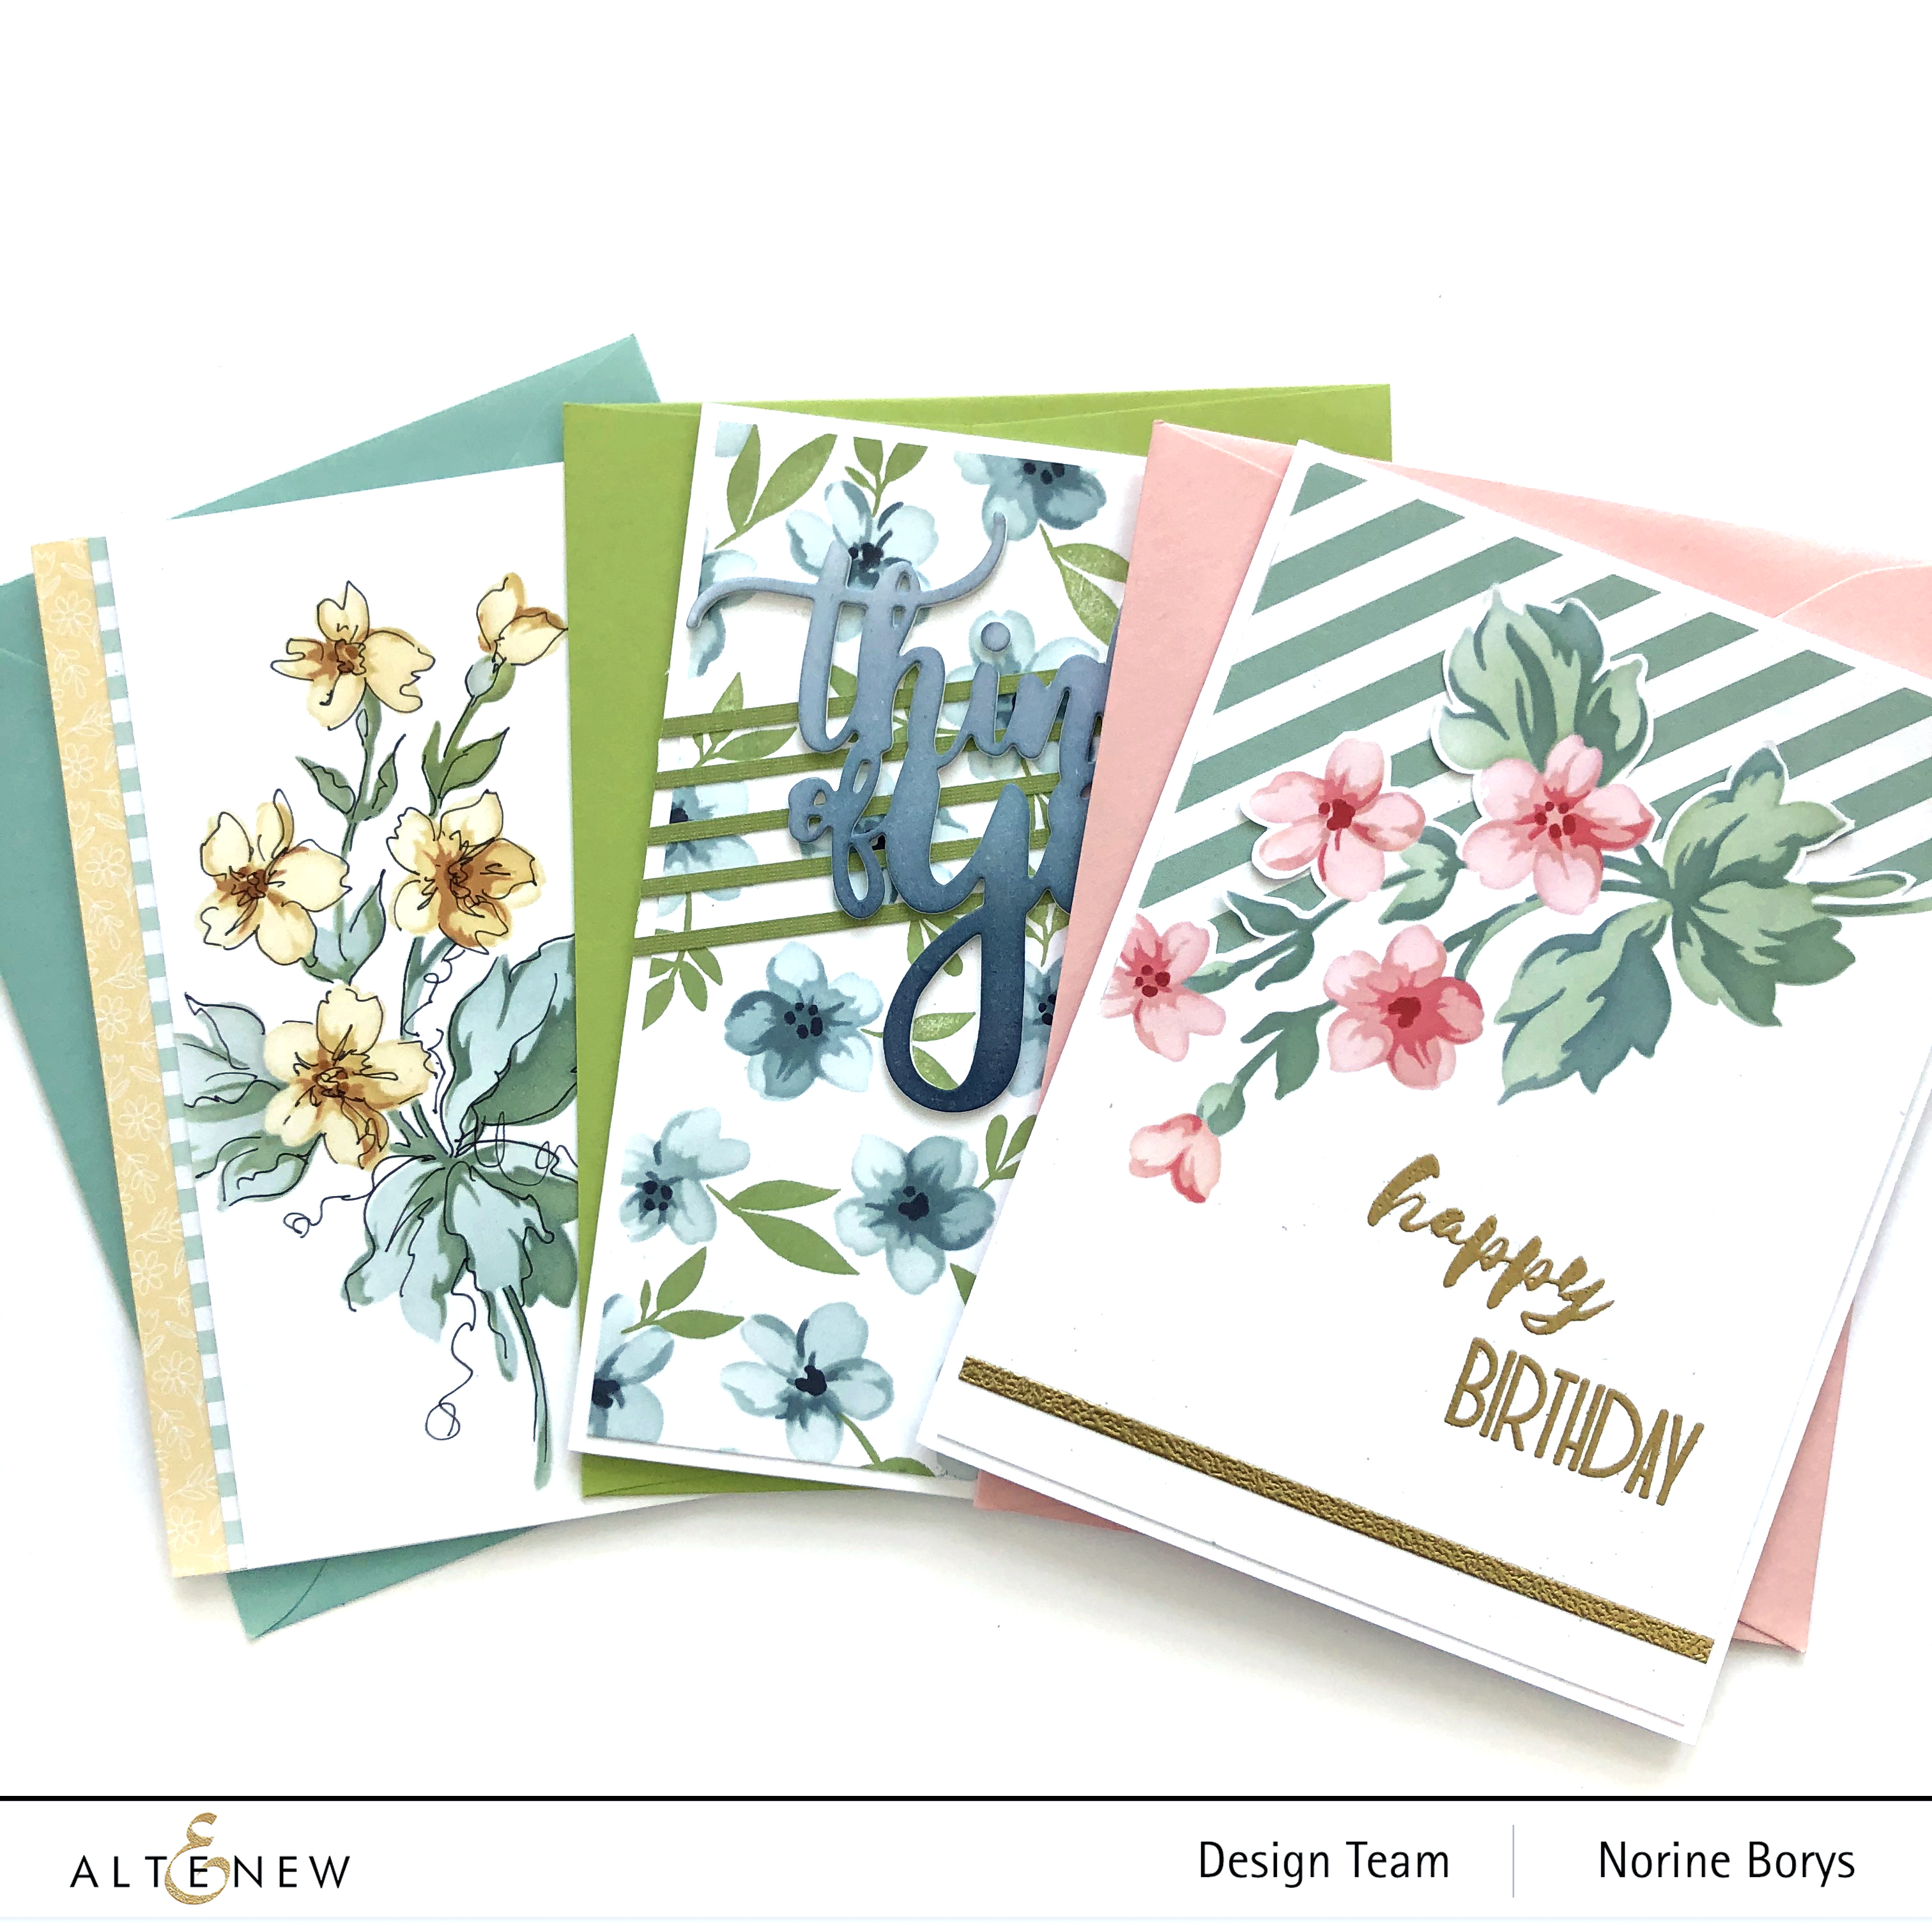
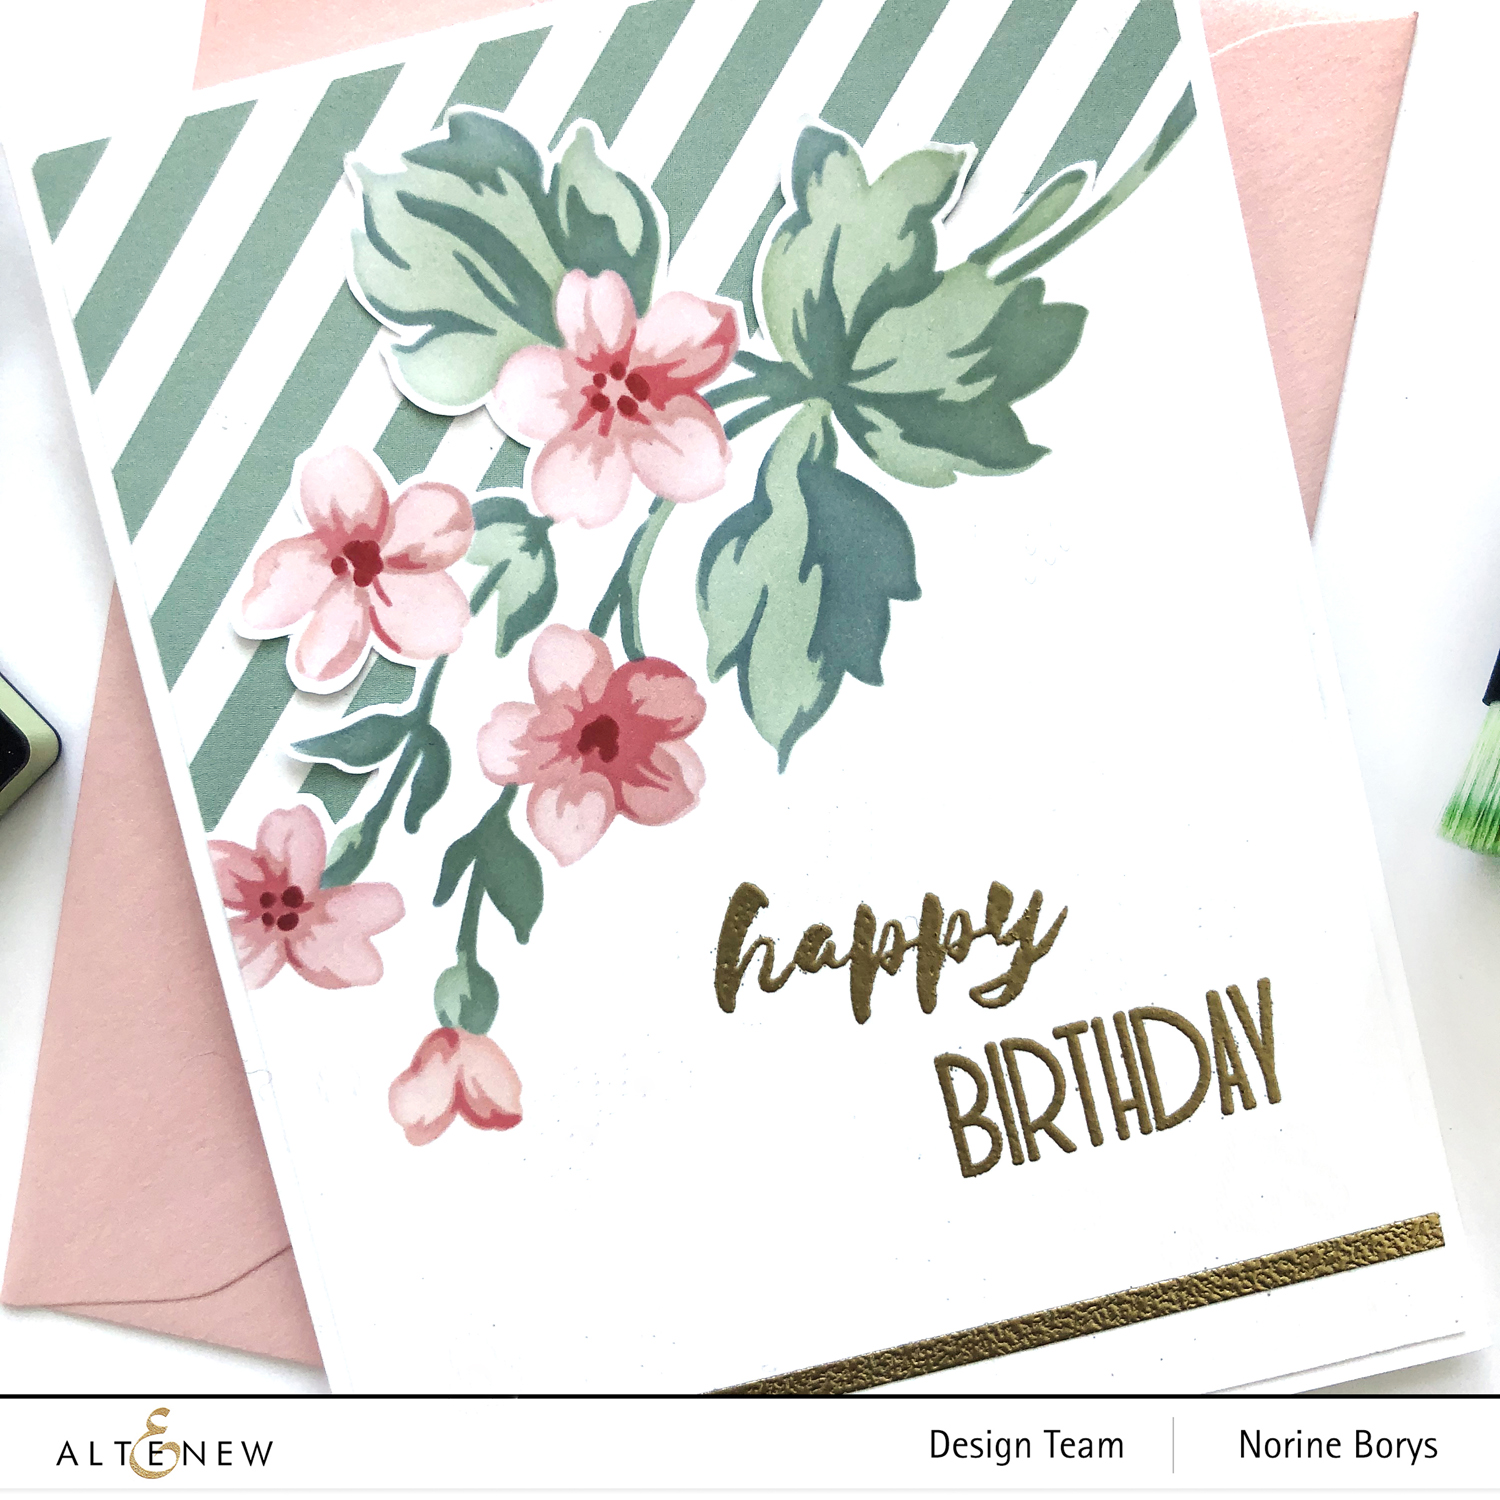
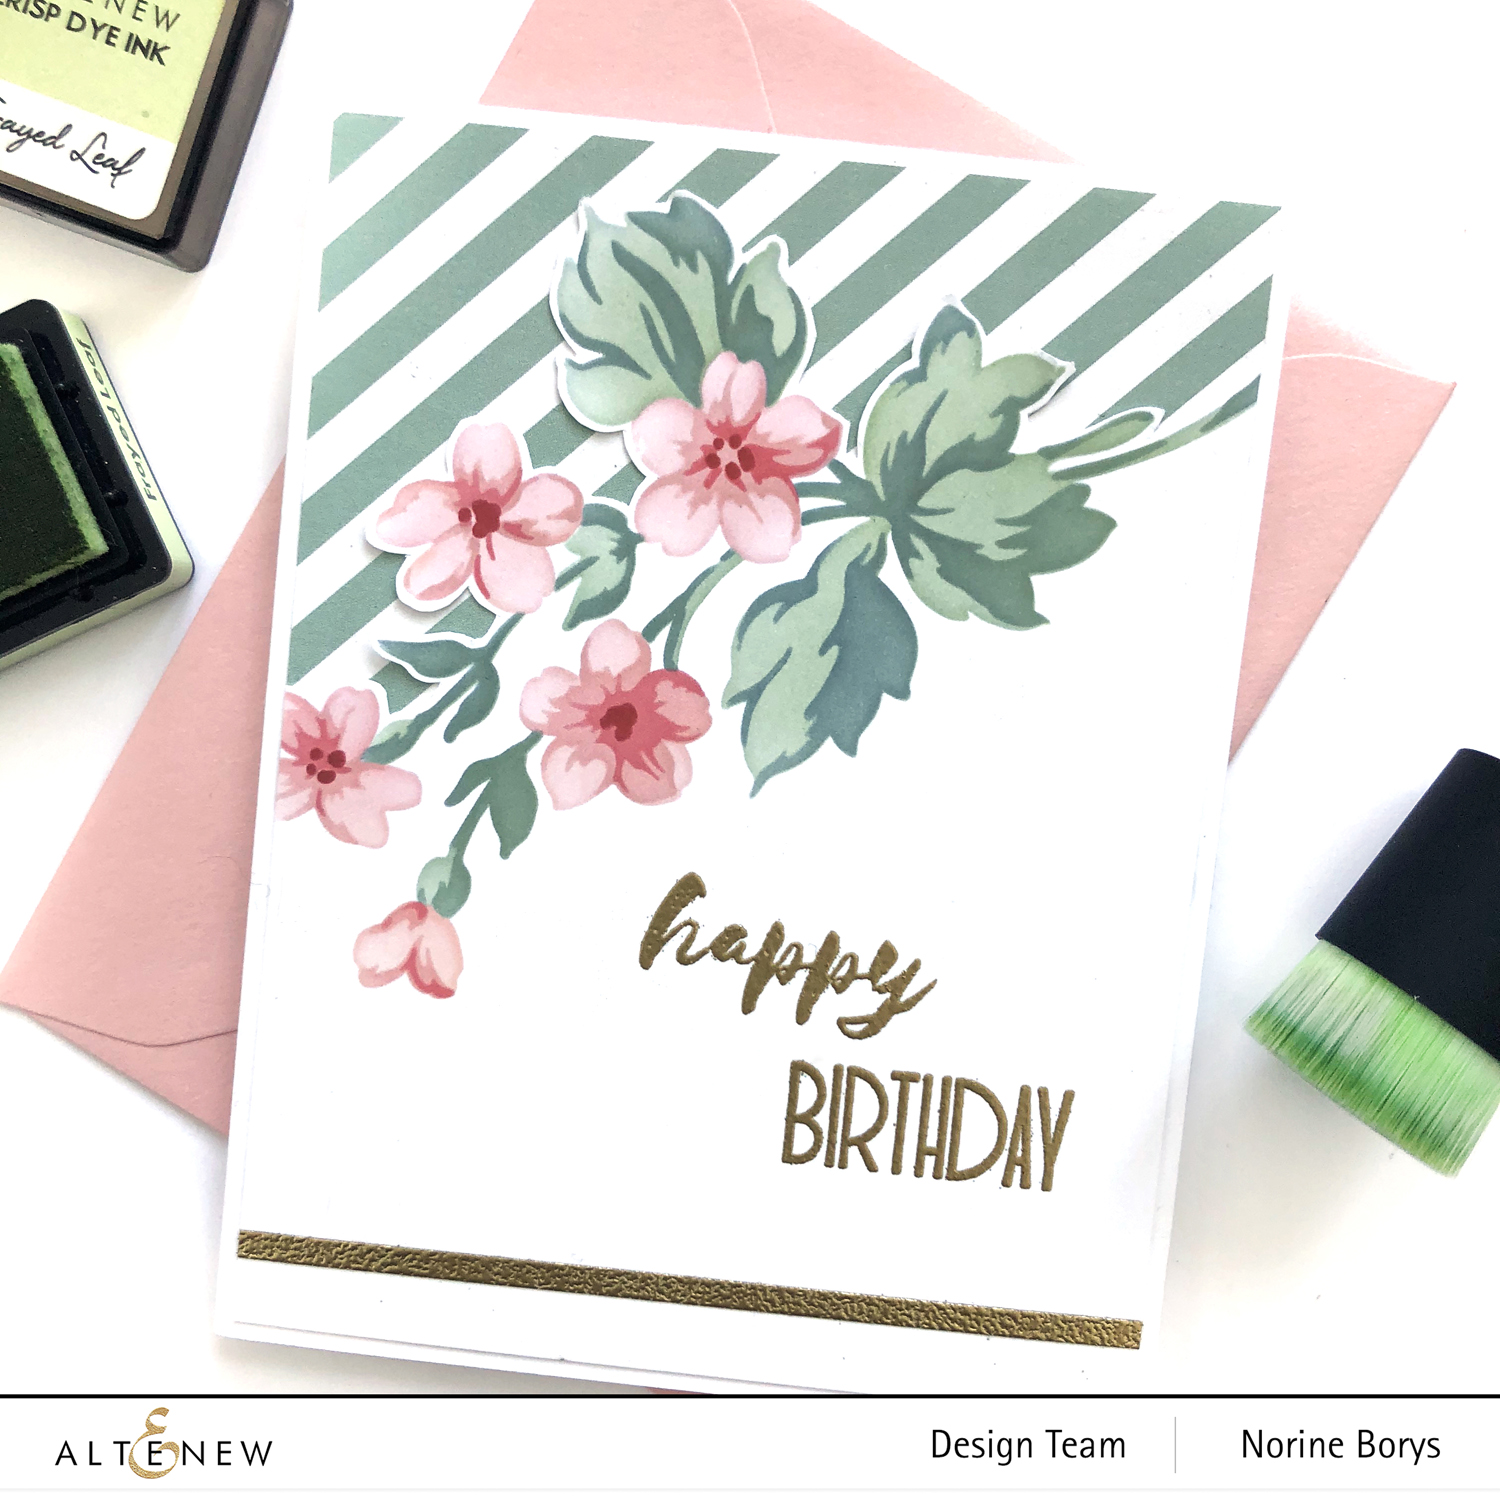
For card #1, I positioned the stencil so that it would drape down from top right to bottom left, covering the whole width of the card panel.
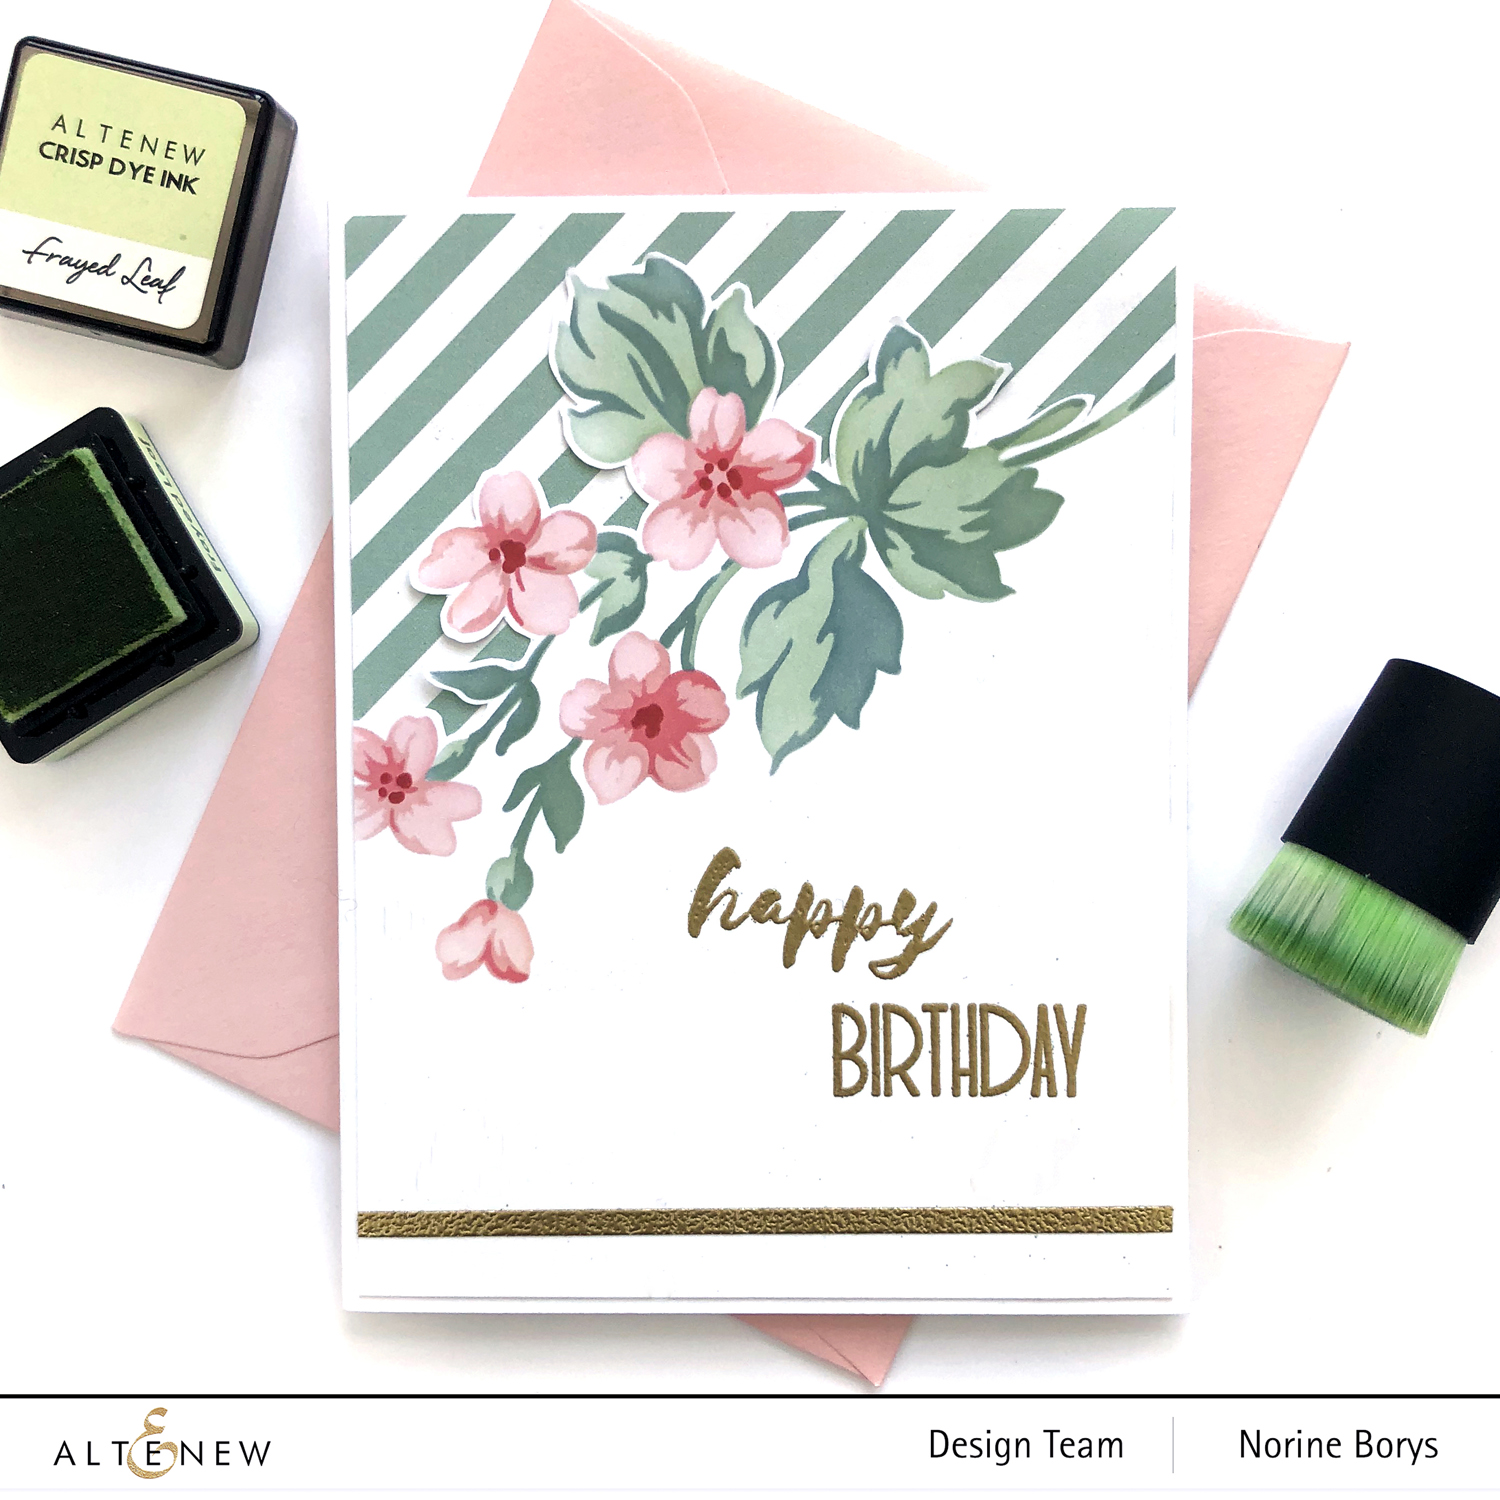
I achieved that interesting shade of green for the leaves on this card, by ink blending first with Frayed Leaf, then again with Misty Morning, a blue gray shade. Then the darker layer was Forest Glade, covered with Cloudy Sky.
Then I ink blended the four layers of the blossoms with all the shades of ink in the Red Sunset color family – Blush, Rouge, Crimson and Velvet. The darkest shade was reserved for the stamen heads in the center of the flowers, and the new Detail Blending Brushes just released by Altenew are the cat’s meow for that task, I tell ya!
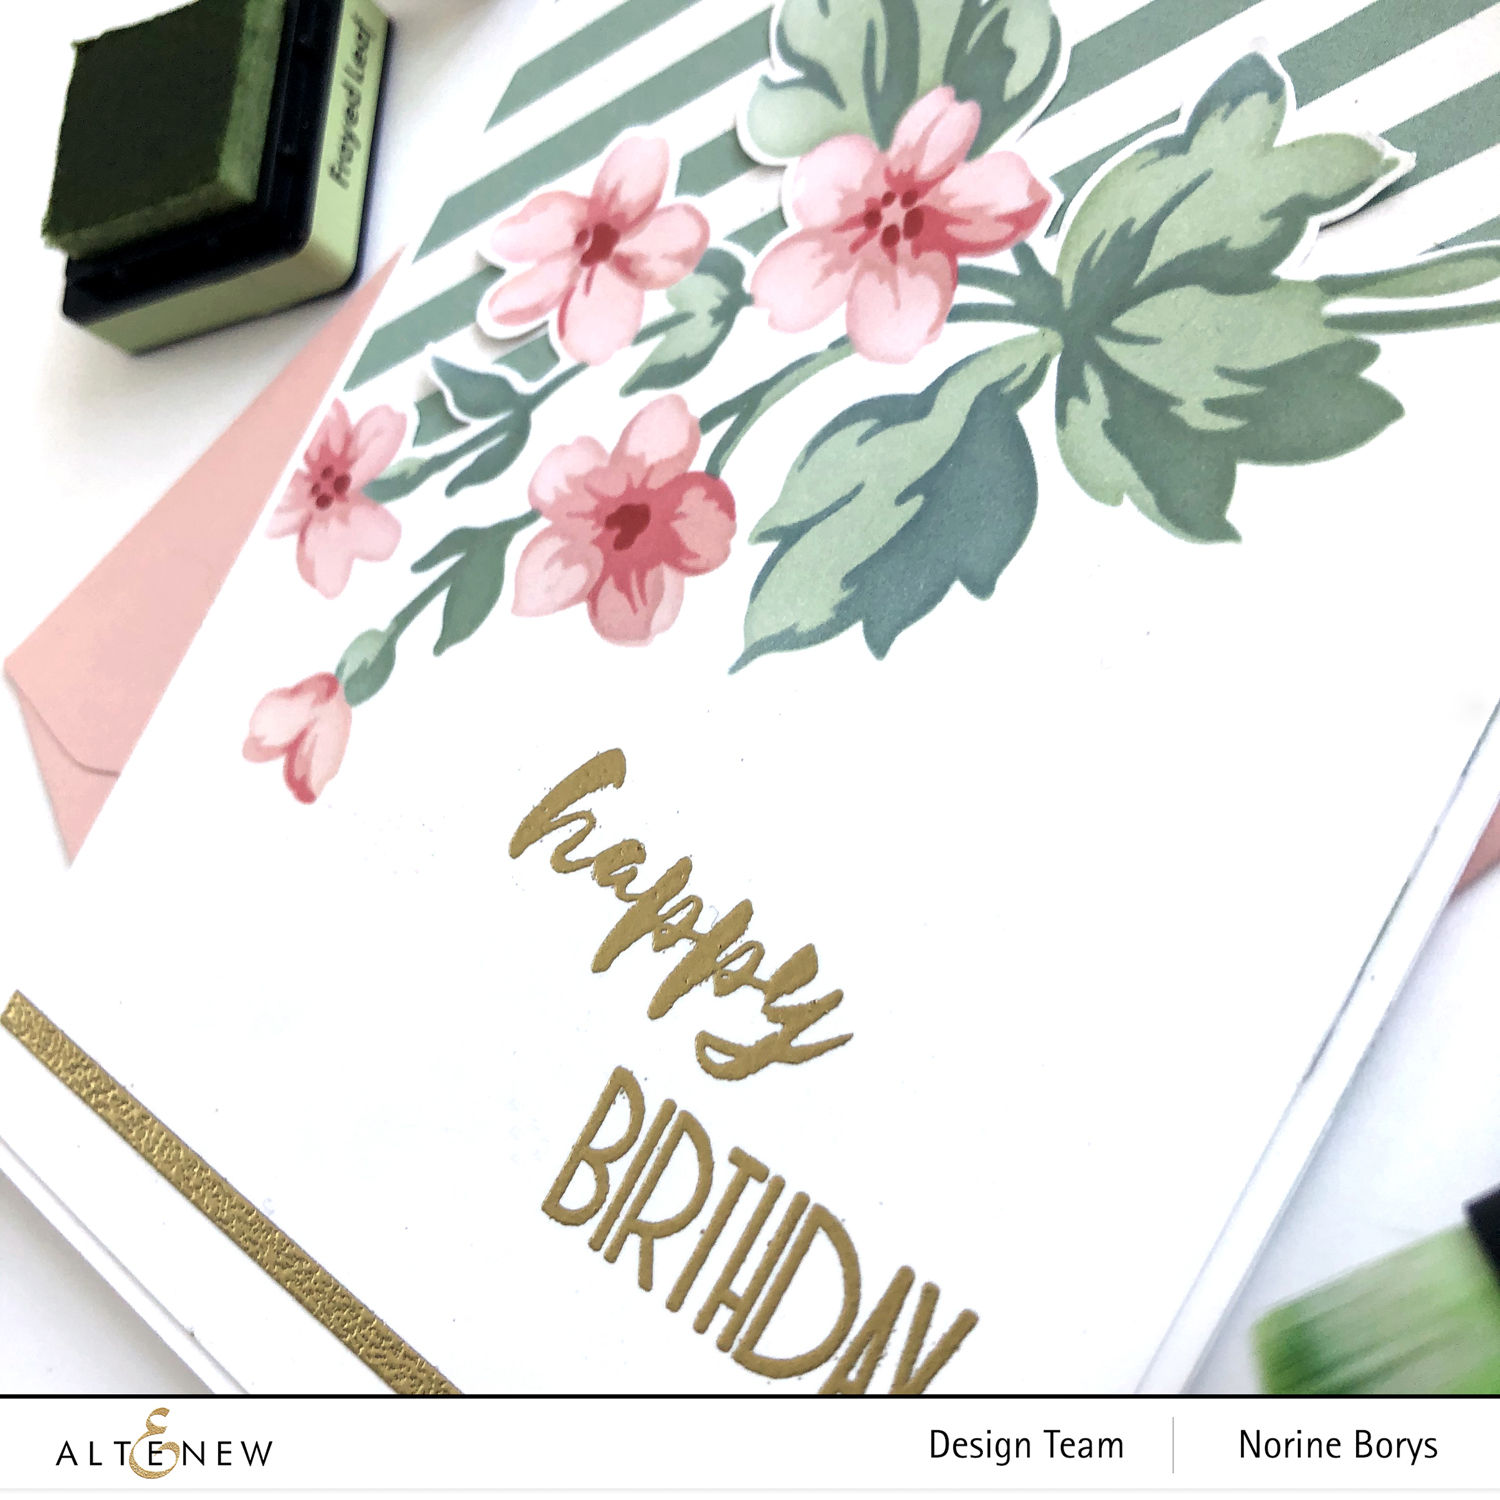
I used some fine tipped scissors to fussy cut away the top of the stenciled edge and adhered it to a panel of green striped patterned paper. To finish the card I used two stamps from the Birthday Builder stamp set and heat set with gold embossing powder. I ran a strip of narrow double sided adhesive tape along the bottom and covered it with gold embossing powder, then heat set it.
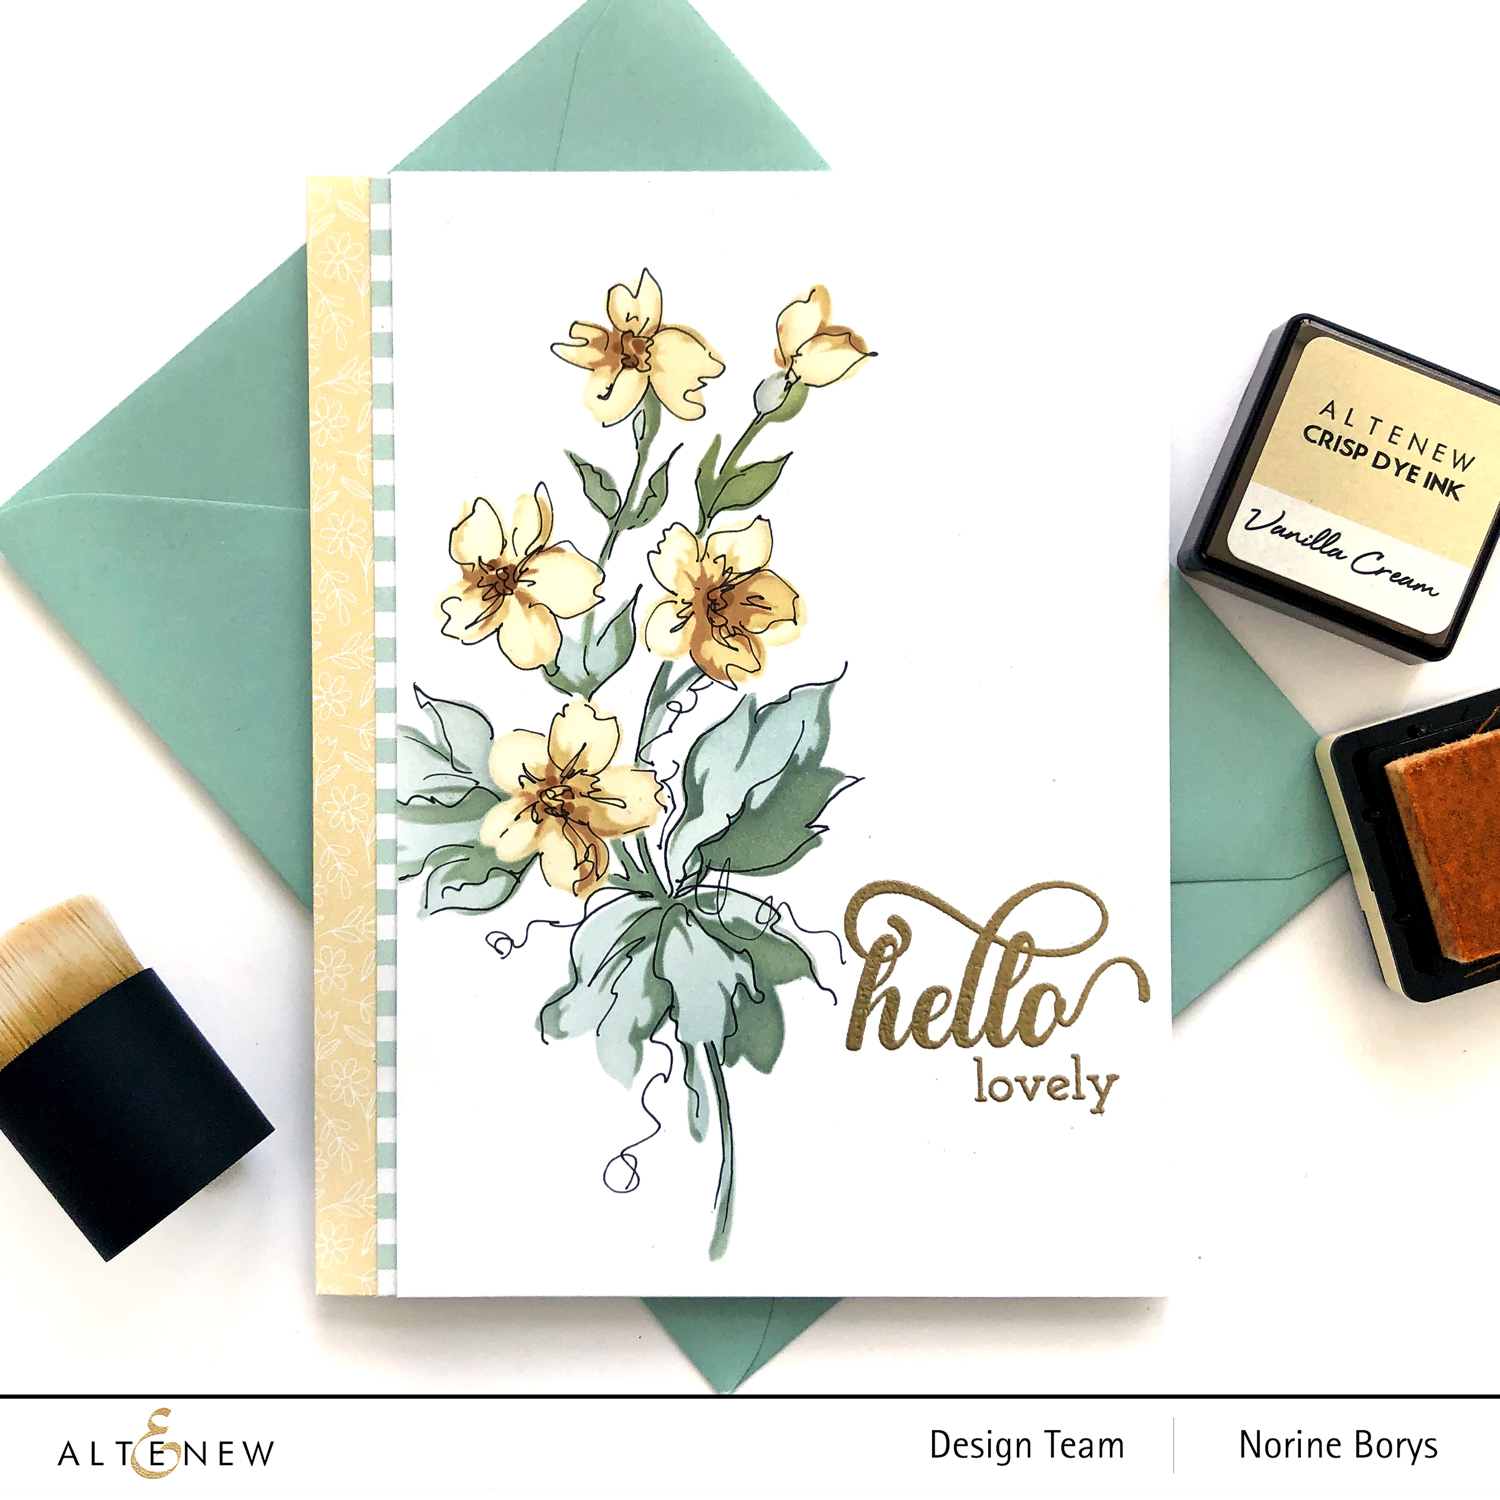
Card #2 is also a simple, straightforward stenciling of two layers for leaves (same color combo as mentioned above) and 4 layers for the blossoms – the Delectable Delights color family of Vanilla Cream, Hazelnut, Almond Butter and Milk Chocolate.
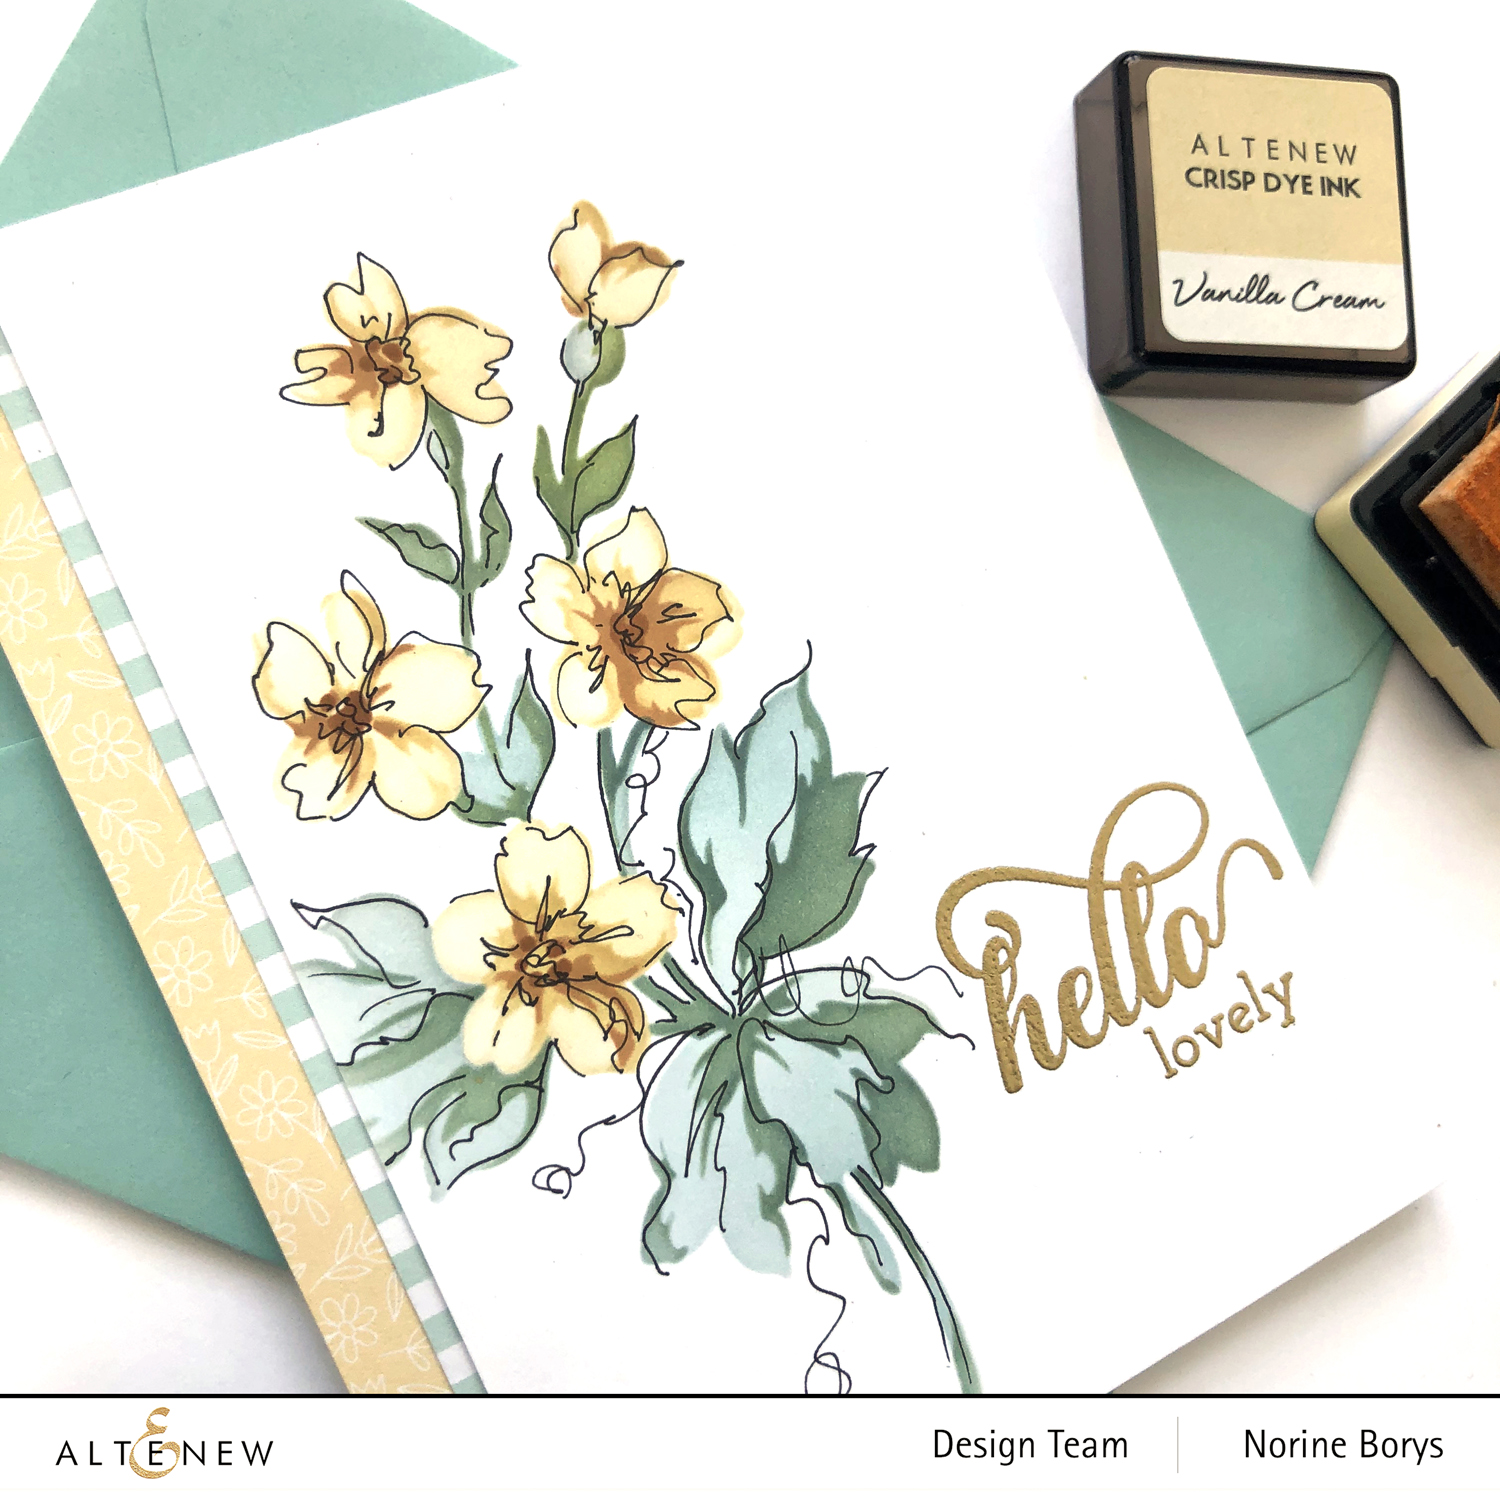
But just to change things up a little, I added some pen work to give the overall card design a little wildness! I used the Altenew Fine Liner pens and didn’t worry about sticking to the shape outlines much.
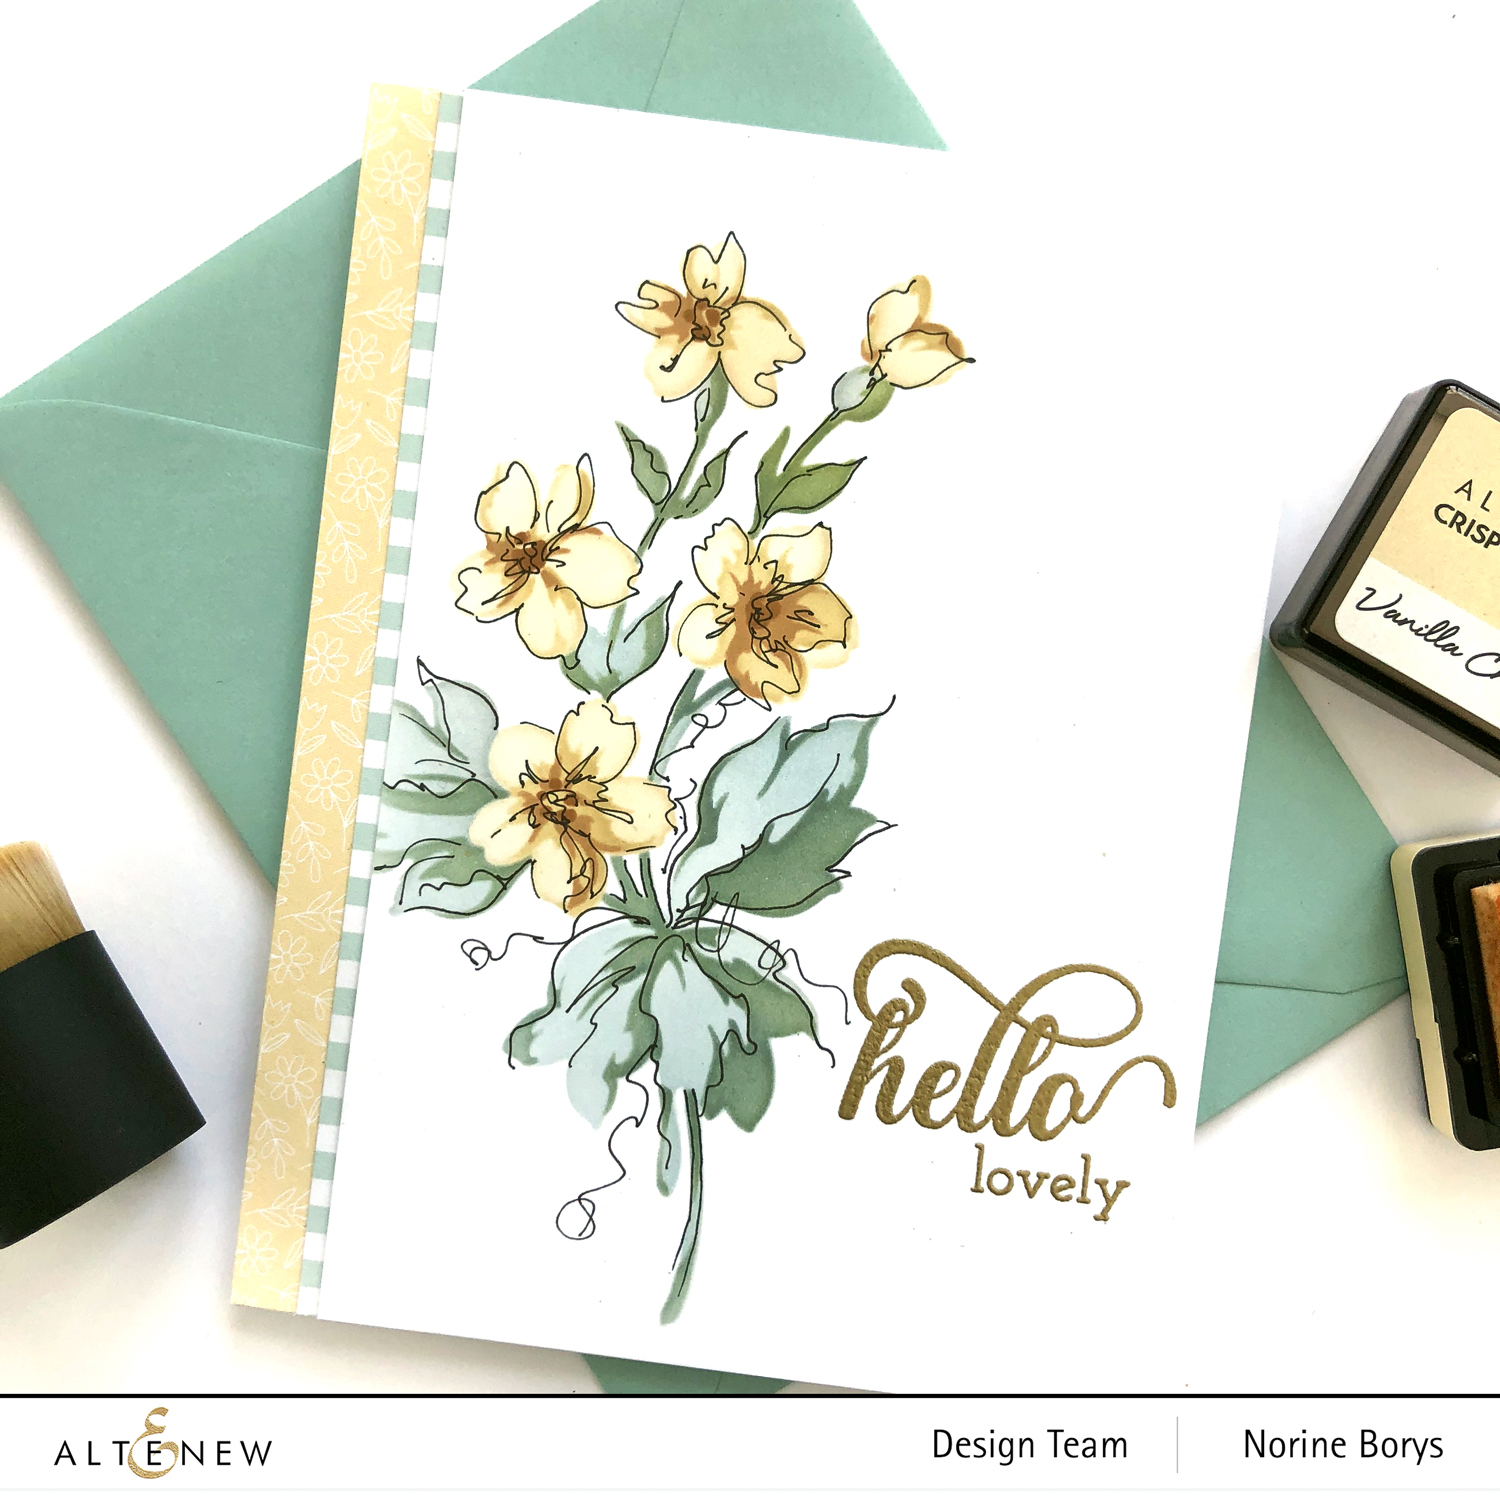
I stamped a sentiment from the Fancy Greetings stamp set and heat set with gold embossing powder. I also dug through my stash to find two pieces of patterned papers that coordinated with the stenciled image, and trimmed them to two narrow strips along the left side.
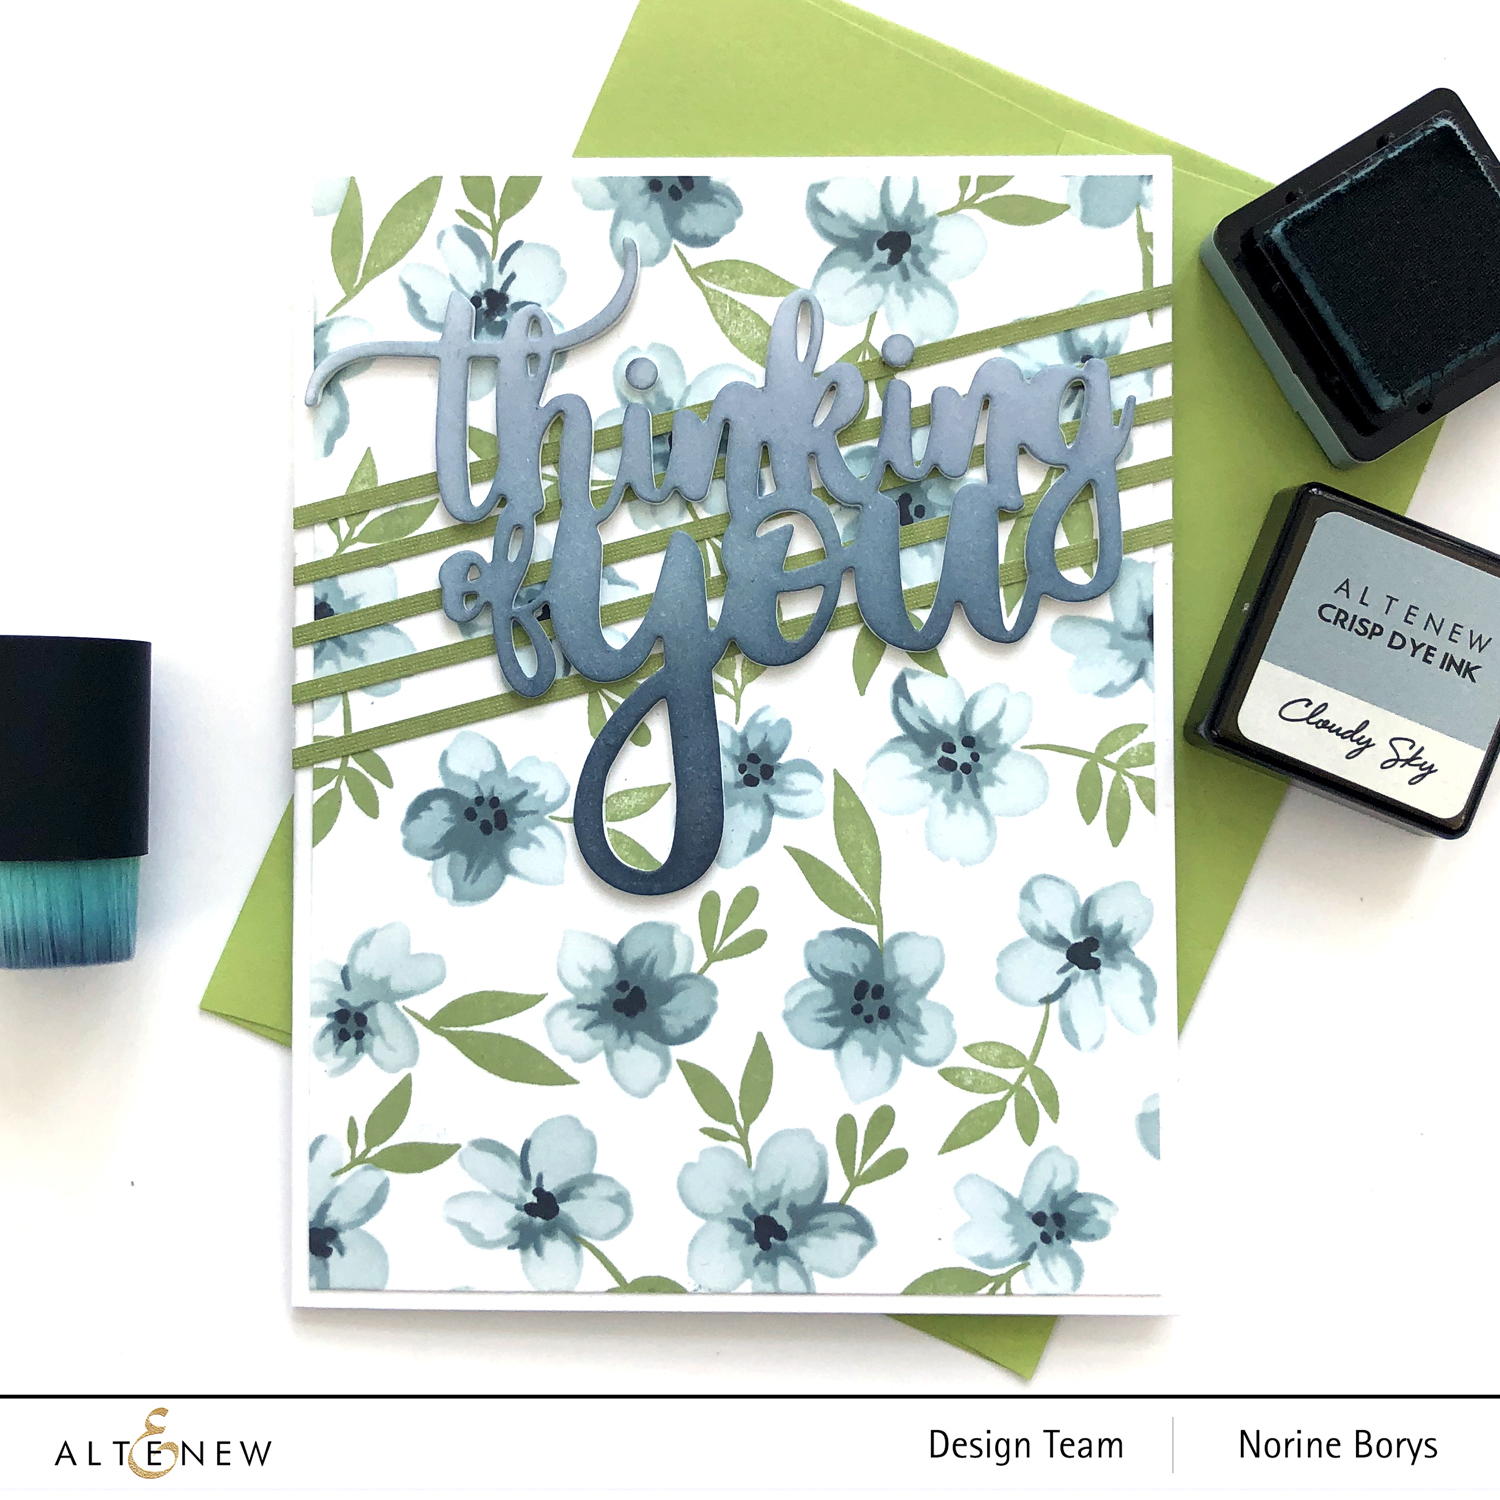
My last card is stenciled with the same set of stencils but this time I only ink-blended the 4-layers of flowers. I used the Tranquility ink set, Misty Morning, Cloudy Sky, Nimbus and Dark Night for the blossoms.
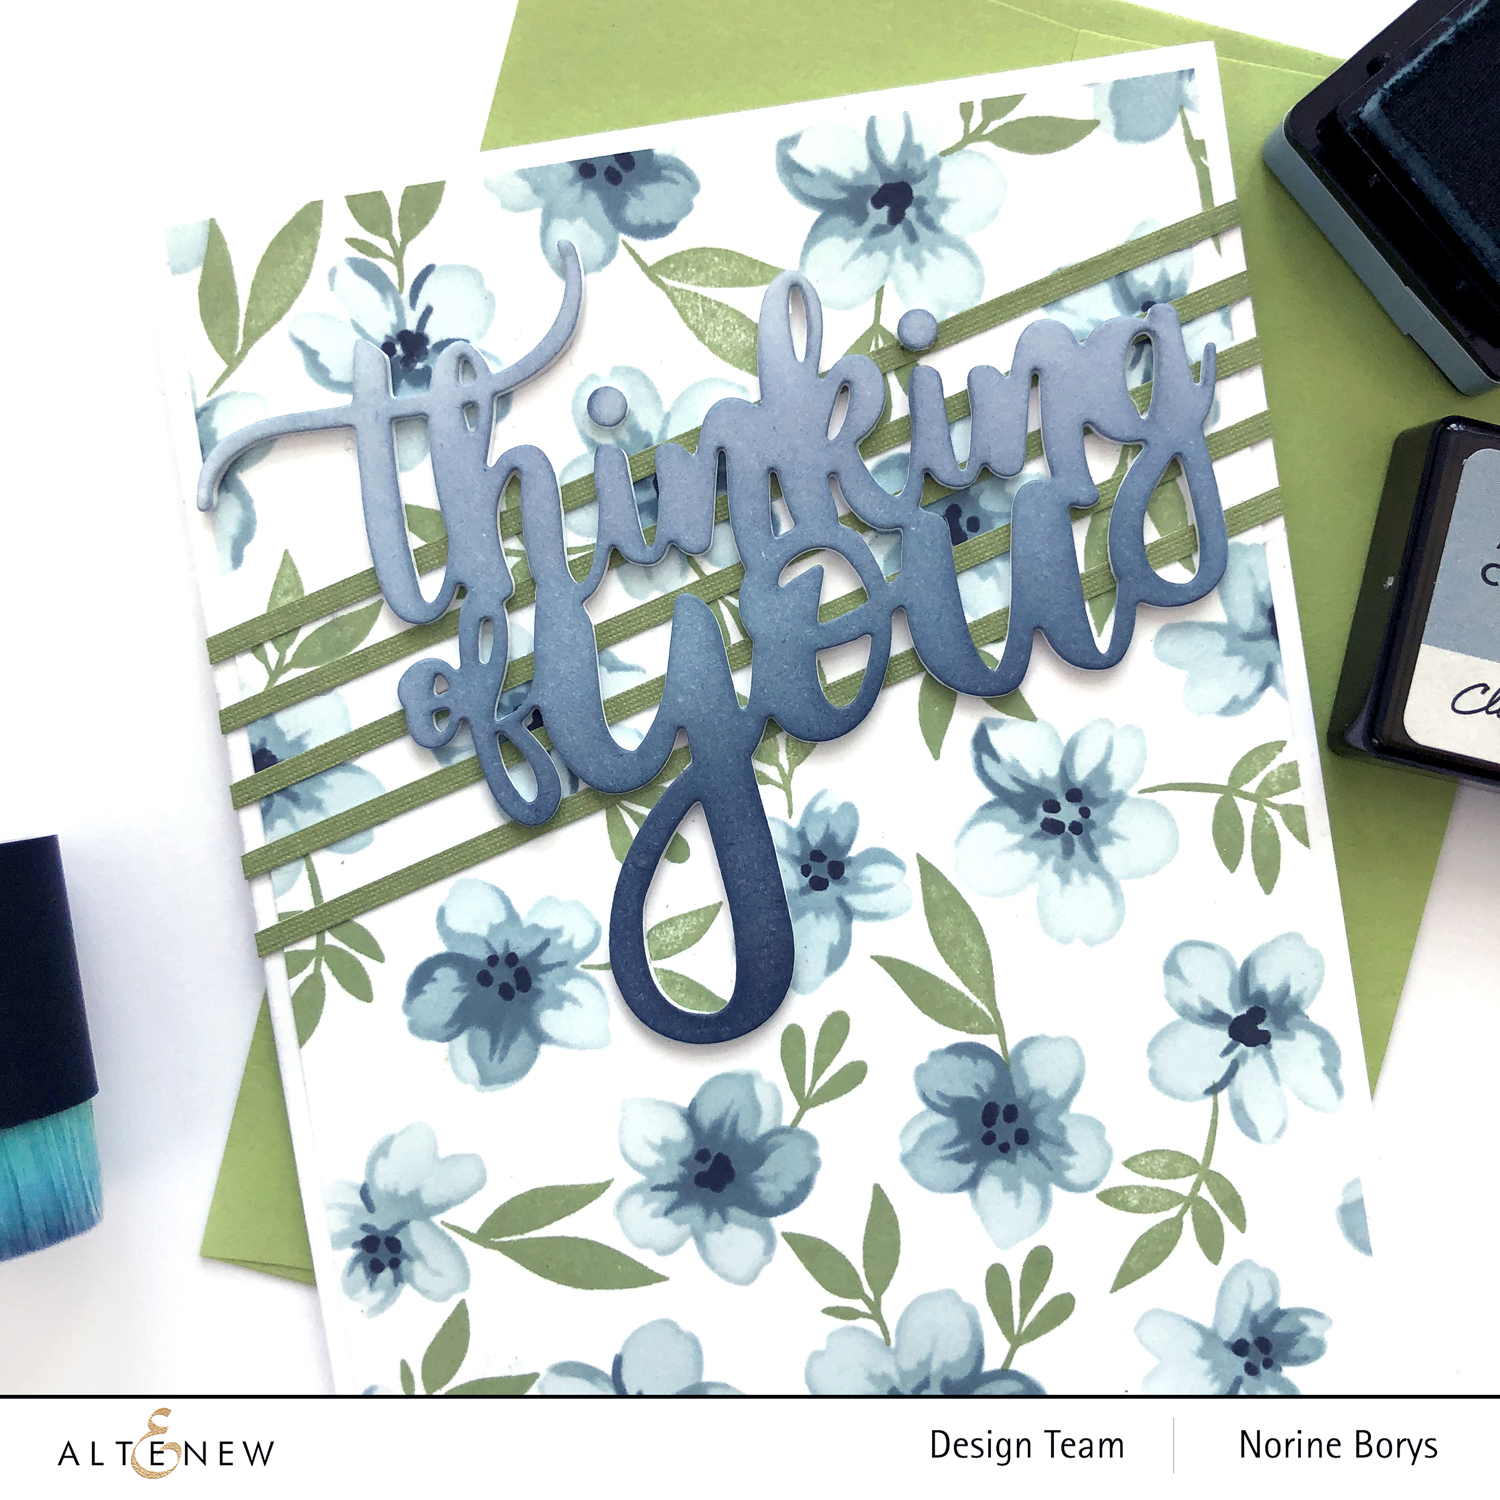
Next, I chose the three smallest leaf stamps from the Wildflower Doodles stamp set and added leaves to fill in the open spaces on the card panel. I stamped with Forest Glade for these leaves, using the MISTI to get a better image for each one.
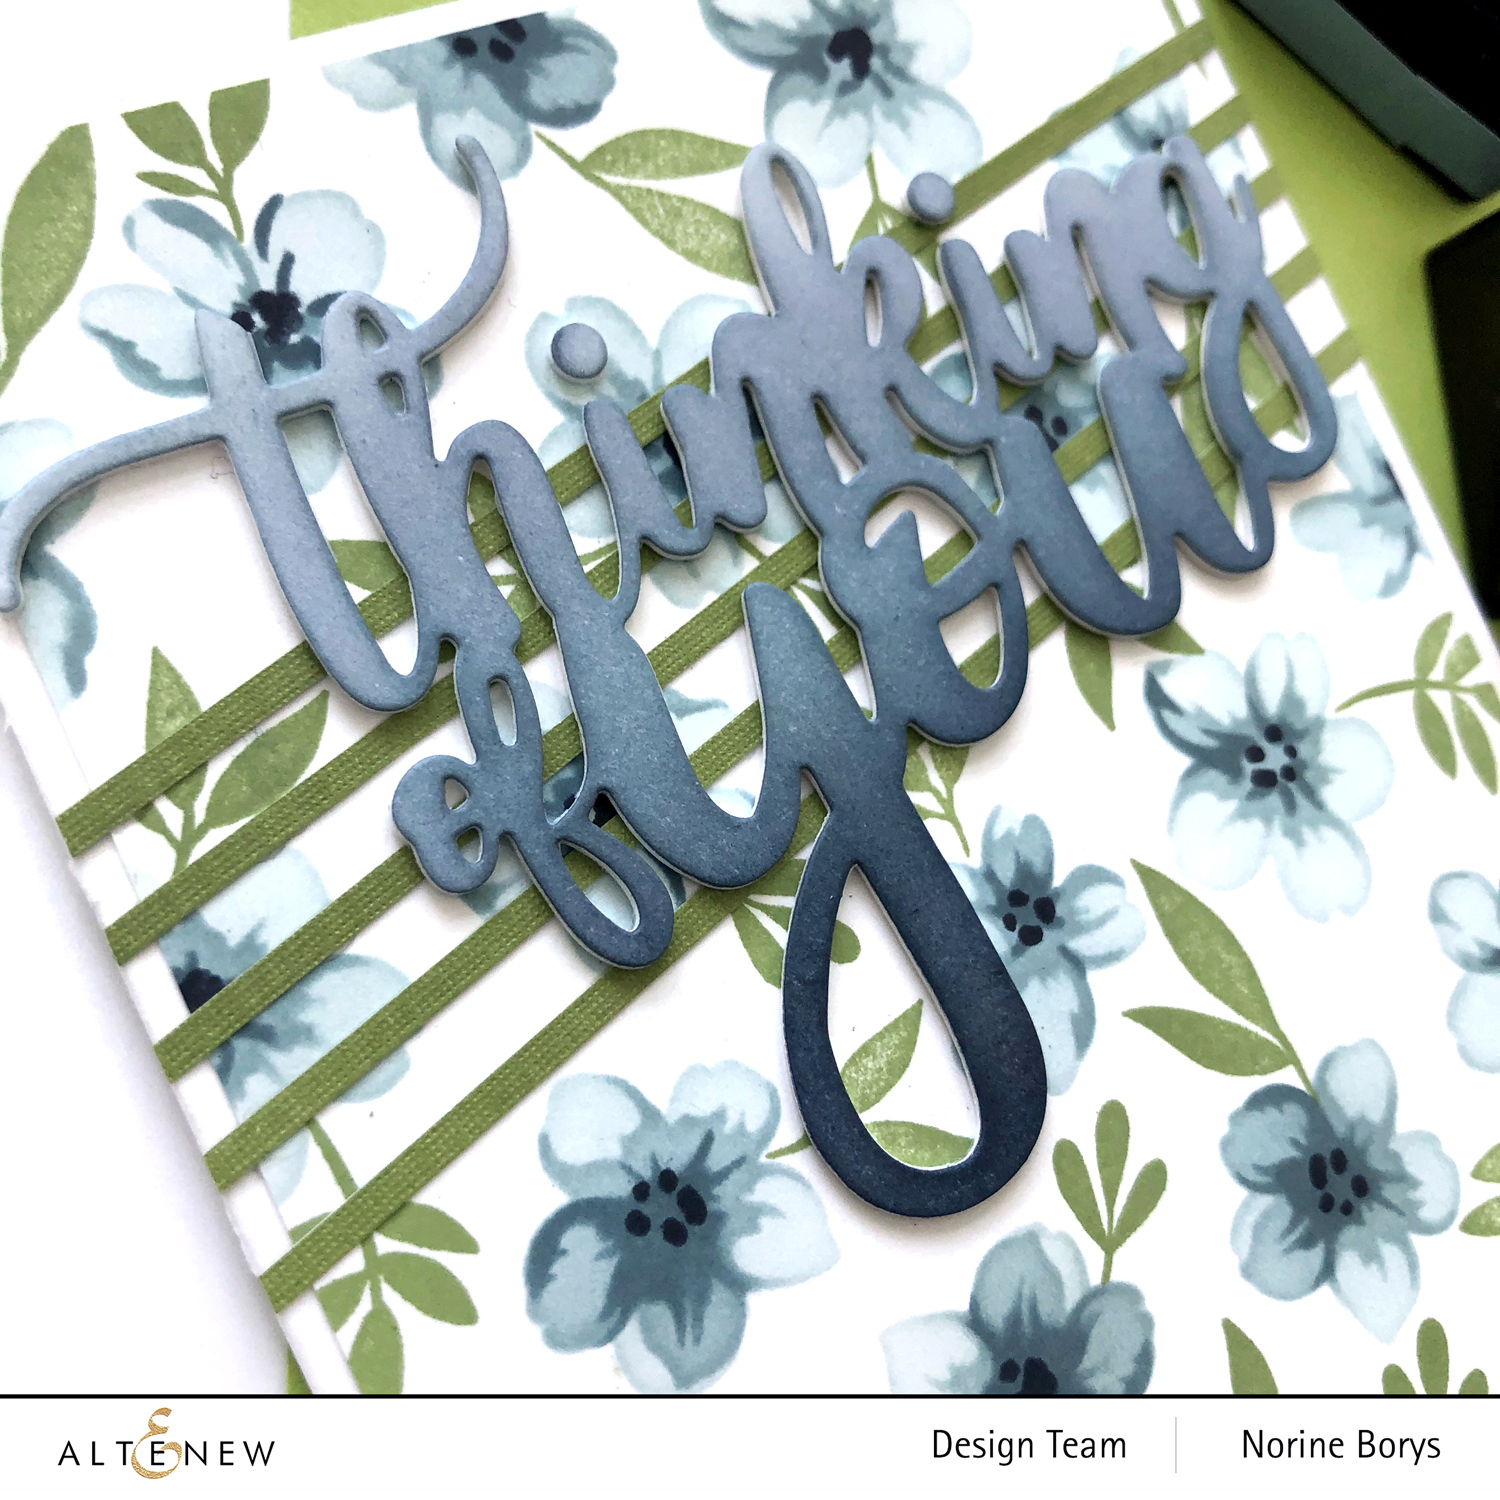
For the greeting, I used the same four inks I used to stencil the flowers, to ink up a piece of white cardstock, ombre fashion. I die cut it once from the inked paper and twice more from plain heavy-weight cardstock then adhered them together. The die cut alone on the floral background was a little underwhelming so to draw and keep the focus on the greeting, I added five narrow strips of green cardstock matching the leaves, and glued them at an angle.
I’m always so pleased when a product manages to both, do a job well, and diversely and the Hill Blossoms Layering Stencil does both of those things!
Thank you so much for stopping by and have a great day!
SUPPLIES USED: