Hello, hi! How is your Monday going? If you’re needing a pick-me-up already, a mug of cocoa and a cookie perhaps, well….I can’t provide that exactly, but I do have a couple of cute cards that might come close?
I’m a guest designer on the WPlus9 blog today with a post that showcases a couple of the stamp & die sets from their latest release!
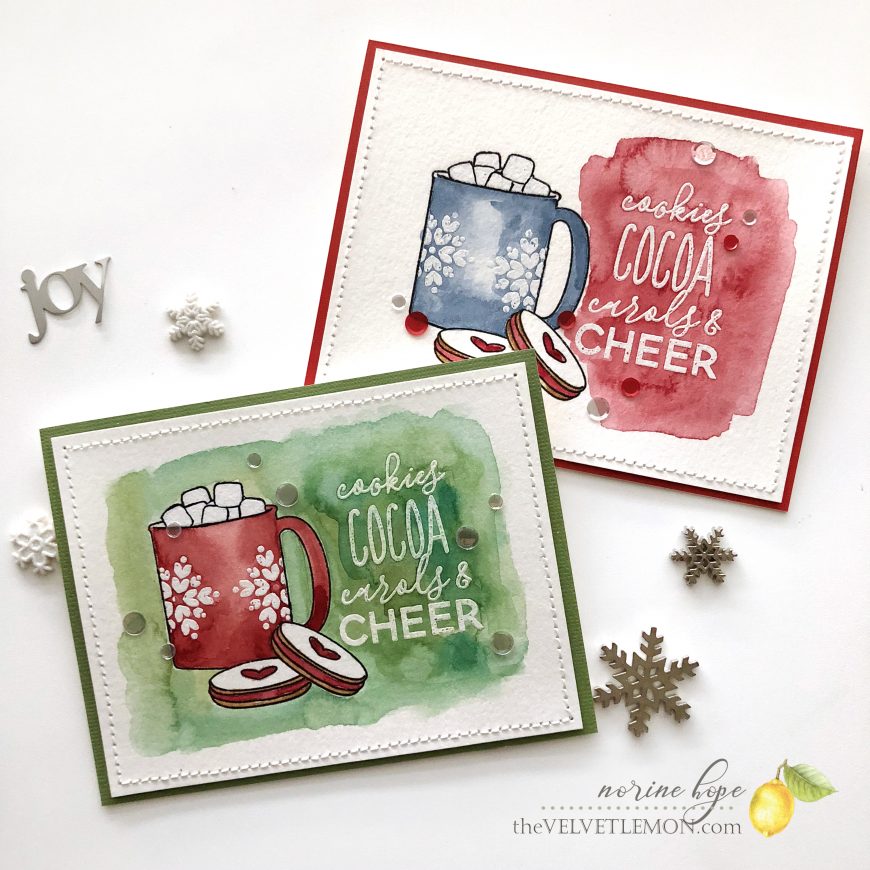
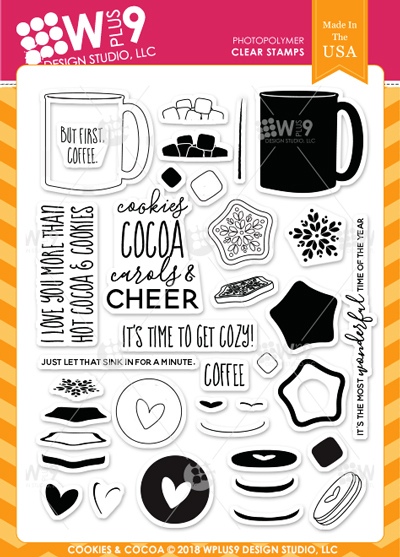
I adore stamp sets like the Cookies and Cocoa with their 29 scene building stamps because it means that no ones cards will ever look alike!
When I use my MISTI to stamp on watercolor cards, and because I never know if I’m going to mess up, I like to stamp multiples at a time, so I ended up with two cards today, whose only differences are in the painting.
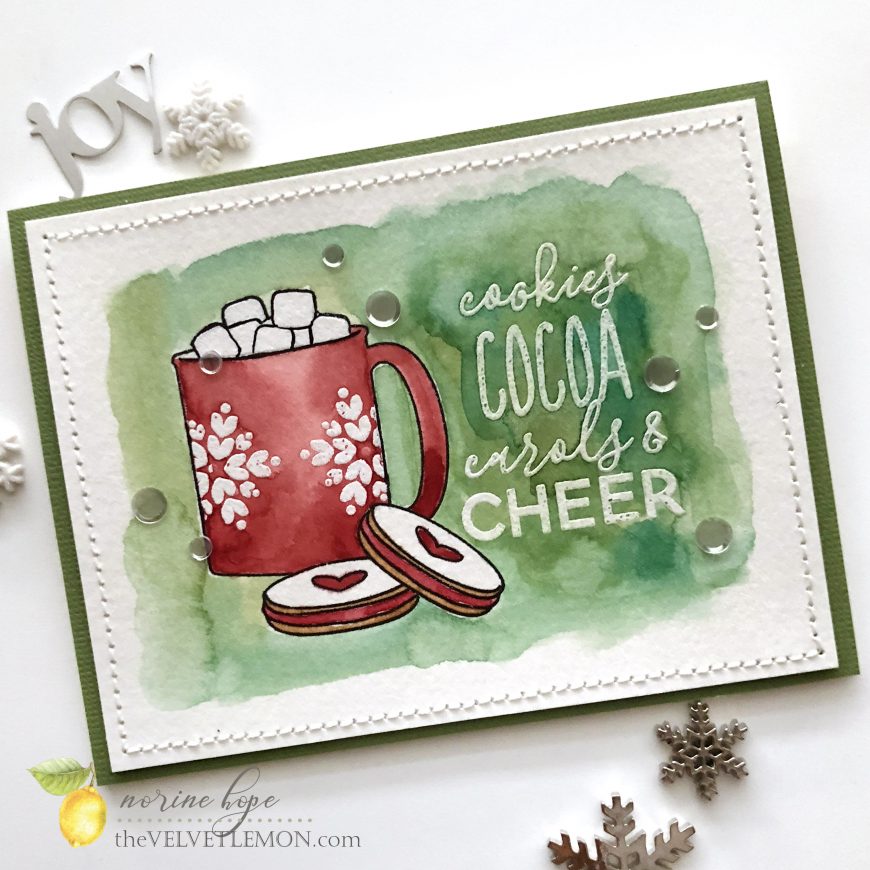
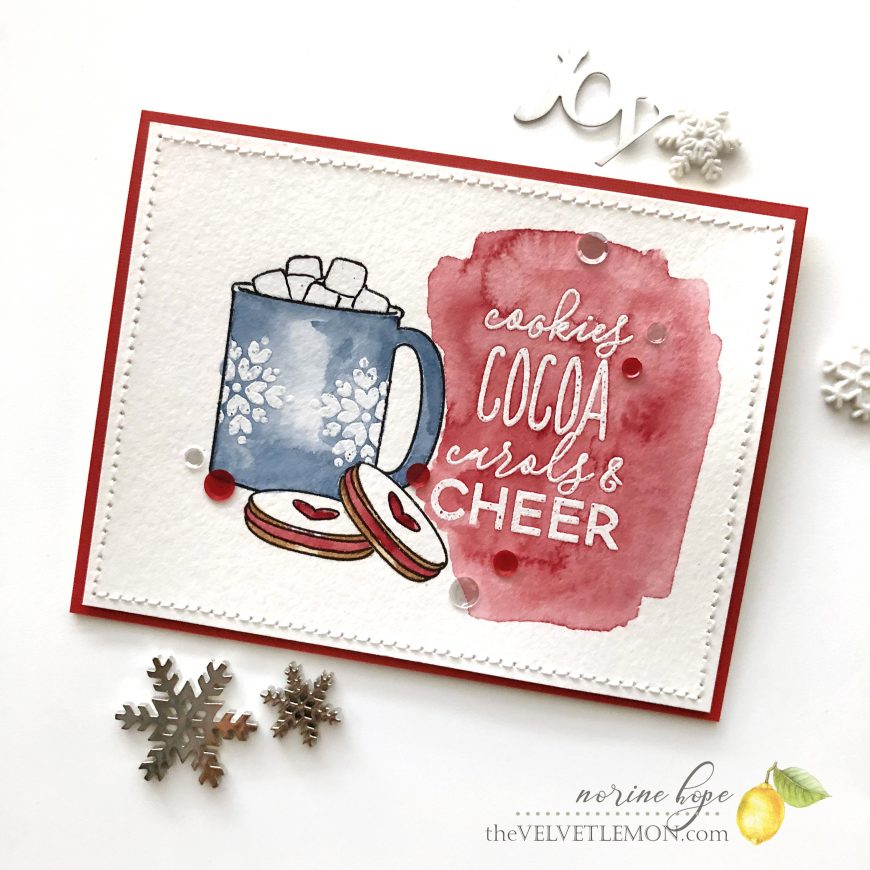
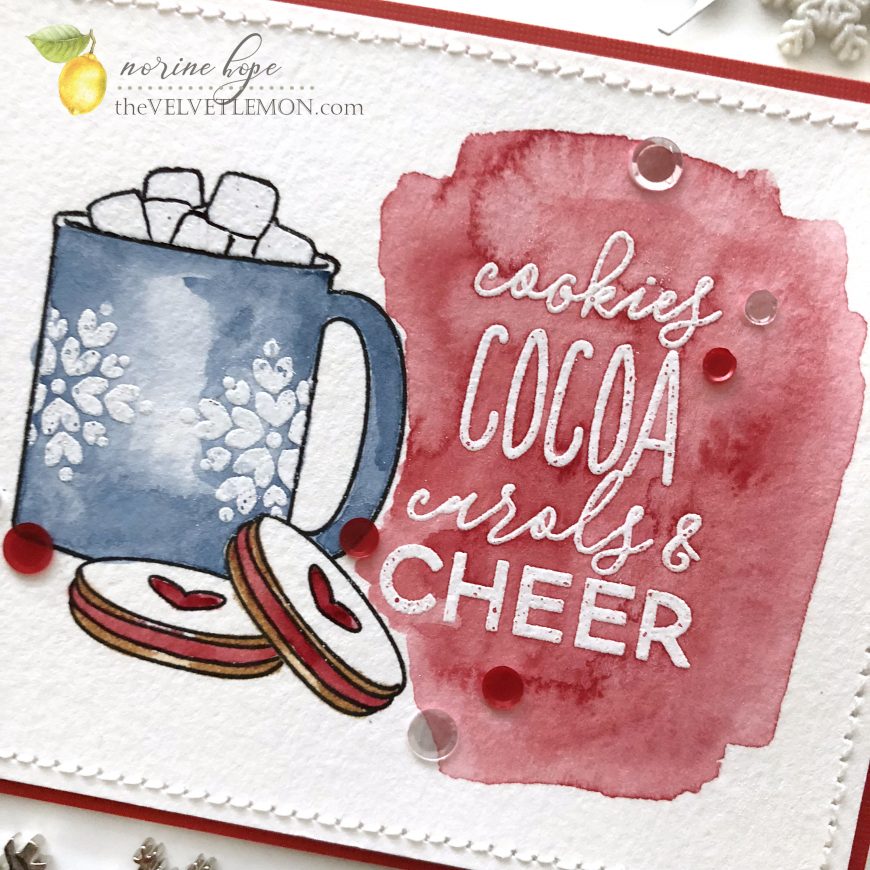
This kind of scene building requires some masking, which I did with the cookies and the marshmallows. I also taped off the sides of the mug so that I could stamp partial images of the snowflakes on either side of the mug for a more “typical” look. Both the snowflakes and the marshmallows are heat embossed with white powder, as is the sentiment. It never gets old, watching embossing powder melt, nor seeing it appear when you paint over it!
Some details:

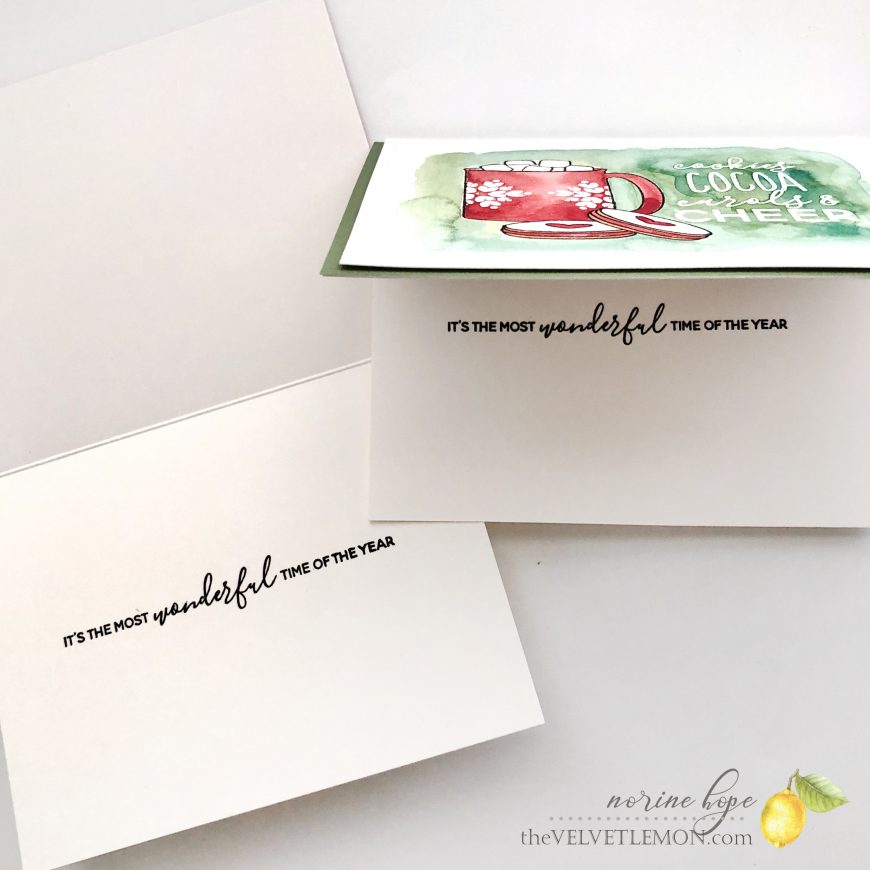
On the inside, I stamped the other sentiment that just completes the overall greeting.
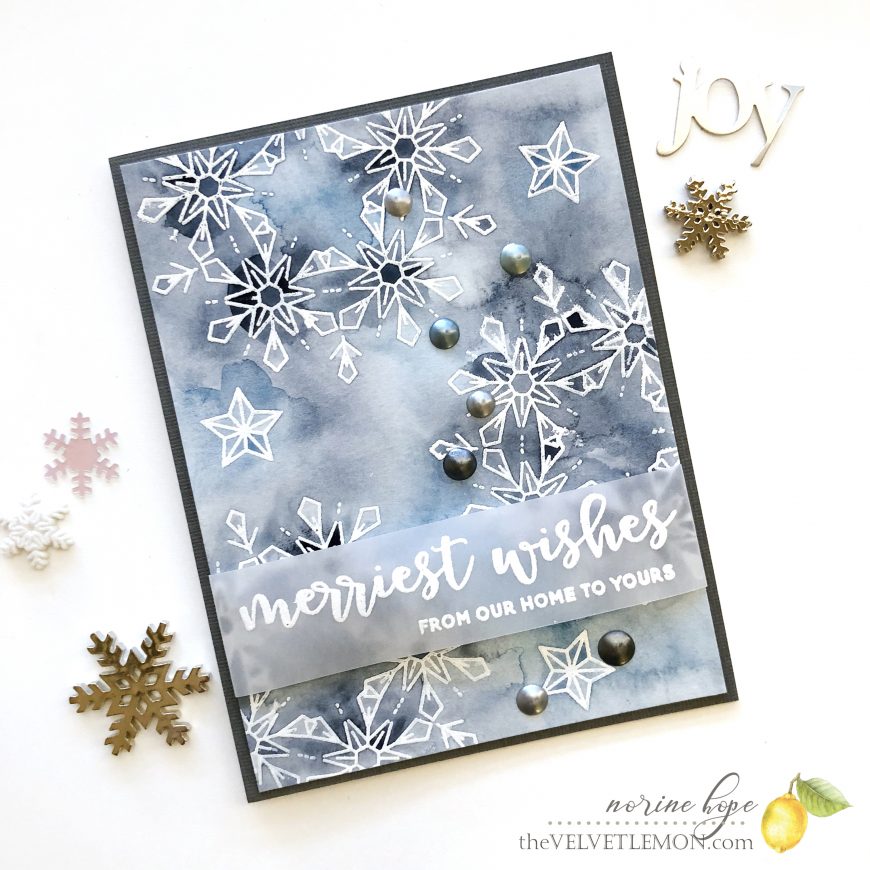
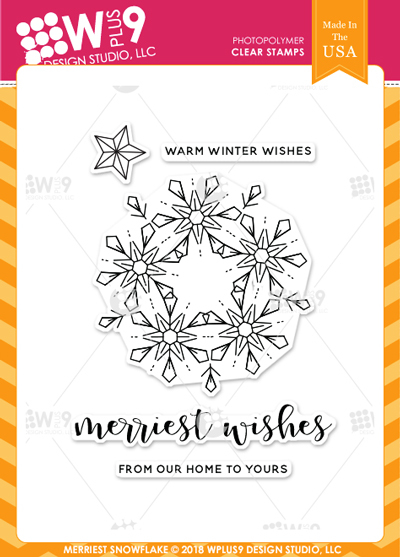
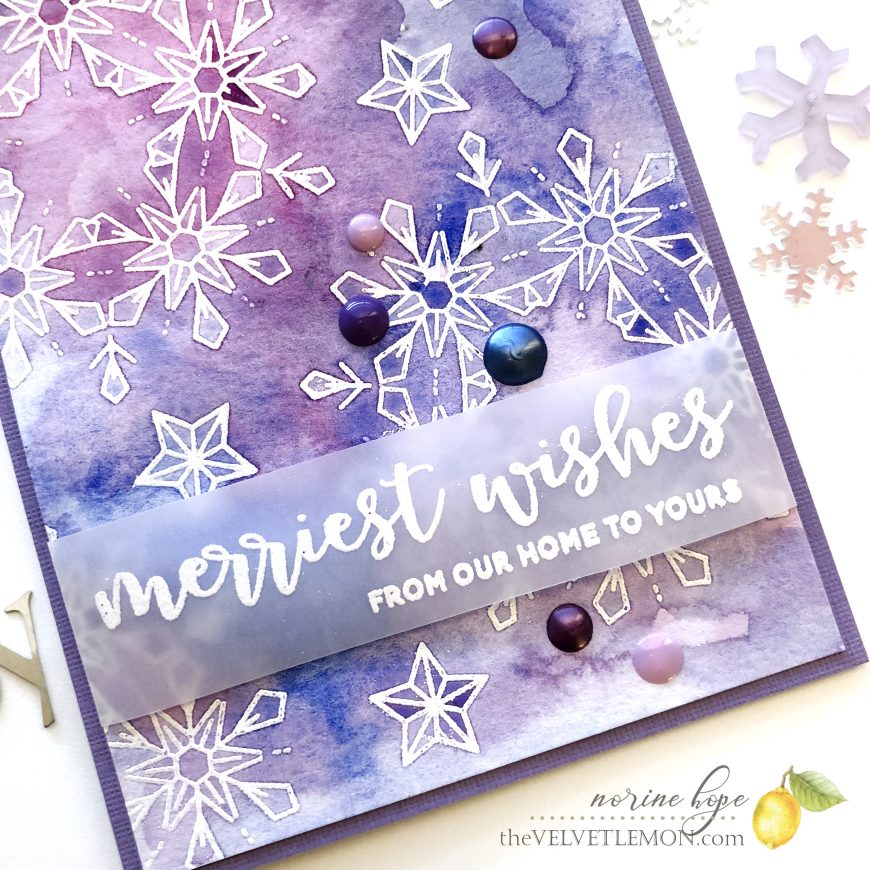
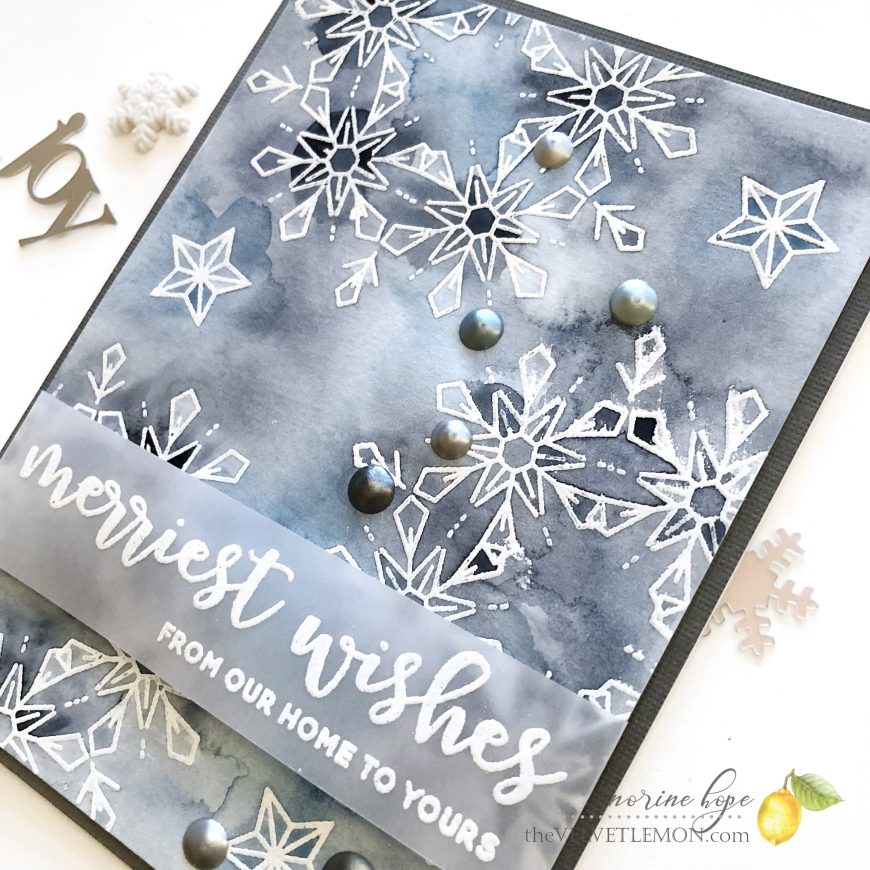
The next cards are all the same except for the color schemes. I used the stamp set called The Merriest Snowflake and heat embossed with white onto watercolor paper.
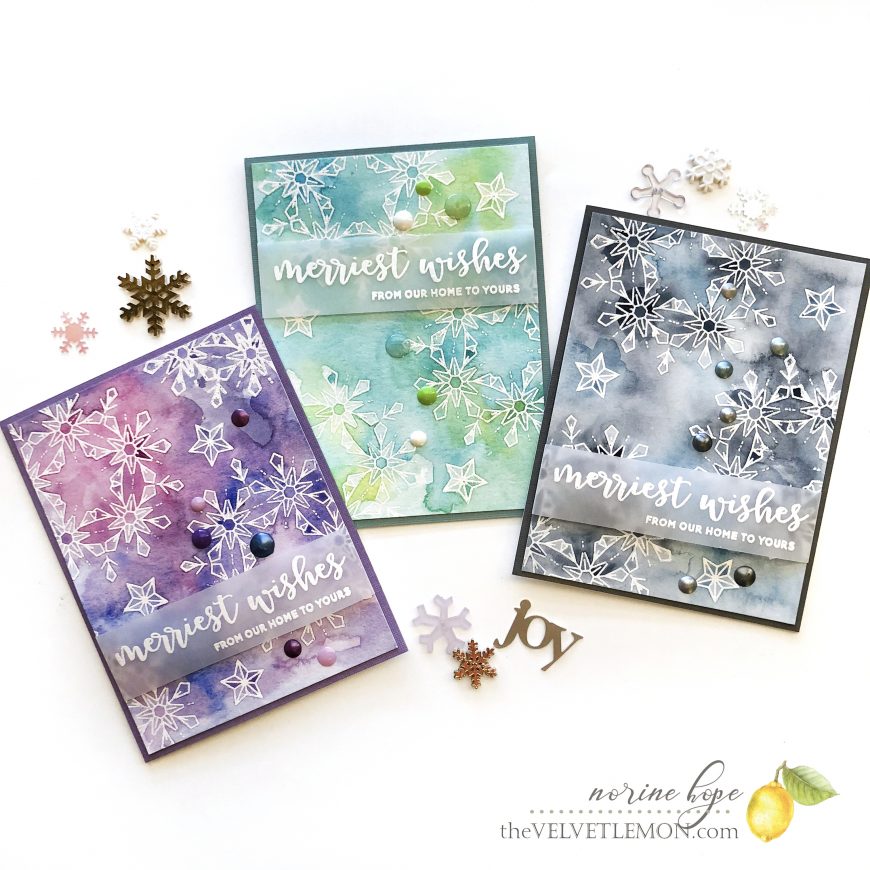
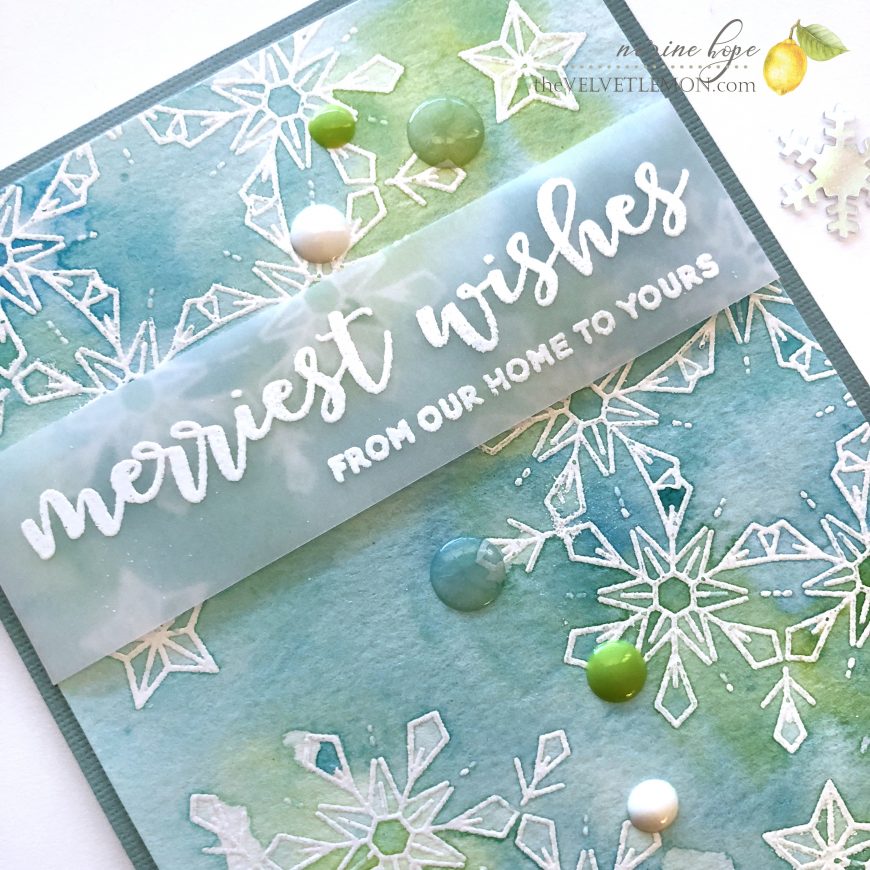
I tried a few different color ways, and these are the three I loved in the end. I started by washing the whole of an A2 sized card panel with water, then dropping in 2 or 3 colors of paint and letting them dry as they liked. When the colors dried back lighter than I wanted, I went back and repeated the process in the areas where I wanted a deeper intensity of color.


This is such a simple, yet evocative snowflake stamp design that I know I’ll be using for years to come!
Finally, I stamped the sentiment from the stamp set with Versamark ink and heat embossed with white embossing powder onto vellum, trimmed it into a narrow band and wrapped that around the front of the card adhering in behind before adding it to the card base.
Thanks for stopping by today! If you have any questions about my processes or supplies used, leave a comment below and I’ll be sure to answer. Have a wonderful day!