Helloooo friends! It’s reveal day #1 at The Greetery and I’m delighted to show you some of the Spring Market Collection being released on Wednesday! As well, we are celebrating the Two Year anniversary of The Greetery and wishing them many, many more years and releases of beautiful, innovative products and designs!
You’re probably arriving here from Angelica’s blog, and if not, just click back to the start of the hop at The Greetery’s blog where you can see each of the products being revealed today.
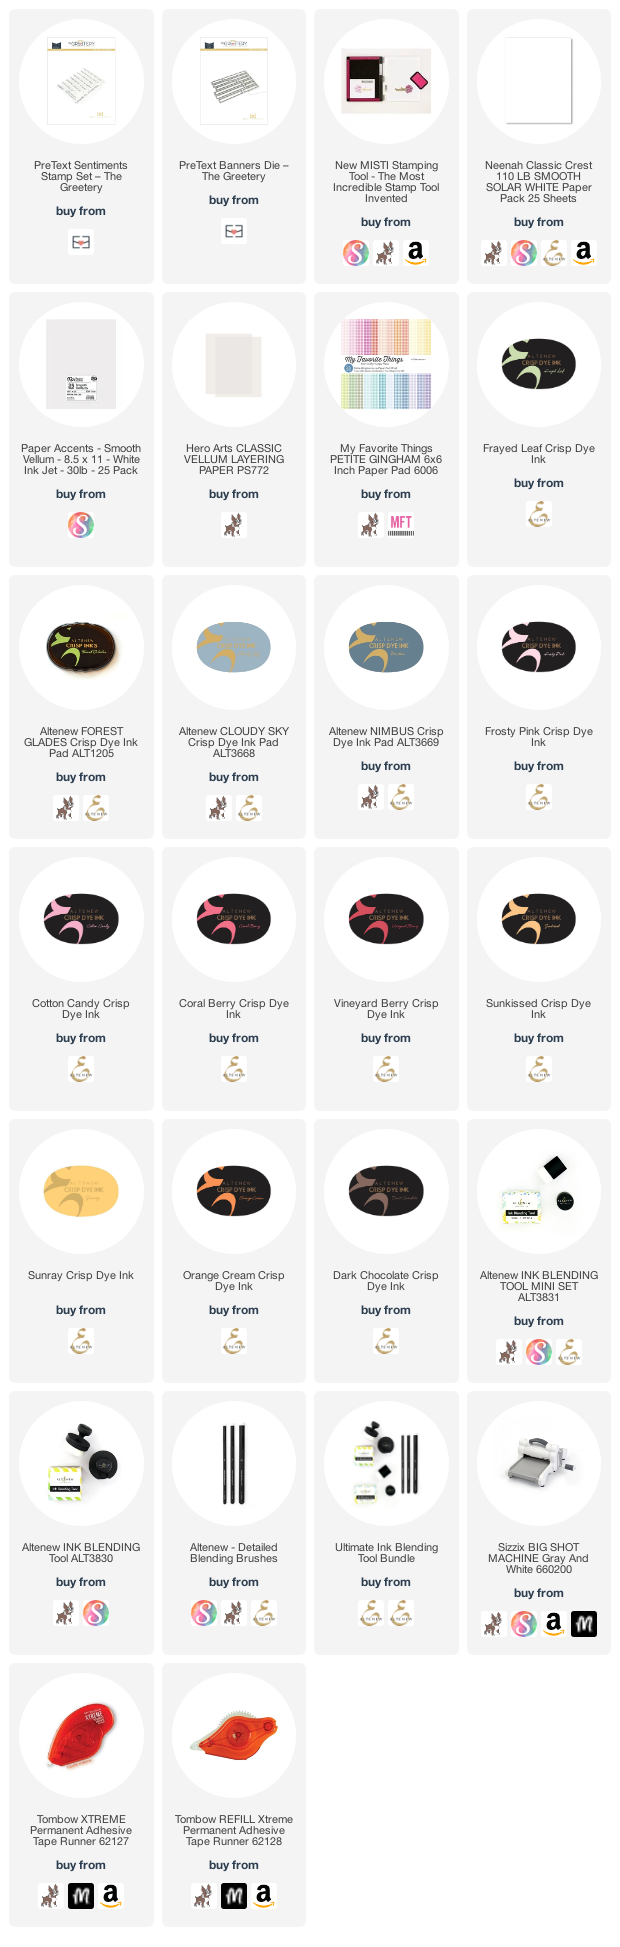
This post contains affiliate links that are listed below. By clicking through to purchase products linked, you are helping to support this blog at no additional cost to you and that allows me to continue to provide you with creative inspiration and instructive help.
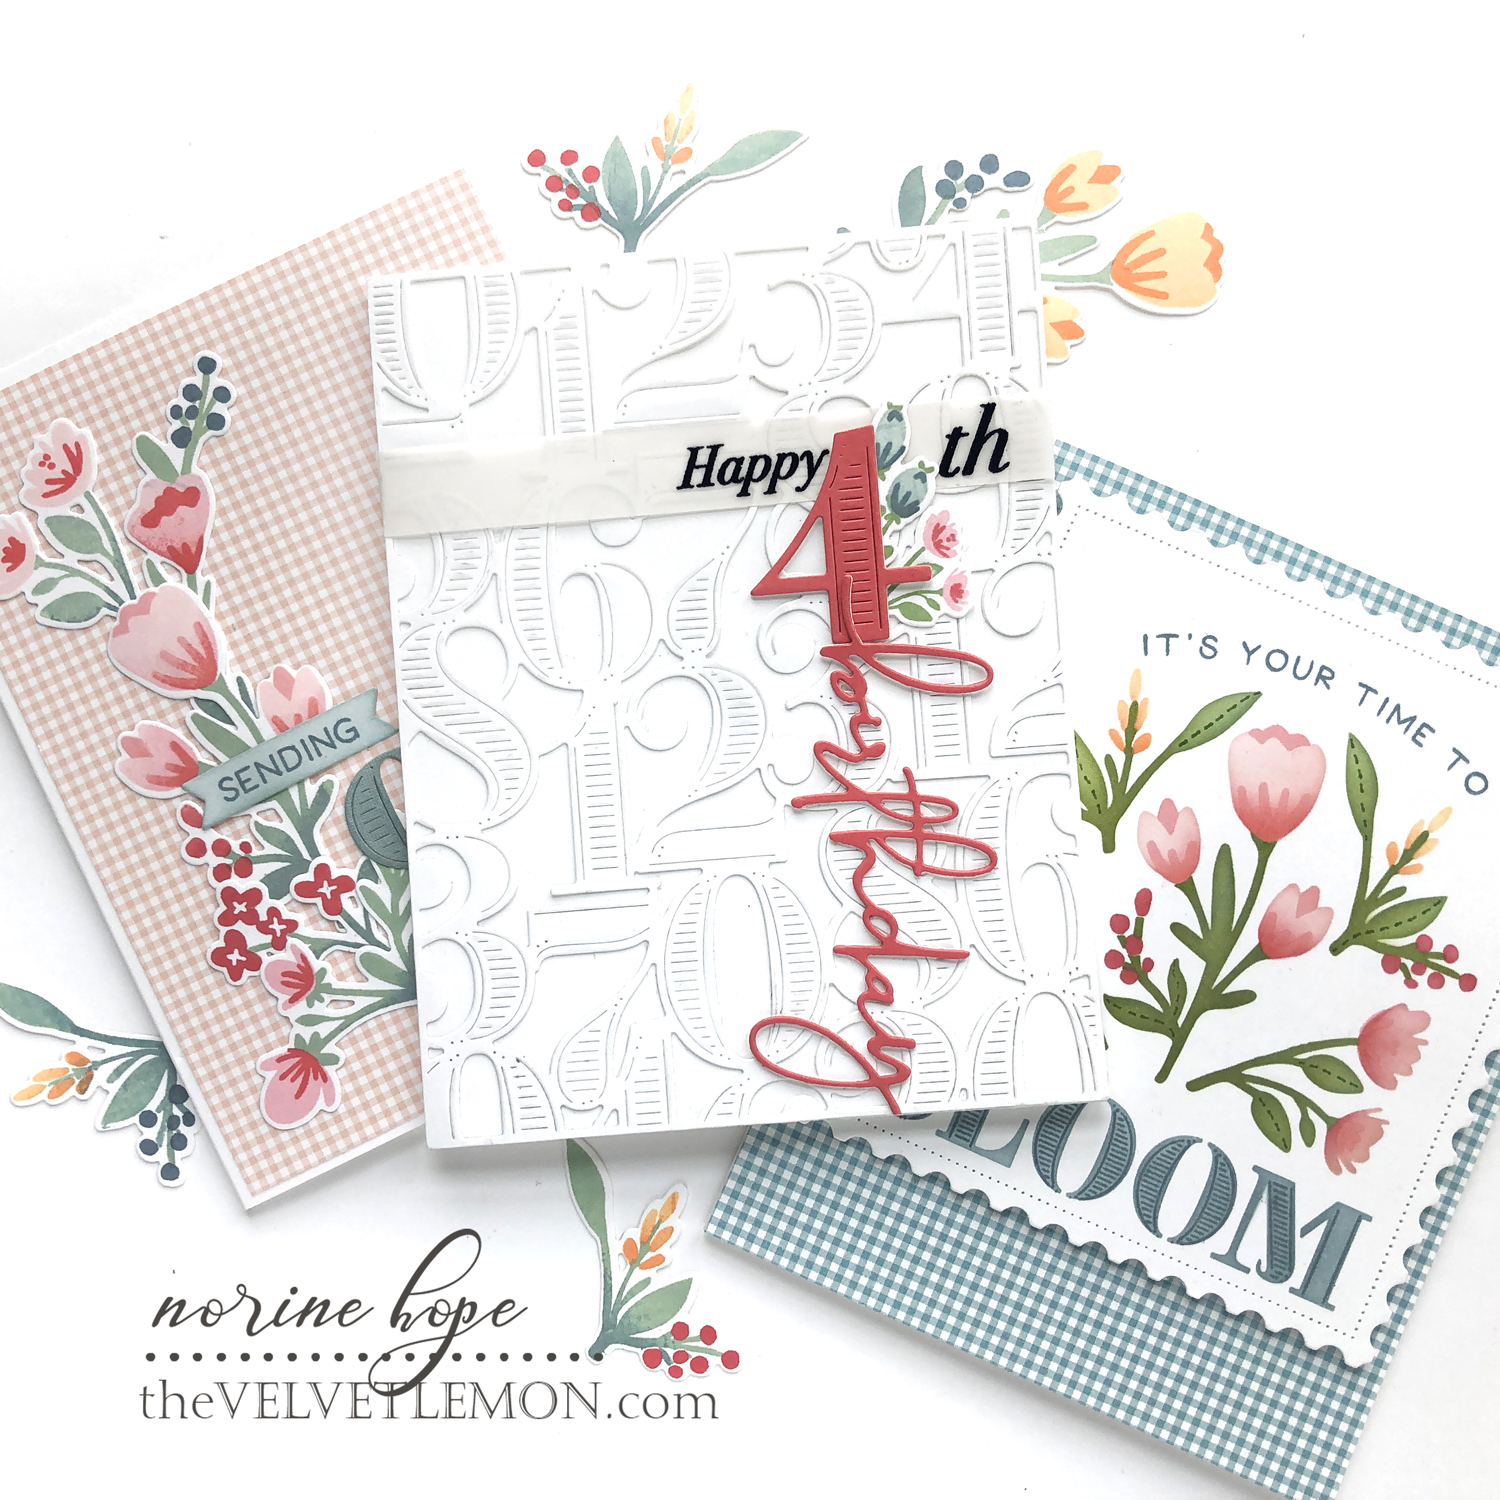
I have three cards to share with you today, using the Always In Bloom stamps, stencils and dies, the Delightful Digits background die, Bold Numbers and Bold Alphabets dies, Lets Have a Word: Birthday die, the Alphabuds Floral Details stamps and the Digit Sentiments stamps.
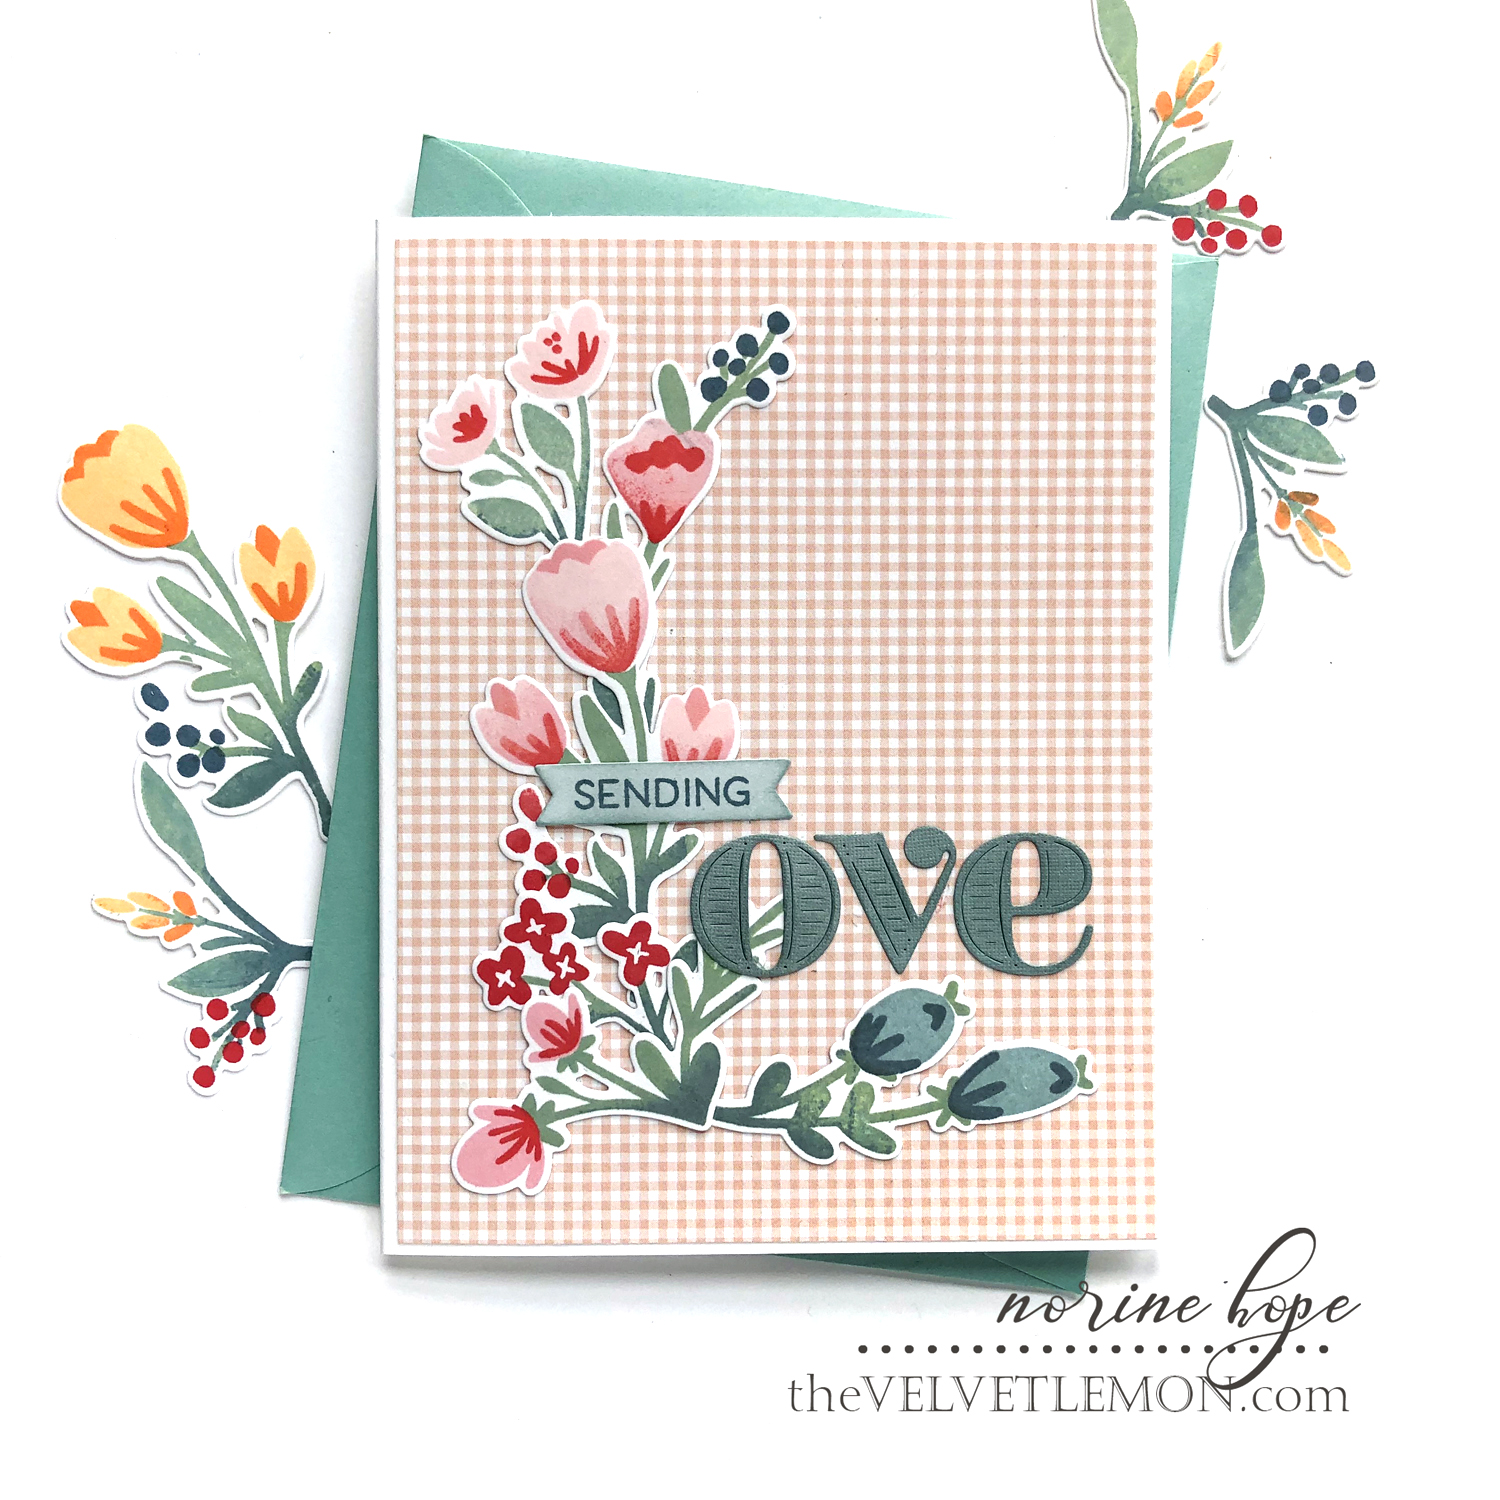
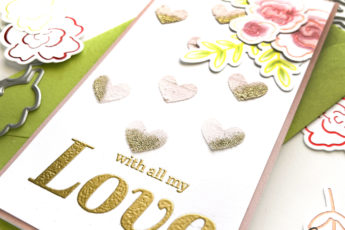
The first card I want to show you uses the Always In Bloom stamps and the Bold Alphabet dies. The Greetery excels at these simple and pretty little floral bits that can be arranged in a multitude of ways, and this month is no exception!
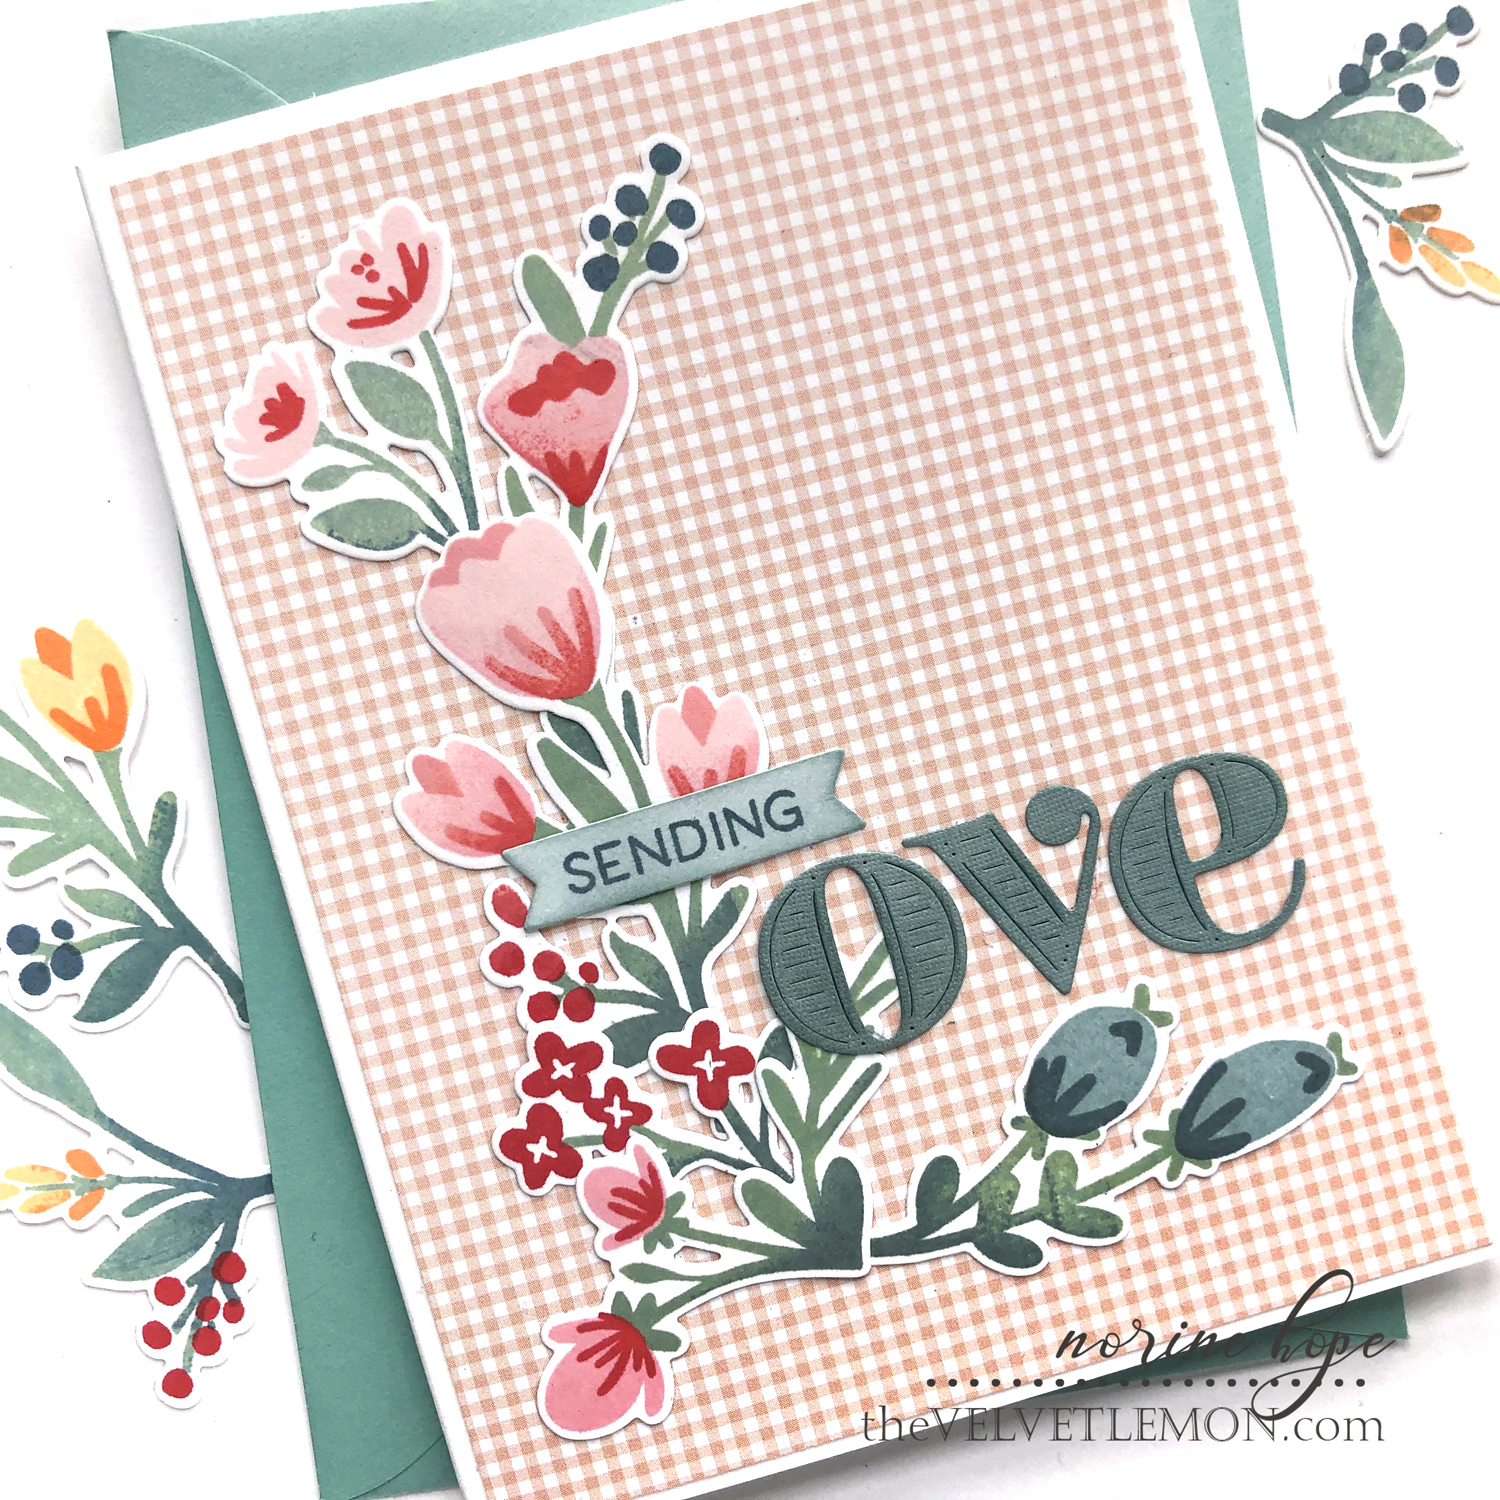
I began by die cutting and stamping a variety of colors of each of the shapes in the Always In Bloom stamp set. I find that repeat die cutting and stamping with the MISTI makes it easy to accumulate a large variety for both current and future use! (Inks used are listed below).
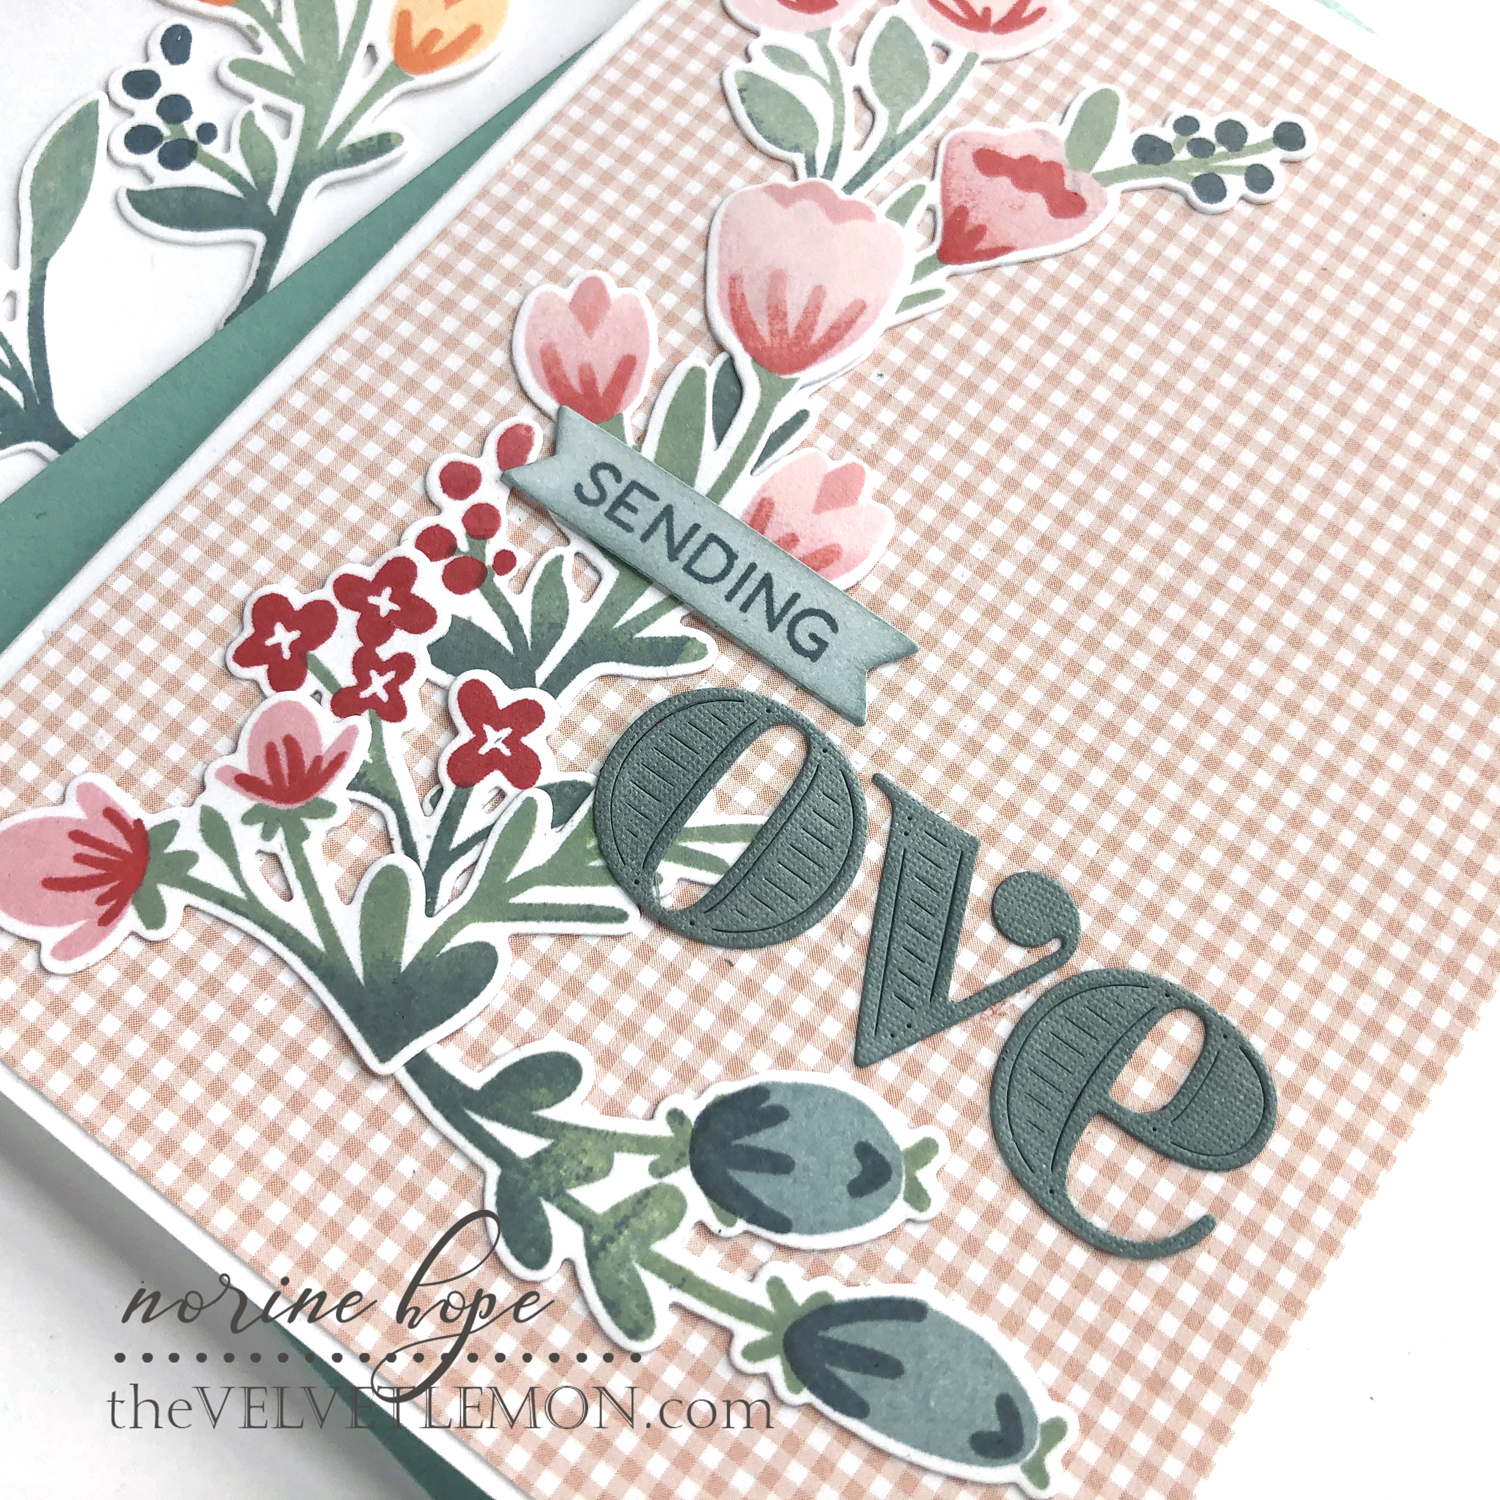
Using the pink/red combo floral bunches, I arranged several on my patterned paper card front to spell out the letter L, then die cut the rest of the letters spelling Love, with the Bold Alphabet dies. I die cut from a coordinating color of cardstock, then lighted ink blended a darker shade over top to accentuate the lines in the die cut letters.
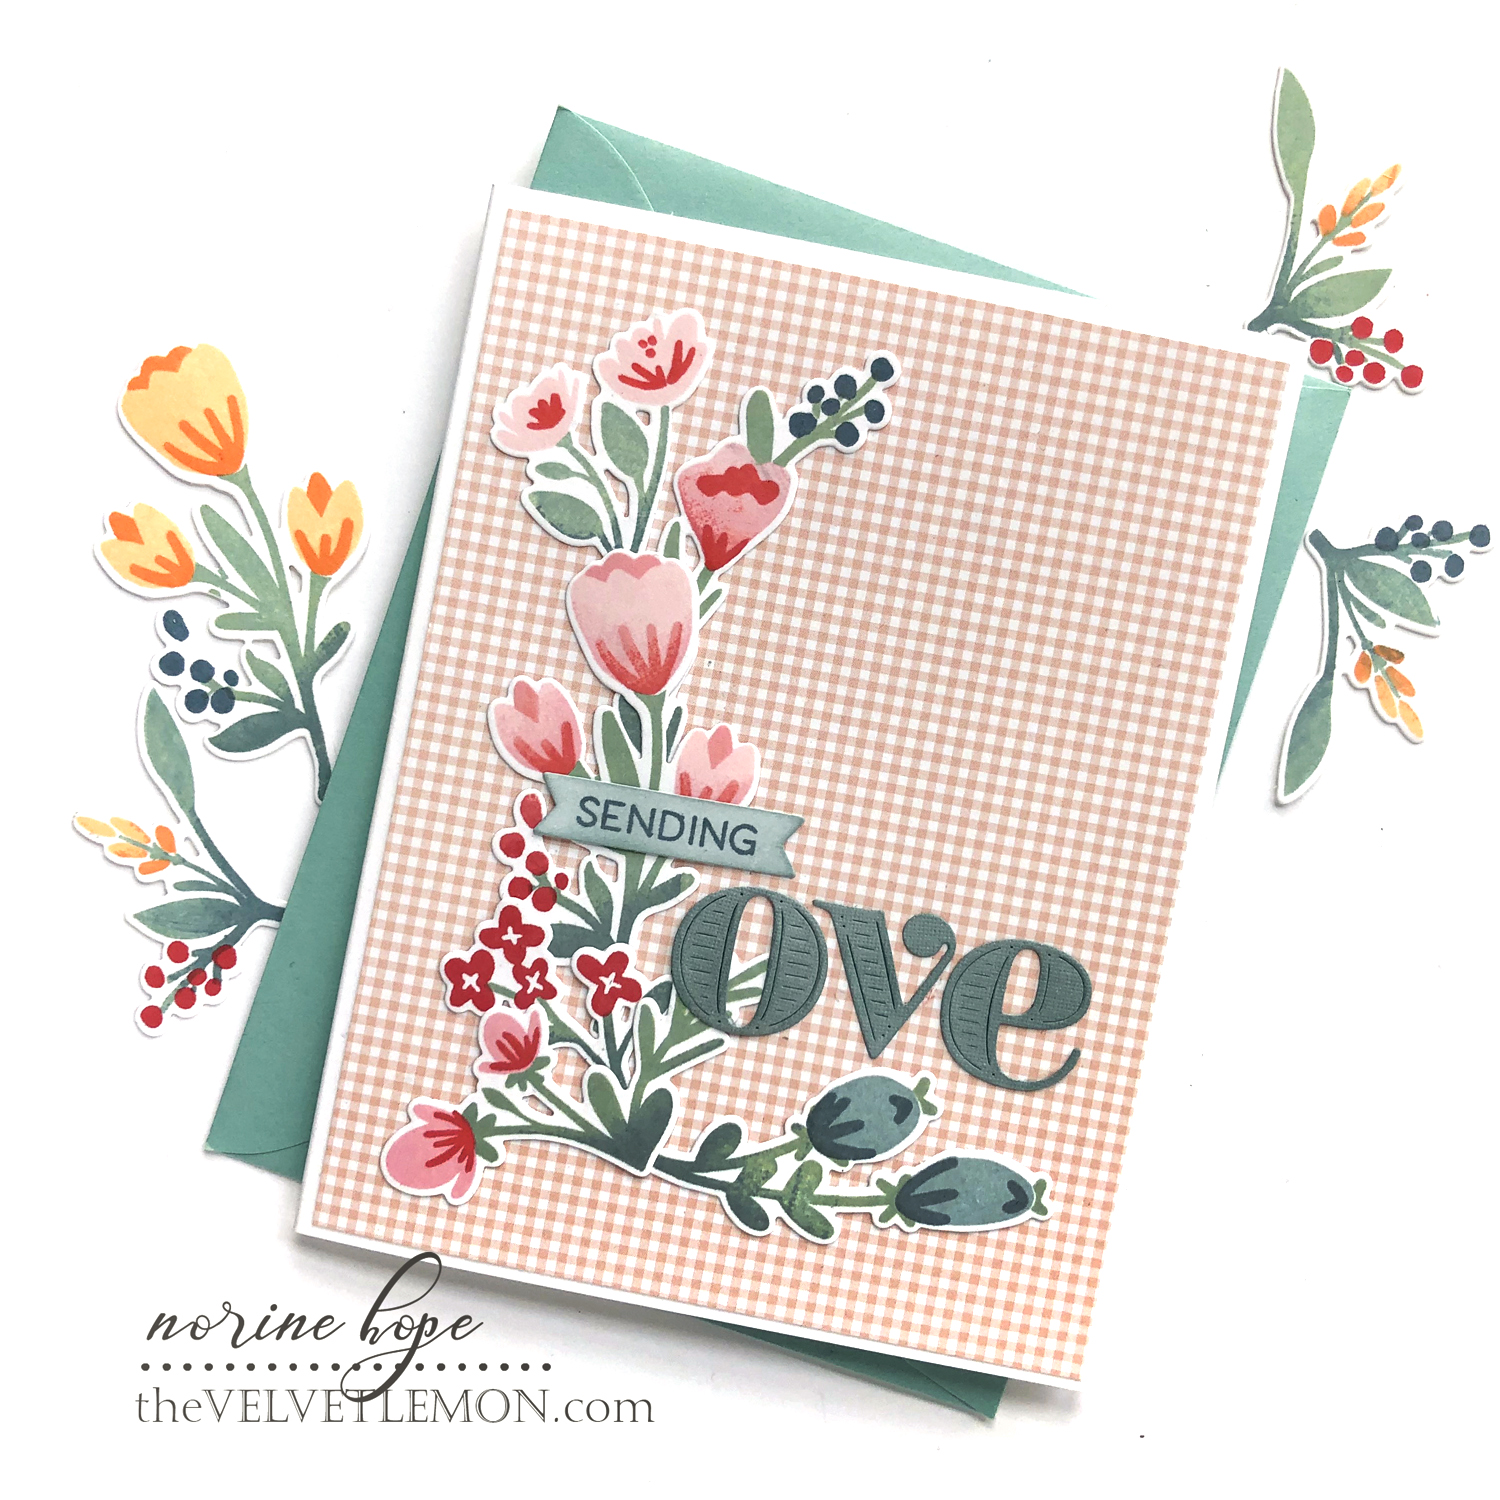
Using the PreText stamps and dies from the last Greetery release, I stamped the word “sending” and die cut it with a fish tail die in the coordinating die set.
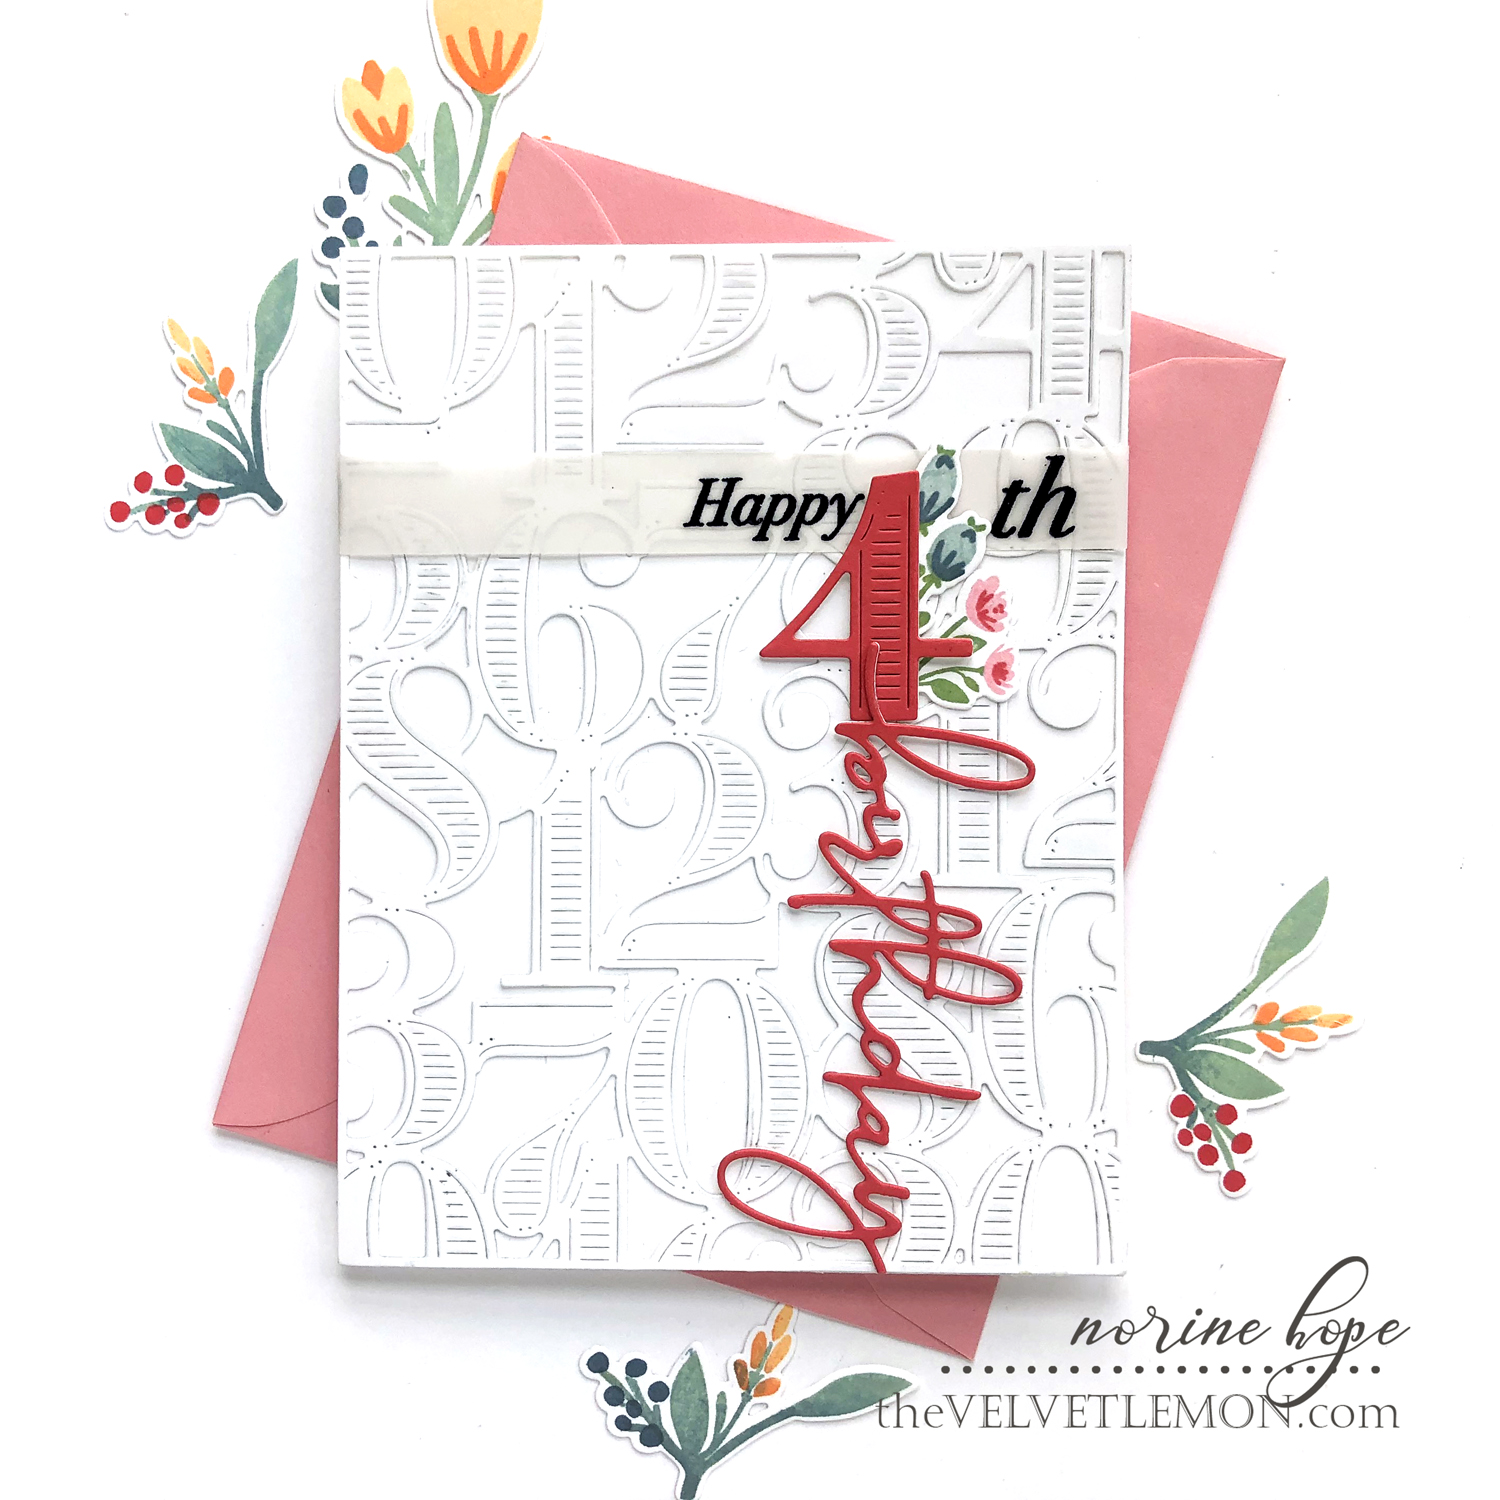
My next card uses the Delightful Digits background die, cutting from the same white cardstock as the card base for a very neutral but textured background.

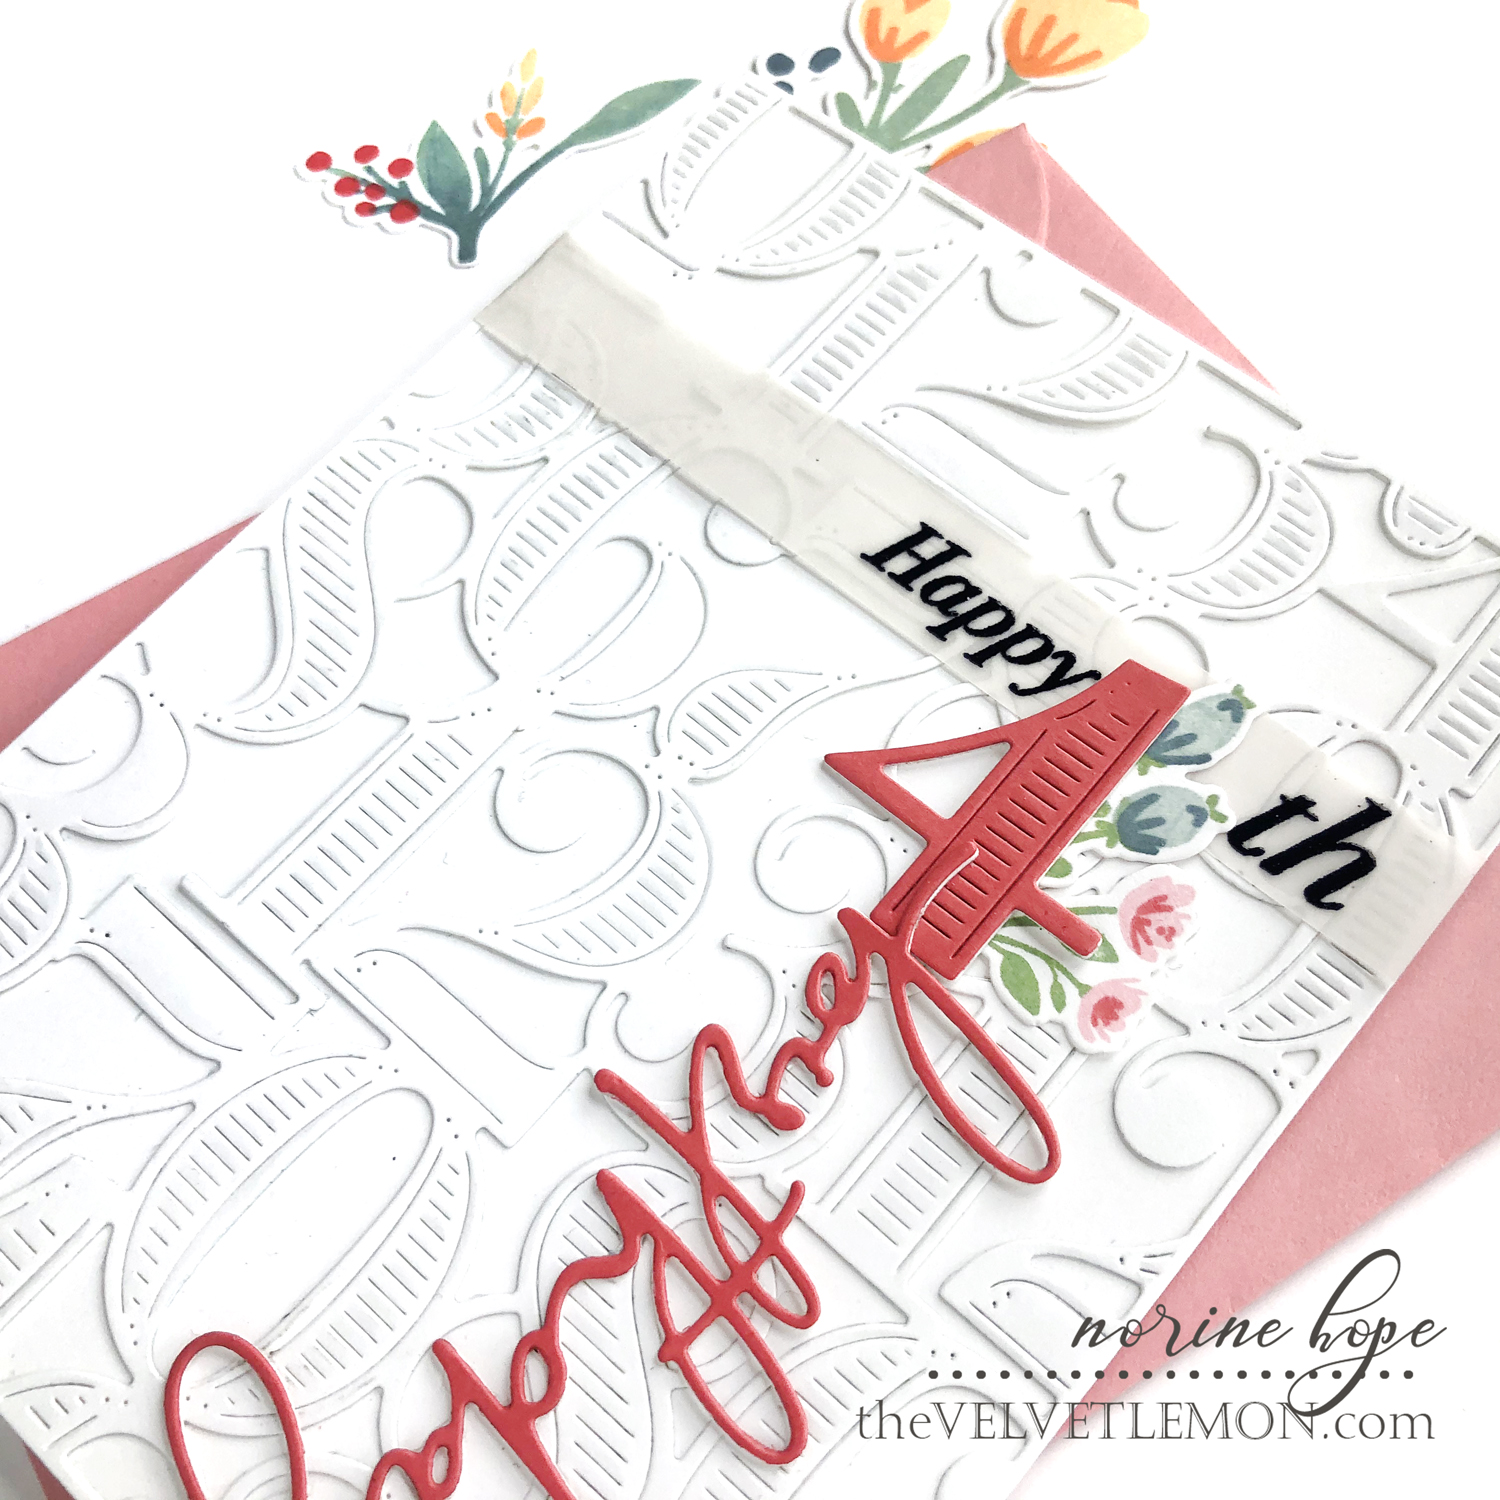
I die cut the number 4 with the Bold Numbers dies, and the “birthday” word with the Let’s Have A Word die, cutting once from pink cardstock and a second time from heavy weight white cardstock and stacking the two layers for a more substantial decorative sentiment.
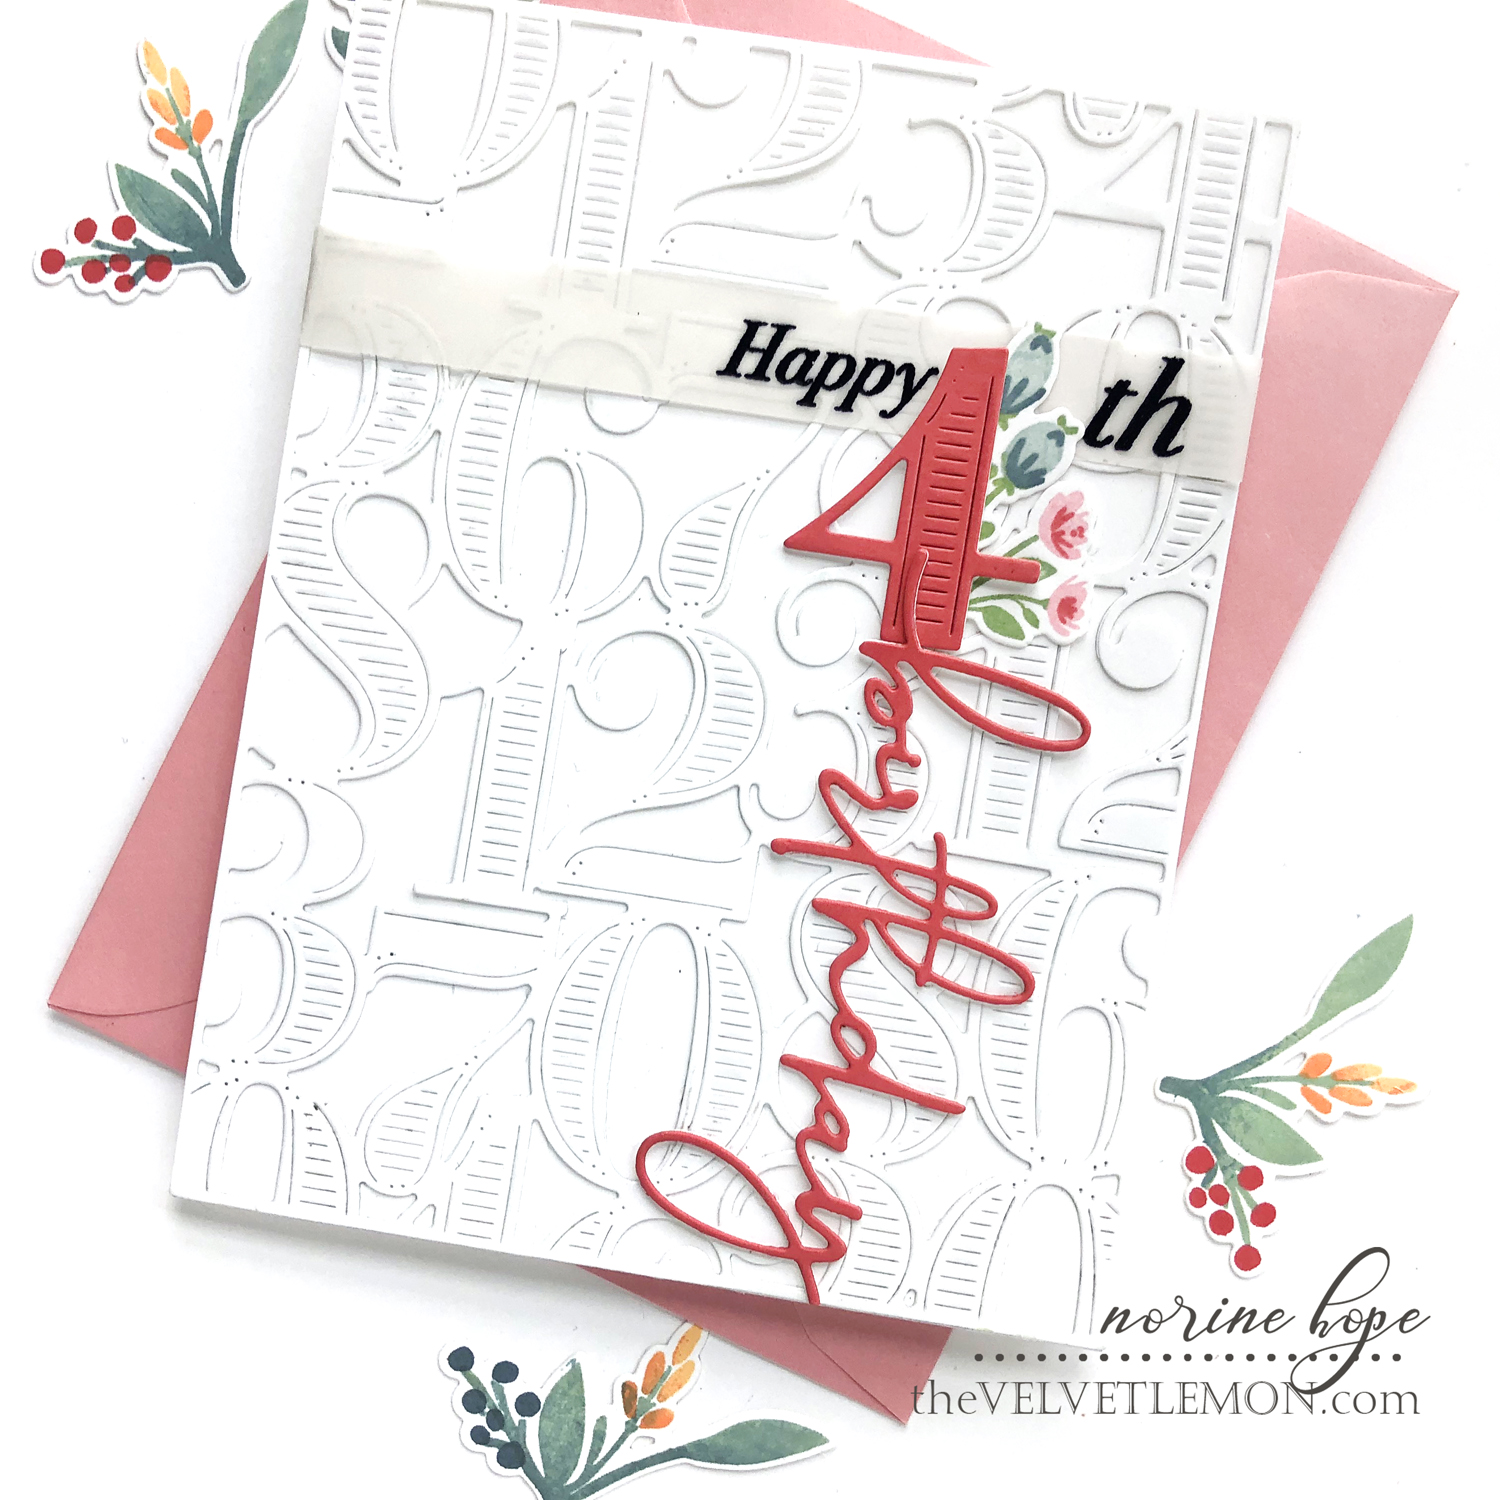
I used the AlphaBuds stamps and dies to make the smaller flower accents and used two of them to tuck behind the number 4. Then I placed the number with the added flowers onto a strip of vellum paper so that I could position the “happy” and “th” on either side to stamp and heat emboss.
I’ll concede that the vertical “birthday” die cut composition is a little sophisticated for your average 4 year old, but this one is going to my favorite sophisticated little crafter, and I figure it’s never too early to start influencing good design! (wink).
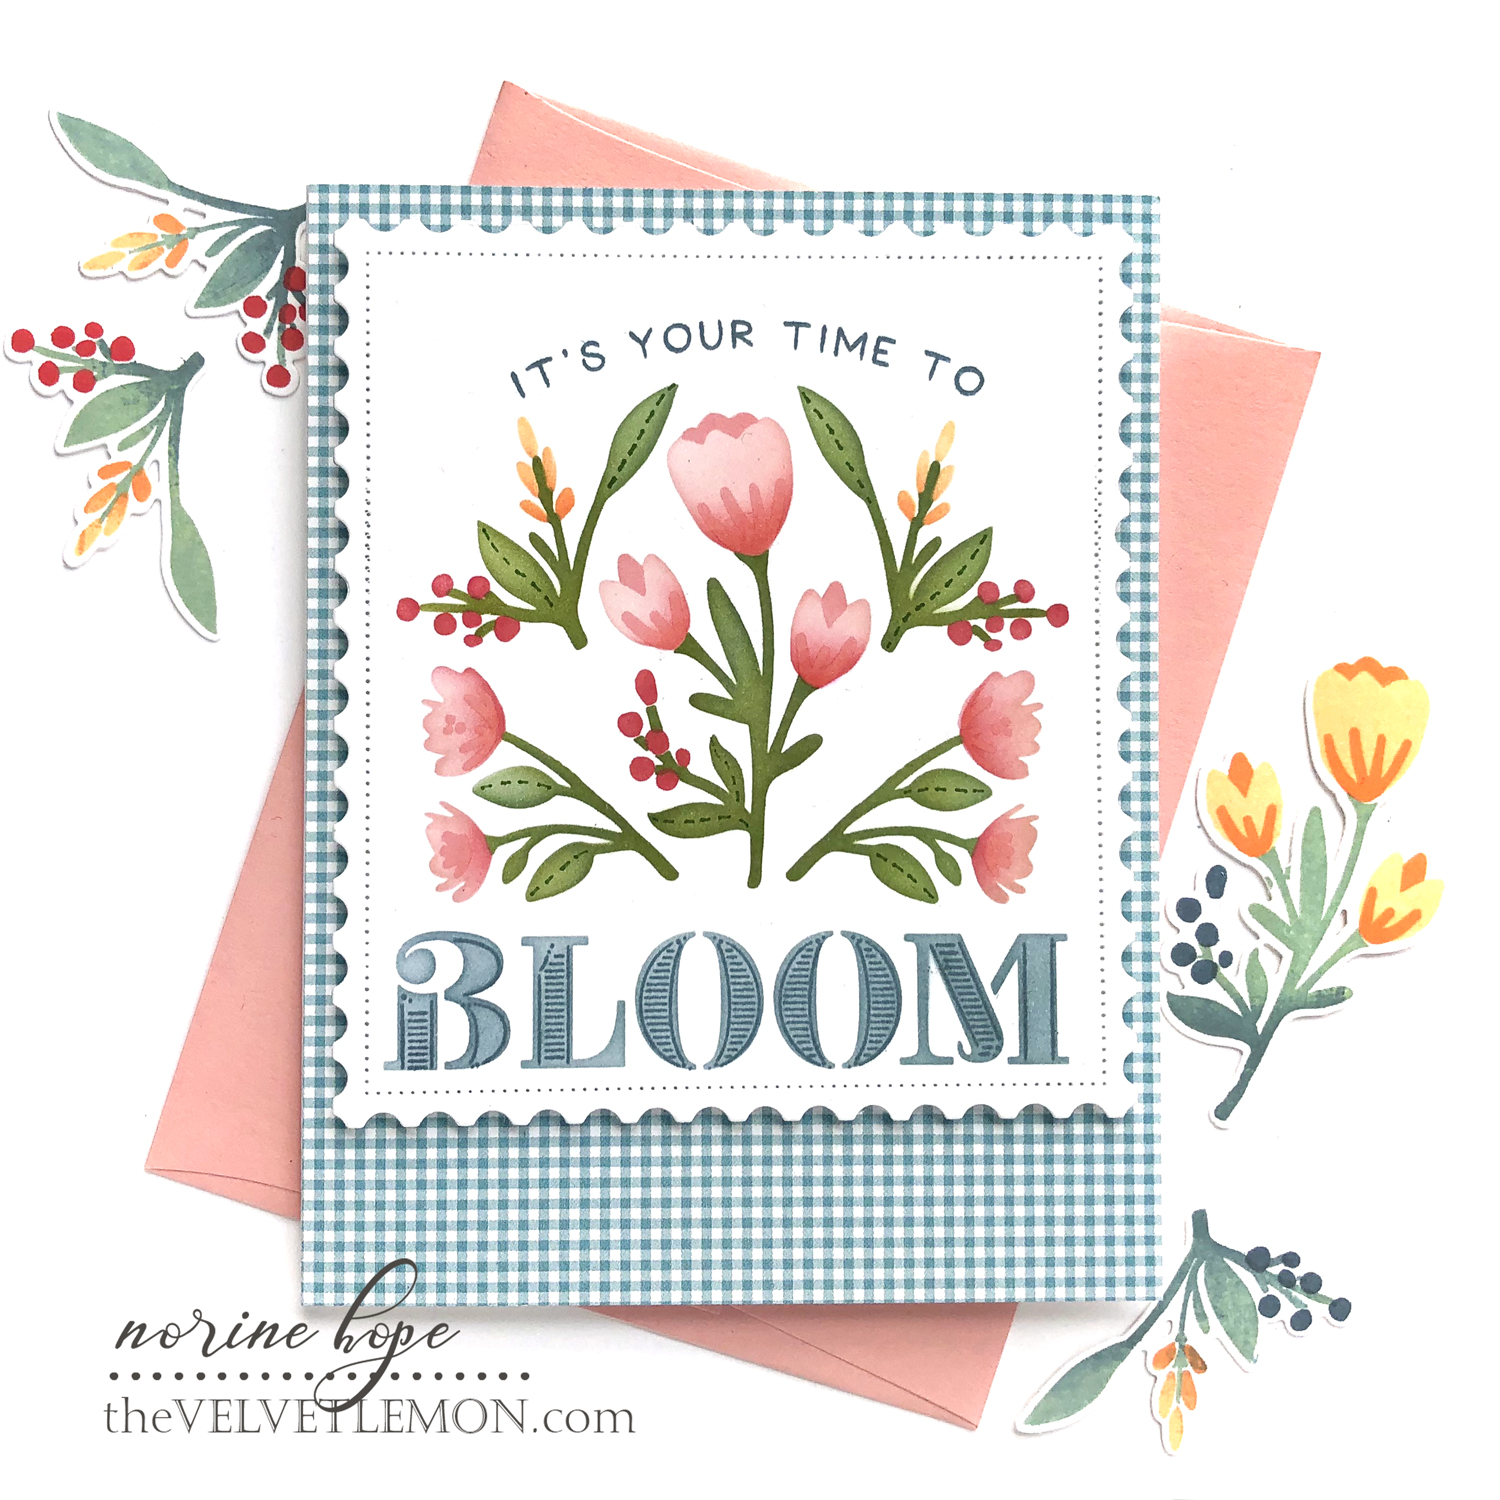
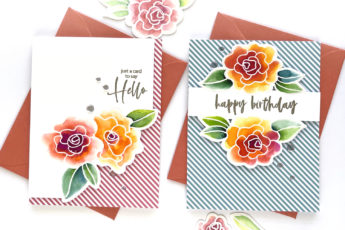
My last card is super quick and easy to make, but yields a beautiful result for all that! I used the Always In Bloom stencils to create the basic arrangement on a card panel.
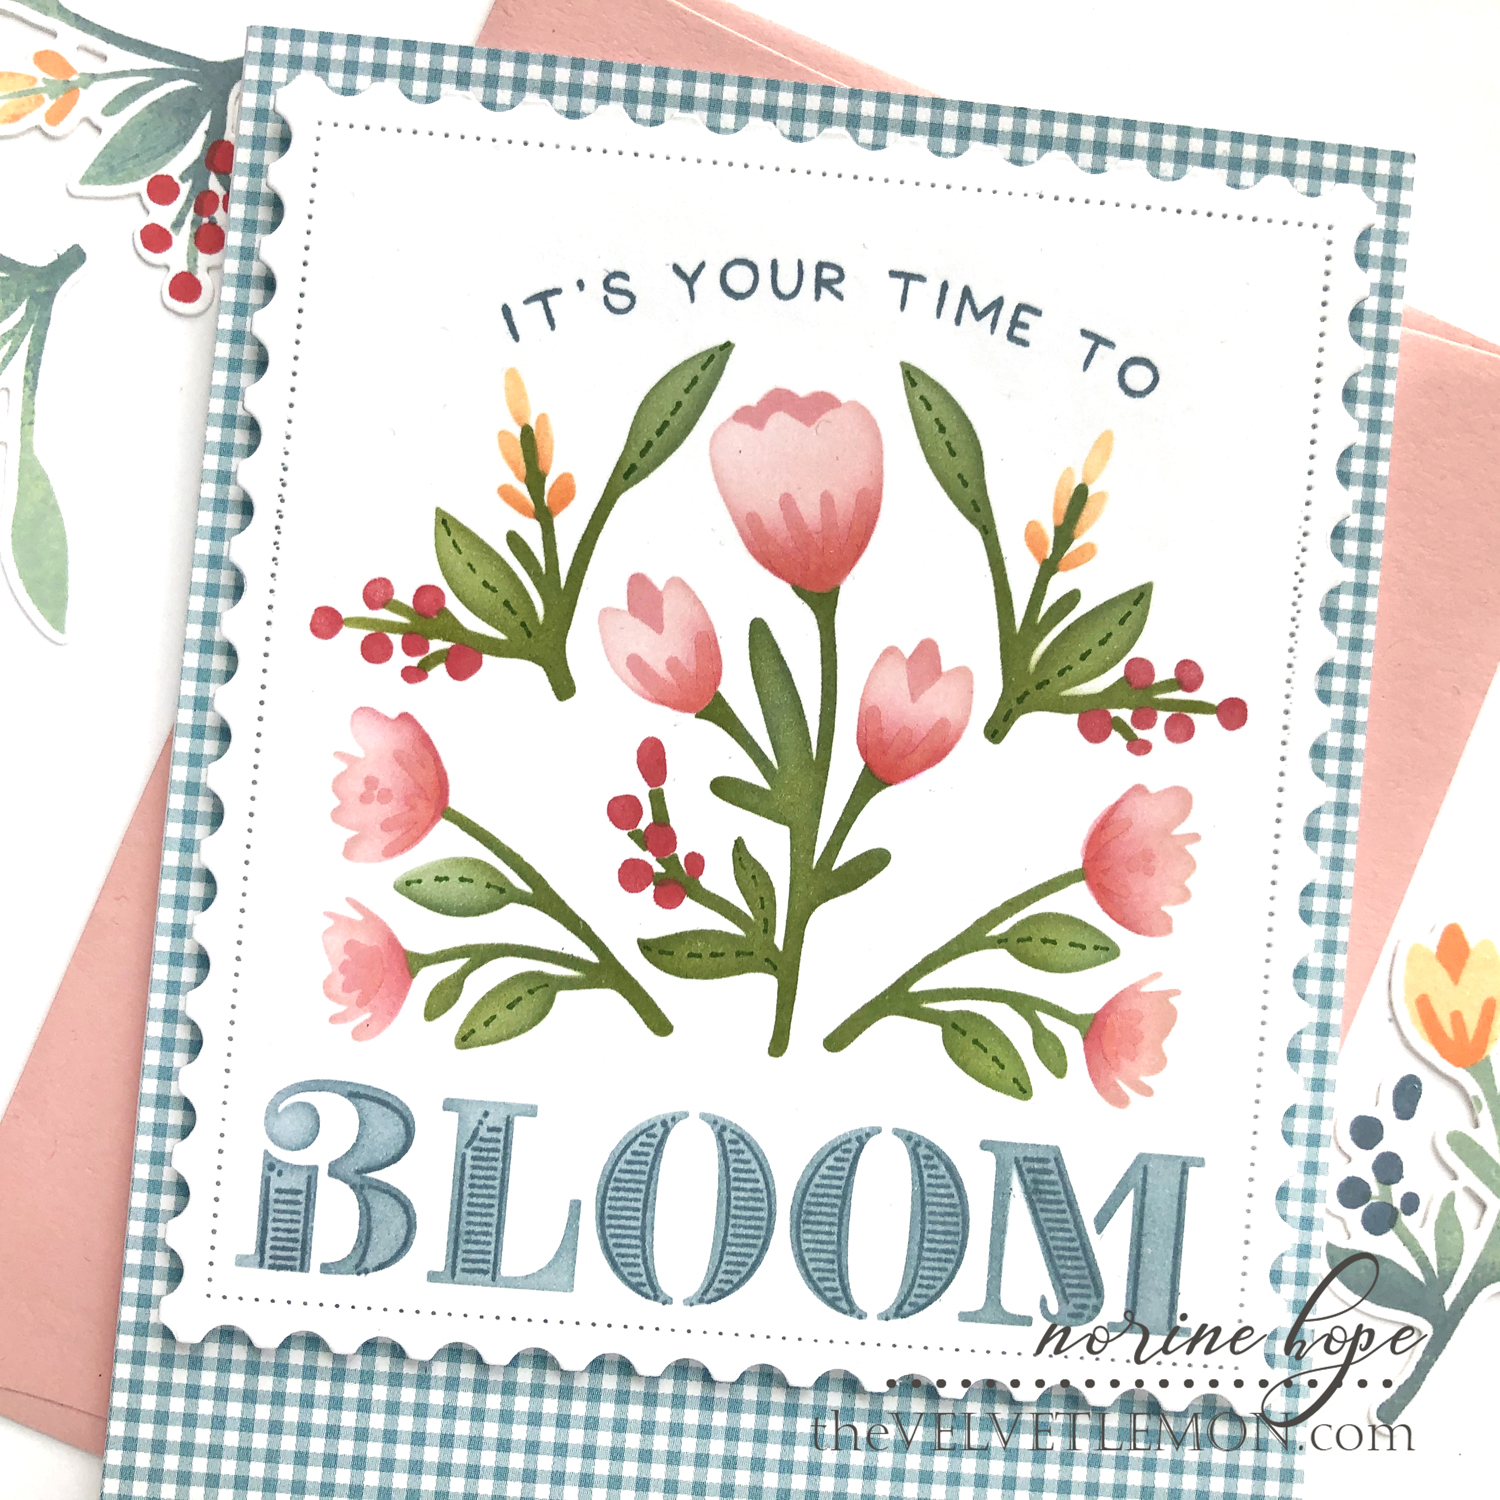
I added sentiments from the coordinating Always In Bloom stamp set, stamping the details of the BLOOM word with dark blue ink, and using the stencil to add the fill-in color.
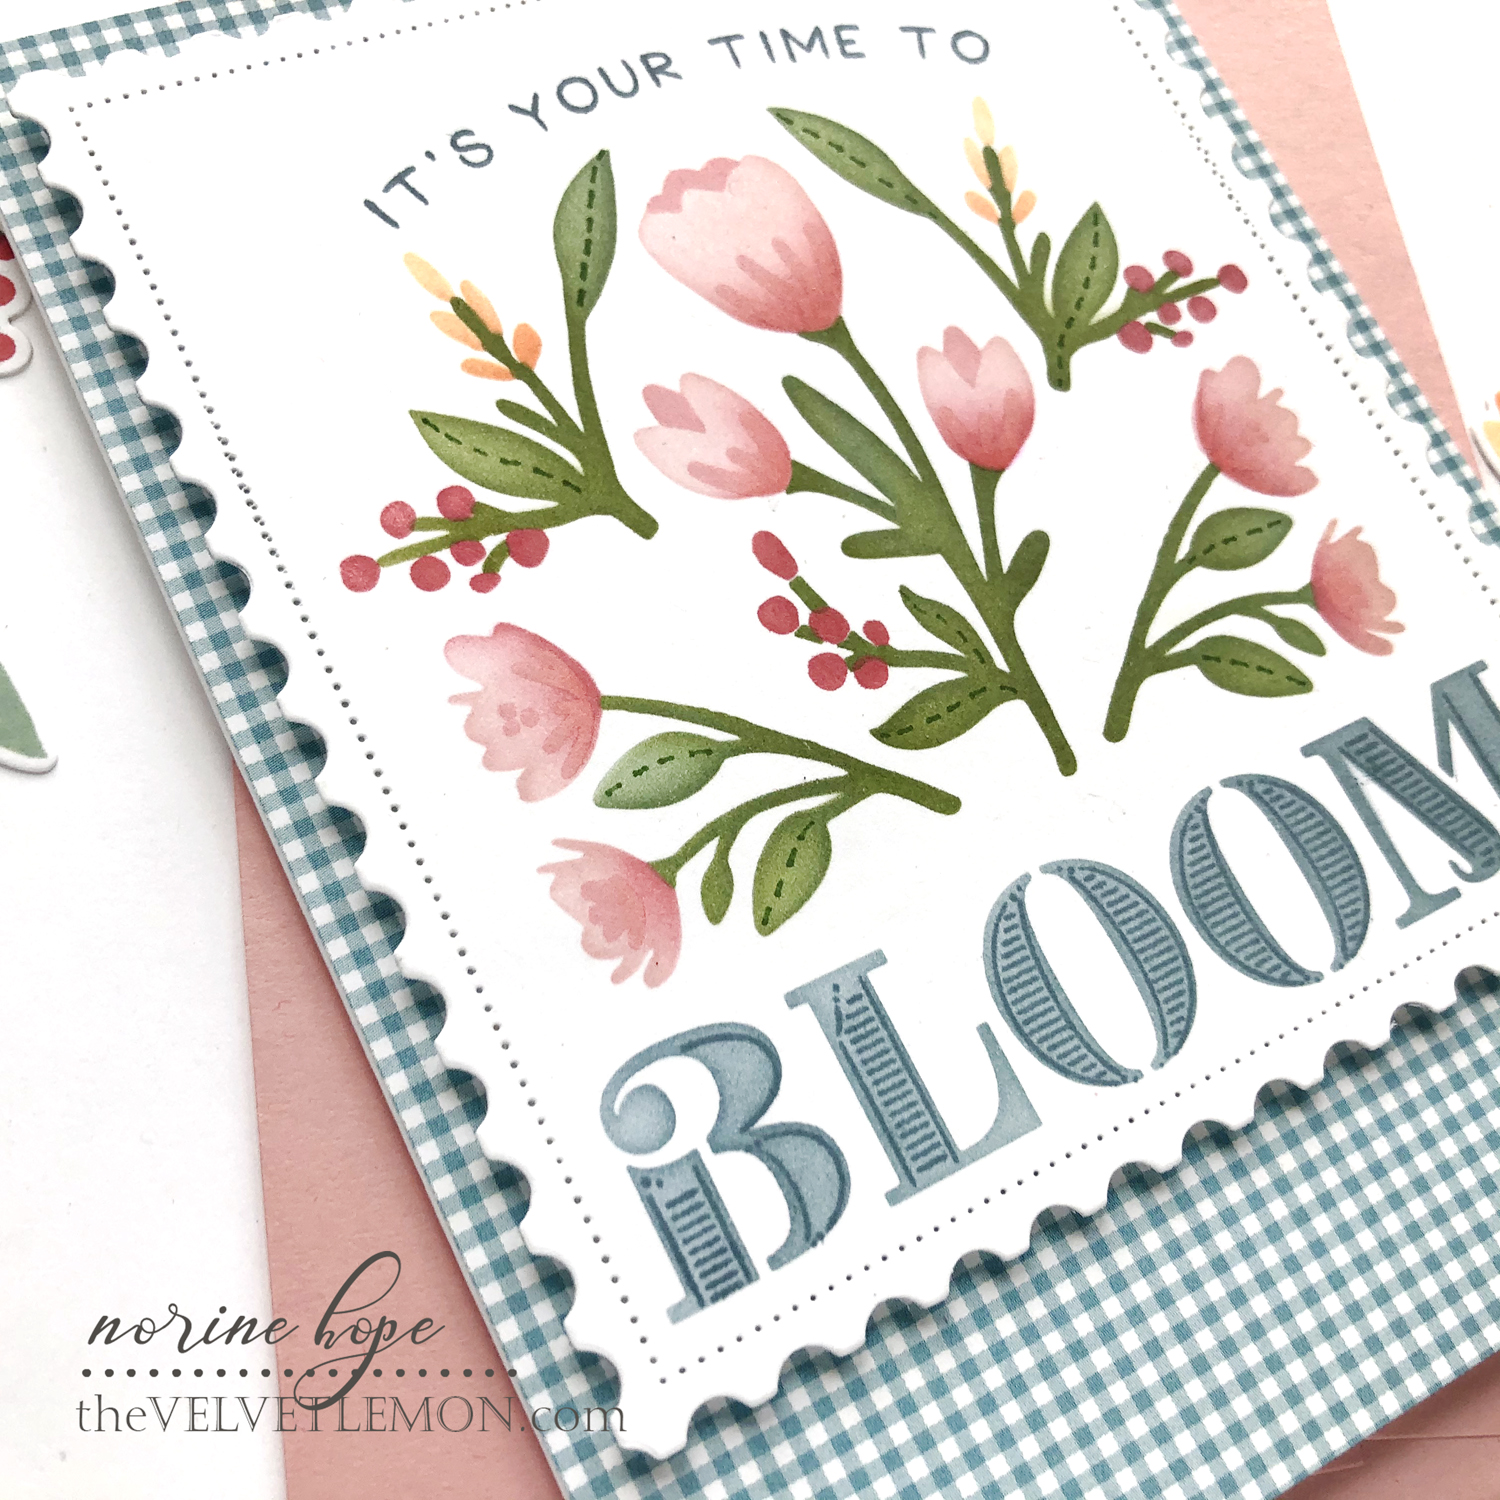
I added a few stitched line details to the leaves, just to elevate the design slightly but still keeping the simple, primitive stenciled look. Then I die cut the panel using the Postal Frames die to give the panel some extra interest. That die cuts a size that more directly corresponds to an A2 card size, so to get the shorter size, I die cut half way from the top, then took it out and repositioned the die to cut the lower half shorter.
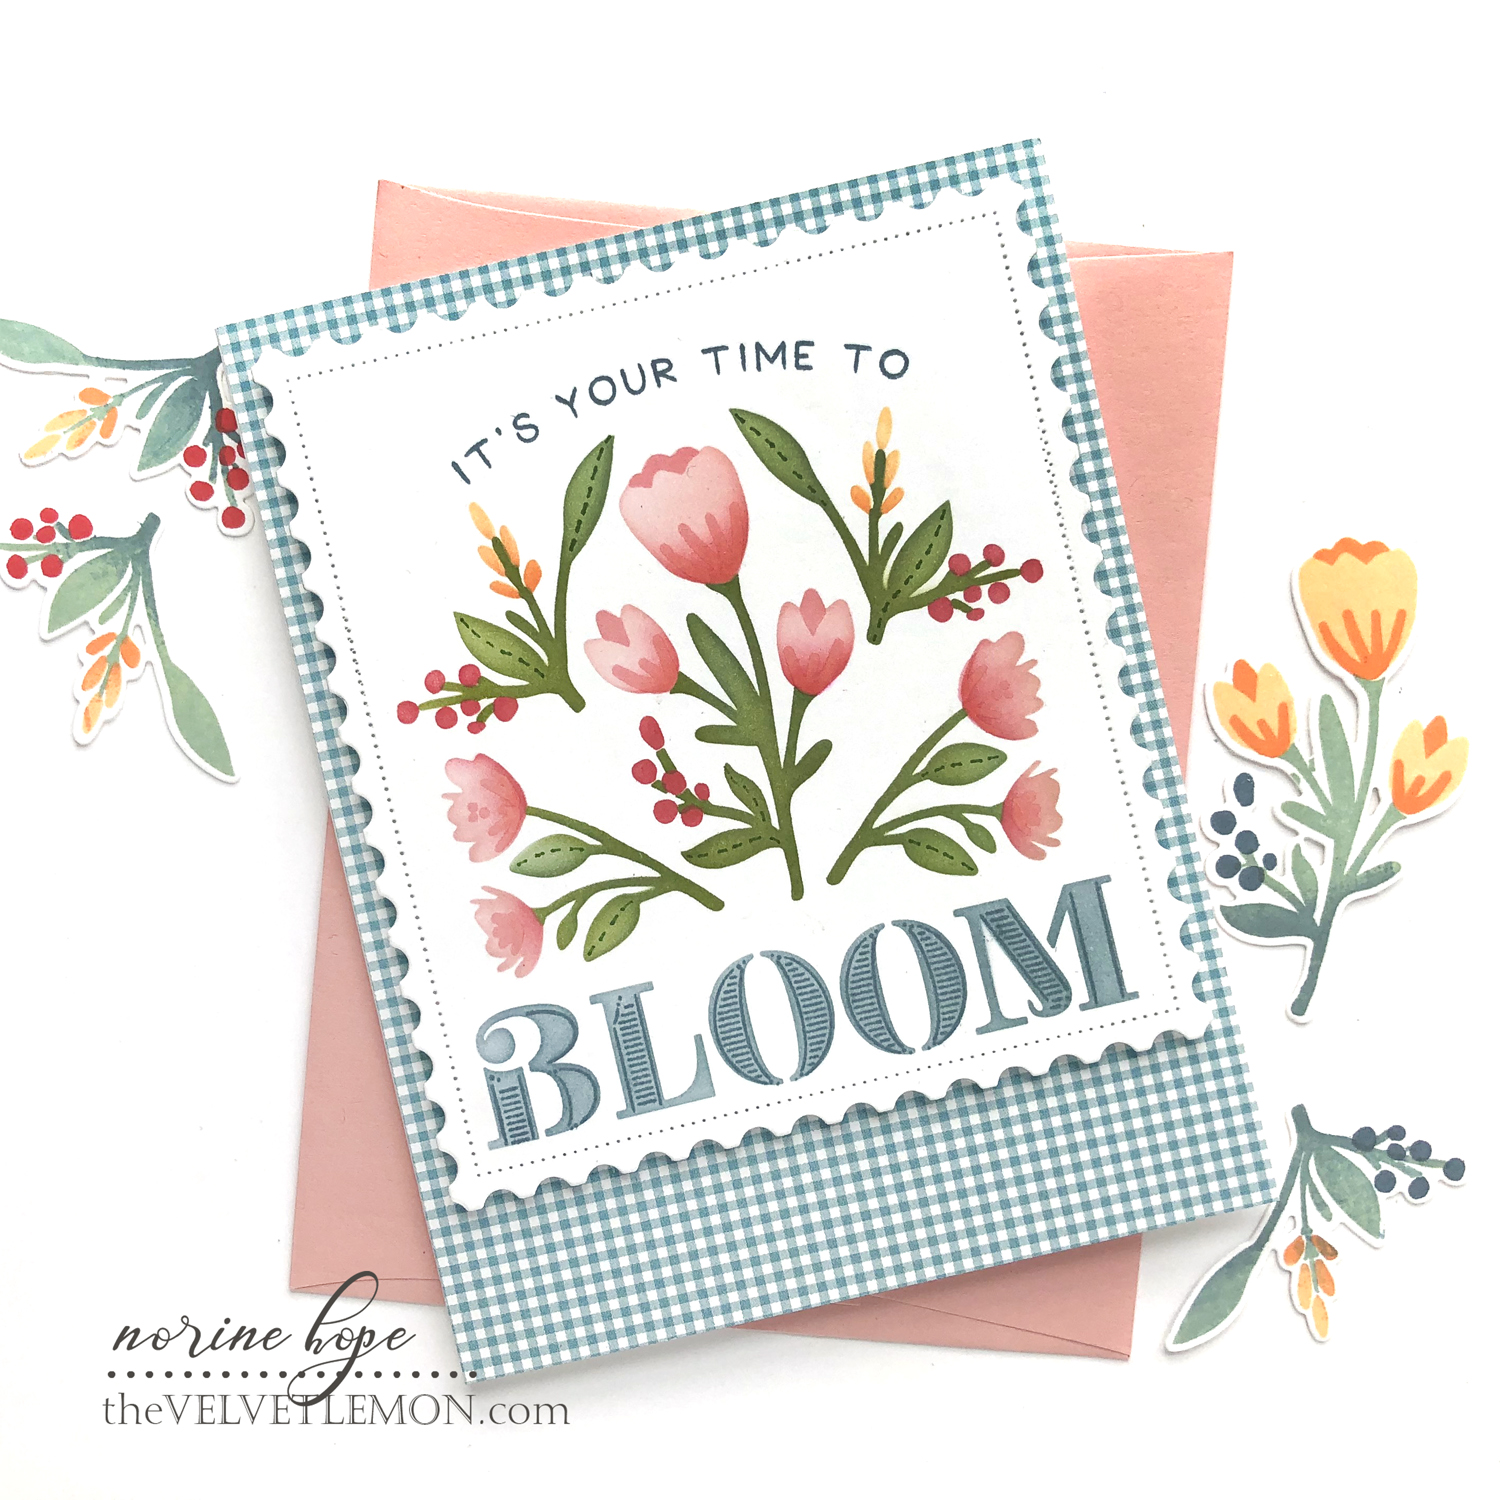
I popped up the card panel with some foam tape and adhered it to the front of a card base covered with my favorite check-patterned paper! I love the stamps that layer up to create these same designs, but I REALLY love being able to accomplish the same thing more precisely with stencils!
Your next stop on the hop is Wanda’s blog, but before you go, check out the giveaway up for grabs!
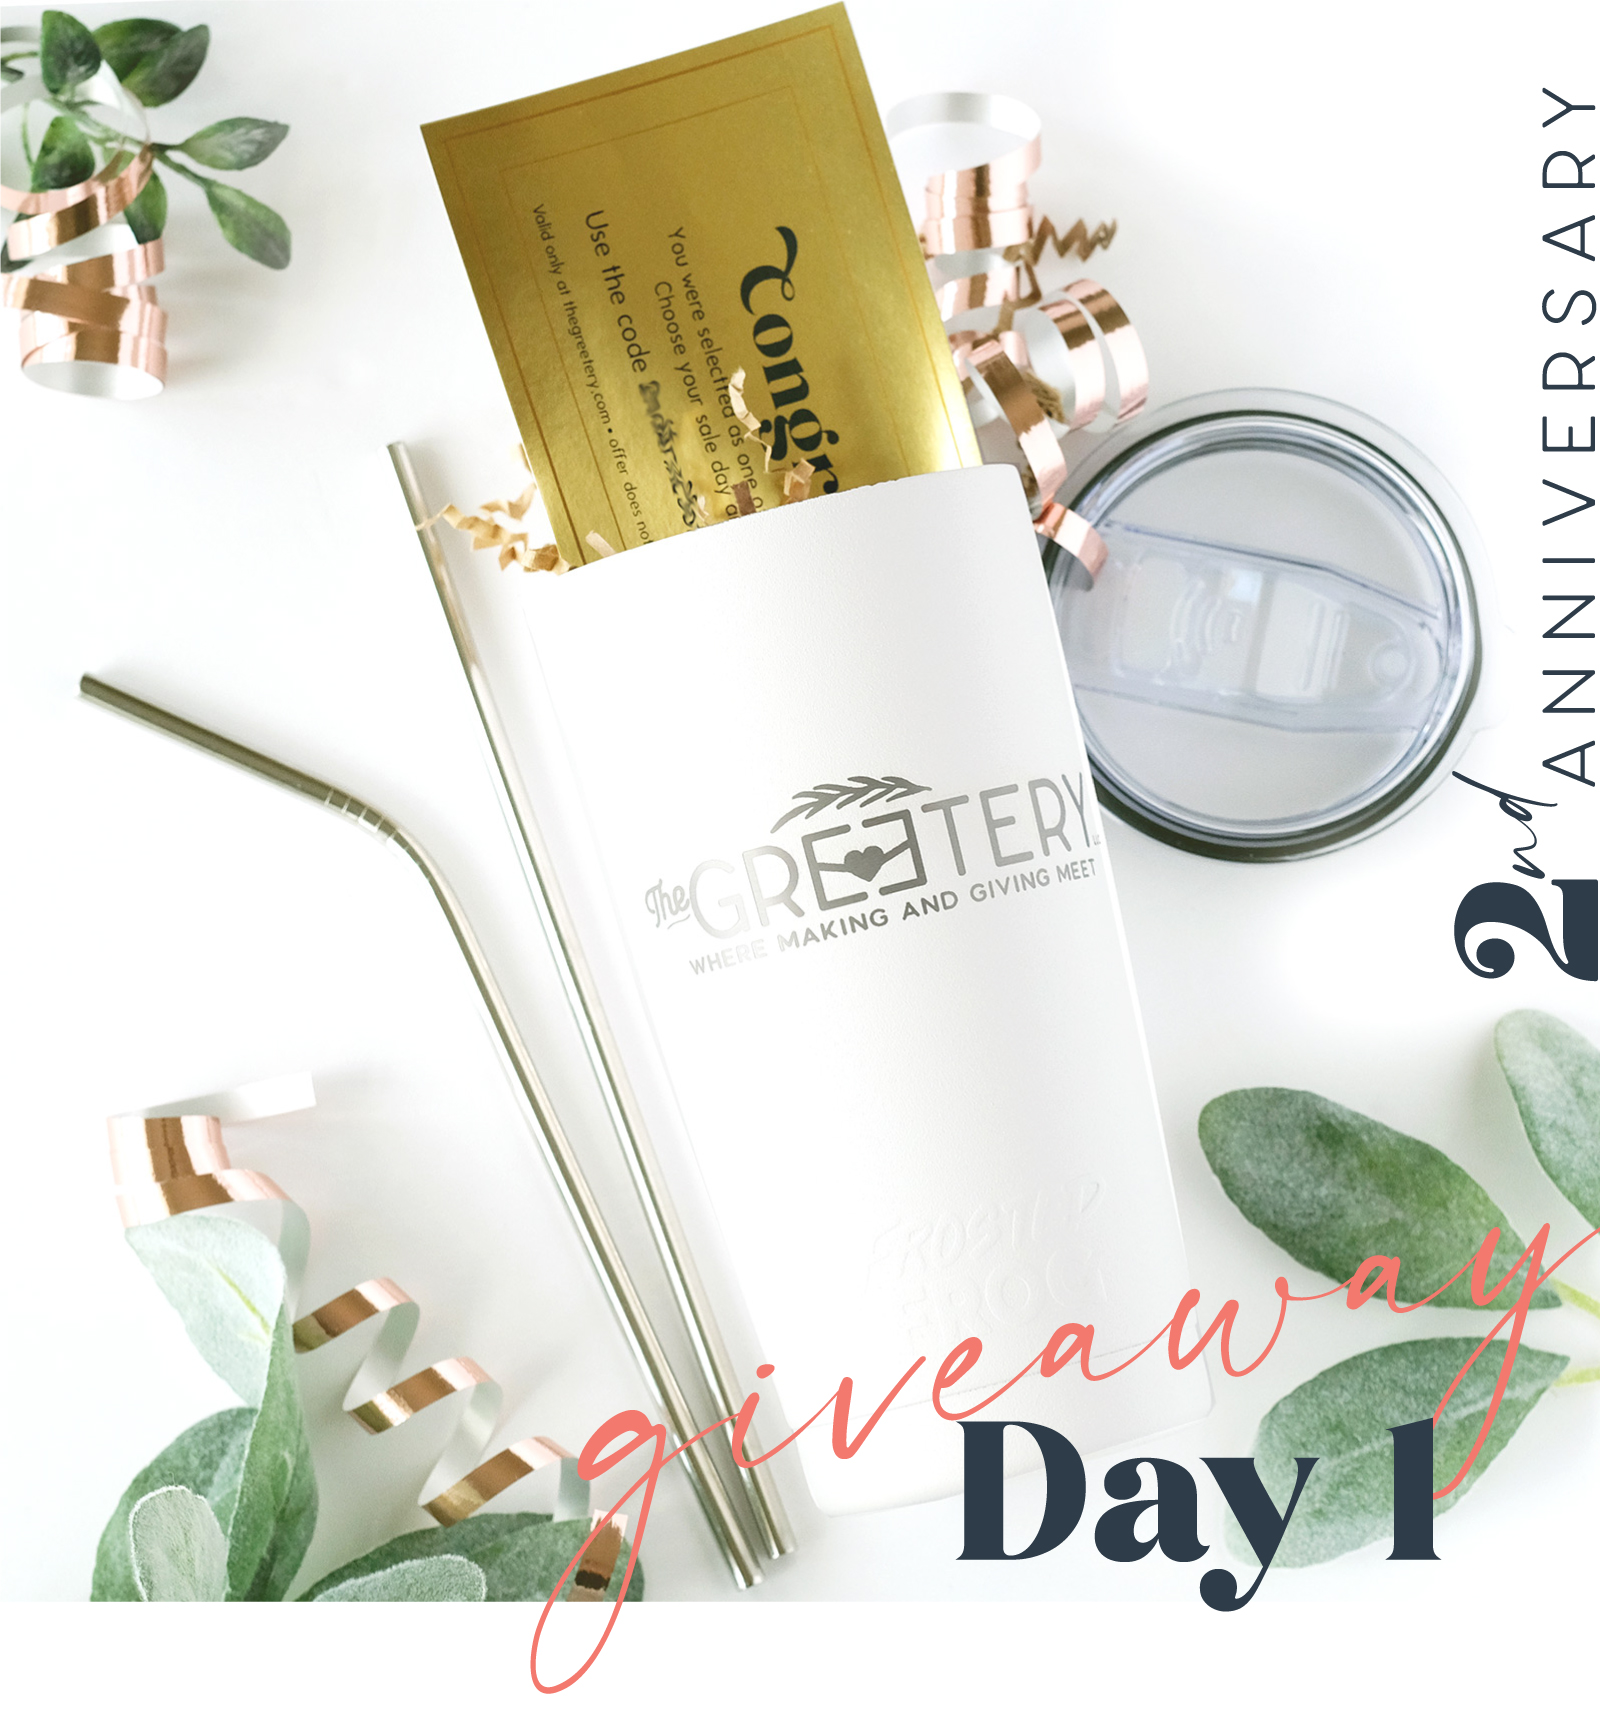
Day 1 Giveaway:
- $50 Gift Card Code to spend now
- Greetery Tumbler
- A 25% off code to use later will be tucked inside the tumbler
- One winner will be chosen from the blog comments (including DT blogs as usual), the other winner will be chosen from Instagram comments on The Greetery’s Instagram.
- Comments will close at 11:59pm on Tuesday, April 27. Winners for all will be announced on The Greetery blog on Wednesday, 4/28 at 7am EDT.
1. Angelica
2. Norine – You are here.
3. Wanda
4. Laurie
5. Dawn
6. Kelly
7. Keeway
8. Kay
9. Heather
Thanks for stopping by and enjoy the rest of the hop!
SUPPLIES USED: