Hey, hi! Back again for Day 2 of The Greetery Blog Hop showcasing the new release called Confetti Collection! SO much cute stuff!! I mean, it’s just bonkers how fun and cute and celebratory every new product is! Let’s get started!
You should be arriving here from Kelly’s blog once again, but if not, there’s a blog hop list posted below that you can use for reference so you don’t miss any of the creative and amazing projects being shared today!

As a reminder, here’s a pic of the whole collection of projects I made, yesterday and today. And yes, that’s a 3D cake on the bottom right! The products being revealed today are listed below, and once again you can click over to The Greetery blog to see the all the product images and specs.
Pinwheel Party stencils, stamps + die
Cake Pops Collection: Cake Pops die
Cake Pops stand
Cake Pops Number Candles
Cake Pops Banner
Cake Pops Sentiments stamp

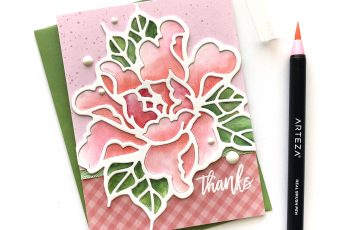
The first card I’m sharing today is a combination of Pinwheel Party Stencils and Dies, with the Twisted Crepe Dies and the Ticker Tape Background stamp from yesterday’s reveal.

I began by creating the background card panel with the stencil set and using the included mask to allow stamping the lower half with the Ticker Tape stamp. I also ink blended more of the same color of ink over top of the stamped confetti.

I stenciled three more fan decorations and die cut them with the corresponding dies. I popped up the die cut fans with foam tape and adhered a pleasing arrangement of the crepe streamers and fans to the background. I didn’t add the shade twists on the streamers for this card because I felt it was already busy enough. I added a sentiment from yesterday’s Balloon Bouquet stamp set with black ink and adhered some black enamel dots to embellish the fan centers and to unify the black inked greeting.

Next, I created a quick and simple, but also more “dignified” (and maybe masculine?) card. I began by stamping a background card panel with the Ticker Tape stamp with black ink, and heat embossing with clear embossing powder.

I die cut 5 (!) layers of black cardstock with the “let’s party” word die and one vellum layer with the silhouette die. Then I stacked two of the black cardstock layers, adhered them on top of the vellum and then, because the background was too distracting for the vellum to really stand out, I added three more layers behind the vellum to lift it up off the background. It works, as you can see!

I die cut a couple of streamers and a little banner from the Cake Pops Banner stamp and die set, and added a sentiment from the same set. With the coordinating color of mat tying it all together, it makes the card!

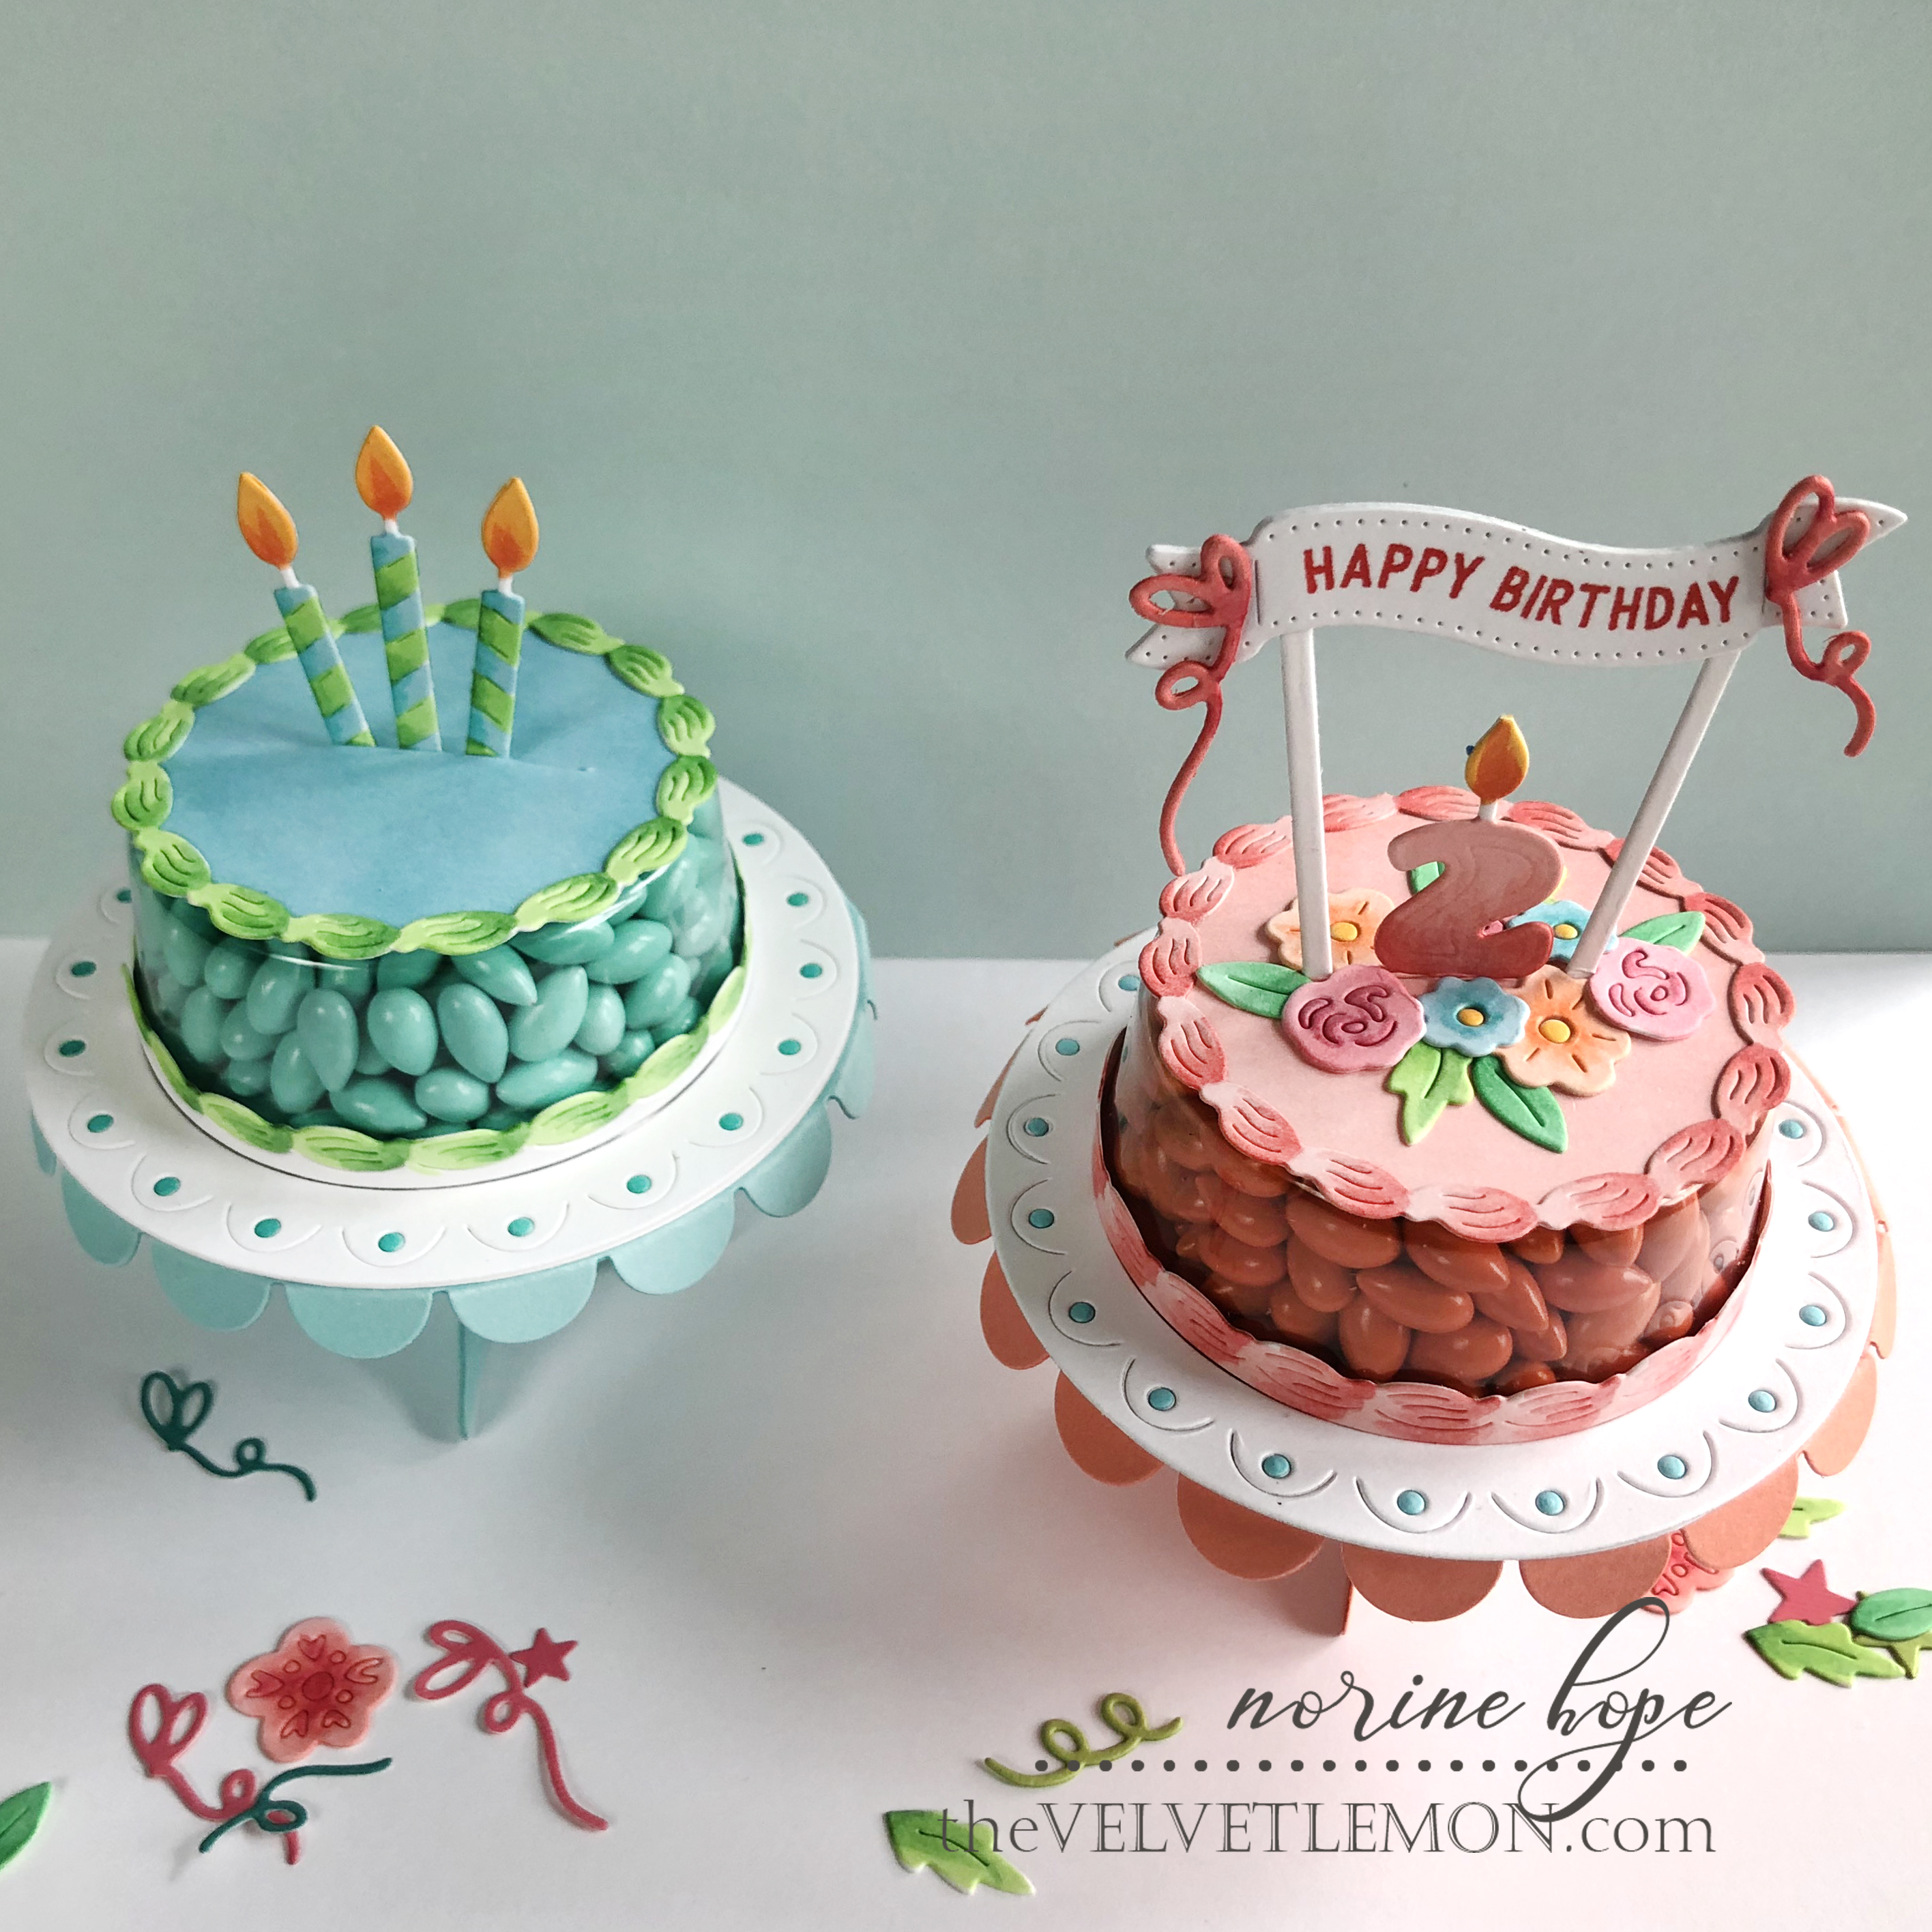
Next up is the most fun I’ve had making something in a long time! You know when it comes to a 3D project, The Greetery won’t let us down! The Cake Pops sets all come together to create these little cakes with a variety of ways to decorate them, and the little cake stands as well. Can you imagine what a cute bridal or baby shower favor these would make??

I made a little coral colored cake stand and cake for my grand-daughter’s upcoming 2nd birthday and filled the little cake pop container with candy-coated-chocolate-covered-sunflower seeds to match.

I used the Cake Pops Banner die set, the Cake Pops Number Candles Die set with the basic Cake Pops die set to create the cake and all the decorations on top. I colored everything with Copic markers to get the exact colors I wanted. The Cake Pops Stand die is separate and is a simple project to construct.

Then, because the 3 year old, who is hugely into birthdays no matter whose they are, can’t be left out, I made a little blue cake and cake stand for him! This whole cake project (the stand is separate) can be made from the single Cake Pops die set.

More candy-coated-chocolate-covered-sunflower-seeds for this cake bubble! I used the Tear Away Circle die released last year for the Christmas Candy Pops bubbles, to allow easy access to the candy from the bottom of the cake bubble.

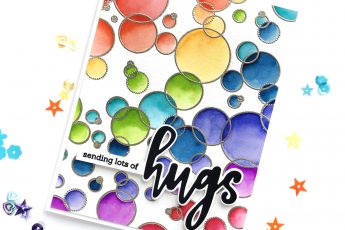
Now, if you’re thinking, but what else can I do with the Cake Pops dies once I’ve made all the cakes I need, let me show you some other projects! As you can see, this die collection works very nicely for cards and flat projects too!

I die cut the candles and an assortment of the flowers from the basic Cake Pops die set, and colored them with Copic markers.

I die cut and stamped a “happy birthday” greeting with the Cake Pops Banner die set and combined them in a sweet little vignette on a pierced rectangle die cut, matted with black striped patterned paper. Little effort, big impact!

Those little tiny flowers and leaves just do something to me! So I die cut a bunch more and colored them up before arranging them into a tumble of falling blooms!

I pulled out the Sentiment Starters Dies and the Slim Alphabet dies from the March release, because who can ever get enough of those?! I colored the “just for” die cut with Copic markers and cut the “you” from black cardstock. To balance the visual impact of the black “you”, I added a narrow strip of black and white striped patterned paper along the opposite side.
Ok! That’s probably enough now! I hope you found something to ignite a spark of creativity for you too! Your next stop on the hop is Wanda’s blog and there are a few special guests remaining as well. Remember to leave a comment on each of the stops today for a chance to have your name/comment drawn to win one of TWO MORE $50 gift cards for the Day 2 blog hop. Winners will be announced tomorrow morning when the release goes live at 7 am EDT. Thanks for stopping by today and enjoy the rest of the hop!
Complete Blog Hop list:
Norine Borys – You are here.