Hello, hi! Simon Says Stamp has just released their March collection – Hello Gorgeous – of exclusive stamps, dies, stencils and much more and I wanted to share a card with you that I made using some of the products in today’s release!
This post contains affiliate links that are listed below. By clicking through to purchase products linked, you are helping to support this blog at no additional cost to you which allows me to continue to provide you with creative inspiration and instructive help.
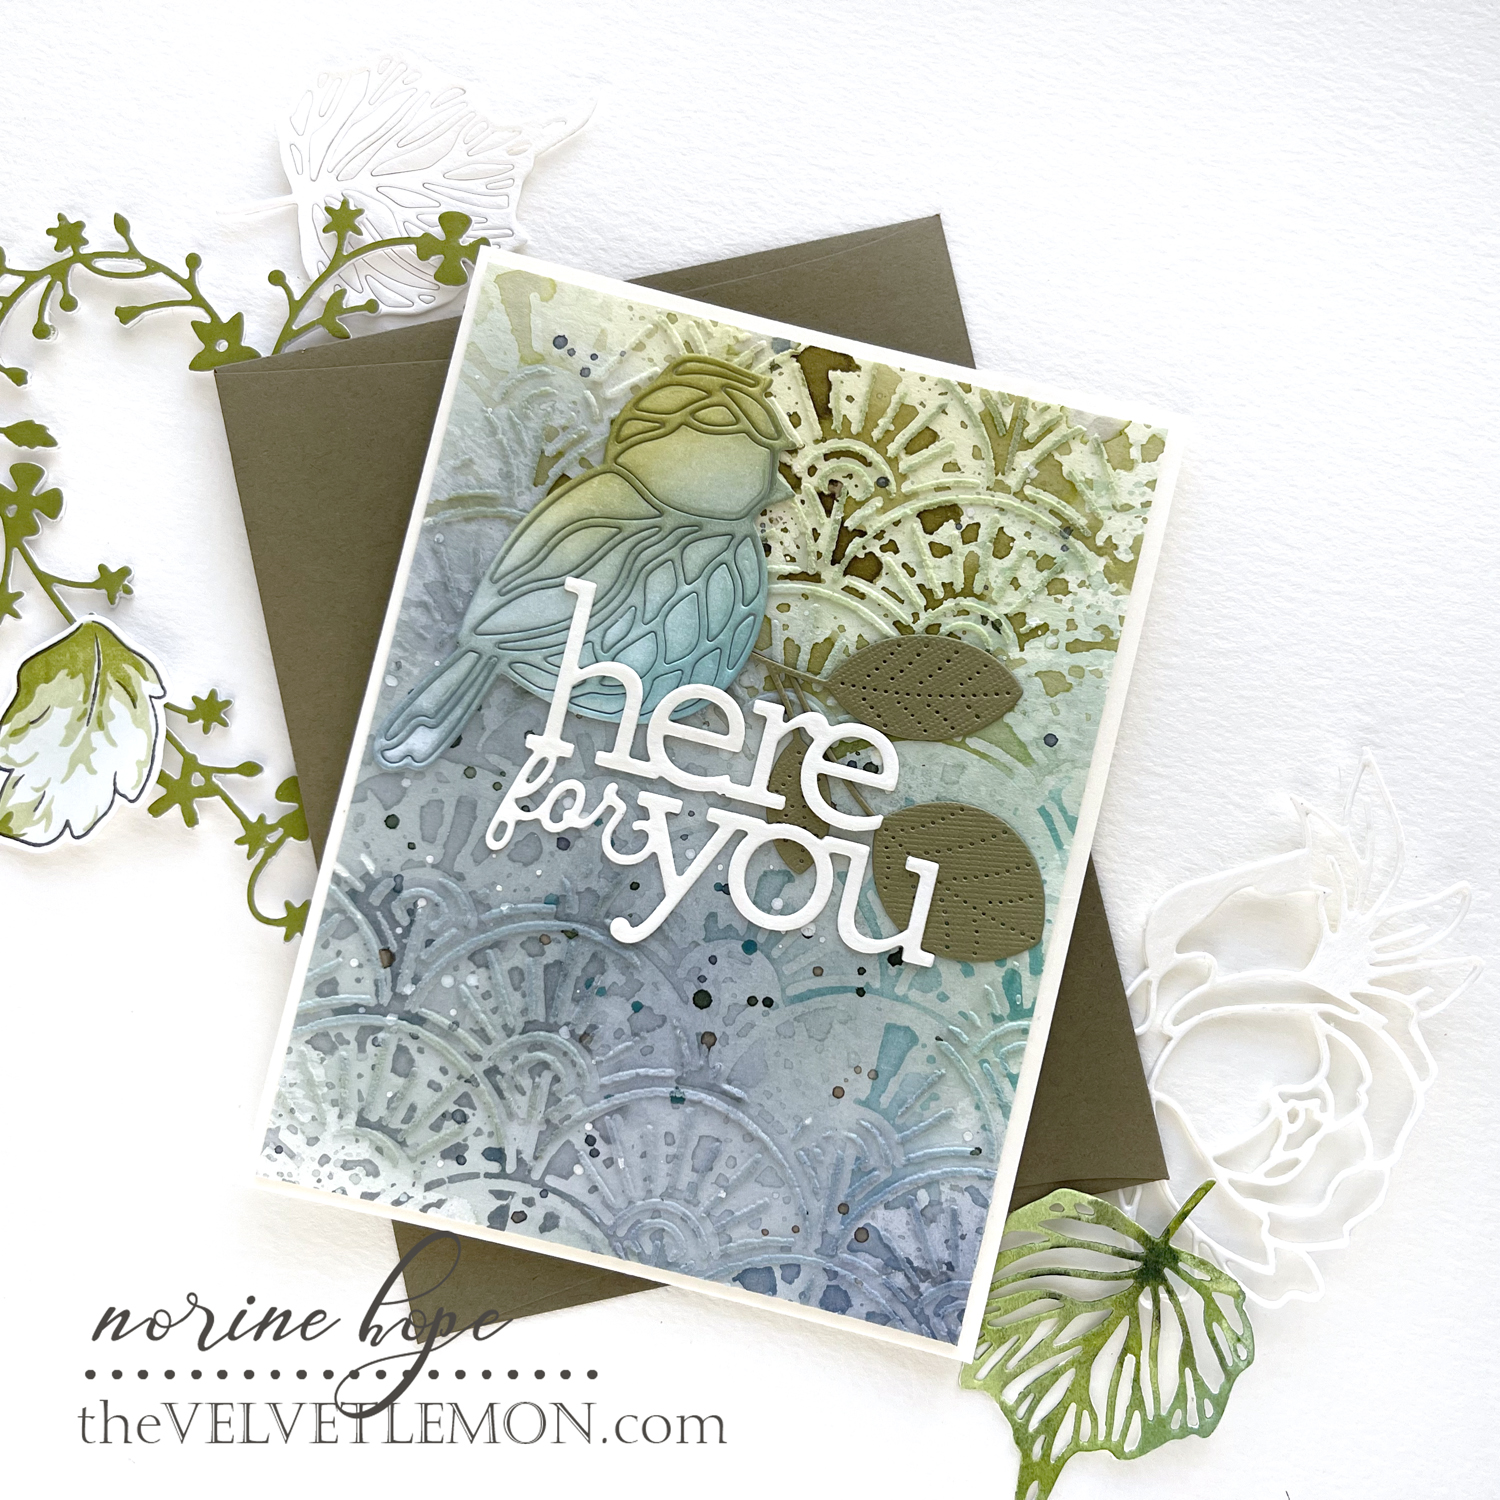
I was feeling like making something a little bit “mixed media” after watching a Shari Carroll video lately, so I began by inking up a media mat with Distress inks, using Stormy Sky, Iced Spruce, Weathered Wood, Peeled Paint and Broken China, then spritzing all over to wet the ink, and laying down the Fanfare Stencil in the wet paint. Then I laid the paint-side of the stencil face down onto some watercolor paper.
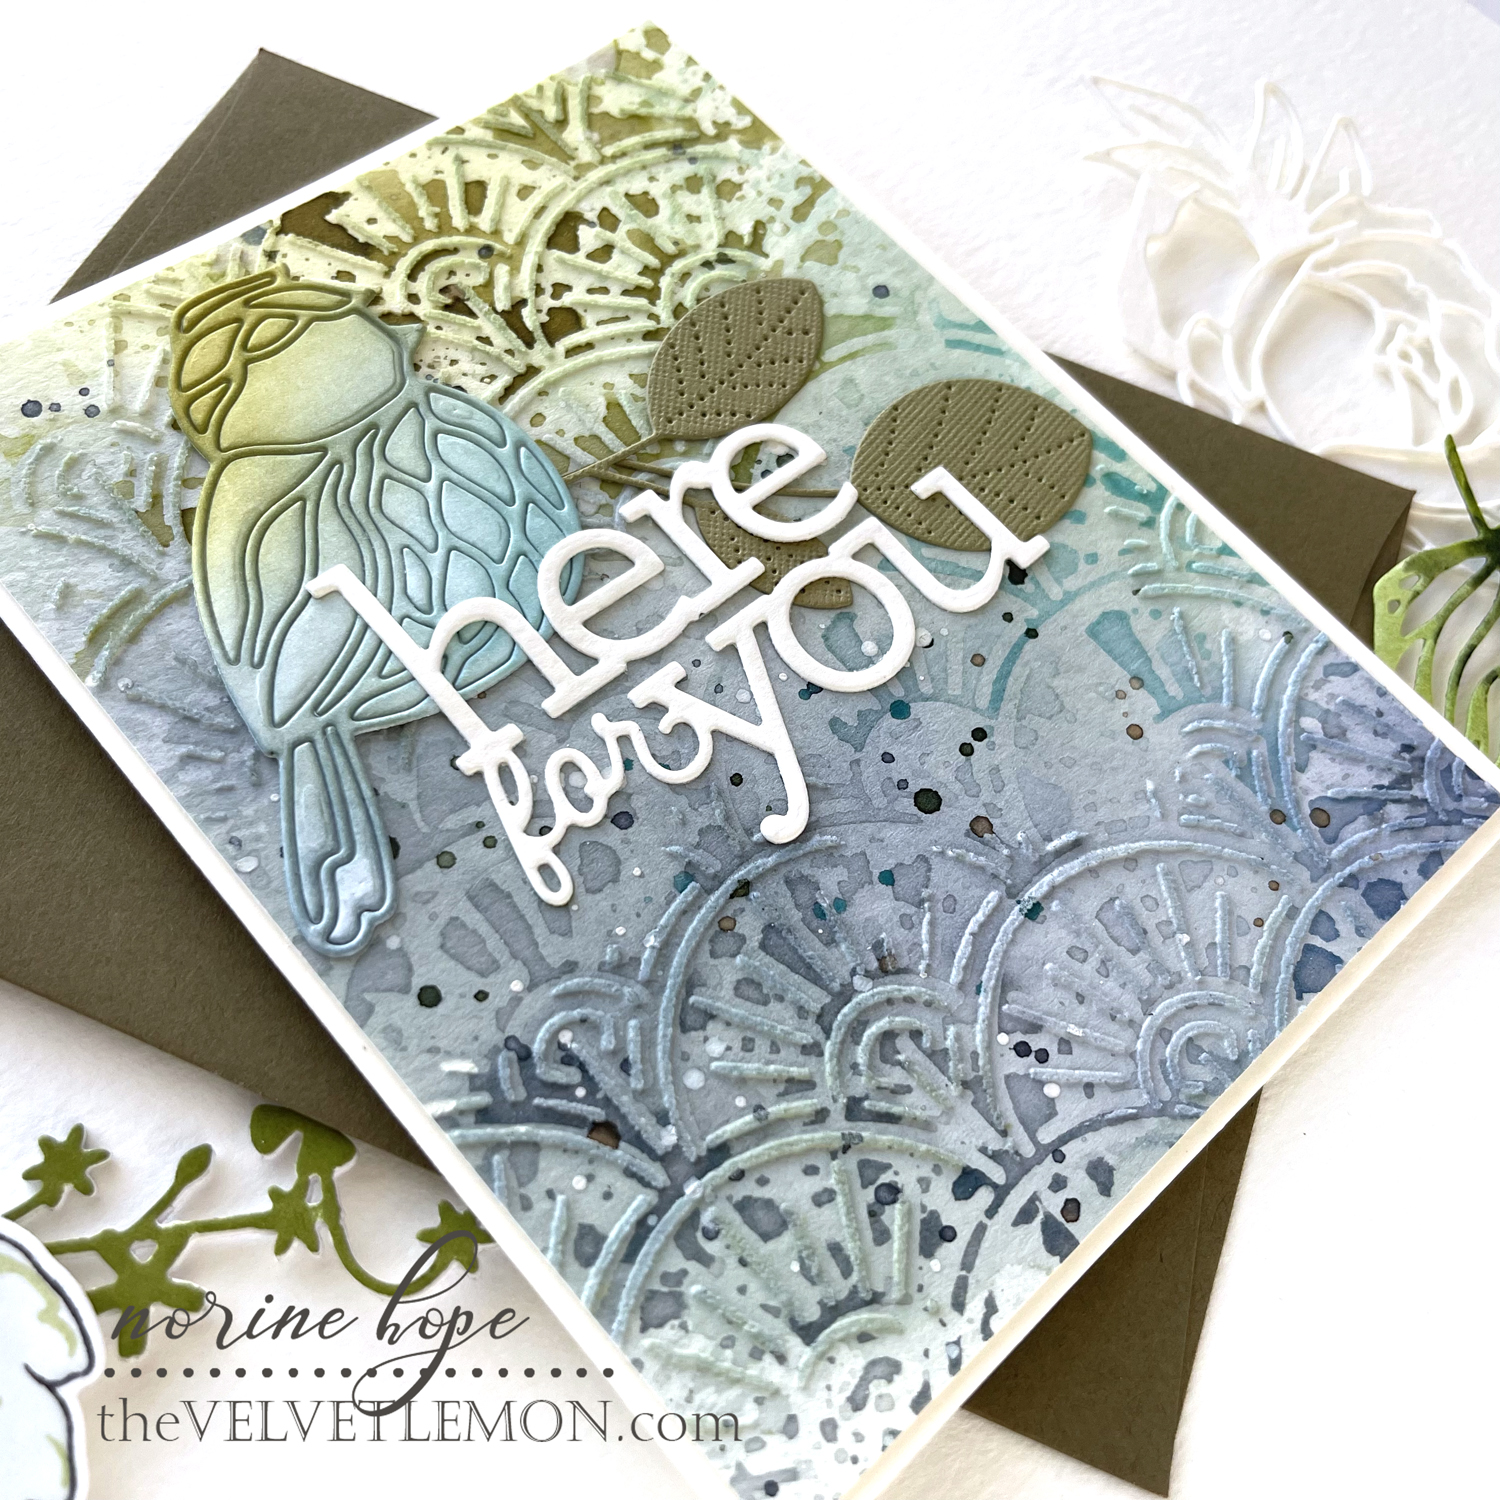
After lifting up the stencil and letting the wet paint puddle and dry, I mixed some of the same ink colors with embossing paste and smeared paste over the same Fanfare stencil.
Remember: the first layer was paint on the positive part of the stencil, and the 2nd layer was embossing paste through the openings (negative portion) of the stencil so basically everything gets covered with some color. I made sure not to cover the entire card panel with embossing paste as I wanted a more random, patchy look.
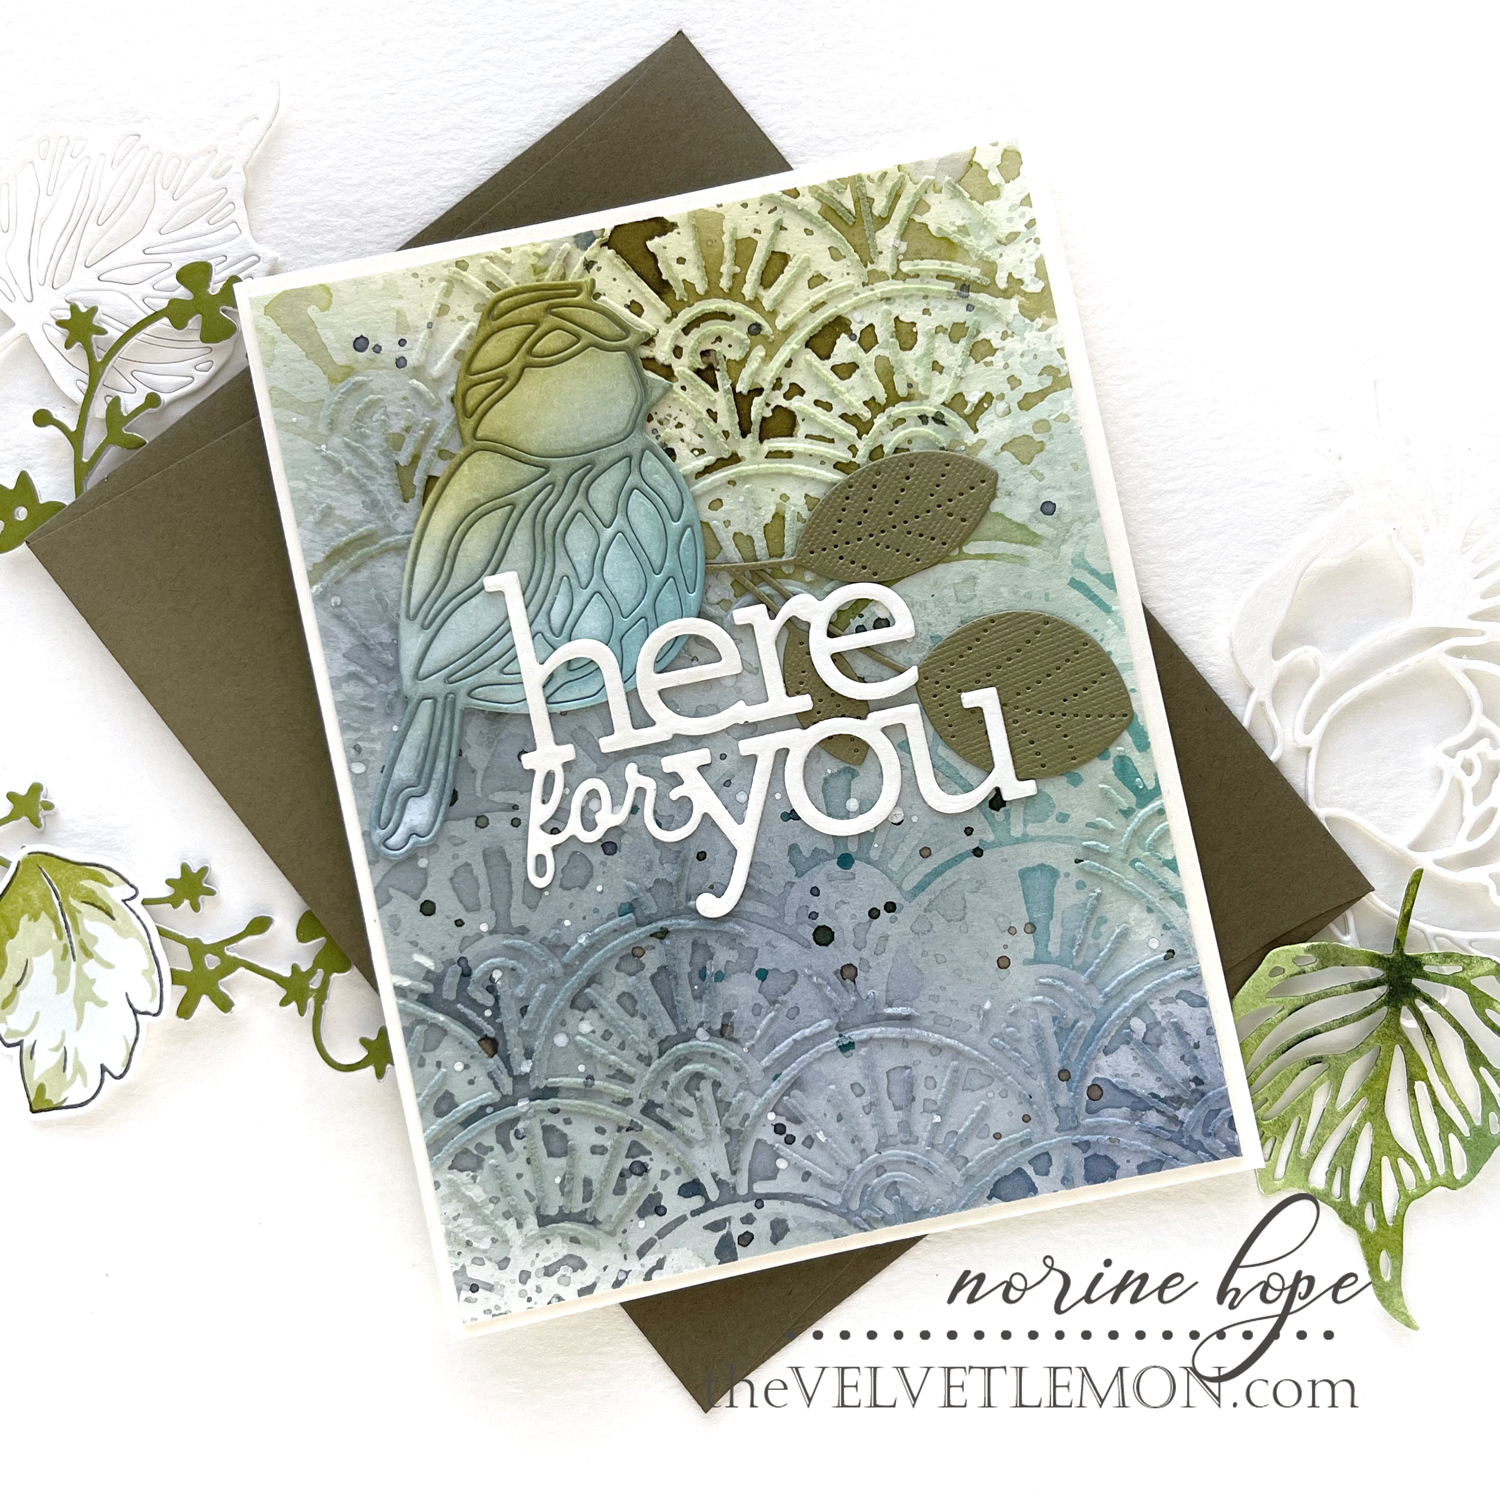
Once the embossing paste was dry, I used blending brushes to ink blend over the entire card panel in the same colors of ink used for the paste and paint layers. Finally a speckled paint layer to finish!
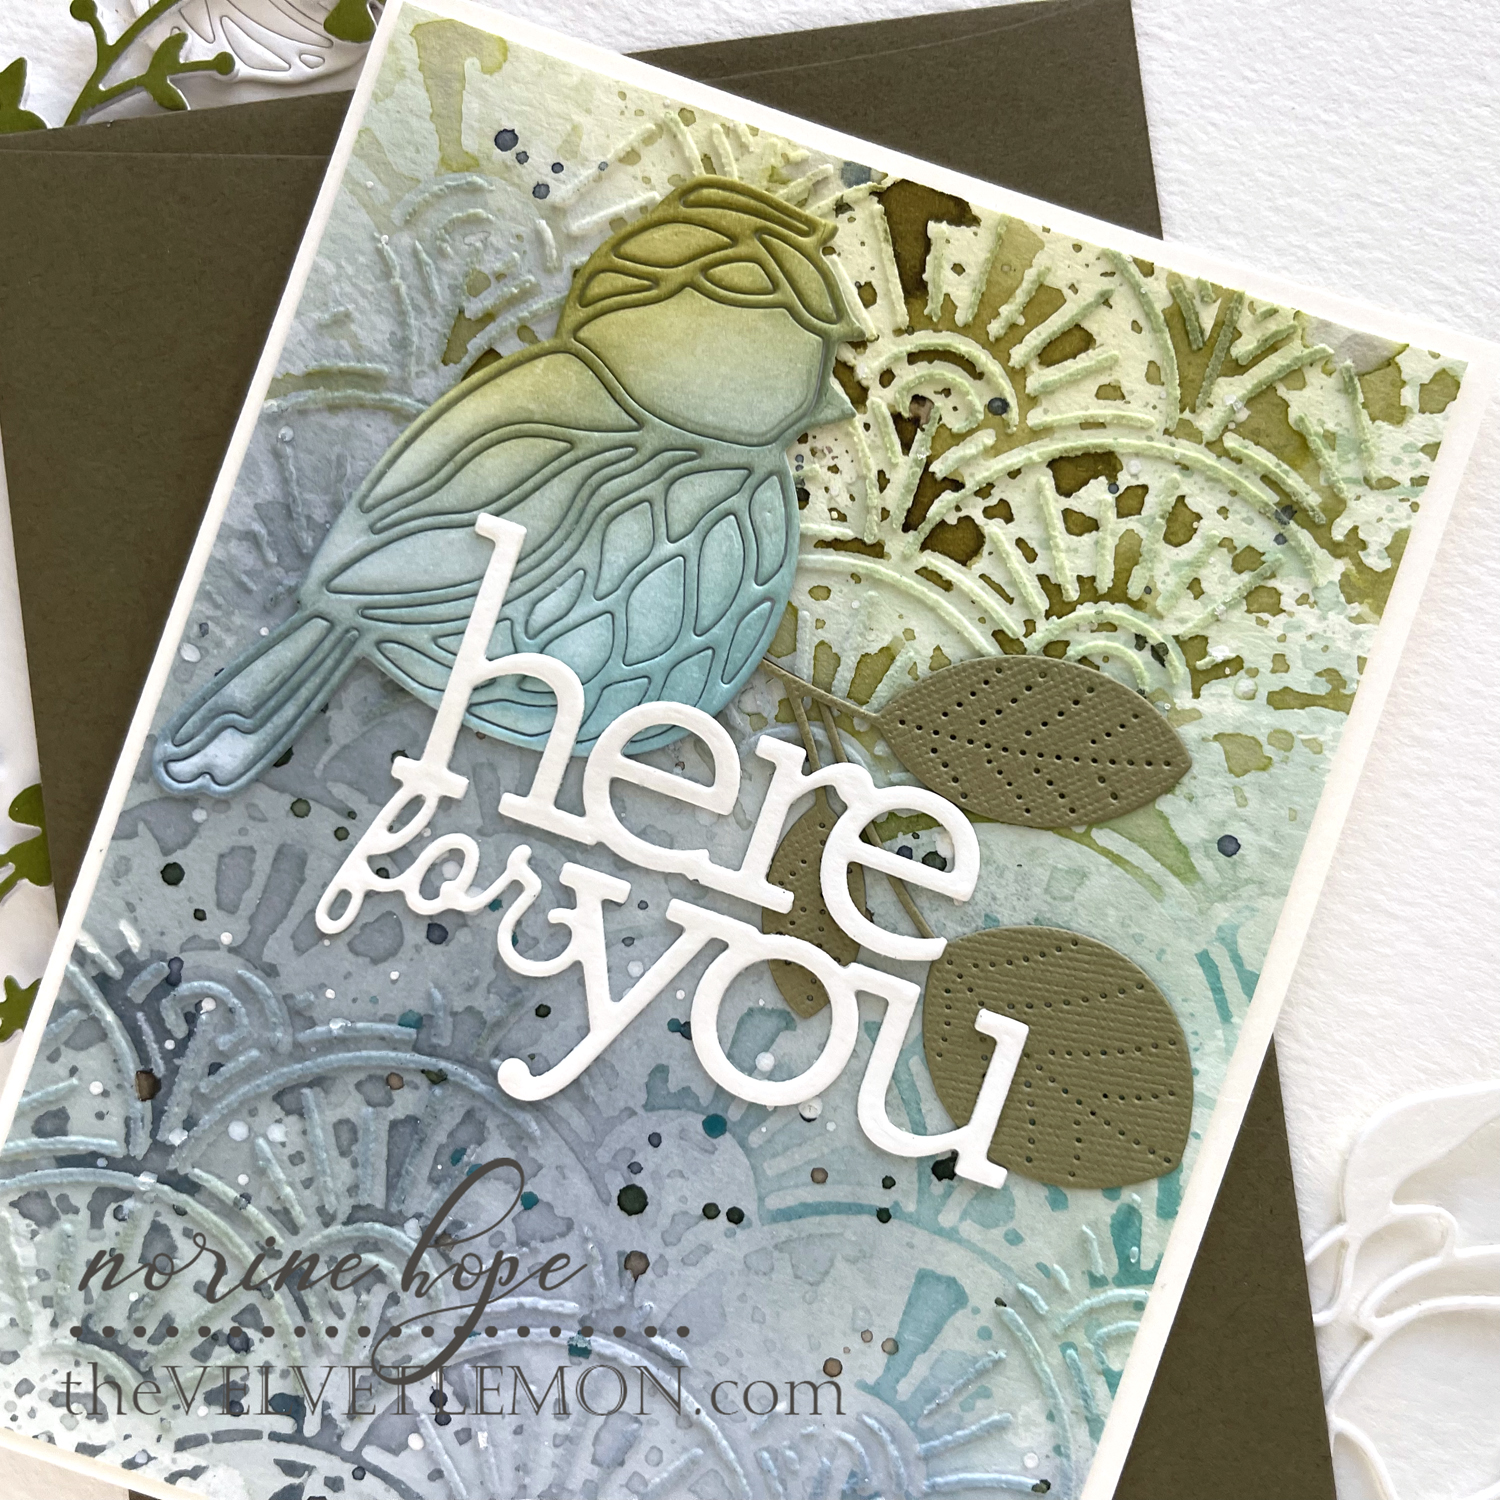
Next, I die cut the Stained Glass Bird, but left all the pieces intact using a piece of Press ‘N’ Seal on the front to keep everything stuck in place. Then I attached the die cut with all internal bits to a piece of masking paper. I used Peeled Paint, Stormy Sky and Broken China to ink blend over the whole bird die cut then trimmed the extra masking paper from around the bird die cut and adhered it to the card panel.
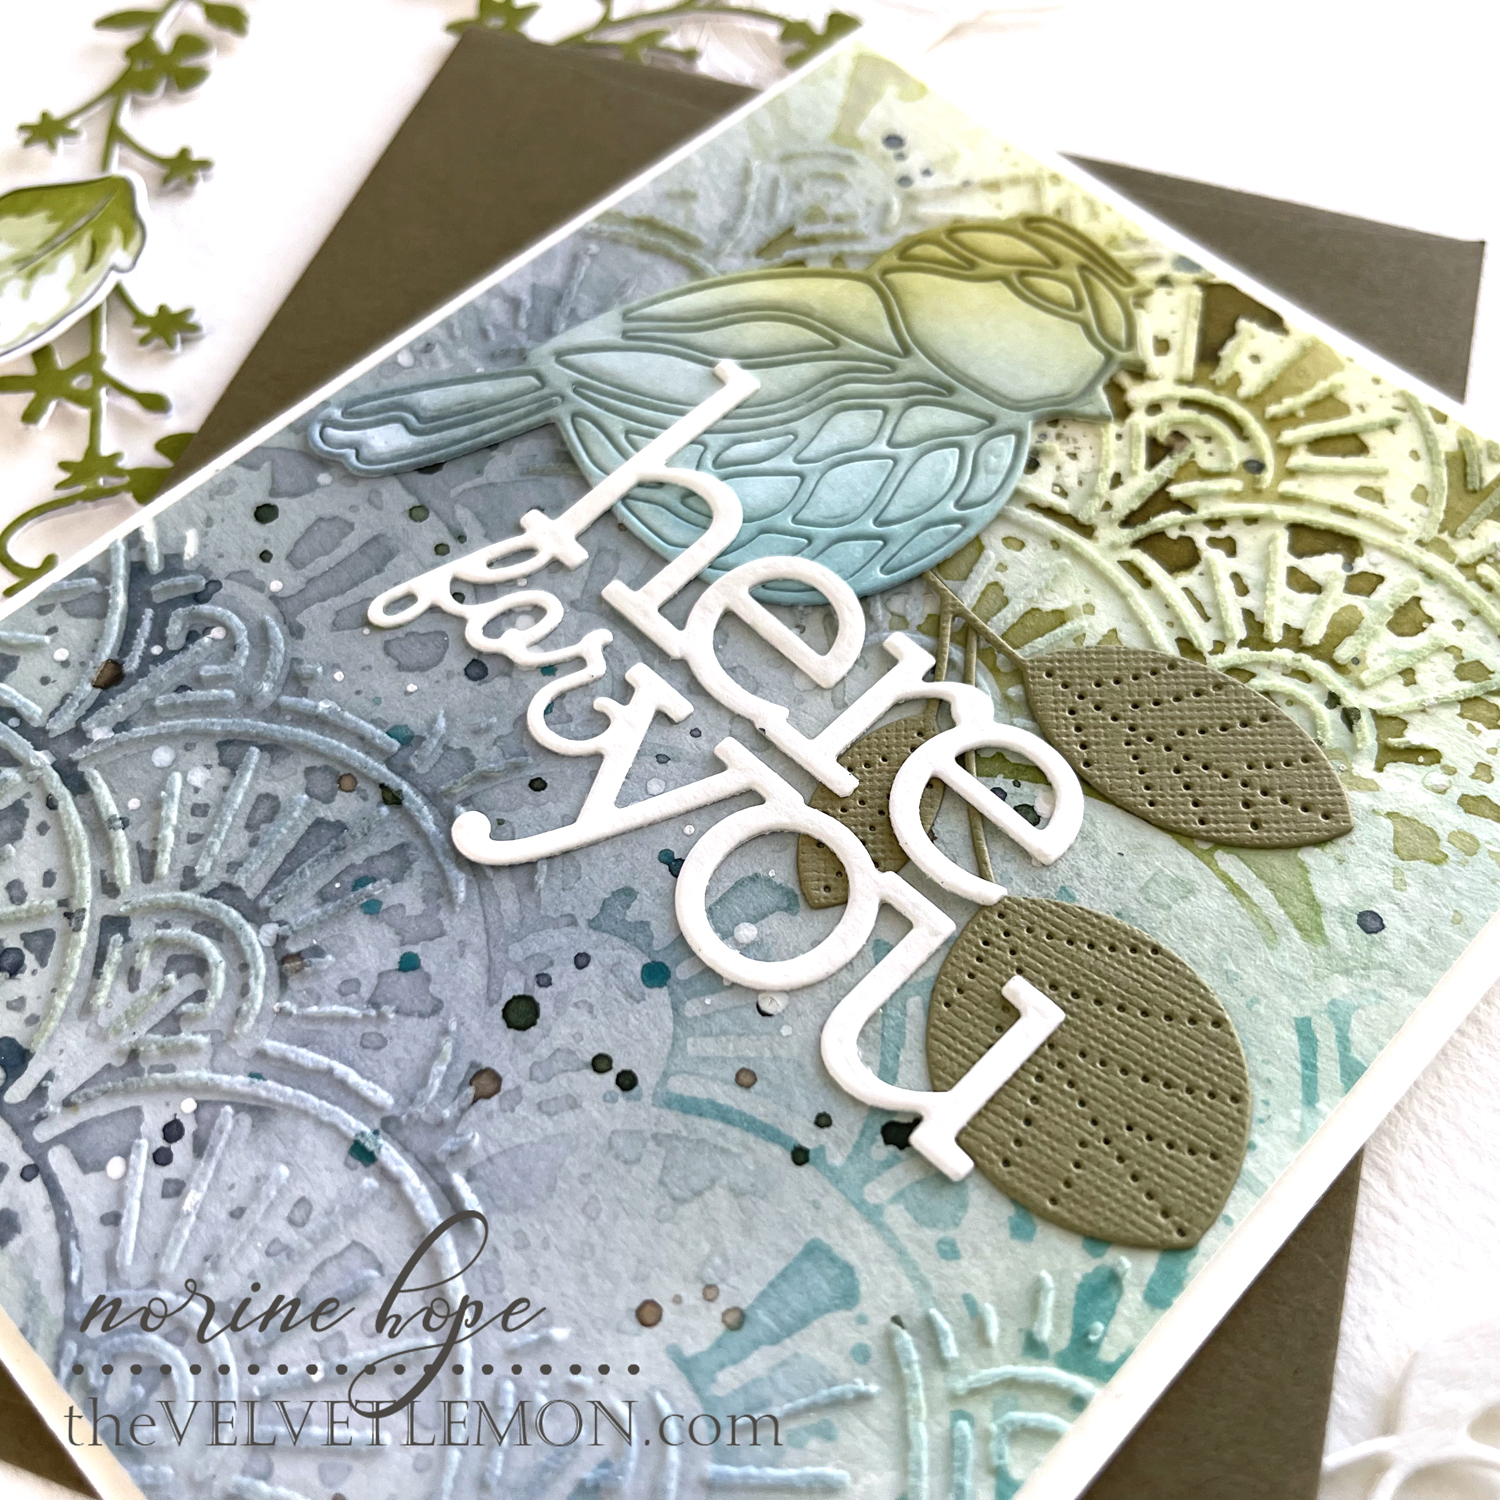
I die cut some green leaves with the Detailed Elm Leaves dies and tucked them beneath the bird. Then I die cut the greeting “here for you” (from last month’s Good Luck Charm release) from watercolor paper and adhered it over top all the other pieces. I trimmed the card panel slightly smaller than an A2 sized card and matted it with a cream cardstock card base.
Check back again tomorrow for another project that I’ll be sharing as part of the Hello Gorgeous Day 1 Blog Hop. Thank you for stopping by and have a wonderful day!
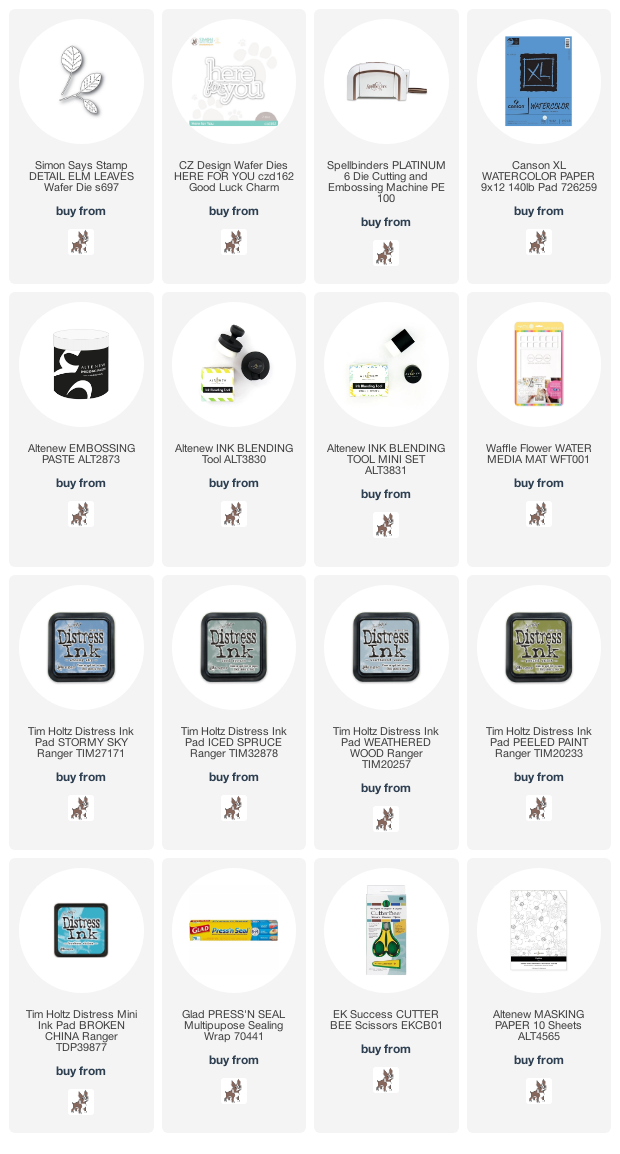
SUPPLIES USED: