Hello, hi! Welcome to the Altenew Paint-A-Flower: Camellia release blog hop! You should be arriving here from Christine Pennington’s blog, and if not, you can simply click on the link to the Altenew Card Blog where the hop begins and you won’t miss a thing!
The Camellia stamp set is part of a monthly subscription plan for our Paint-A-Flower. When signed up, you are guaranteed a spot in our monthly Paint-A-Flower releases and will receive a set each month – at a specially discounted price! ($15.99 →$12.99)
This post contains affiliate links that are listed below. Your clicking through to purchase products linked helps to support this blog at no additional cost to you and allows me to continue to provide you with creative inspiration and instructive help.
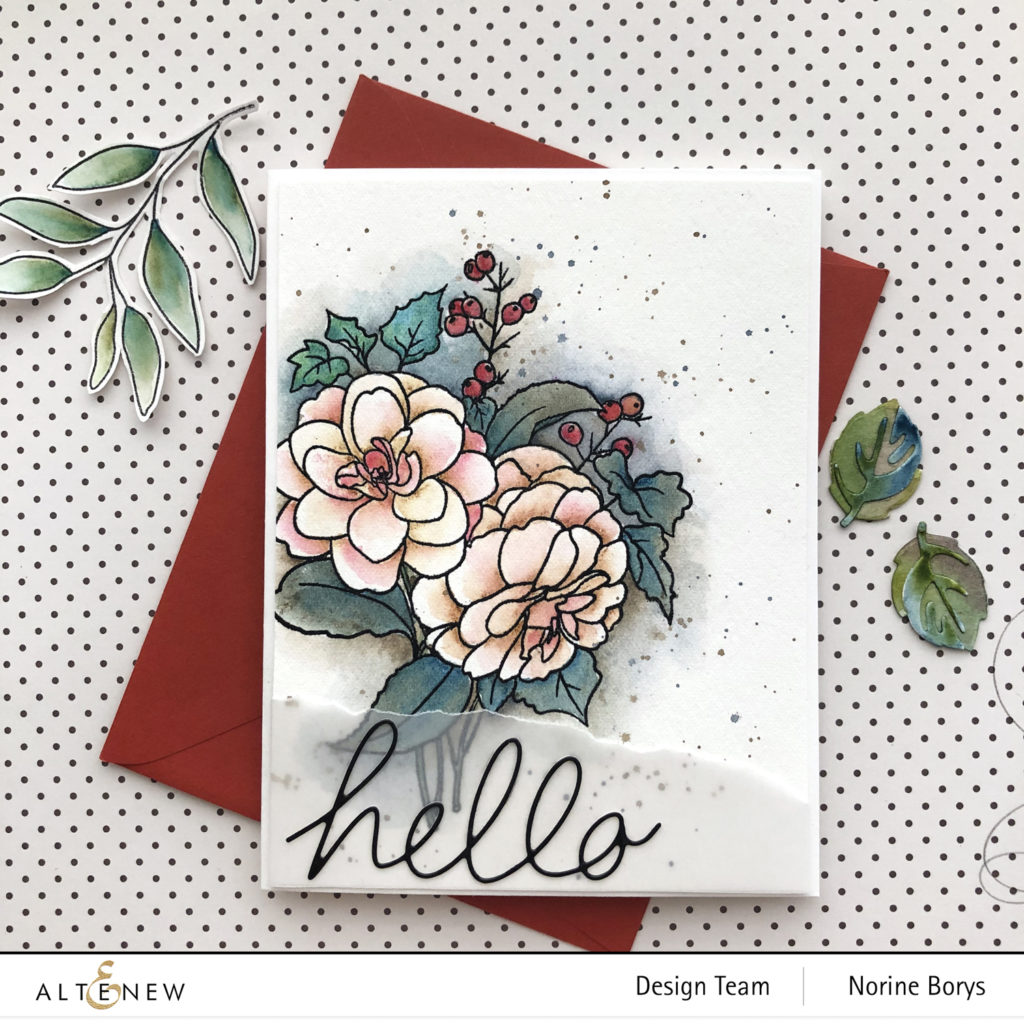
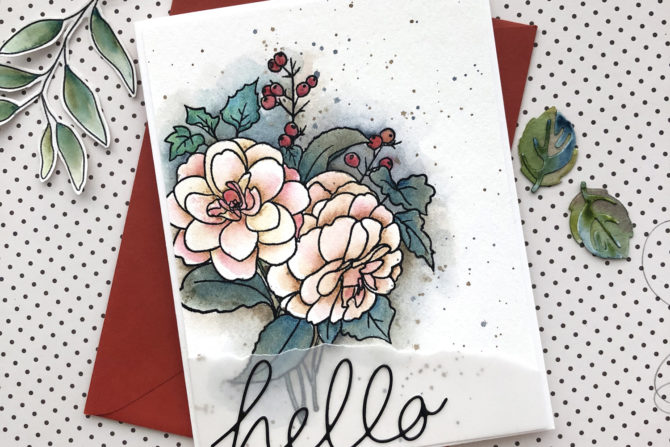
This sort of floral bouquet is my favorite type of all the lovely stamps and products that Altenew creates, with it’s gracious lines and open areas, perfect for coloring with whichever medium is your favorite. Mine is currently anything watercolor, and especially the Woodless Watercolor Pencils!
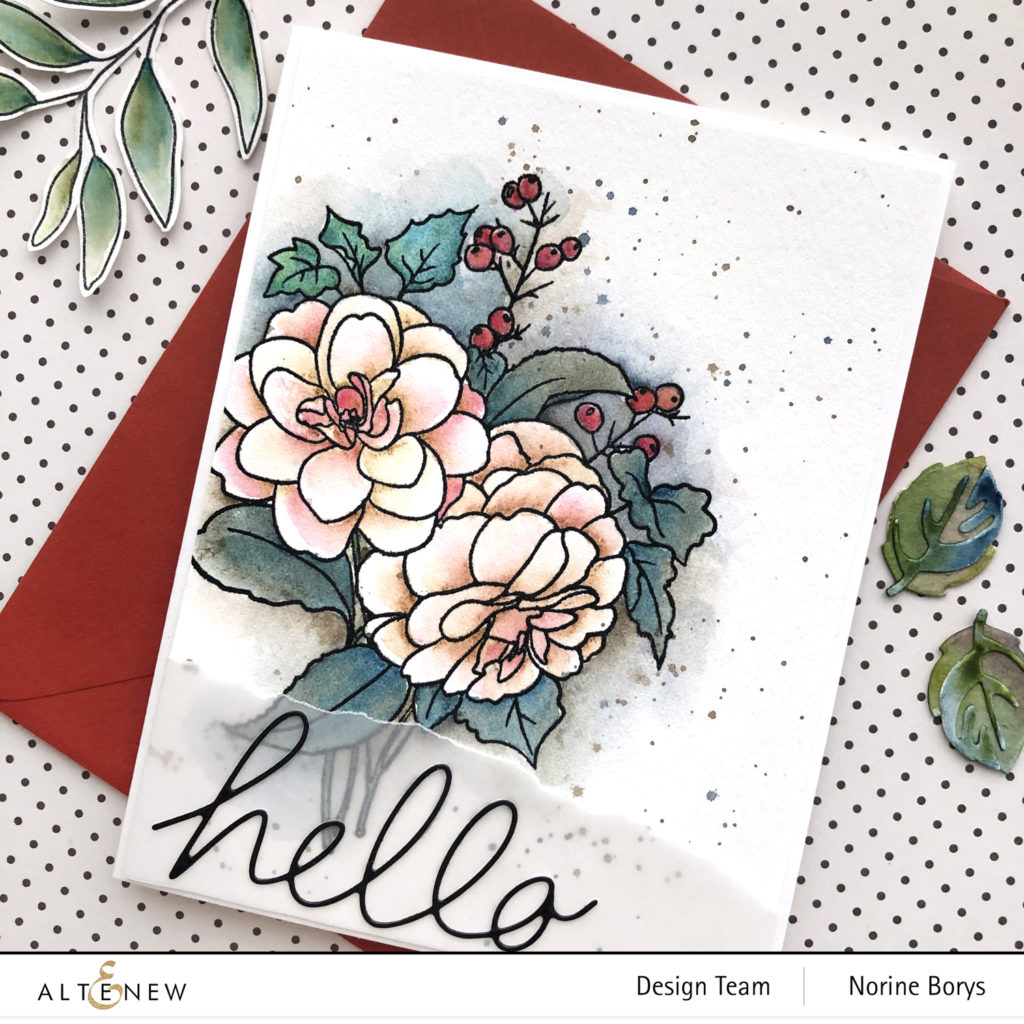
I began by stamping the image onto lightly textured Altenew watercolor cardstock, with Obsidian Black Pigment ink. I used the Woodless Watercolor Pencils to color, usually with two shades in each area, then used a wet paint brush to activate the pigment, and let it blend and flow.
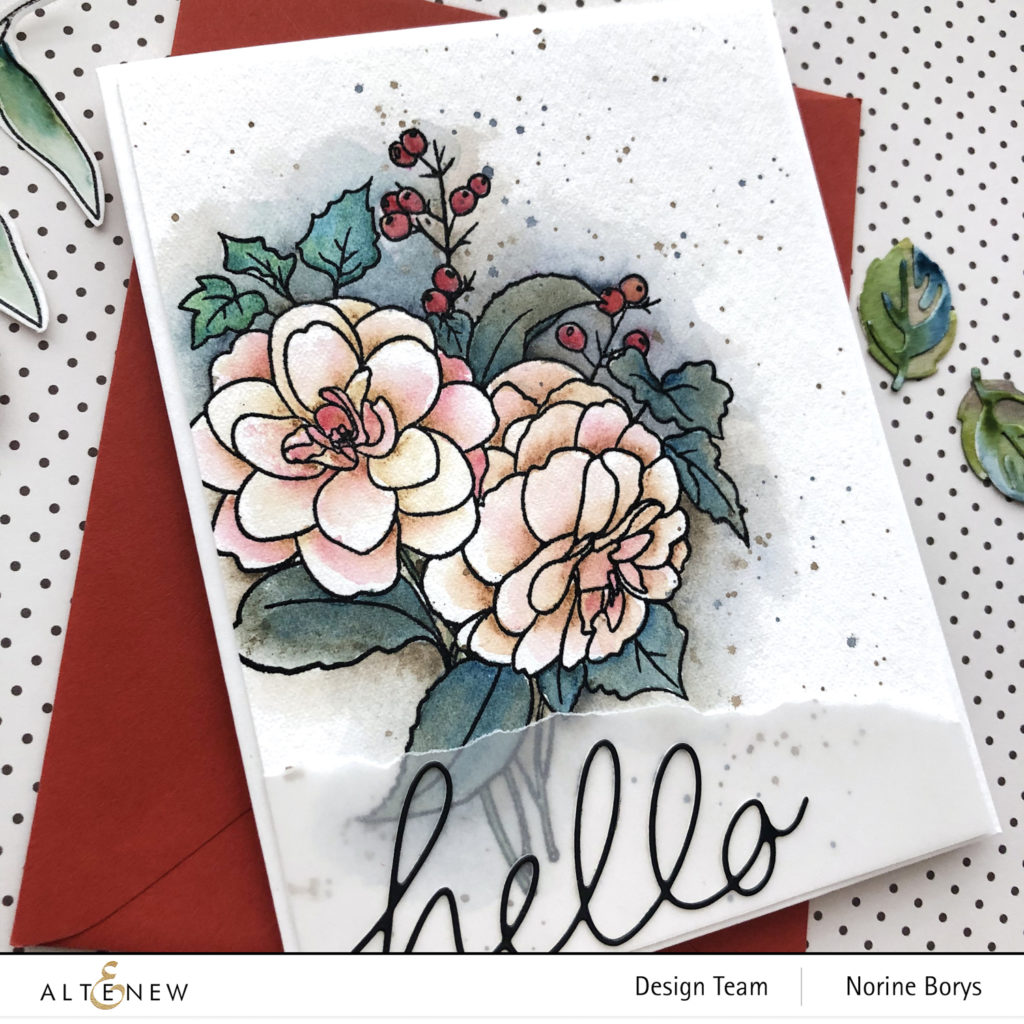
In the areas that are lighter in color, I both colored more lightly and used more water in my brush to dilute the color more. Conversely, the leaves and berries have a heavier layer of pencil color and less water in the brush. Once the areas are colored with the pencils, it’s a simple (and good relaxing therapy) job to paint in the whole image.
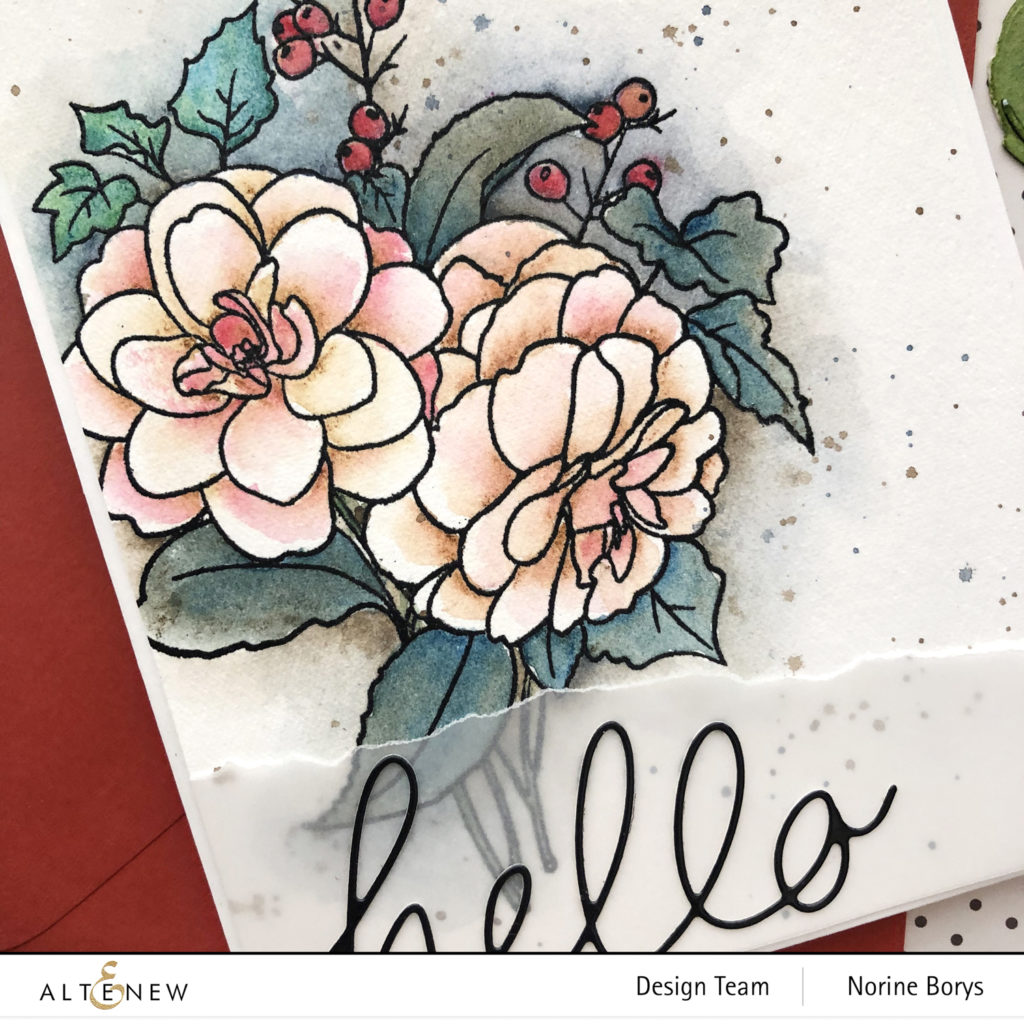
For the flowers, I colored with Paper Bag and Ruby Red. The leaves are colored with Desert Night and Moss, the ivy leaves with Shadow Creek and Turquoise. The berries are colored with Rubellite and Ruby Red and the background is mostly Oolong Tea with a bit of some of the shades already used added in.
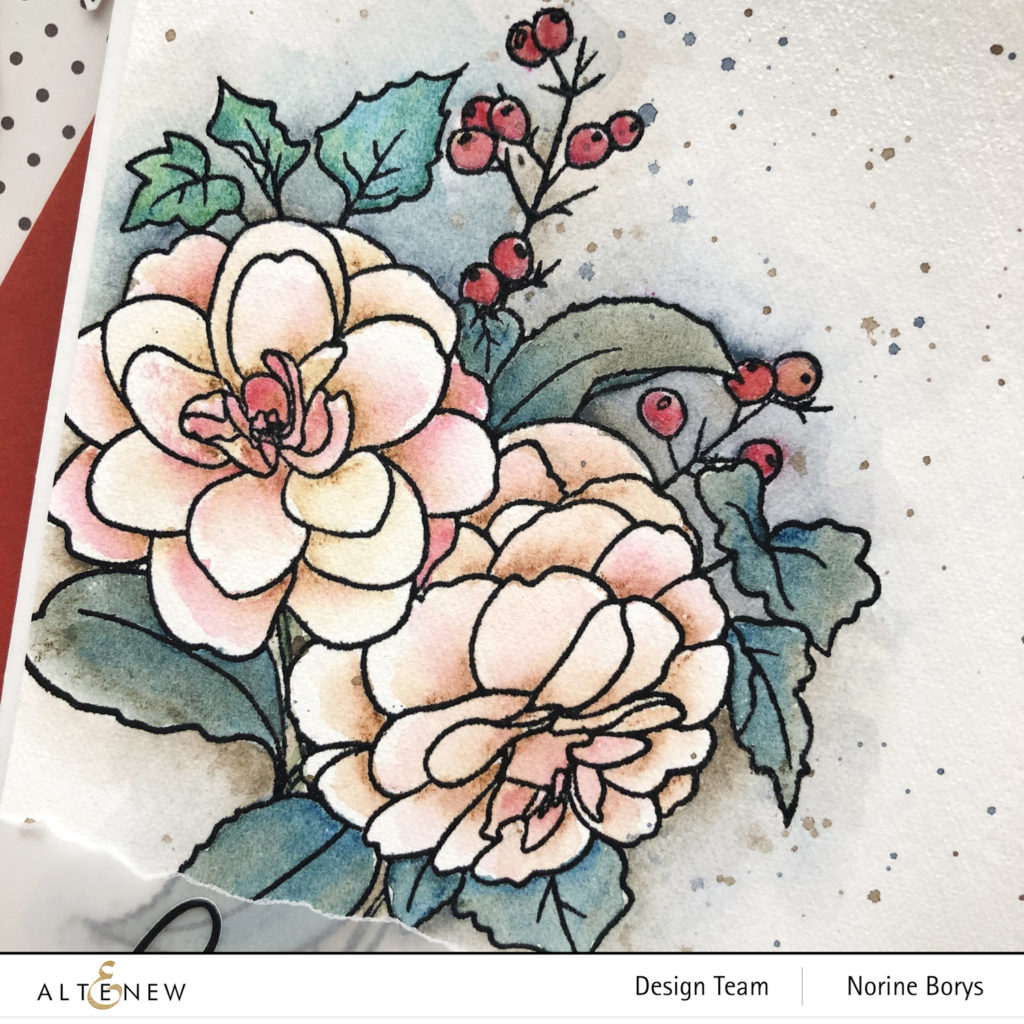
To add the speckles, I scribbled heavily onto white cardstock with some of the colors previously used, and made a color puddle with lots of water and a paint brush which I then tapped against my finger to release a splattering of paint.
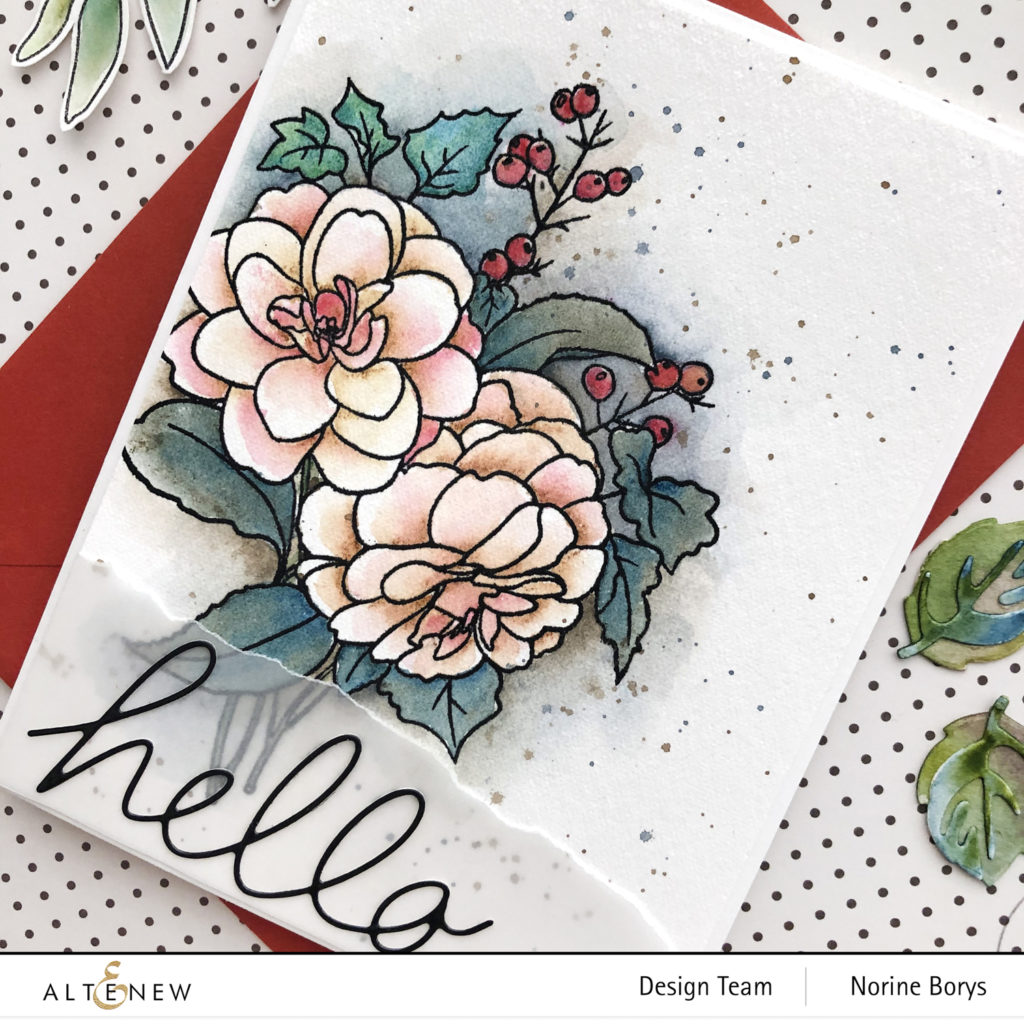
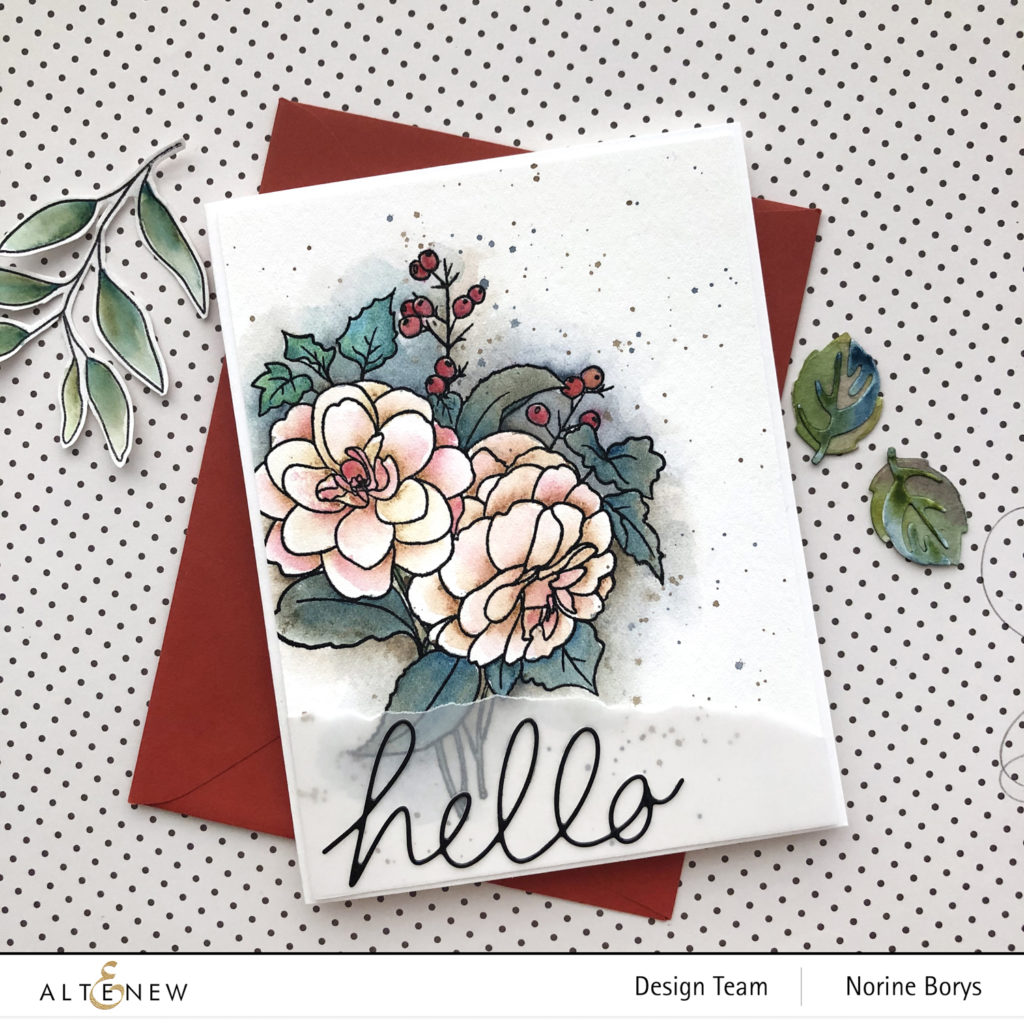
To complete the card I die cut the word “hello” from black gloss cardstock, using the Altenew Handwritten Hello die. I adhered it to a strip of vellum paper that I tore across the top before wrapping around the edges and securing on the back. Then I glued the painted panel to a folded card base. Not wanting to detract from the beauty of the stamped image, I left off any other embellishments.
Your next stop on the hop is LauraJane’s blog. In case of broken links, there is a complete blog hop map listed below.
Giveaway Prizes:
$200 in total prizes! To celebrate this release, Altenew is giving away a $50 gift certificate to 1 lucky winner and a $15 gift certificate to 10 winners! Please leave a comment on the Altenew Card Blog and/or each designer’s blog post on the blog hop list below by 01/28/2021 for a chance to win.
Altenew will draw 11 random winners from the comments left on each stop of this blog hop and announce the winners on the Altenew Winners Page on 01/30/2021.
Blog Hop List:
Norine Borys – You are here.
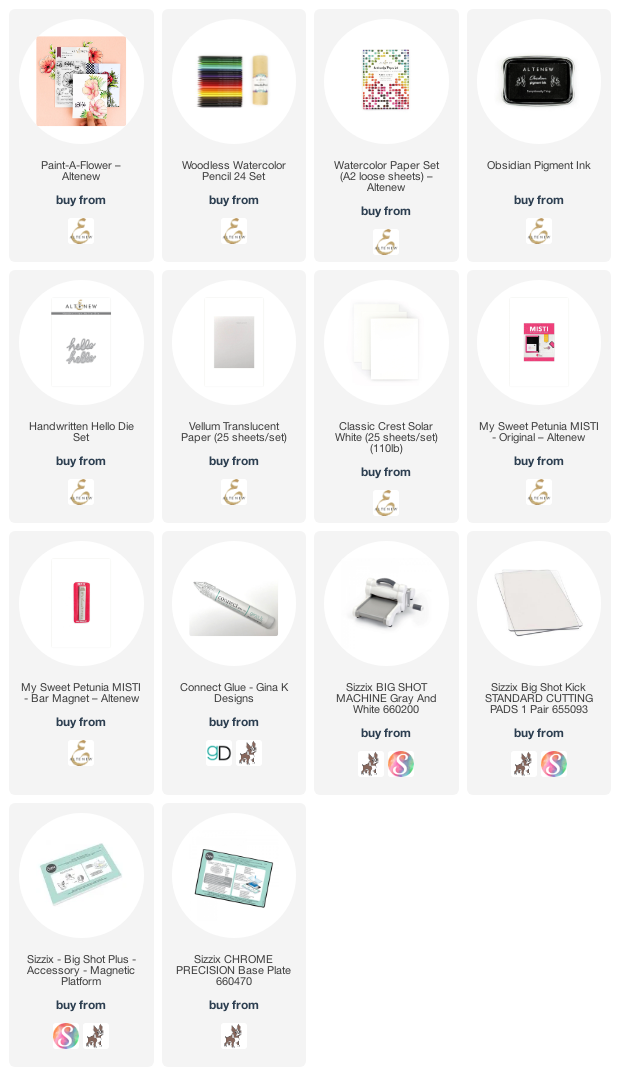
SUPPLIES USED:

