Hello, hi! I have a post up on the Altenew Card Blog today and wanted to share those cards here as well! For more in depth detail about how I made these cards, please click over to that post here.
This post contains affiliate links that are listed below. Your clicking through to purchase products linked helps to support this blog at no additional cost to you and allows me to continue to provide you with creative inspiration and instructive help.
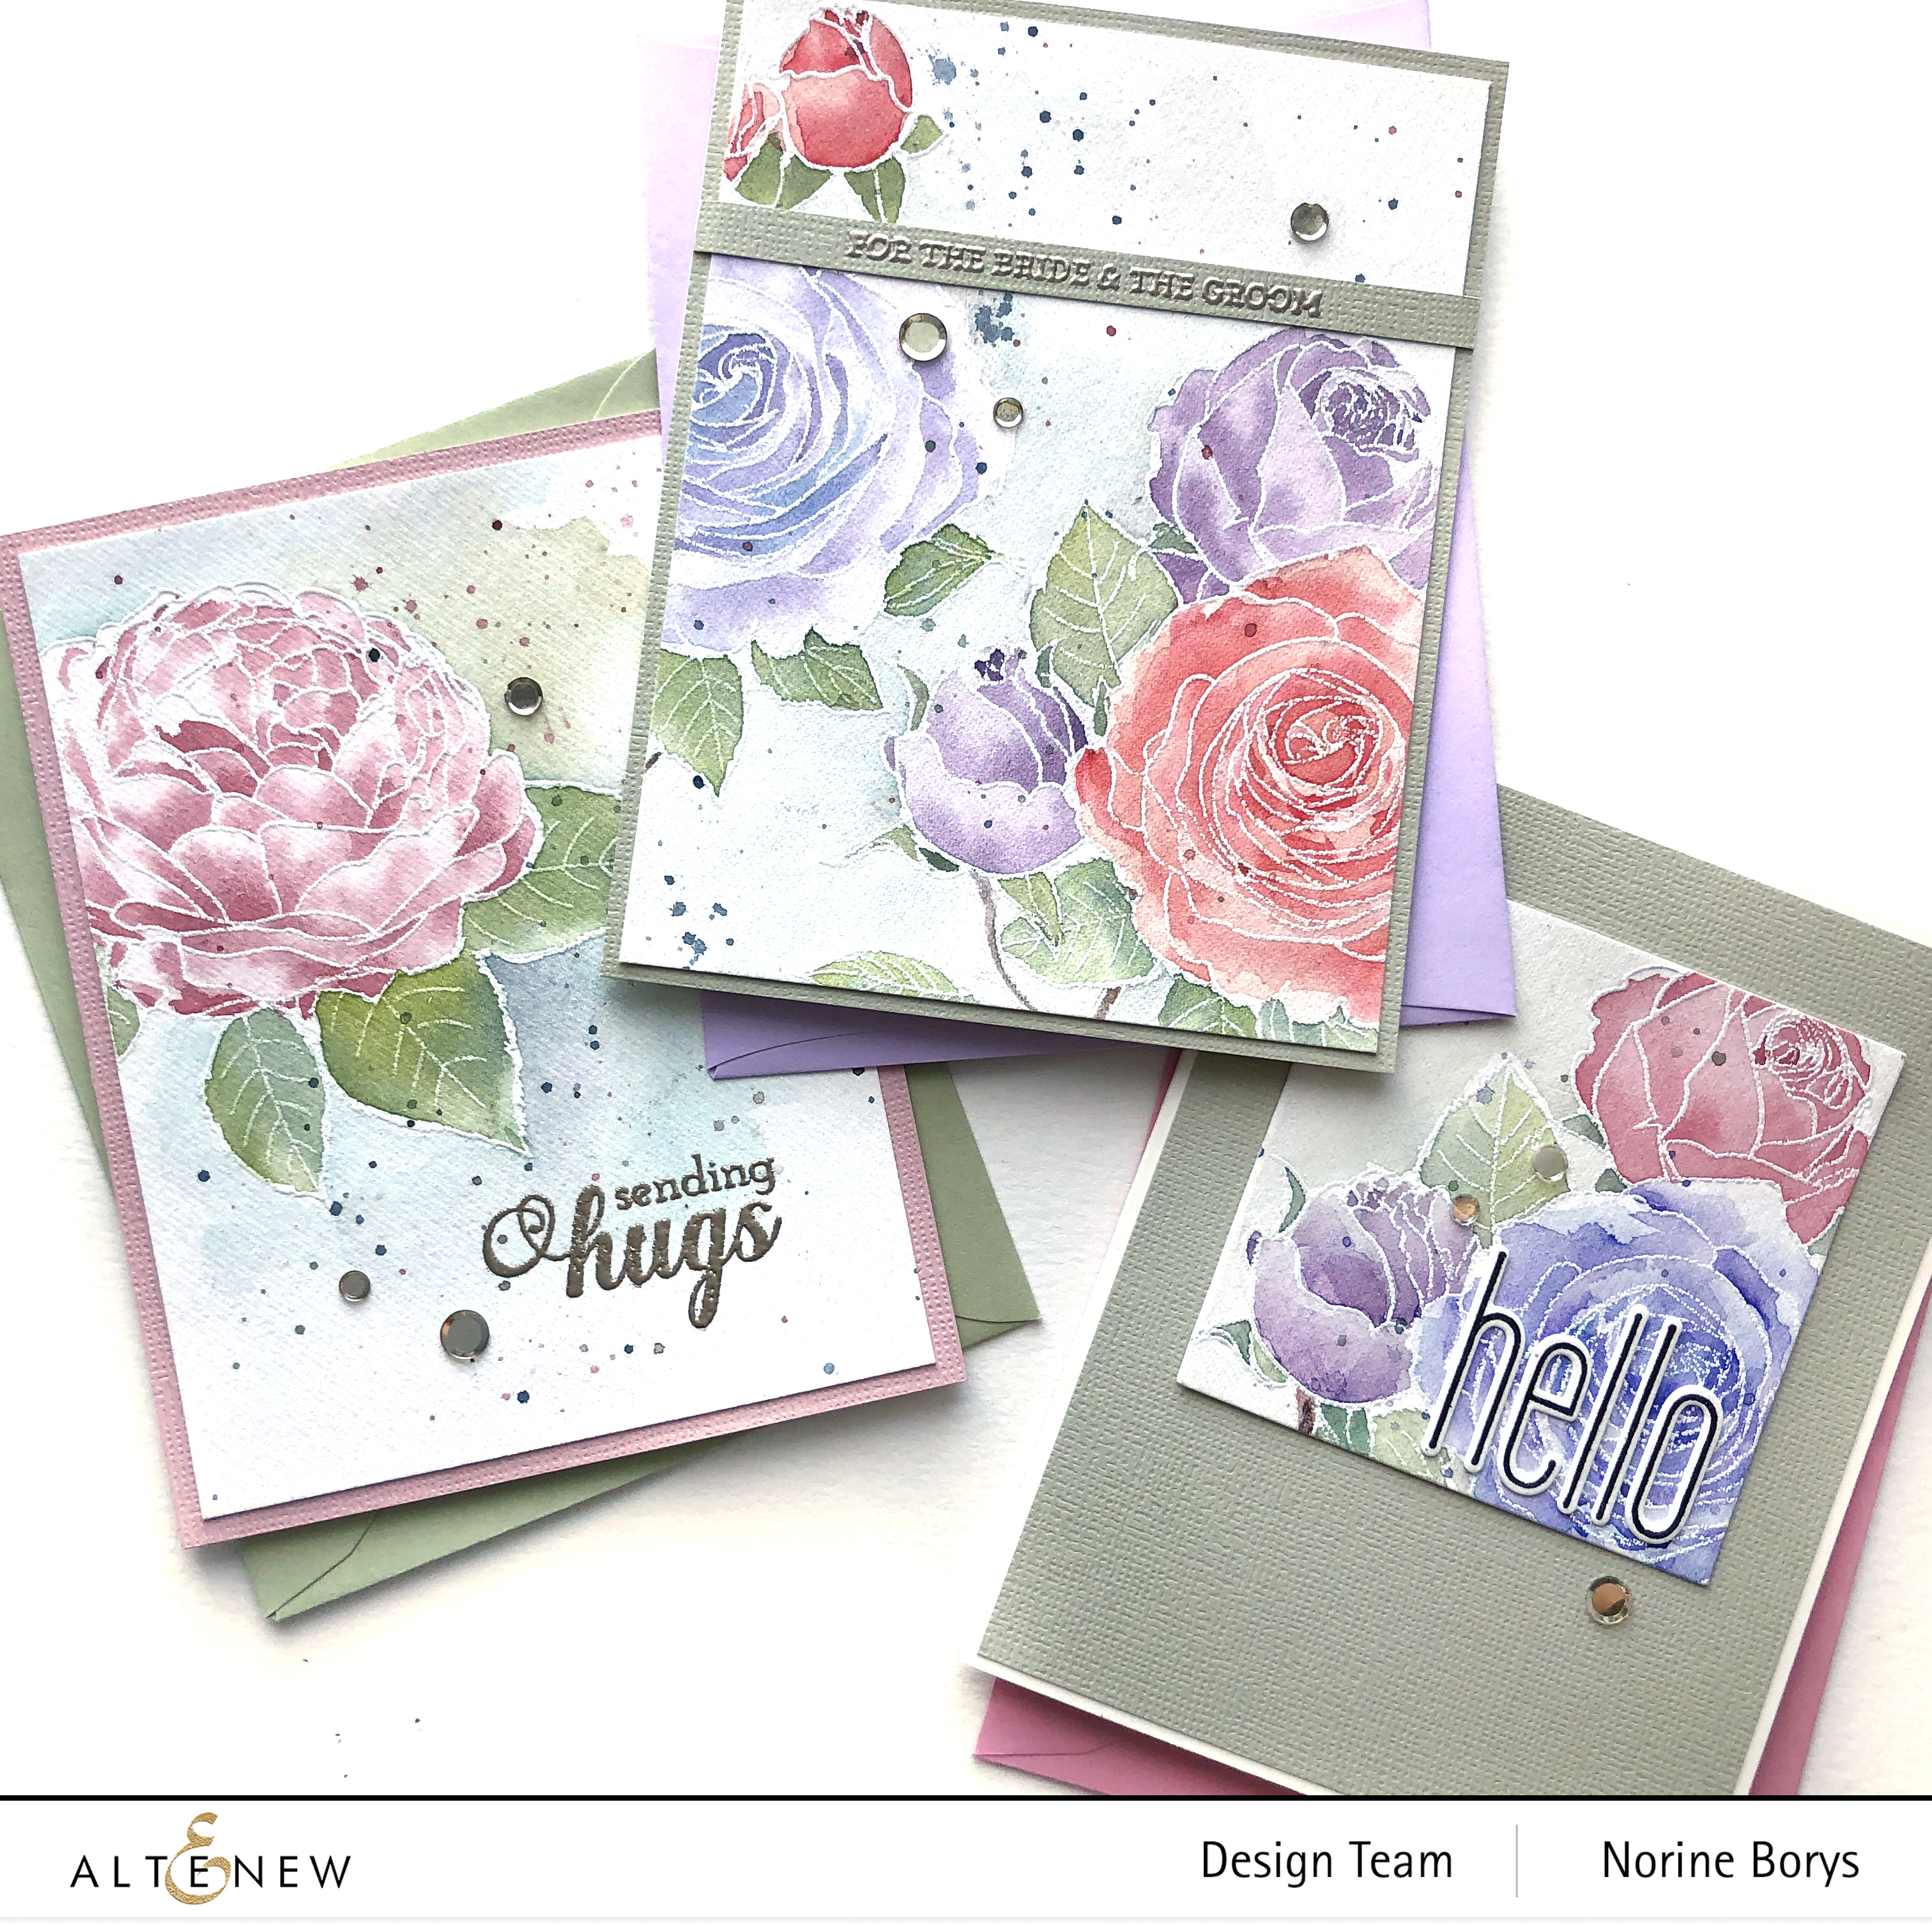
My projects today feature the Fresh Cut Roses Stamp Set. You may remember the card I made using this stamp when it was released.
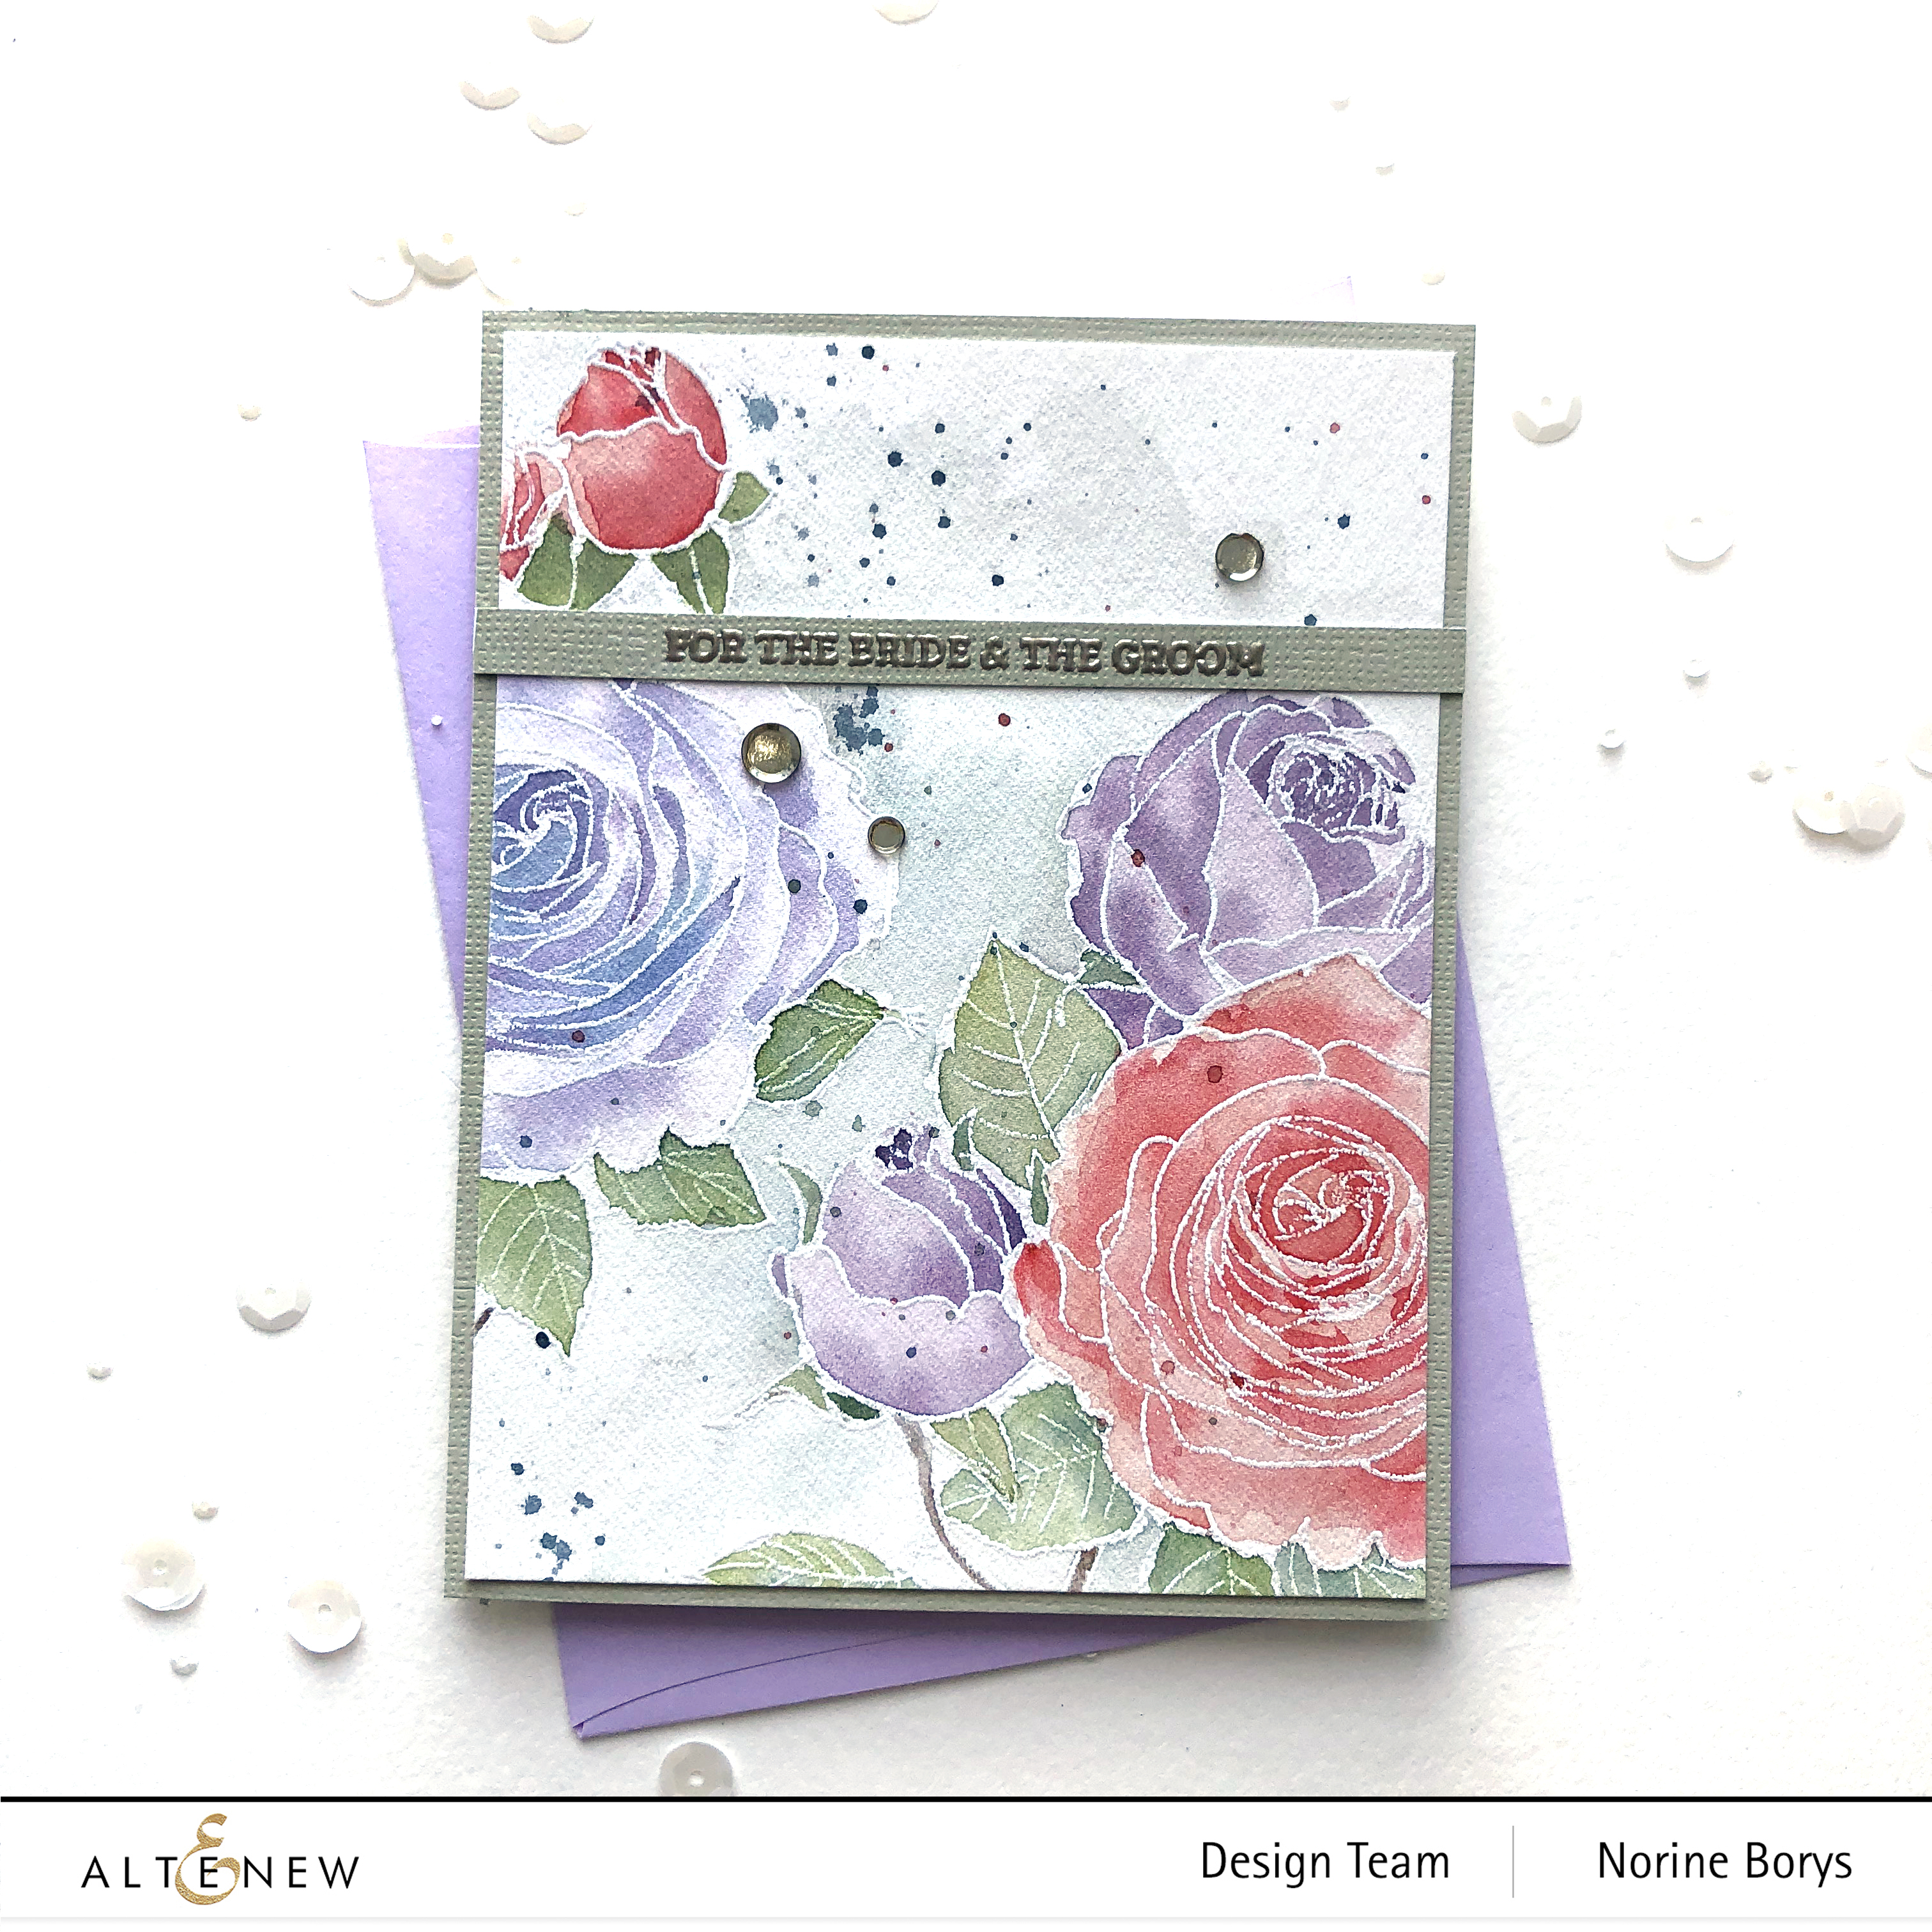
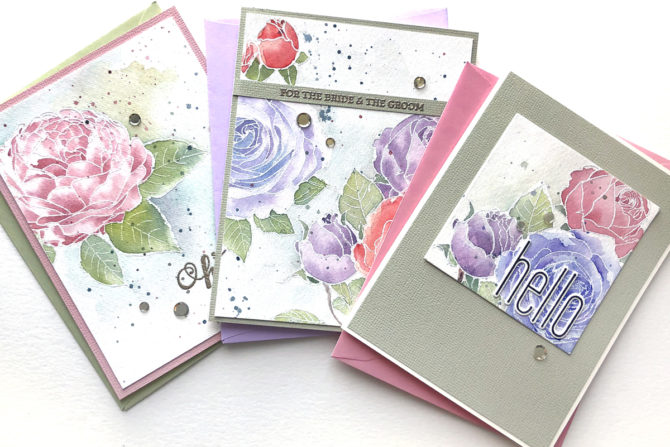
Card #1 uses the bouquet image in the stamp set, twice on one card panel, stamped on the right and left edges. I used the Altenew watercolor paper pad and heat embossed with white embossing powder.
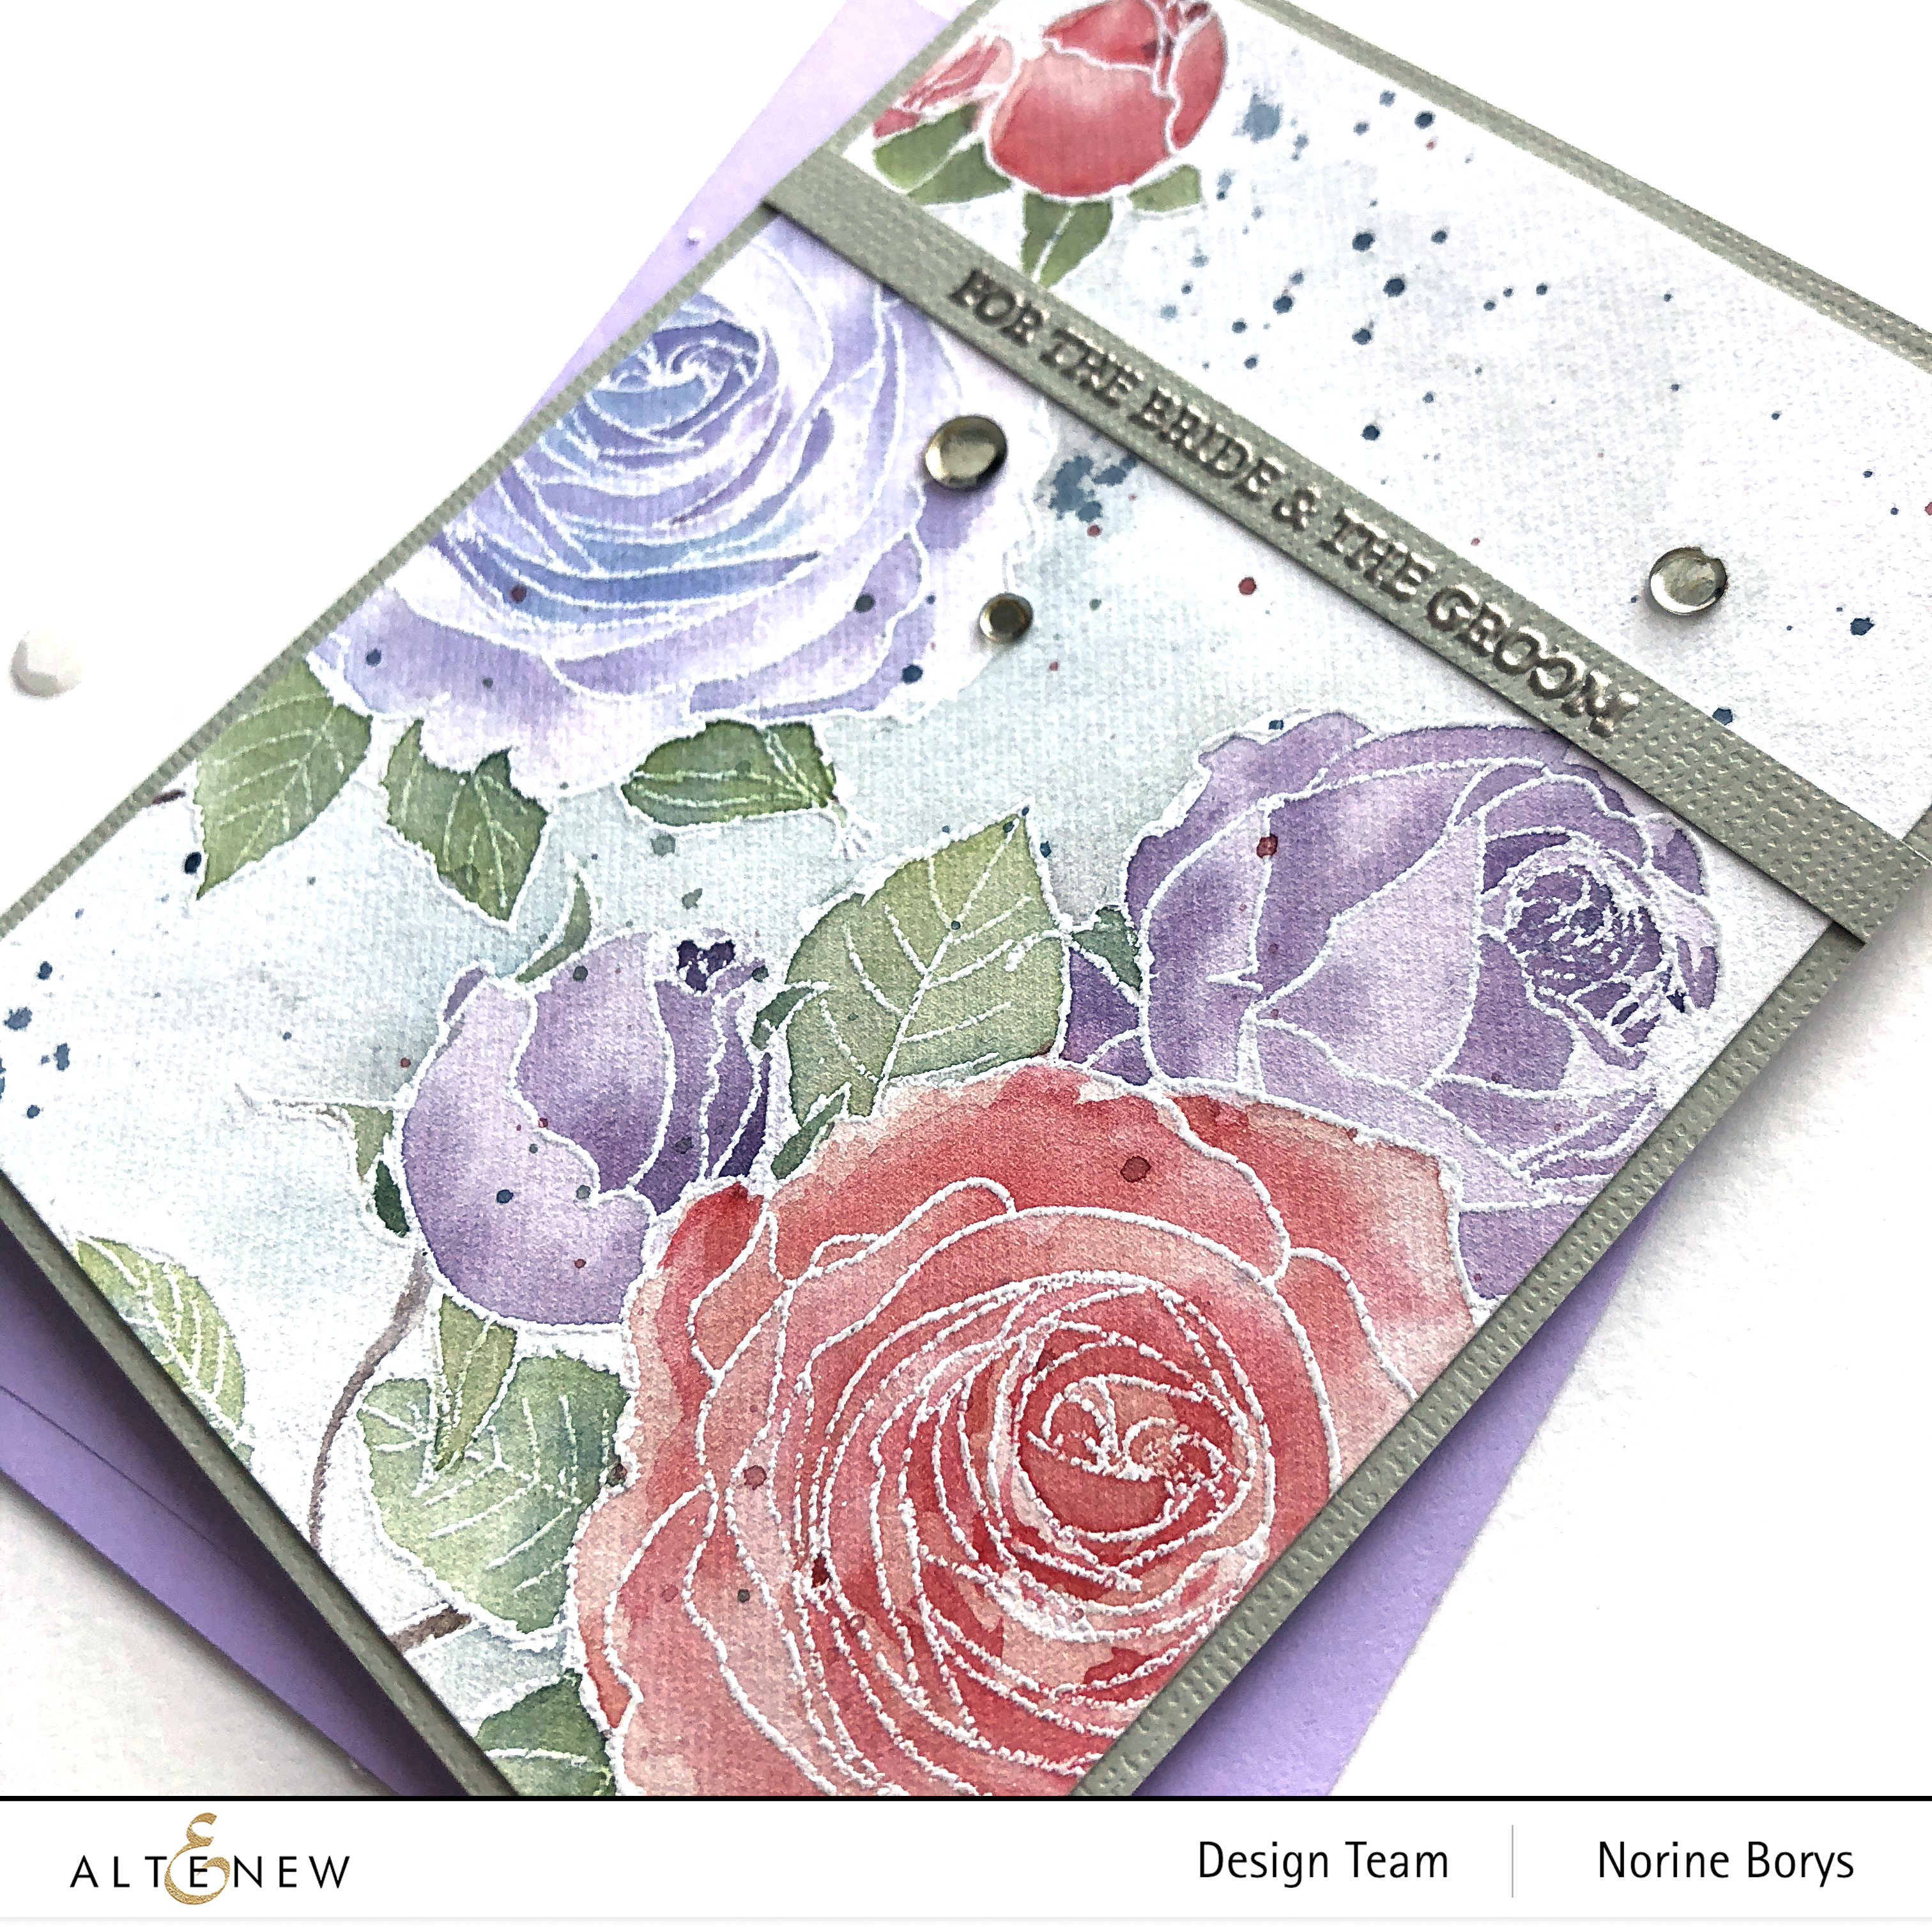
I mixed paints from both the watercolor 24 pan set and the watercolor 36 pan set to achieve the colors of paint on these cards, painting wet-on-wet and taking advantage of the sections barriers created by the heat embossed outlines.
Next, I stamped the same image onto the same watercolor paper and used more of the same paint mixed to achieve the subtle shades of paint.
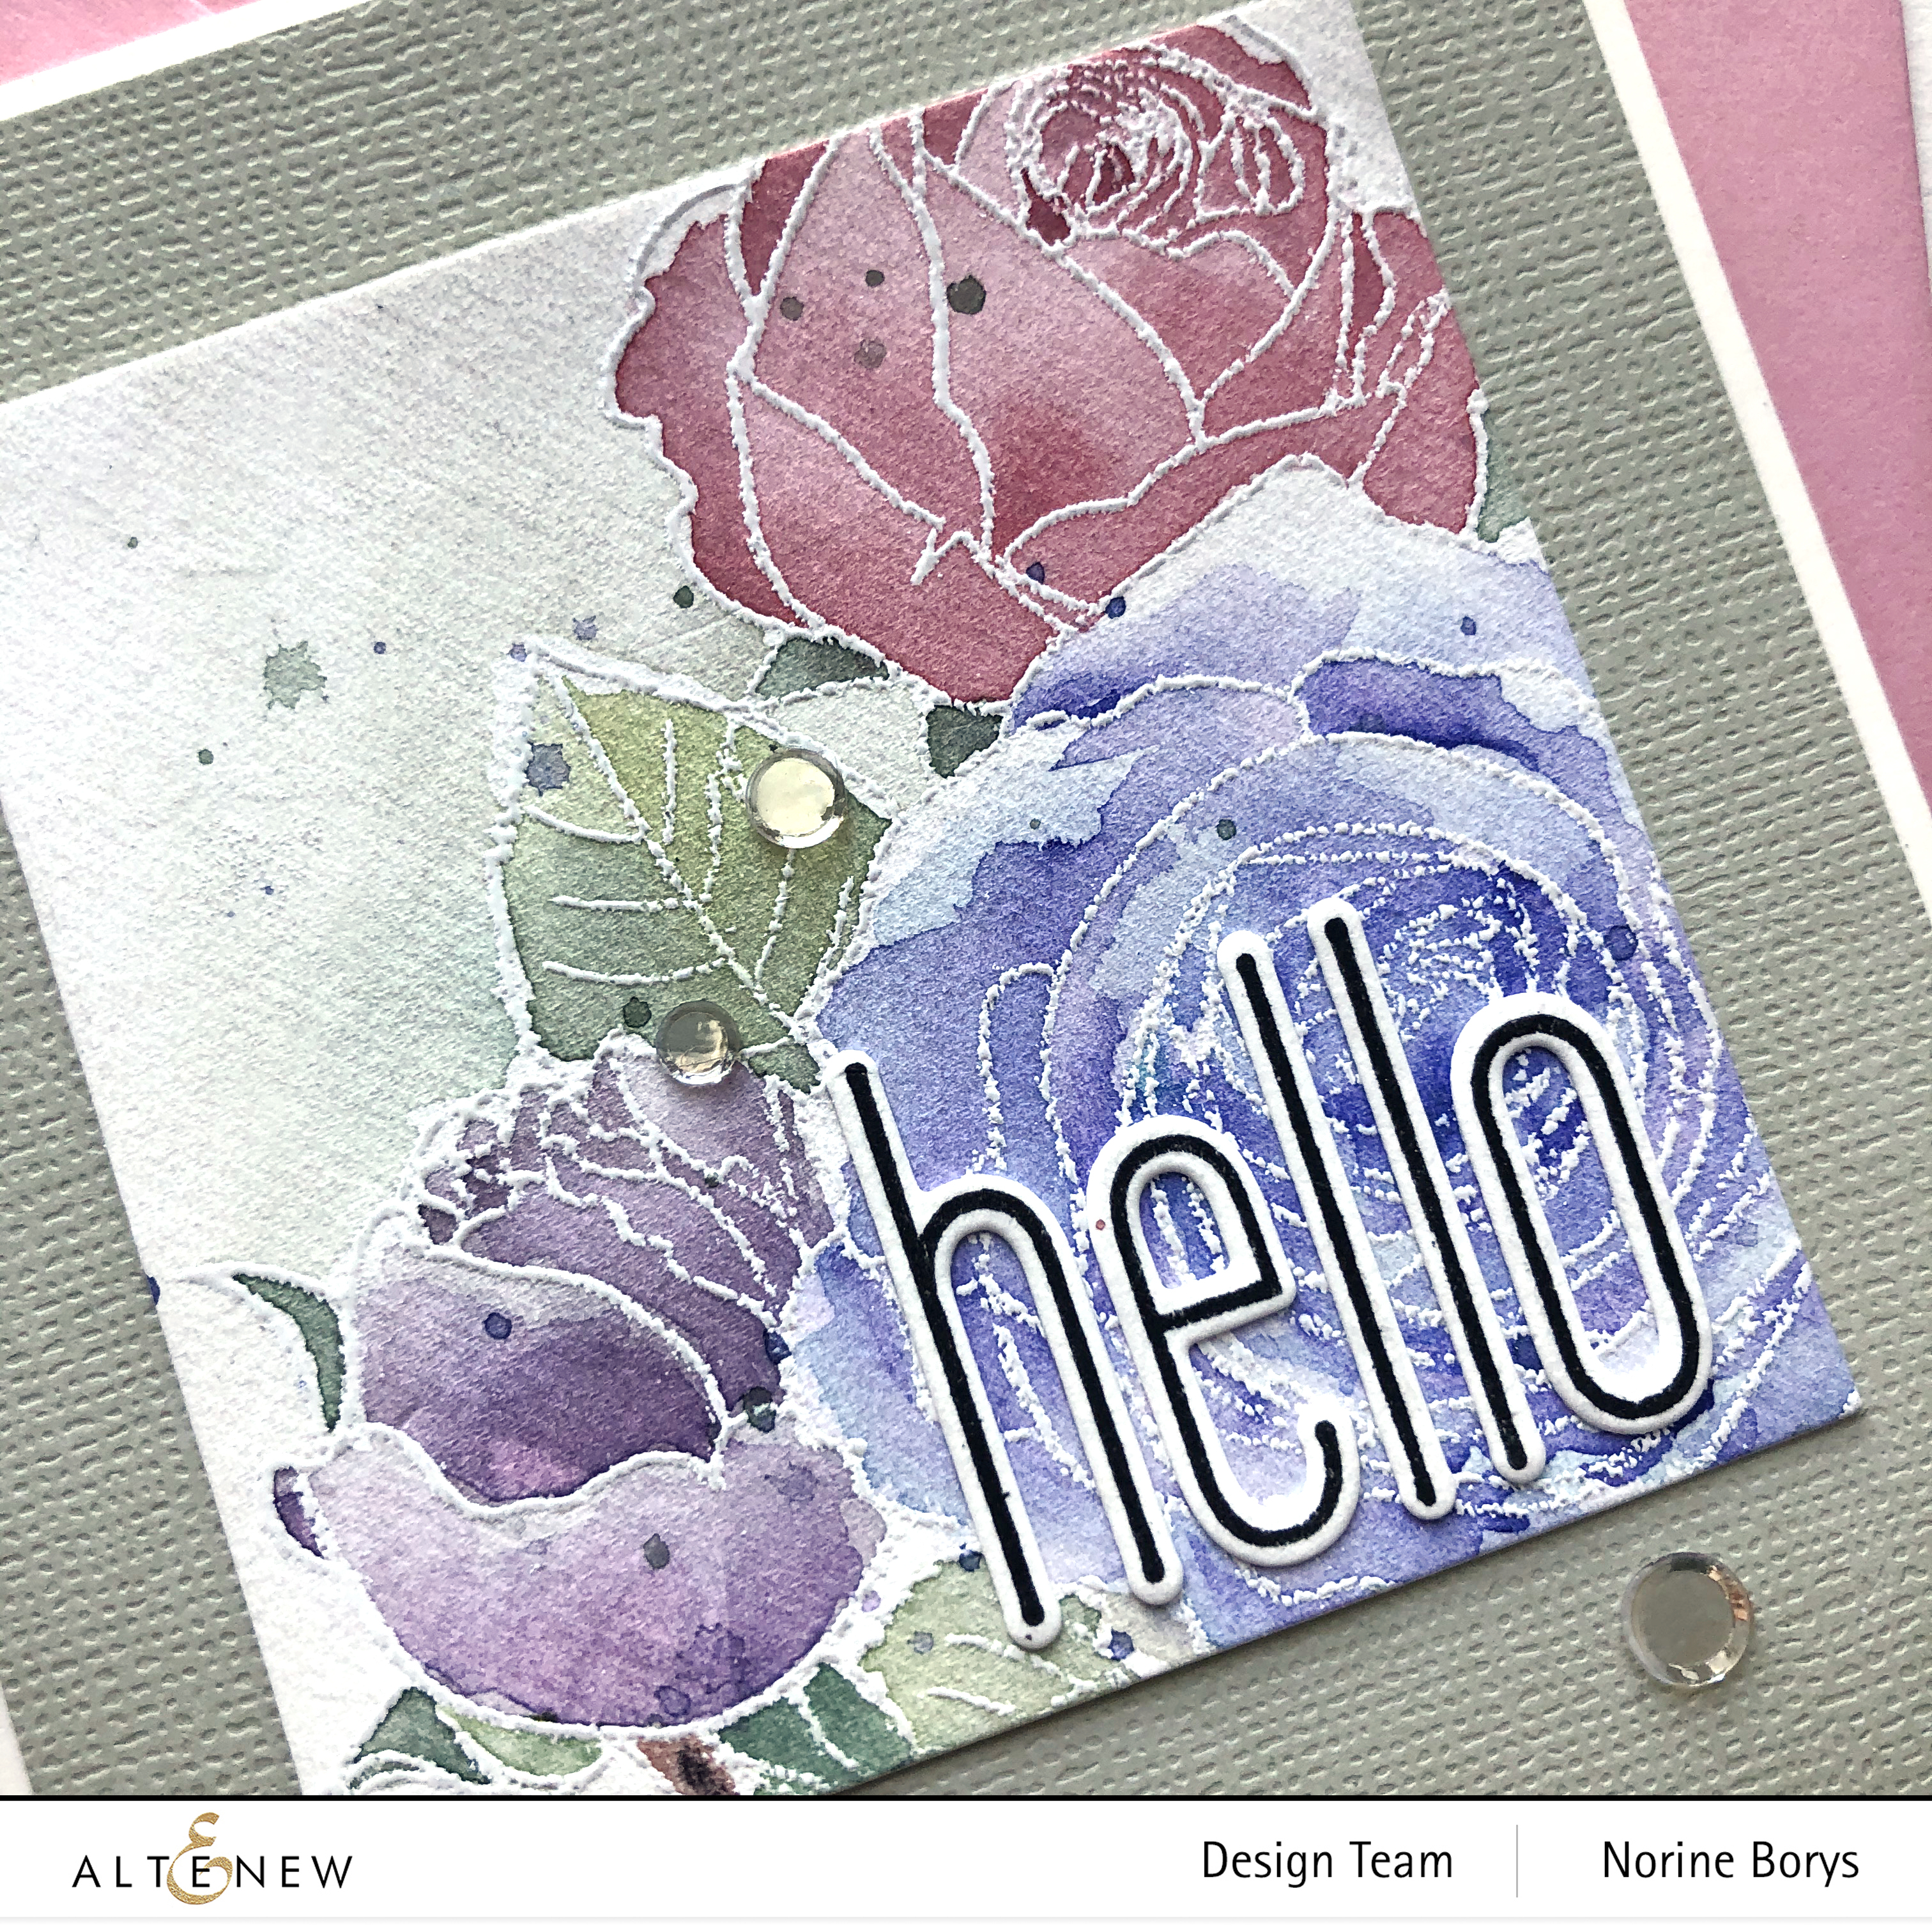
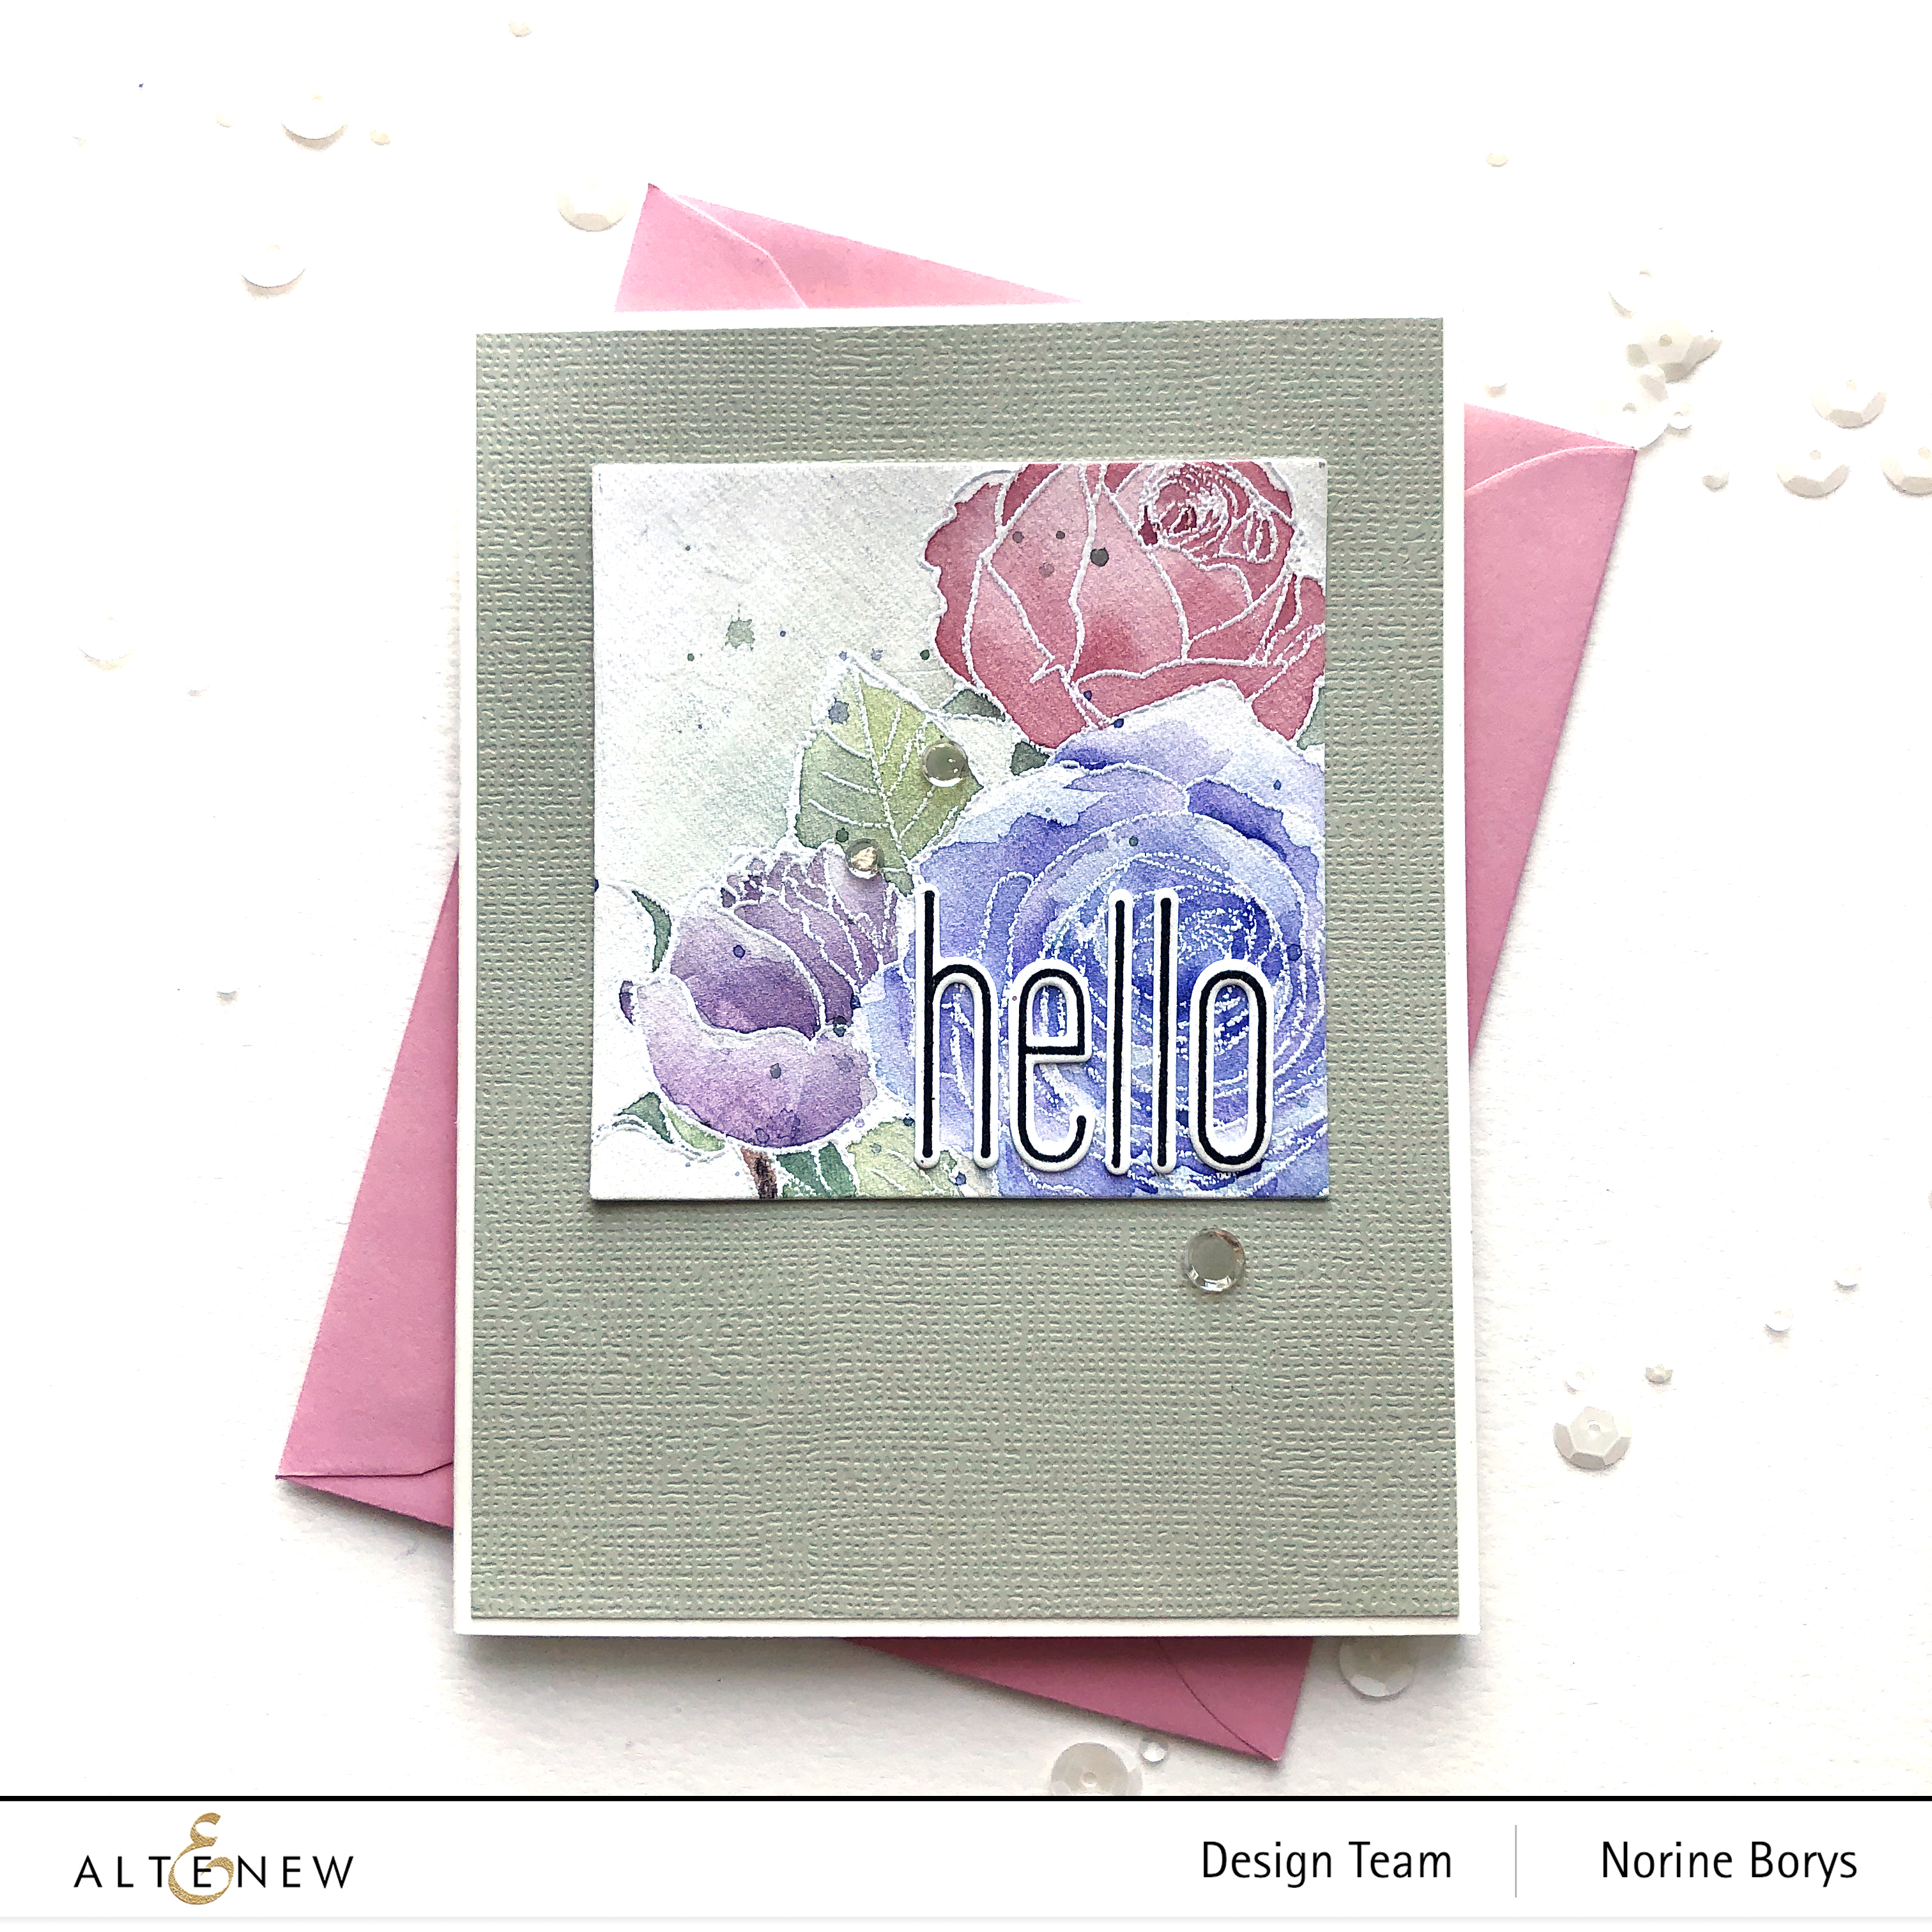
I’ll tell you a secret. This design was first a combination of the two floral images in the stamp set, stamped using a mask to create a larger bouquet. But when all was said and painted, I didn’t love the bottom portion of the whole design, so I used a square die to crop a smaller section of the part of the painted design I did like! Then I adhered it to a piece of complimentary-colored cardstock.
I die cut and stamped the greeting for this card with the Tall Alpha Lowercase stamps and dies.
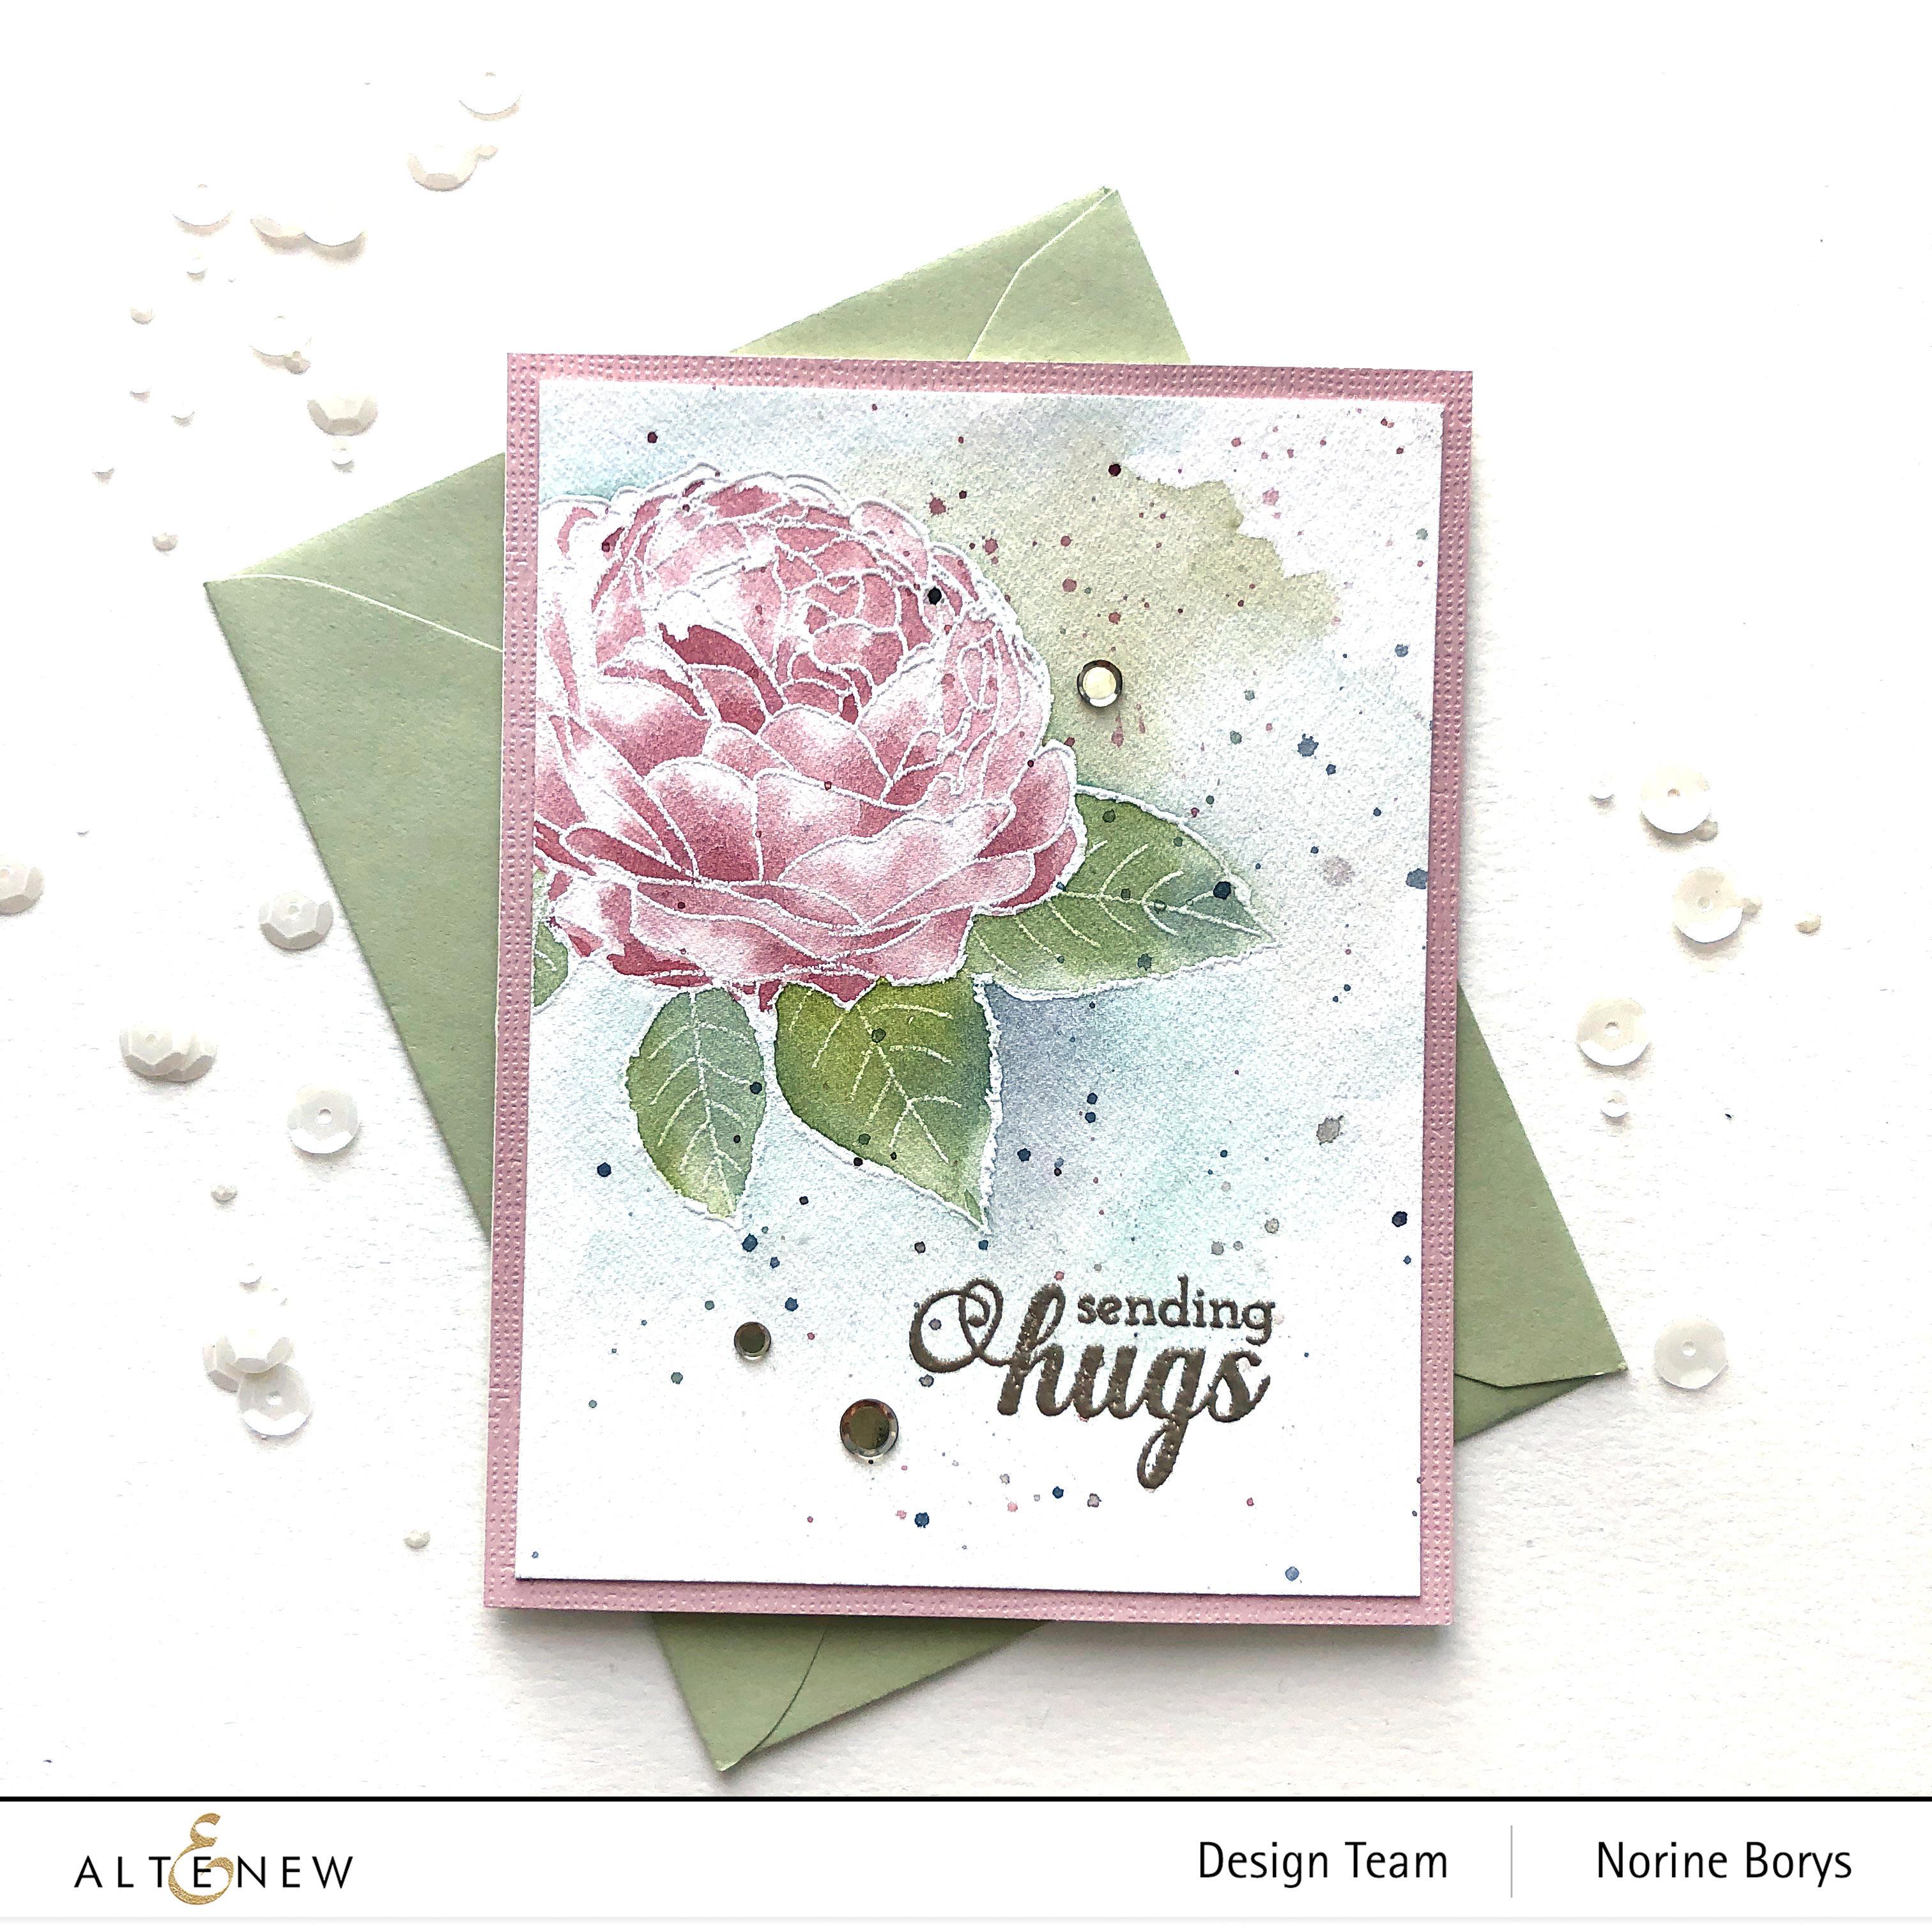
The last card is created using the second image in the stamp set, a single cabbage rose style of flower. I stamped it off the edge of the cardstock for some extra interest.
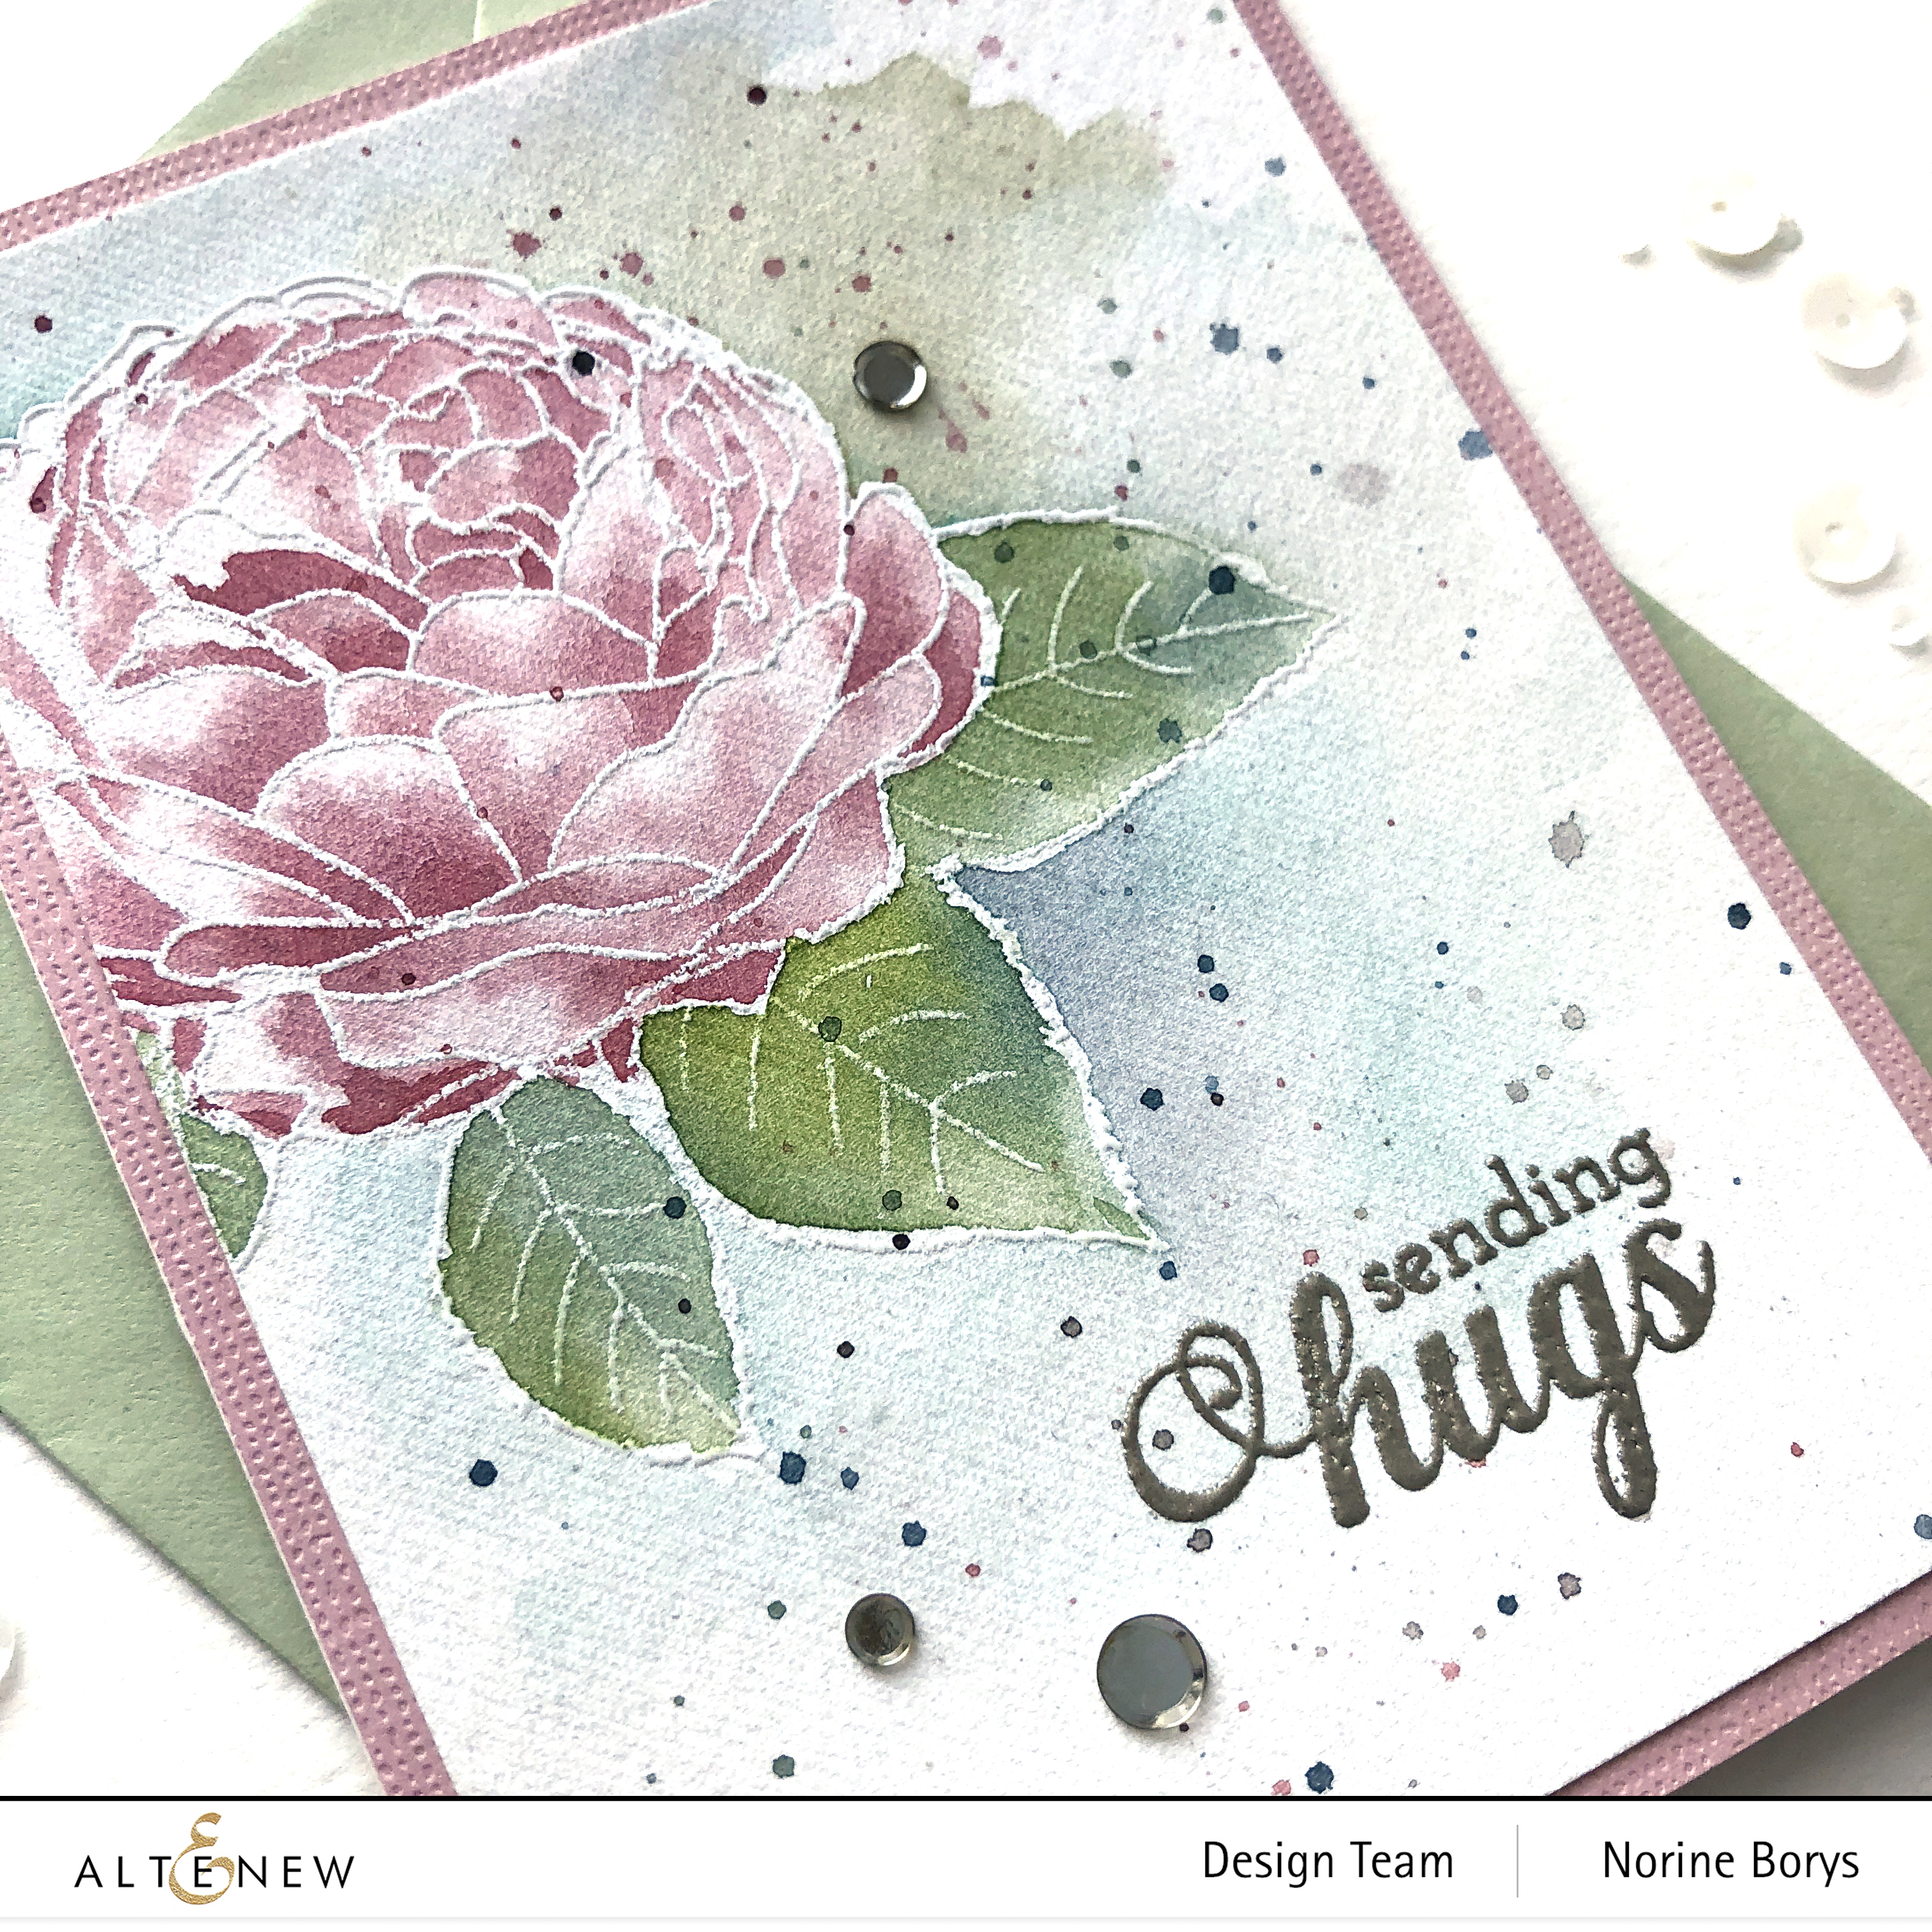
I used a sentiment from the Fancy Greetings Stamp set for this card and heat embossing with Platinum embossing powder.
All of these paintings/cards were complete once they received a splatter treatment with the leftover paint puddles. Also, to coordinate with the Platinum embossing powder I made the silver flat sequins match better by coloring them with a tan colored alcohol marker, adding the merest hint of gold overtop – and giving them a platinum appearance!
Thank you so much for stopping by and enjoy the rest of your day!
SUPPLIES USED:
