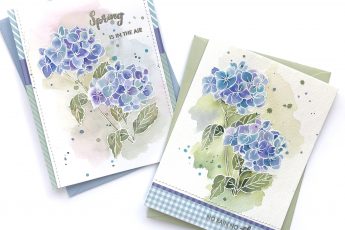
Hi there, I’m back today with a card to share that I made using a recently released (August) stamp set from The Greeting Farm, called Miss Anya Coffee Break. (Sold out at the moment because of it’s popularity but getting restocked soon!) It’s a super cute set with three different girl stamp images, each of which is holding a coffee cup or two. I can see this set having the versatility to make a thank you card, with a Starbucks gift card inside, or a “let’s-plan-a-coffee-date” card, and more.

I debated about stamping onto Neenah cardstock and coloring with Copic markers, but I was in the mood for watercoloring and the patchy, blendy look that gives, so I stamped onto watercolor paper with Versafine ink, and used Altenew watercolor brush markers to color, blending with a water-filled paintbrush.
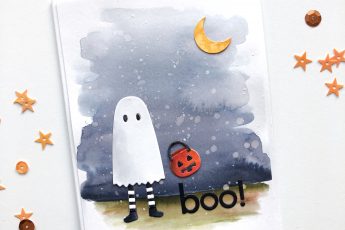
Once painted and dried, I fussy cut the stamped image, cutting exactly along the stamped outline. To make it look more finished and clean, I ran a black marker along the cut edge of the paper all the way around so that you don’t see any white paper edge. It’s weird. It’s such a small thing to do but it makes such a difference and improvement in the look of a hand cut image when you don’t want to cut a halo.

To create the “coffee puddle” background for the card front, I smooshed some Tim Holtz Distress Ink in Vintage Photo color onto a palette and added a little water to paint with. I daubed the paint on randomly with a very wet brush and let it dry, thenI took a jar of embossing powder and ran the rim of the bottom of the jar through the paint and stamped it down to create a coffee ring. I stamped a sentiment from the Thanks & Thank You stamp set, using Altenew Espresso ink. Finally, once all the paint was dry on the card front, but before adhering the stamped and colored girl, I splattered the card front with leftover brown ink-paint.
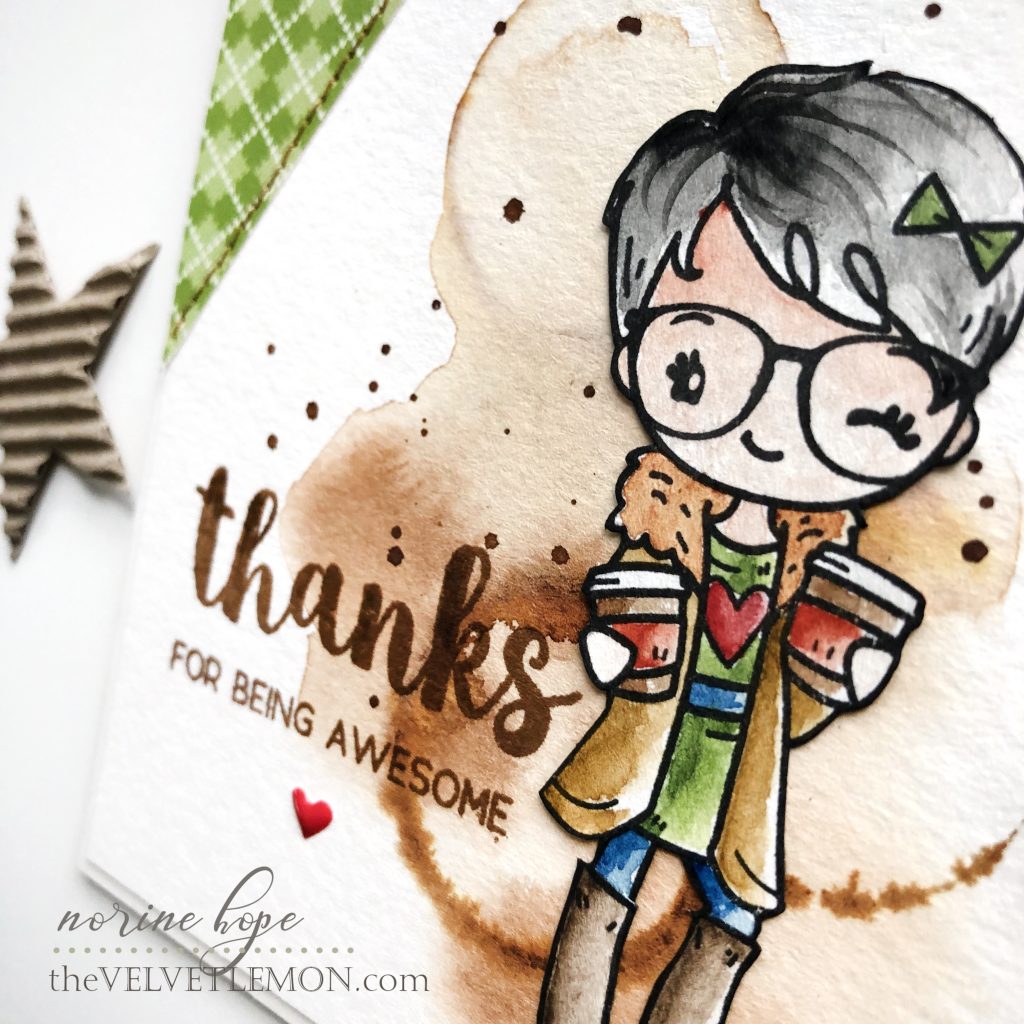
To finish the card off, I adhered and then stitched on a piece of green patterned paper to the top left corner to compliment the painted image, and balance the overall design. Finally, I added a little red enamel heart to the card to repeat the heart from the girl’s top.
Thanks so much for stopping by and have a wonderful day!